Outsunny 840-264V07CF
Outsunny Retractable Awning User Manual
Model: 840-264V07CF
Introduction
This manual provides detailed instructions for the assembly, operation, and maintenance of your Outsunny 13' x 10' Retractable Awning. Designed to provide shade and protection from the elements, this awning features a durable 280gsm polyurethane-coated fabric that is water-resistant, fade-resistant, and offers UV30+ sun protection. Please read this manual thoroughly before installation and use to ensure safe and proper operation.
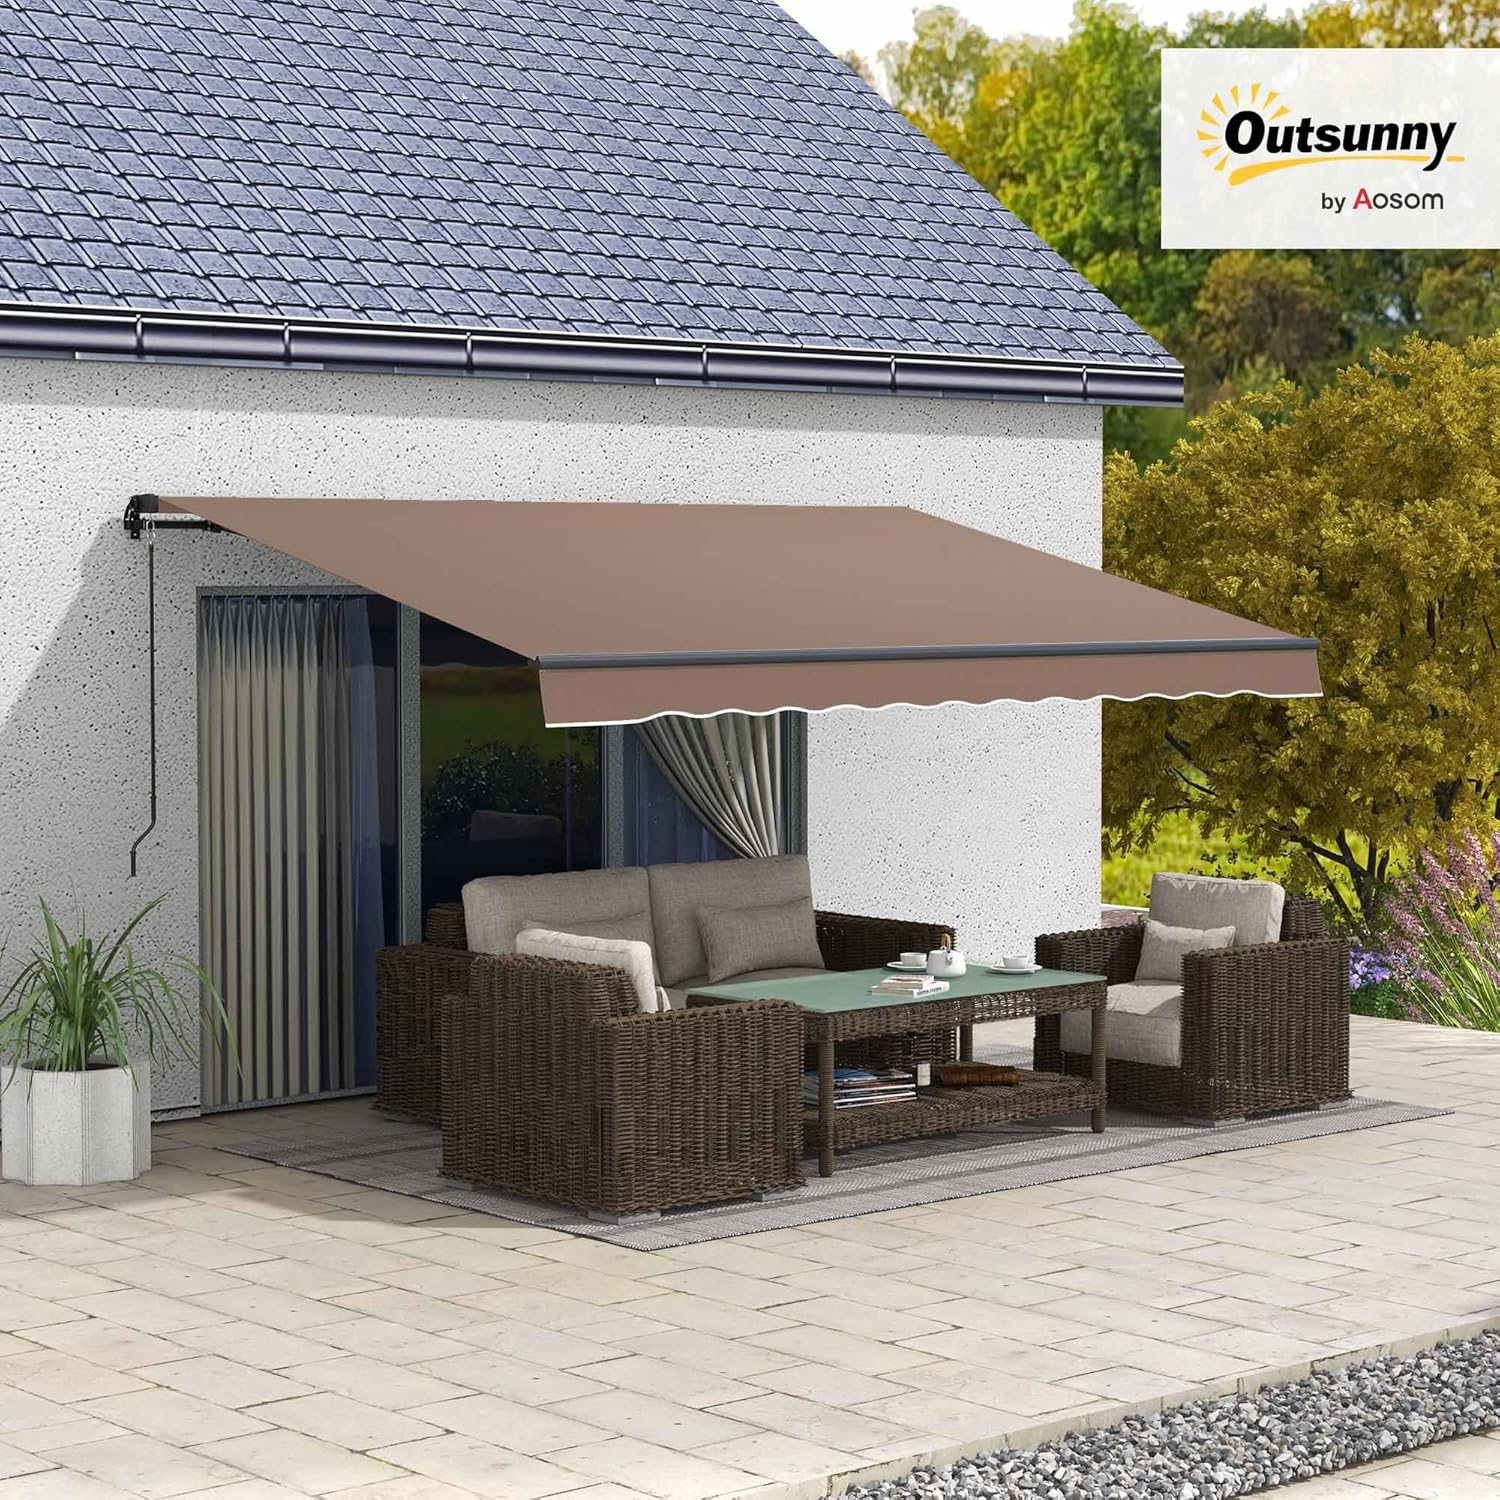
Image: The Outsunny retractable awning extended over a patio area, providing shade for outdoor seating.
Safety Information
Your safety is paramount. Please adhere to the following safety guidelines:
- Caution during storms: Always retract the awning during large storms, heavy winds, or snowfall to prevent damage to the awning and potential injury.
- Proper Installation: Ensure the awning is securely installed on solid and appropriate surfaces such as concrete, wood, or brick walls. Improper installation can lead to instability and failure.
- Wind Resistance: The awning has a limited wind resistance level. It may not withstand very strong winds. Always retract the awning if wind speeds exceed moderate levels.
- Assembly: Full assembly is required. Follow all assembly instructions carefully. If you are unsure about any step, seek professional assistance.
Product Features
- Durable Fabric: Constructed with 280gsm polyurethane-coated fabric, offering water resistance, fade resistance, and UV30+ sun protection.
- Adjustable Shade: Manually control the length and angle of the awning to adapt to changing sun positions. The tilt is adjustable from 45 to 85 degrees.
- Robust Frame: Features a combination of powder-coated steel tubes and aluminum for enhanced strength and durability against outdoor elements.
- Versatile Mounting: Includes hardware for installation on various surfaces, including balcony brick walls, concrete, doors, and windows.
- Dimensions: Shaded area measures 156 inches (W) x 118 inches (D). The manual crank handle is 59 inches long.
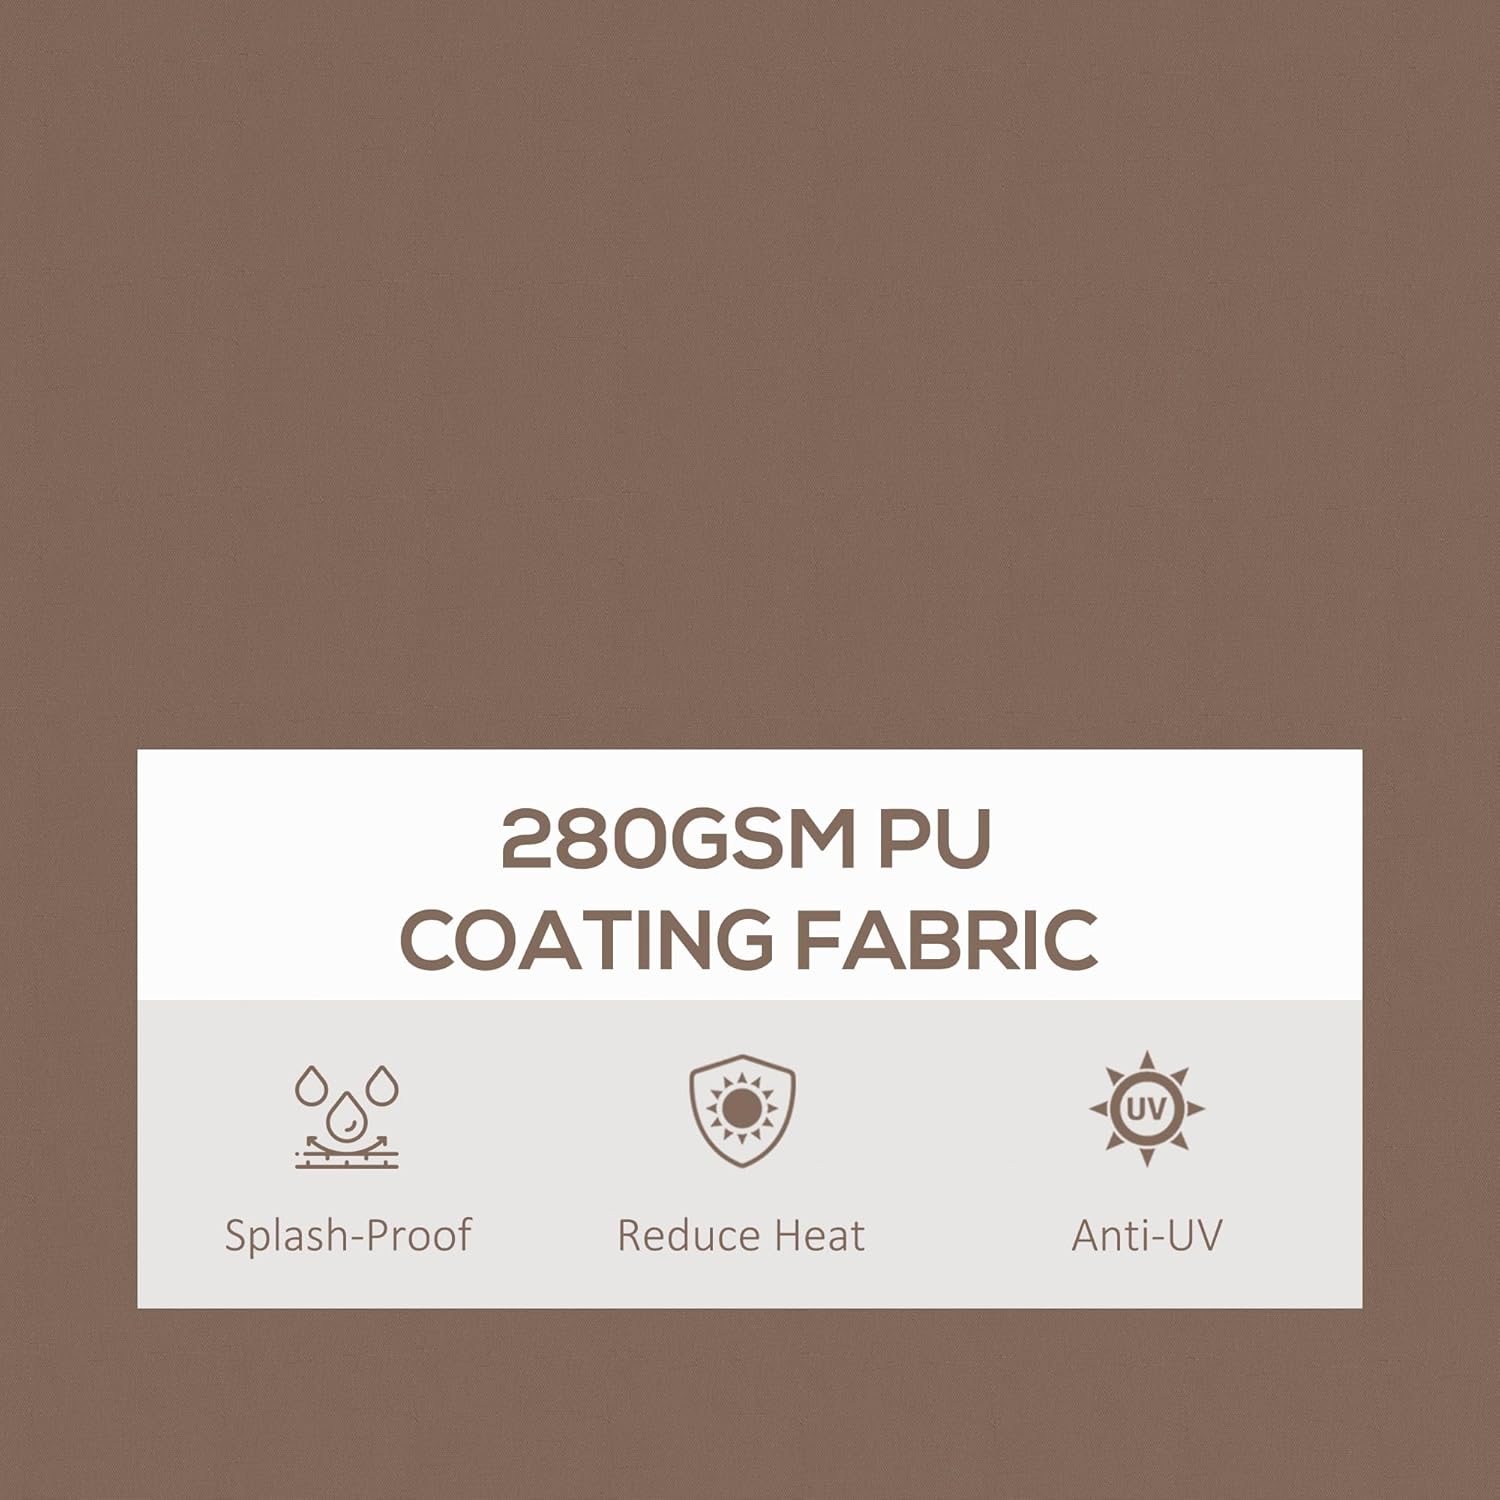
Image: Detail of the awning fabric, highlighting its 280GSM PU coating for splash-proof, heat reduction, and anti-UV properties.
Setup and Installation
This awning requires full assembly. Please ensure you have all parts before beginning. It is recommended to have at least two people for assembly and installation.
Pre-Installation Considerations:
- The wall where the awning will be mounted must measure at least 8.2 feet (2.5m) to 11.5 feet (3.5m) in height to properly fit the awning.
- If mounting above a door or window, an additional clearance of 11.75 inches (30cm) is required above the top of the door/window frame.
- Ensure the mounting surface is solid (brick, concrete, or wood studs) and capable of supporting the awning's weight (57.4 lbs).
- While mounting hardware is included, some users have found it beneficial to use additional lag bolts for wood installations, as the included anchors are primarily for masonry.
Assembly Steps:
- Unpack all components and verify against the parts list provided in your packaging.
- Assemble the main frame components according to the diagrams. Pay close attention to the orientation of parts to avoid misplacement.
- Attach the fabric roller tube and arms to the main frame.
- Mark the drilling points on your wall based on the awning's mounting bracket positions. Use a level to ensure accuracy.
- Drill pilot holes and install the mounting brackets securely using the appropriate hardware for your wall type.
- Carefully lift and attach the assembled awning to the installed wall brackets. Secure all connections.
- Install the manual crank handle mechanism.
- Test the retraction and extension of the awning to ensure smooth operation and adjust the tilt as desired.
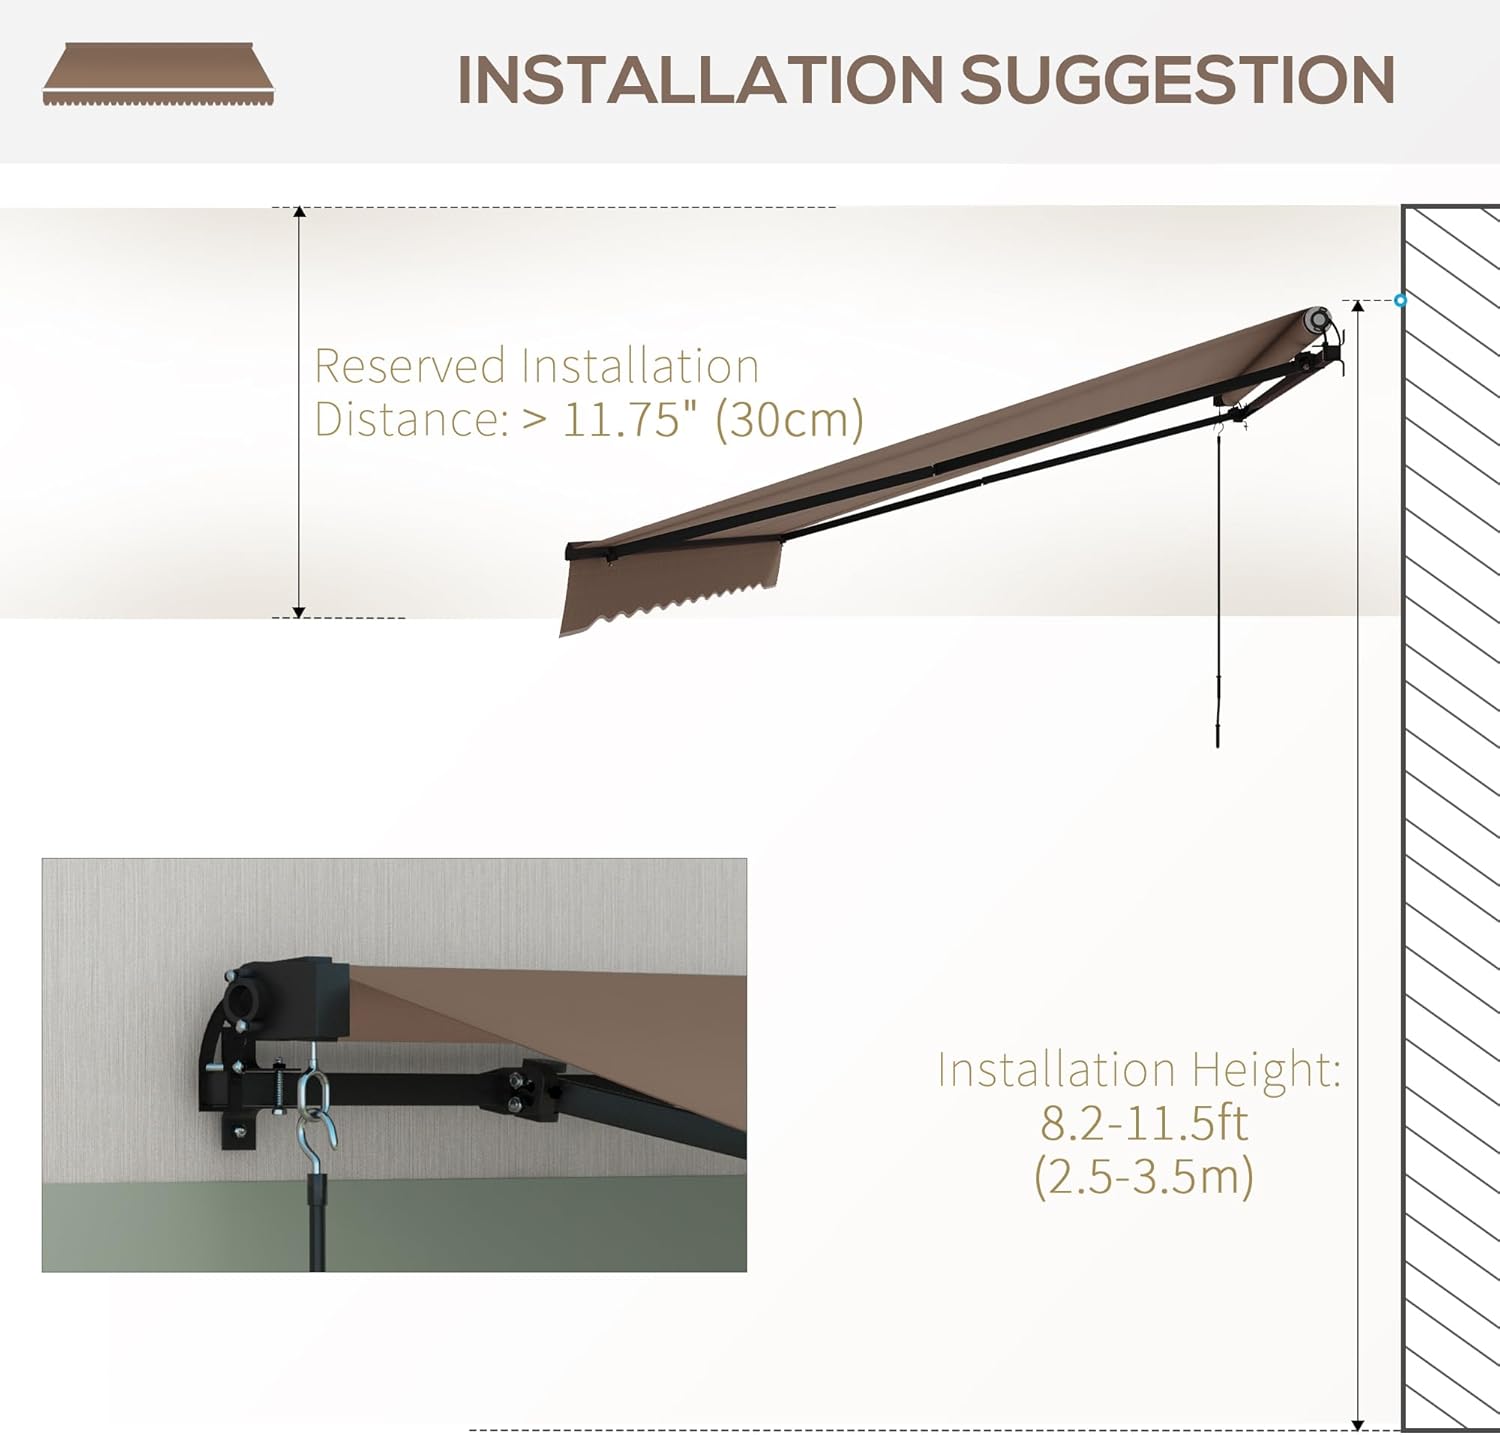
Image: Installation guidelines illustrating recommended wall height and clearance above openings.

Image: Detailed view of the awning's solid metal brackets, smooth aluminum arms, and decorative valance.
Operating Instructions
Your Outsunny Retractable Awning is operated manually using the provided crank handle.
Extending the Awning:
- Locate the hook on the end of the manual crank handle.
- Engage the hook with the loop on the awning's operating mechanism.
- Turn the crank handle clockwise to extend the awning. Continue turning until the desired projection is reached. Do not over-extend.
Retracting the Awning:
- Engage the crank handle with the operating mechanism.
- Turn the crank handle counter-clockwise to retract the awning. Continue turning until the awning is fully closed against the wall.
Adjusting the Angle (Tilt):
- The awning's tilt can be adjusted between 45 and 85 degrees to optimize shade throughout the day.
- Refer to the specific adjustment points on the awning arms, typically near the wall mounts. These usually involve loosening and tightening bolts to set the desired angle. Consult the assembly diagrams for precise locations.
- Ensure both arms are adjusted to the same angle to maintain even tension and proper operation.

Image: Illustration of the manual crank operation for extending and retracting the awning.
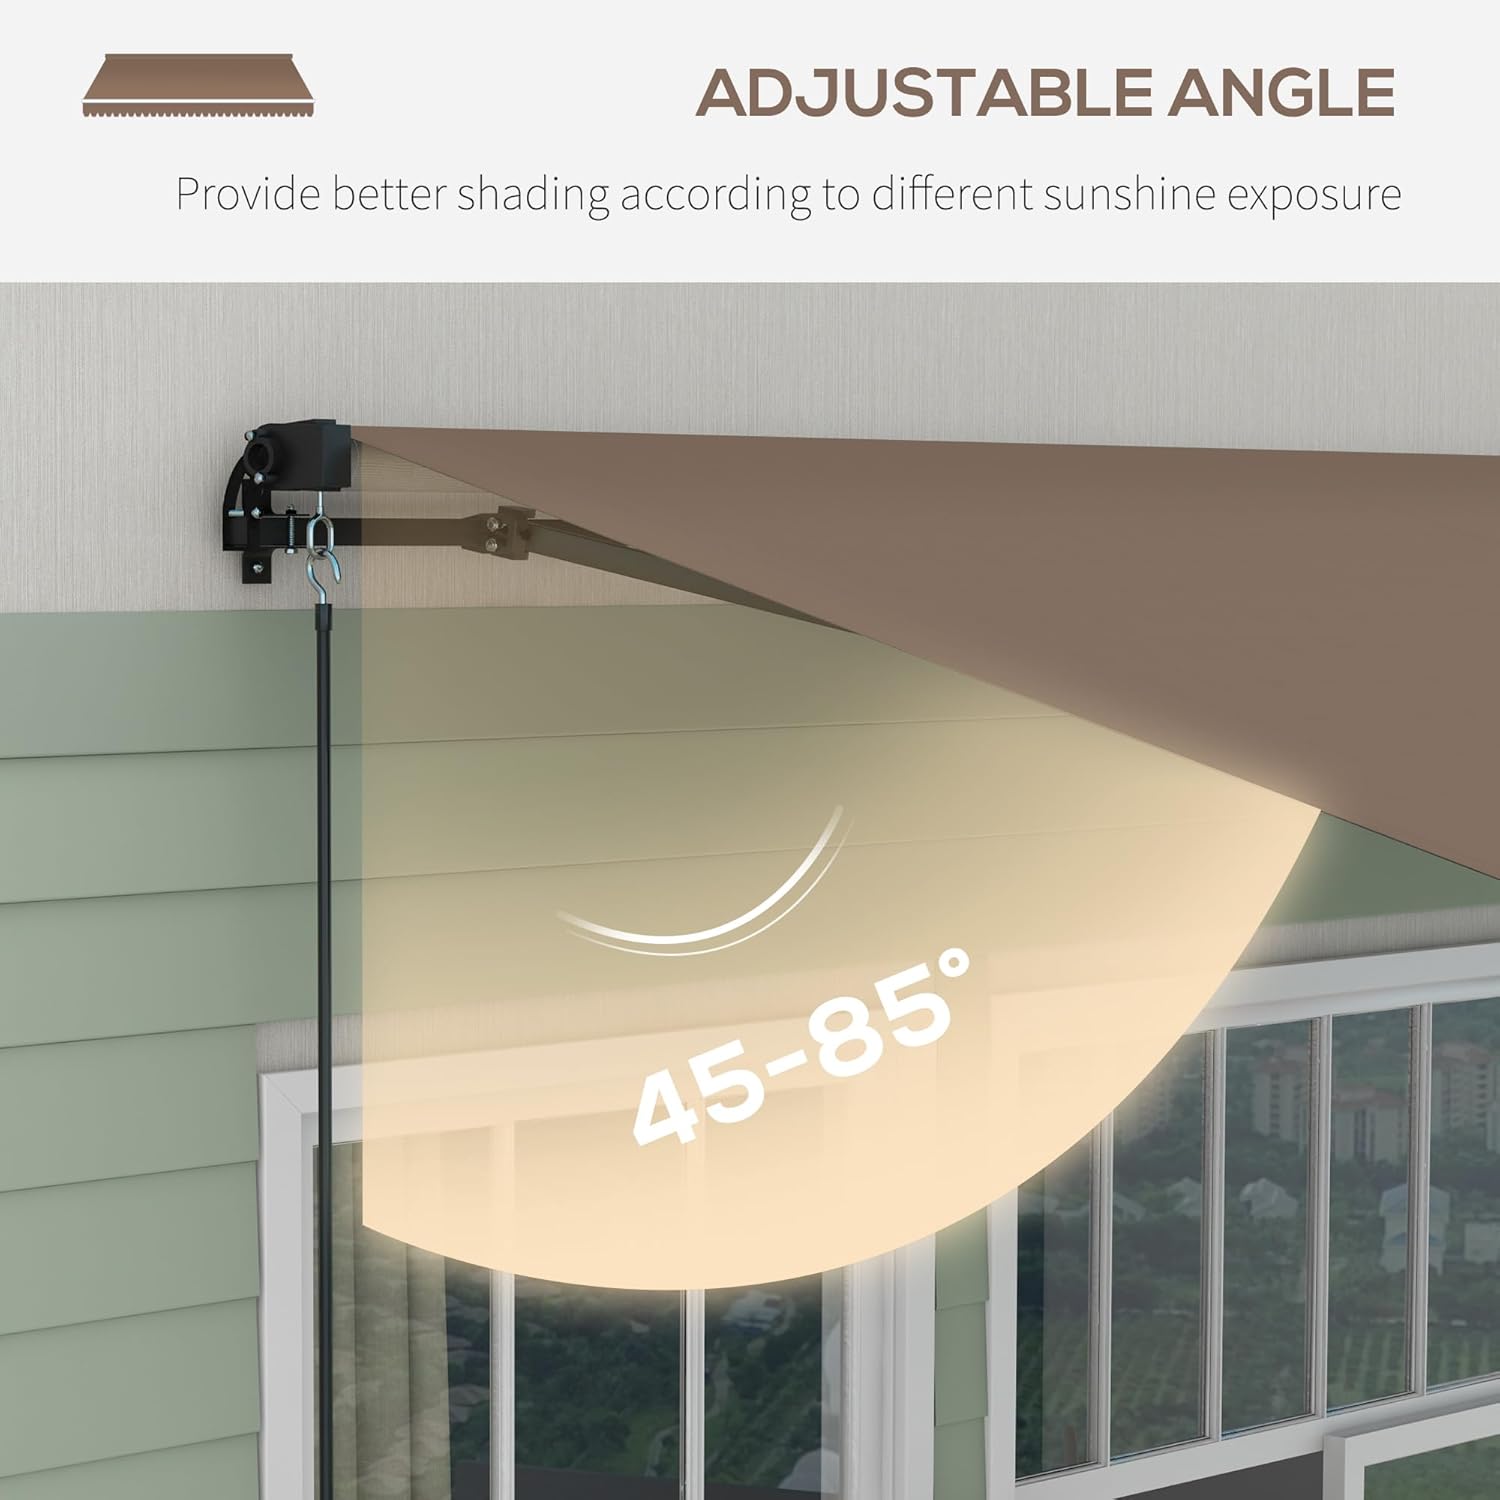
Image: Visual representation of the awning's adjustable tilt angle, ranging from 45 to 85 degrees.
Maintenance
Regular maintenance will prolong the life and appearance of your Outsunny Retractable Awning.
- Cleaning Fabric: Clean the fabric regularly with mild soap and water. Do not use harsh chemicals or abrasive cleaners, as they can damage the polyurethane coating and fabric color. Rinse thoroughly and allow to air dry completely before retracting.
- Frame Inspection: Periodically inspect the aluminum and steel frame components for any signs of rust, corrosion, or damage. Clean and touch up any chipped paint to prevent further deterioration.
- Hardware Check: Annually check all bolts, screws, and mounting hardware to ensure they are tight and secure. Re-tighten if necessary.
- Mechanism Lubrication: Lightly lubricate moving parts of the retraction mechanism and arms with a silicone-based spray lubricant once a year to ensure smooth operation.
- Winter Storage: In areas with heavy snow or ice, it is advisable to keep the awning fully retracted during winter months to protect it from extreme weather conditions.
Troubleshooting
Below are common issues and their potential solutions:
| Problem | Possible Cause | Solution |
|---|---|---|
| Awning does not extend/retract smoothly. | Mechanism is stiff or dirty; arms are misaligned. | Lubricate moving parts with silicone spray. Check that both arms are adjusted to the same angle and are not obstructed. |
| Awning sags or is uneven when extended. | Uneven arm tension; loose mounting brackets. | Ensure both arms are set to the same tilt angle. Check and tighten all mounting bolts and arm connections. |
| Awning fabric collects water. | Insufficient tilt angle. | Increase the tilt angle of the awning to allow for better water runoff. Ensure the fabric is taut. |
| Awning makes excessive noise during operation. | Lack of lubrication; loose components. | Apply lubricant to moving parts. Inspect and tighten any loose bolts or connections on the frame and arms. |
| Awning blows up in gentle wind. | Insufficient wind resistance; improper installation. | Ensure the awning is fully retracted during windy conditions. Verify secure installation to the wall. This awning has a limited wind resistance level. |
Specifications
| Attribute | Detail |
|---|---|
| Brand | Outsunny |
| Model Number | 840-264V07CF |
| UPC | 196393340721 |
| Size (Shaded Area) | 13' W x 10' D (156" W x 118" D) |
| Product Dimensions | 118"D x 156"W x 59"H (when fully extended) |
| Color | Coffee |
| Material | Aluminum frame, Polyester fabric |
| Fabric Type | 280gsm PU Coated Polyester |
| Item Weight | 57.4 Pounds |
| Operation Mode | Manual Crank Handle (59" L) |
| Adjustable Tilt Angle | 45-85 degrees |
| Minimum Wall Height for Installation | 8.2 - 11.5 feet |
| Minimum Clearance Above Door/Window | 11.75 inches |
| Assembly Required | Yes |

Image: Key dimensions of the awning, including width, projection, and valance length.
Warranty and Support
For any questions, concerns, or support needs regarding your Outsunny Retractable Awning, please contact customer service.
- Returns: This product is eligible for 30-day easy returns. Please refer to your purchase platform's return policy for detailed instructions.
- Customer Support: For assistance with assembly, parts, or operation, please visit the Outsunny Store on Amazon or contact Aosom Direct customer service.
Related Documents - 840-264V07CF
 |
Outsunny Retractable Awning User Manual Comprehensive guide for the Outsunny Retractable Awning, covering installation, operation, and safety precautions. Includes parts list and assembly instructions for models 2.5x2m and 3x2.5m. |
 |
Outsunny 840-256V90 Retractable Awning: Assembly and User Manual This document provides comprehensive assembly instructions, maintenance recommendations, and safety guidelines for the Outsunny 840-256V90 retractable outdoor awning. |
 |
Outsunny Retractable Awning Assembly Instructions Outsunny Retractable Awning Assembly Guide: Learn how to safely and correctly install your Outsunny Retractable Awning (models 840-151LB, 840-151YG, 840-151V00) with this comprehensive manual. Includes step-by-step instructions, safety precautions, and a list of required tools. |
 |
Outsunny Retractable Awning Installation and User Manual Comprehensive installation guide and user manual for the Outsunny Retractable Awning (Model 840-193, 840-193V01), including assembly steps, safety precautions, specifications, and mounting instructions. |
 |
Outsunny 840-151 Retractable Awning Assembly and Installation Guide Comprehensive assembly and installation guide for the Outsunny 840-151 Retractable Awning, including parts list, safety warnings, step-by-step instructions, and mounting procedures. |
 |
Outsunny 840-209/840-209V01 Assembly Instructions Step-by-step assembly instructions for the Outsunny 840-209/840-209V01 pull-out patio awning. Includes component list, tools required, and detailed installation steps. |
Ask a question about this manual
Ask about setup, troubleshooting, compatibility, parts, safety, or missing instructions. Manuals+ will review the question and use this page’s manual context to help answer it.