YESGIGA welder
YESGIGA 140A MIG Welder User Manual
Model: welder
Dual Voltage Multiprocess Welder: 4-in-1 Flux MIG/Solid Wire/Lift TIG/Stick ARC
1. Important Safety Information
Always read and understand all safety warnings and instructions before operating this welding machine. Failure to follow these instructions may result in electric shock, fire, serious injury, or death.
- Electric Shock Can Kill: Ensure proper grounding. Do not touch live electrical parts. Wear dry welding gloves and protective clothing.
- Fumes and Gases Can Be Hazardous: Keep your head out of the fumes. Use ventilation or exhaust to remove fumes from the breathing zone.
- Arc Rays Can Burn Eyes and Skin: Wear a welding helmet with a proper shade filter. Wear protective clothing to protect skin.
- Fire and Explosion Hazard: Remove all flammables from the welding area. Have a fire extinguisher nearby.
- Hot Parts Can Cause Severe Burns: Allow the machine and welded materials to cool before handling.
- Noise Can Damage Hearing: Wear ear protection.
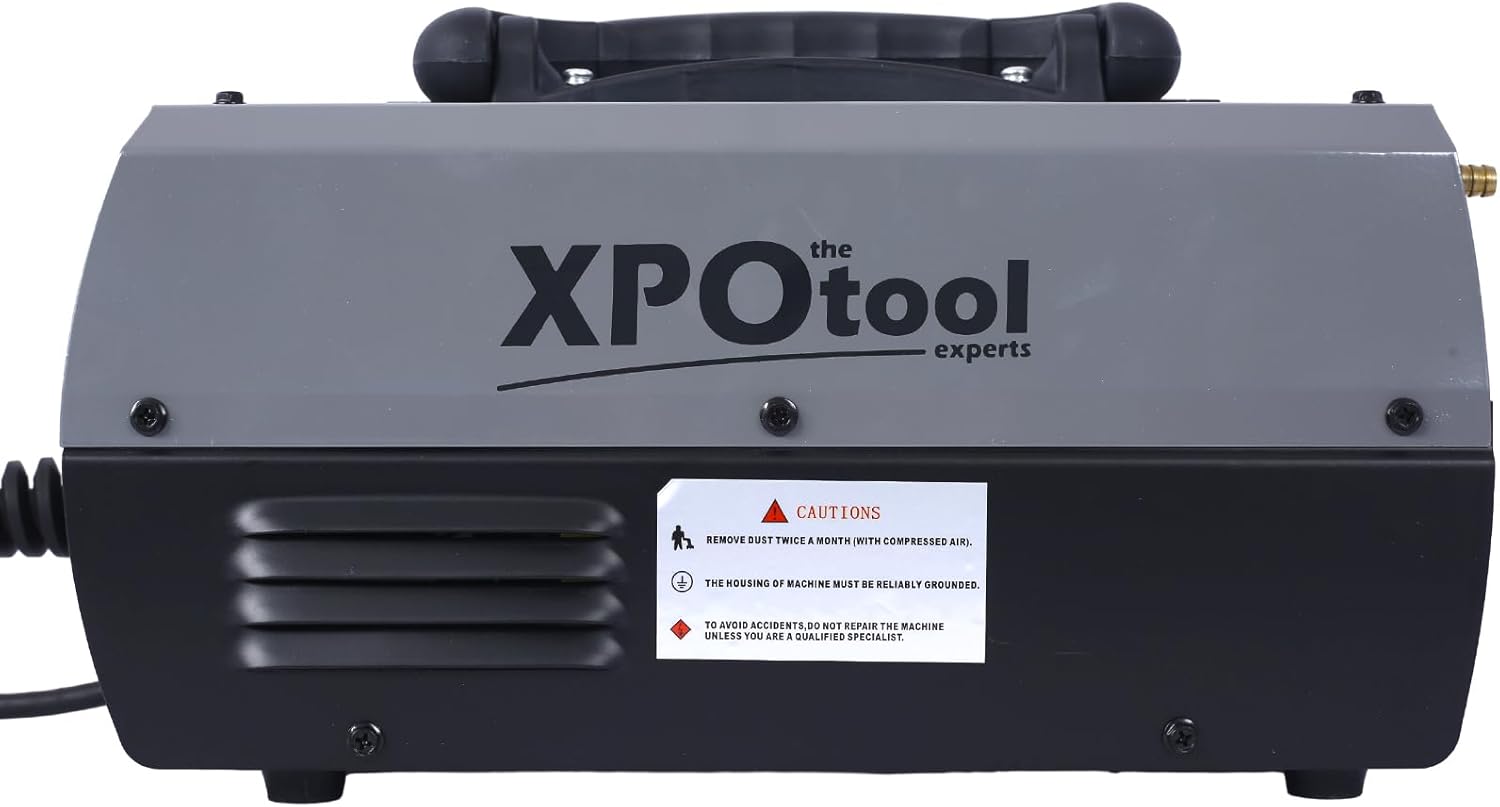
Image: Top view of the YESGIGA 140A MIG Welder, showing the caution sticker. The sticker advises to remove dust twice a month with compressed air, ensure the machine is reliably grounded, and not to repair the machine unless a qualified specialist.
Additional Cautions:
- Remove dust from the machine twice a month using compressed air to ensure optimal performance and longevity.
- The housing of the machine must be reliably grounded to prevent electrical hazards.
- To avoid accidents, do not attempt to repair the machine unless you are a qualified specialist.
2. Product Overview
The YESGIGA 140A MIG Welder is a versatile 4-in-1 multiprocess welding machine designed for various welding applications. It supports Flux MIG, Gas MIG, Lift TIG, and Stick ARC welding modes, making it suitable for both beginners and experienced welders. Its dual voltage capability (110V/220V) allows for flexible use in different environments.

Image: The YESGIGA 140A MIG Welder, showcasing its compact design and integrated handle for portability. The front panel with controls and display is visible.
3. Components and Controls
3.1 Included Components
- 10' MIG Gun
- 10' Electrode Holder
- 10' Earth Clamp
- 1 additional .030" & .035" Contact Tip
- 110V/220V Adapter
- Hammer & Brush
- Gas Hose
- 1kg 0.8mm Flux Cored Wire
- User Manual (this document)
3.2 Front Panel Controls
The front panel features a digital display and control knobs for easy operation and mode selection.

Image: A detailed view of the welder's front panel, highlighting the digital display, mode selection button, and control knobs for voltage and amperage/wire speed adjustments.
- Digital Display: Shows current welding parameters (amperage, voltage, wire thickness).
- MODE Button: Press to cycle through welding modes: MMA (Stick), Lift TIG, Flux MIG, Gas MIG.
- Voltage Adjustment Knob (Top): Adjusts welding voltage. Features synergic control for automatic voltage adaptation based on amperage and wire thickness.
- Amperage/Wire Speed Adjustment Knob (Bottom): Adjusts welding current (amperage) for MMA/TIG modes and wire feeding speed for MIG modes.
- Output Terminals (+/-): Connect the electrode holder, earth clamp, or MIG gun depending on the welding mode.
4. Technical Specifications
| Parameter | Value |
|---|---|
| Input Voltage (V) | 110/230V (Dual Voltage) |
| Rated Input Capacity (KVA) | 4.5 |
| No-load Voltage (V) | 65 |
| Output Current Range (A) - MIG | 30-140A |
| Output Current Range (A) - MMA | 20-120A |
| Output Current Range (A) - TIG | 20-160A |
| Duty Cycle | 30% at 40°C |
| Usable MIG Wire Diameter | Φ0.6/0.8/0.9/1.0mm |
| Usable Welding Rod Diameter (MMA) | Φ1.6-4.0mm |
| Case Protection Degree | IP21S |
| Insulation Class | H |
| Max Welding Thickness (Mild Steel) | Up to 4.0mm |

Image: The YESGIGA 140A MIG Welder with approximate dimensions indicated: 14 inches (length), 6 inches (width), and 8 inches (height).
5. Setup
5.1 Power Connection
The welder supports both 110V and 220V input. Use the provided adapter to connect to the appropriate power supply. Ensure the power source can handle the machine's rated input capacity (4.5 KVA).

Image: Rear panel of the YESGIGA 140A MIG Welder, showing the power input (AC110/220V) and the gas inlet connection. The main power switch is also visible.
5.2 Gas Connection (for Gas MIG)
For Gas MIG welding, connect the gas hose from your shielding gas cylinder (e.g., Argon/CO2 mix) to the gas inlet on the rear panel of the machine. Ensure all connections are secure and leak-free.
5.3 Wire Installation (MIG Modes)
This welder can accommodate both 2 lb and 10 lb rolls of welding wire (flux cored or solid wire).
- Open the wire feeder compartment cover.
- Place the wire spool onto the spool holder, ensuring it rotates freely.
- Feed the wire through the guide tube and into the drive roller mechanism.
- Close the drive roller tension arm and adjust the tension knob. The tension should be firm enough to feed the wire without slipping, but not so tight as to deform the wire.
- Ensure the correct drive roller size is selected for your wire diameter.
- Feed the wire into the MIG gun liner.

Image: Inside view of the YESGIGA 140A MIG Welder, showing the wire spool holder and the wire feeding mechanism with instructions for releasing tension and adjusting feed tension.
5.4 Connecting Accessories
Connect the MIG gun, electrode holder, or earth clamp to the appropriate output terminals on the front panel based on the welding mode you intend to use. Ensure connections are tight and secure.
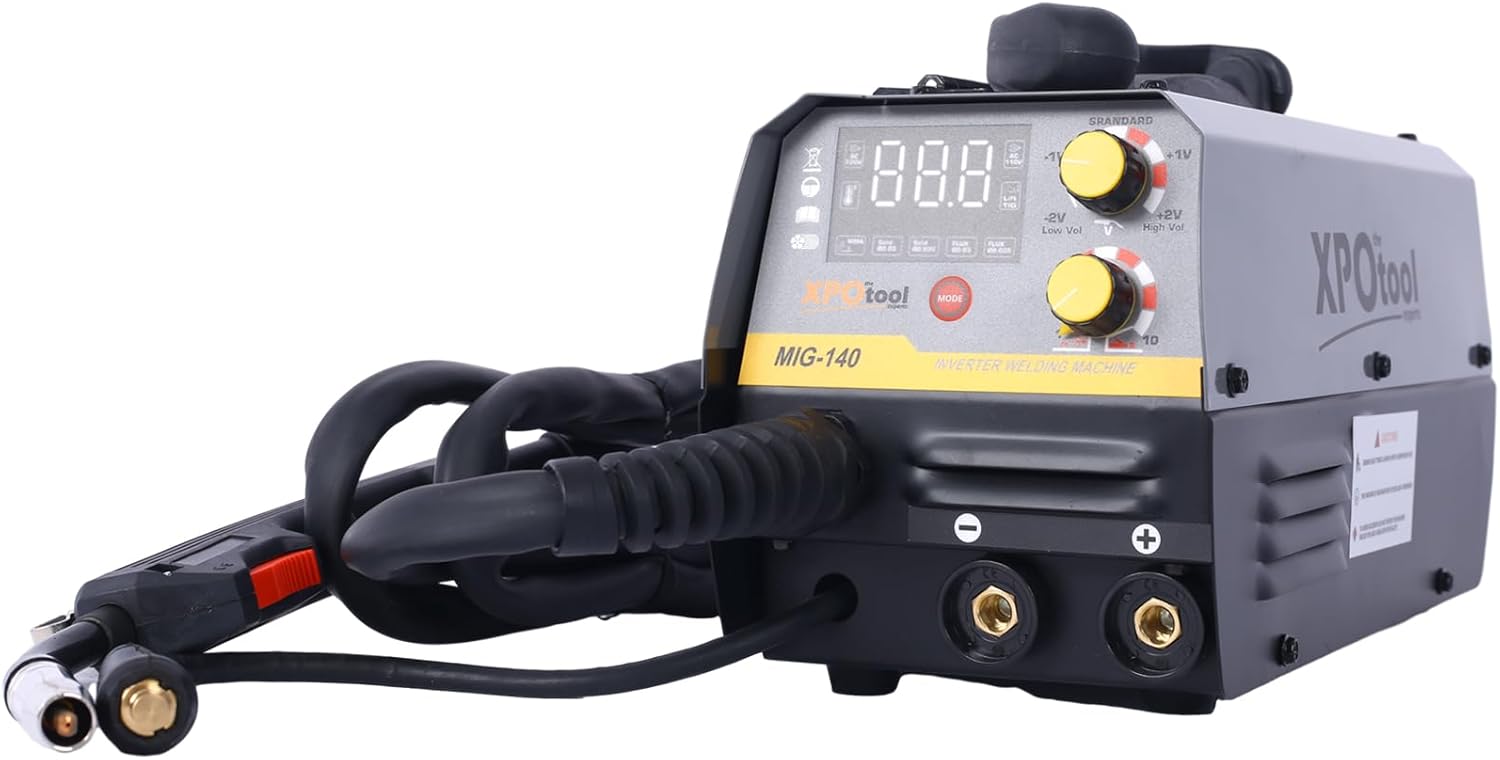
Image: The YESGIGA 140A MIG Welder with its welding cables (MIG gun, electrode holder, and earth clamp) connected to the front output terminals, ready for operation.
6. Operating Instructions
The YESGIGA 140A MIG Welder features user-friendly synergic control, which automatically adjusts voltage and wire feeding speed when you set the amperage and wire thickness. This simplifies setup for various welding tasks.
6.1 General Operation Steps
- Ensure all safety precautions are observed.
- Connect the machine to the appropriate power supply.
- Turn on the main power switch located on the rear panel.
- Press the MODE button on the front panel to select the desired welding process (MMA, Lift TIG, Flux MIG, Gas MIG).
- Adjust the amperage/wire speed knob according to your material thickness and welding requirements. The synergic control will automatically suggest voltage settings. Fine-tune voltage with the top knob if necessary.
- Begin welding, maintaining proper technique for the selected process.
6.2 Flux MIG Welding (Gasless)
Ideal for outdoor use or when shielding gas is inconvenient. Uses flux-cored wire which produces its own shielding gas.
- Install flux-cored wire (e.g., 0.8mm or 1.0mm).
- Select 'Flux MIG' mode.
- Connect the MIG gun and earth clamp.
- Adjust wire speed/amperage.
6.3 Gas MIG Welding (Solid Wire)
Provides cleaner welds with less spatter, suitable for various metals.
- Install solid wire (e.g., 0.8mm or 1.0mm).
- Connect shielding gas (e.g., Argon/CO2 mix) to the rear inlet.
- Select 'Gas MIG' mode.
- Connect the MIG gun and earth clamp.
- Adjust wire speed/amperage.
6.4 Lift TIG Welding
Offers precise control and high-quality welds, especially for thin materials like stainless steel and alloy steel. Note: A compatible WP17V TIG torch is required and not included with this machine.
- Connect your TIG torch (WP17V type) and earth clamp.
- Connect appropriate shielding gas (e.g., 100% Argon).
- Select 'Lift TIG' mode.
- Adjust amperage.
- To initiate arc, lightly touch the tungsten electrode to the workpiece and then lift slightly.
6.5 Stick ARC Welding (MMA)
Suitable for general purpose welding with various types of electrodes (e.g., E6013).
- Connect the electrode holder and earth clamp.
- Insert the desired welding rod into the electrode holder.
- Select 'MMA' mode.
- Adjust amperage according to the electrode diameter and material thickness.
7. Maintenance
Regular maintenance ensures the longevity and optimal performance of your welding machine.
- Cleaning: Regularly clean the machine, especially the cooling vents, to prevent dust buildup. Use compressed air to blow out dust from inside the machine at least twice a month.
- Cable Inspection: Periodically inspect all welding cables, connections, and the power cord for damage, fraying, or loose connections. Replace damaged components immediately.
- Wire Feeder Maintenance: Keep the wire feeder rollers clean and free of debris. Ensure the wire guide tubes are clear. Check and adjust wire tension as needed.
- Storage: Store the welder in a clean, dry environment, away from excessive dust, moisture, and corrosive materials.
8. Troubleshooting
This section provides solutions to common issues you might encounter.
| Problem | Possible Cause | Solution |
|---|---|---|
| Welder does not power on | No power from outlet; Power switch off; Internal fuse blown | Check power outlet and circuit breaker; Ensure power switch is ON; Contact qualified service personnel if fuse is suspected. |
| No arc/Poor arc stability | Loose connections; Incorrect settings; Contaminated workpiece; Wrong electrode/wire | Check all cable connections; Adjust amperage/voltage; Clean workpiece; Use correct consumables. |
| Wire feeding issues (MIG) | Incorrect wire tension; Clogged liner; Wrong drive roller size; Spool tangled | Adjust wire tension; Clean/replace liner; Ensure correct drive roller; Untangle spool. |
| Overheating protection activated | Exceeded duty cycle; Poor ventilation; Dust buildup | Allow machine to cool down; Ensure adequate airflow around machine; Clean internal components. |
For issues not listed here or if solutions do not resolve the problem, please contact YESGIGA customer support or a qualified welding technician.
9. Warranty and Support
For detailed warranty information, including terms, conditions, and duration, please refer to the official YESGIGA website or the warranty card included with your product. Keep your purchase receipt as proof of purchase.
If you require technical assistance, have questions about operation, or need to report a defect, please contact YESGIGA customer support through their official channels. Contact information can typically be found on the manufacturer's website or product packaging.
Please note: Unauthorized repairs or modifications may void your warranty.