Sailnovo B0CTYCXMZF
Sailnovo 35-65 Egg Incubator User Manual - Model B0CTYCXMZF
Comprehensive instruction manual for the Sailnovo 35-65 Egg Incubator, covering setup, operation, maintenance, and specifications for efficient egg hatching.
1. Product Overview
The Sailnovo 35-65 Egg Incubator is designed for efficient and reliable hatching of various poultry eggs, including chicken, duck, goose, and quail. It features automatic egg turning, precise temperature and humidity control, and a transparent lid for easy observation. This manual provides detailed instructions to ensure optimal performance and successful hatching.

Figure 1: Sailnovo 35-65 Egg Incubator and included accessories, showing dimensions of 17.5 inches (44.5 cm) by 14 inches (35.5 cm) by 6 inches (15.2 cm).
2. Setup Instructions
Before starting your incubation journey, carefully assemble the incubator and prepare it for operation. Ensure all components are clean and correctly installed.
2.1 Unpacking and Initial Assembly
- Carefully remove all components from the packaging. The Styrofoam packaging can be used for insulation in colder environments.
- Install the handle onto the transparent lid using the provided screws. It is recommended to use tools for a secure fit.
- Place the base of the incubator on a stable, level surface.
- Insert the ABC water tank components into the base as shown in the installation video.
- Place the matting in the bottom of the incubator base.
- Install the egg card strips onto the matting.
- Align the motorized card shaft with the egg strips to ensure the automatic egg turning function operates correctly.
- Connect the water-adding device (hose and bottle) to the designated port on the top cover.
Video 1: Detailed instructions on how to install the Sailnovo incubator and set up the water-adding device, including assembly of the base, matting, egg strips, and connecting the water hose.
2.2 Initial Power-On and Pre-Incubation
- Connect the power cable to the incubator and a suitable power outlet. The display will light up.
- Fill one of the water tanks in the base with water. Close the water tank cover.
- Place the egg tray (if using for turning) or the matting (for hatching period) into the base.
- Close the top cover of the incubator.
- Allow the incubator to run for 2-3 hours to stabilize the temperature and humidity before placing eggs. Keep the vents closed during this pre-incubation period to help reach desired values.

Figure 2: The control panel of the Sailnovo incubator, showing the digital display for temperature and humidity, along with buttons for settings, egg candler, water adding, and egg turning test.
3. Operating Instructions
This section details how to operate your Sailnovo incubator for successful hatching.
3.1 Temperature and Humidity Control
- Setting Temperature: Press the "MENU" button once. The temperature value will blink. Use the "+" or "-" buttons to adjust to the required temperature. Press "MENU" again to save.
- Monitoring Humidity: The LED display shows the current humidity percentage. The incubator features an auxiliary humidity control system with an independent water tank and adjustable vents.
- Adding Water: Use the water-adding button (often labeled with a water drop icon) to activate the water pump for adding water. For first-time use, press and hold for 3 seconds to add water for 10 minutes. The visualized water level helps monitor the amount of water.
- Adjusting Vents: The lid is equipped with two ventilation volumes. Open them to reduce humidity and close them to increase humidity. During pre-incubation, close the vents. Keep them open for the last three days of incubation.

Figure 3: Features for intelligent humidity control, including the water injection hole, visual water level indicator, and adjustable vents on the incubator lid.

Figure 4: Illustration of the precise temperature control system using silicone aluminum foil heaters and double turbo large fan double circulation air duct design for uniform heat distribution.
3.2 Automatic Egg Turning
The incubator is equipped with an automatic egg turner that rotates eggs every two hours to simulate natural hatching and improve hatch rates. This feature reduces the need for manual intervention.
- Egg Turning Test: Long press the "DOWN" button for 3 seconds to test the egg turning function.
- Disabling Turning: The auto-turn feature should be turned off for the last 3 days of incubation. Remove the egg card strips during this period to prevent chicks from being pinched.
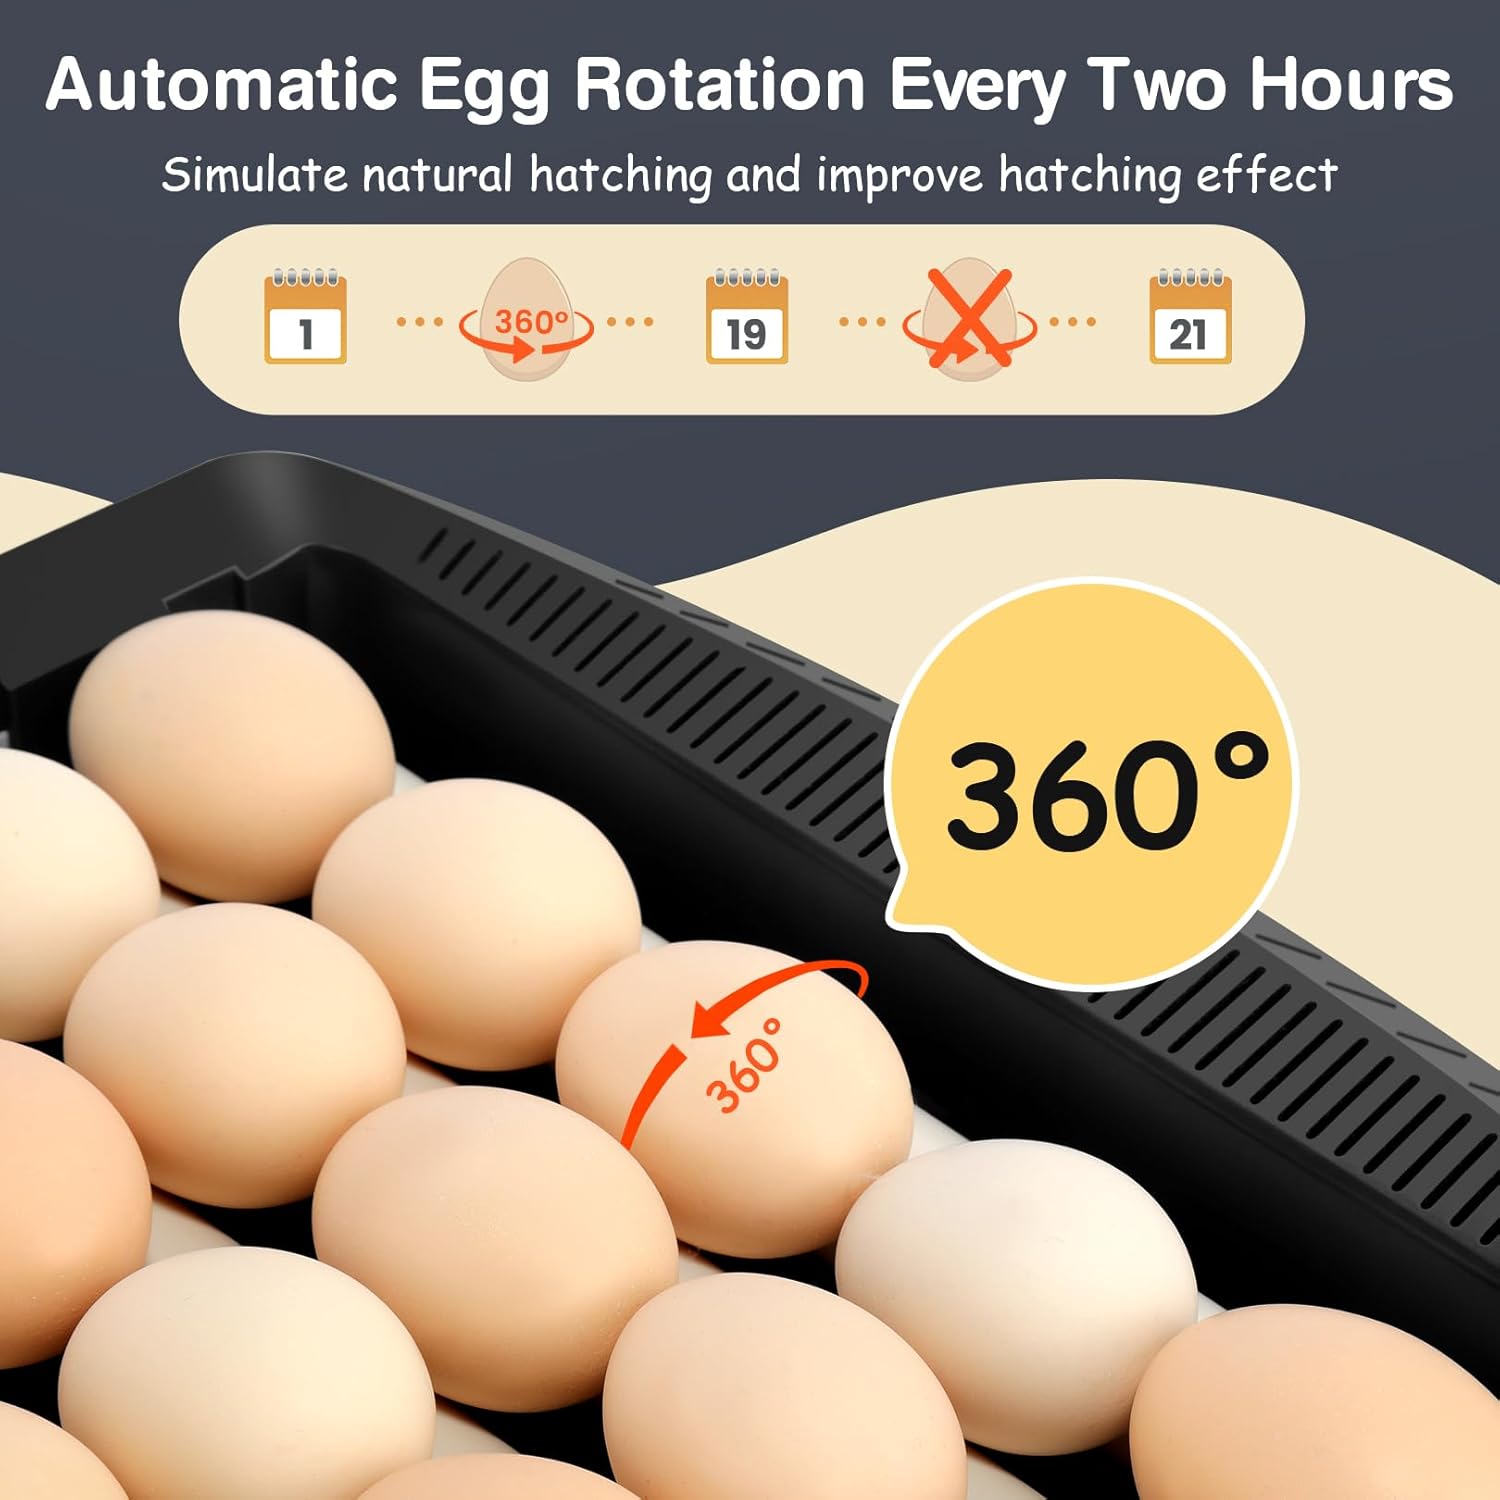
Figure 5: Visual representation of the automatic egg rotation mechanism, which turns eggs 360 degrees every two hours to mimic natural incubation.
3.3 Egg Candling
The incubator includes an egg candler function to observe the development of embryos. Press the "Egg Candler" button (often labeled with a light bulb icon) to activate the internal light for candling.
Video 2: An overview of the Sailnovo incubator, demonstrating its features including automatic egg turning, humidity control, and the egg candler function.
4. Maintenance
Proper cleaning and maintenance ensure the longevity and hygiene of your incubator for future hatches.
- Cleaning after Incubation: Please clean the incubator promptly after each incubation cycle.
- Washable Components: The base, egg tray, and water tank cover are washable. Rinse them thoroughly with water.
- Non-Washable Components: The top cover, which contains electronic components, is non-washable. Wipe it clean with a damp rag.
Video 3: This video demonstrates the cleaning process for the incubator, showing which parts are washable and how to clean the non-washable components.
5. Troubleshooting
This section addresses common issues you might encounter during incubation.
- Temperature/Humidity Alarms: The incubator is designed to alert you if the temperature or humidity falls outside the set range. Check the water levels and ensure the vents are adjusted appropriately.
- Egg Turning Malfunction: If the automatic egg turner is not functioning, ensure the motorized card shaft is correctly aligned with the egg strips. Perform an "Egg Turning Test" by long-pressing the "DOWN" button for 3 seconds.
- Low Hatch Rate: Ensure you are following recommended temperature and humidity settings for your specific egg type. Proper egg handling, storage, and turning are crucial for successful hatches.
- Water Shortage Alarm: The water shortage alarming indicator light will illuminate if water levels are too low. Add water promptly using the water-adding button.
- Factory Reset: To reset the incubator to factory settings, long press the "+" and "-" buttons simultaneously for 3 seconds.
6. Specifications
| Feature | Detail |
|---|---|
| Brand | Sailnovo |
| Model | B0CTYCXMZF |
| Capacity | Up to 35 chicken eggs, 28 duck eggs, 13 goose eggs, 65 quail eggs |
| Material | Acrylonitrile Butadiene Styrene (ABS) |
| Temperature Control | Digital display and control, silicone heating technology, double air duct circulation |
| Humidity Control | Auxiliary humidity control with independent water tank, visualized water level, adjustable vents |
| Egg Turning | Automatic egg turner, flips eggs every two hours |
| Visibility | Crystal clear ABS lid for 360° observation |
| Power | Electric |
7. Warranty and Support
For warranty information, technical support, or any questions regarding your Sailnovo 35-65 Egg Incubator, please refer to the product packaging or contact Sailnovo customer service directly. Keep your purchase receipt for warranty claims.
Related Documents - B0CTYCXMZF
 |
Sailnovo Folding Electric Bicycle User Manual: Installation, Operation, and Specifications Comprehensive user manual for the Sailnovo folding electric bicycle, covering safety precautions, package contents, installation guide, battery charging, display settings, troubleshooting, specifications, FAQs, warnings, and warranty information. |
 |
Sailnovo Smart Battery Charger User Manual - 6V/12V Car & Motorcycle Comprehensive user guide for the Sailnovo Smart Battery Charger (4A, 6A, 10A models). Covers important safety instructions, product overview, specifications, operating procedures, troubleshooting, maintenance, and disposal for 6V and 12V lead-acid, Gel, AGM, EFB, and LiFePO4 batteries. |
 |
Produktübersicht und Preise - Haushaltswaren, Tierbedarf, Elektronik Umfassende Produktliste mit detaillierten Informationen, Preisen und ASIN/EAN für Haushaltswaren, Tierbedarf, Büroartikel und Elektronik von führenden Marken. |