
1. Introduction
This manual provides essential information for the safe and effective operation, assembly, and maintenance of your MZK 13A 16-inch Electric Tiller, Model ET2308. Please read these instructions thoroughly before using the product.
The MZK Electric Tiller is designed for efficient soil cultivation in garden beds, vegetable patches, and for weed control. It features a powerful 13 Amp motor, a 16-inch (40.6 cm) tilling width, and an 8-inch (20.3 cm) tilling depth. Equipped with 6 rust-resistant blades and 24 steel tines, this cultivator is suitable for breaking up clumps, aerating soil, and preparing garden beds for planting. Its ergonomic design and lightweight construction facilitate easy maneuvering and comfortable operation.

Image 1.1: The MZK Electric Tiller in operation, demonstrating high-performance cultivating at up to 430 revolutions per minute.
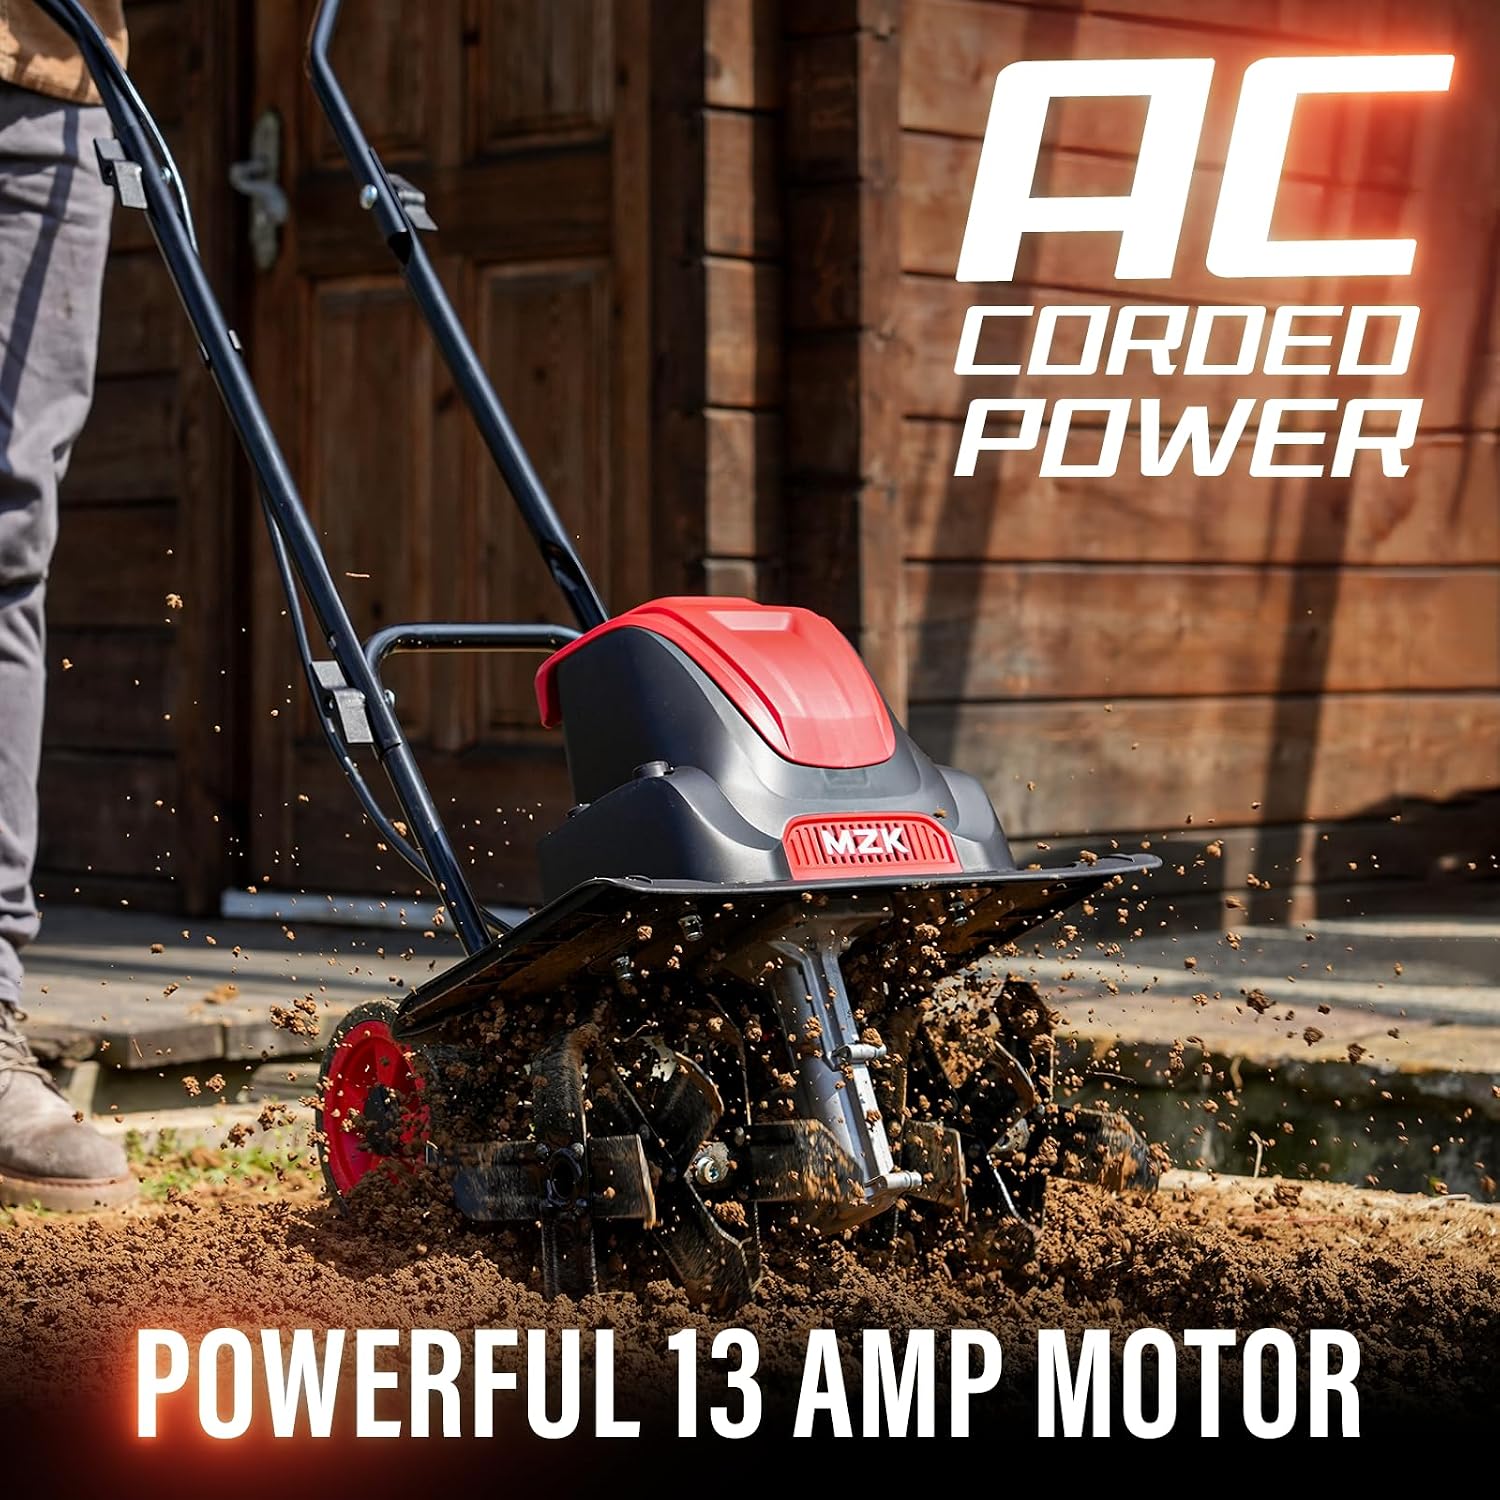
Image 1.2: The MZK Electric Tiller, highlighting its AC corded power and powerful 13 Amp motor.
2. Safety Instructions
WARNING: Failure to follow these safety instructions may result in serious injury or property damage.
- Always wear appropriate safety equipment, including safety glasses or goggles, and sturdy gloves, when operating the tiller.
- Keep hands and feet clear of all moving parts, especially the tines, during operation and when the tiller is connected to a power source.
- Be aware of flying debris. Ensure bystanders, children, and pets are kept at a safe distance (at least 50 feet / 15 meters) from the operating area.
- Inspect the work area for rocks, roots, wires, or other objects that could be thrown by the tines or cause damage to the tiller. Remove such objects before starting.
- Ensure the power cord is always behind you and away from the tines to prevent accidental cutting. Use a suitable outdoor extension cord.
- Do not operate the tiller in wet conditions or rain.
- Always unplug the tiller from the power source before performing any adjustments, cleaning, or maintenance.
- Operate the tiller only on stable ground. Maintain a firm footing and balance.
- Do not overreach. Keep proper footing and balance at all times.
- Store the tiller in a dry, secure location, out of reach of children.
3. Components Overview
Familiarize yourself with the main components of your MZK Electric Tiller:
- Handlebar Assembly: For steering and control.
- Motor Housing: Encloses the 13 Amp electric motor.
- Tines/Blades: Six rust-resistant steel blades with 24 tines for soil cultivation.
- Wheels: For transport and depth adjustment.
- Power Cord: For connecting to an AC power source.
- Start Button/Safety Switch: For activating the motor.

Image 3.1: Illustration of the tiller's 6 steel blades and its cultivation dimensions of 16 inches wide and 8 inches deep.
4. Assembly & Setup
The MZK Electric Tiller requires minimal assembly. Follow these steps:
- Handlebar Attachment: Securely attach the upper and lower handlebar sections using the provided hardware. Ensure all bolts are tightened.
- Cable Management: Route the power cable along the handlebar and secure it with the provided clips to prevent it from interfering with operation.
- Wheel Adjustment: The tiller features a 3-position height adjustment for the transport wheels. Adjust the wheels to the desired height for either transport or tilling depth. For deeper tilling, raise the wheels. For transport, lower the wheels.

Image 4.1: Detail of the 3-position height adjustment for the tiller's wheels, allowing control over tilling depth and transport.
5. Operating Instructions
Before operating, ensure you have read and understood all safety instructions.
- Prepare the Area: Clear the tilling area of any large rocks, debris, or obstacles.
- Connect Power: Plug the tiller into a suitable outdoor-rated extension cord, and then plug the extension cord into a grounded AC outlet.
- Starting the Tiller: Press and hold the safety switch (usually a button) with one hand, then squeeze the trigger switch on the handlebar with the other hand to start the motor. Release the safety switch once the motor starts.
- Tilling Technique:
- Allow the tines to penetrate the soil. Guide the tiller forward slowly.
- For deeper cultivation, make multiple passes over the same area, gradually increasing the depth.
- The tiller is designed to be easy to start, requiring no gas, oil, or producing emissions.
- To prevent the power cord from getting caught in the tines, always keep the cord behind you and away from the tilling path.
- Stopping the Tiller: Release the trigger switch to stop the motor. Always unplug the tiller from the power source when not in use or when clearing debris.

Image 5.1: The tiller's controls, emphasizing its easy start mechanism and environmental benefits.
6. Maintenance
Regular maintenance ensures optimal performance and extends the life of your tiller.
- Cleaning: After each use, unplug the tiller and clean off any soil, debris, or plant material from the tines and motor housing. Use a stiff brush or a damp cloth. Do not use water jets or high-pressure washers directly on the motor.
- Tine Inspection: Periodically inspect the tines for wear, damage, or bending. Replace worn or damaged tines immediately.
- Cord Inspection: Check the power cord and extension cord for any cuts, fraying, or damage before each use. Do not use if damaged.
- Storage: Store the tiller in a dry, well-ventilated area, away from direct sunlight and moisture. Ensure it is unplugged and clean before storage.
7. Troubleshooting
Refer to this section for common issues and their solutions.
| Problem | Possible Cause | Solution |
|---|---|---|
| Tiller does not start | No power supply; Safety switch not engaged; Trigger switch not pressed. | Check power connection; Ensure safety switch is pressed before trigger; Press trigger switch fully. |
| Tiller stops during operation | Overload; Power interruption; Debris caught in tines. | Reduce load; Check power connection; Unplug and clear debris from tines. |
| Tines not cultivating effectively | Tilling depth too shallow; Worn tines; Hard soil. | Adjust wheel height for deeper tilling; Replace worn tines; Make multiple passes or pre-moisten hard soil. |
| Excessive vibration or noise | Loose components; Damaged tines; Debris caught. | Check and tighten all fasteners; Inspect and replace damaged tines; Unplug and clear debris. |
8. Specifications
| Feature | Specification |
|---|---|
| Model Number | ET2308 |
| Power Source | AC Corded Electric |
| Motor | 13 Amp |
| Tilling Width | 16 inches (40.6 cm) |
| Tilling Depth | 8 inches (20.3 cm) |
| Number of Tines | 24 steel tines (6 blades) |
| Max RPM | 430 Revolutions Per Minute |
| Material | Alloy Steel |
| Color | Black |
| Item Weight | 28.2 lbs (12.79 kg) |
| Product Dimensions (L x W x H) | 20 x 8 x 8 inches (50.8 x 20.32 x 20.32 cm) |
9. Warranty and Support
MZK is committed to providing a positive user experience. For any questions, concerns, or issues regarding your MZK Electric Tiller, please contact customer support.
Specific warranty details are not provided in the product information. Please refer to your purchase documentation or contact MZK customer service for warranty information.