1. Product Overview
The Westfield Triton Freestanding Awning Gazebo offers a traditional form with modern usage possibilities. It is designed for versatile use, either as a standalone gazebo or as an awning attached to various vehicles or caravans. The Triton features two side walls equipped with tinted windows, mosquito nets, and a blackout coating for enhanced comfort and privacy.
With generous dimensions of 300 x 300 cm and a ridge height of 235 cm, the gazebo provides a very pleasant sense of space and ample standing height. This spacious feeling is further enhanced by the large windows and the ability to fully remove all side walls when desired.
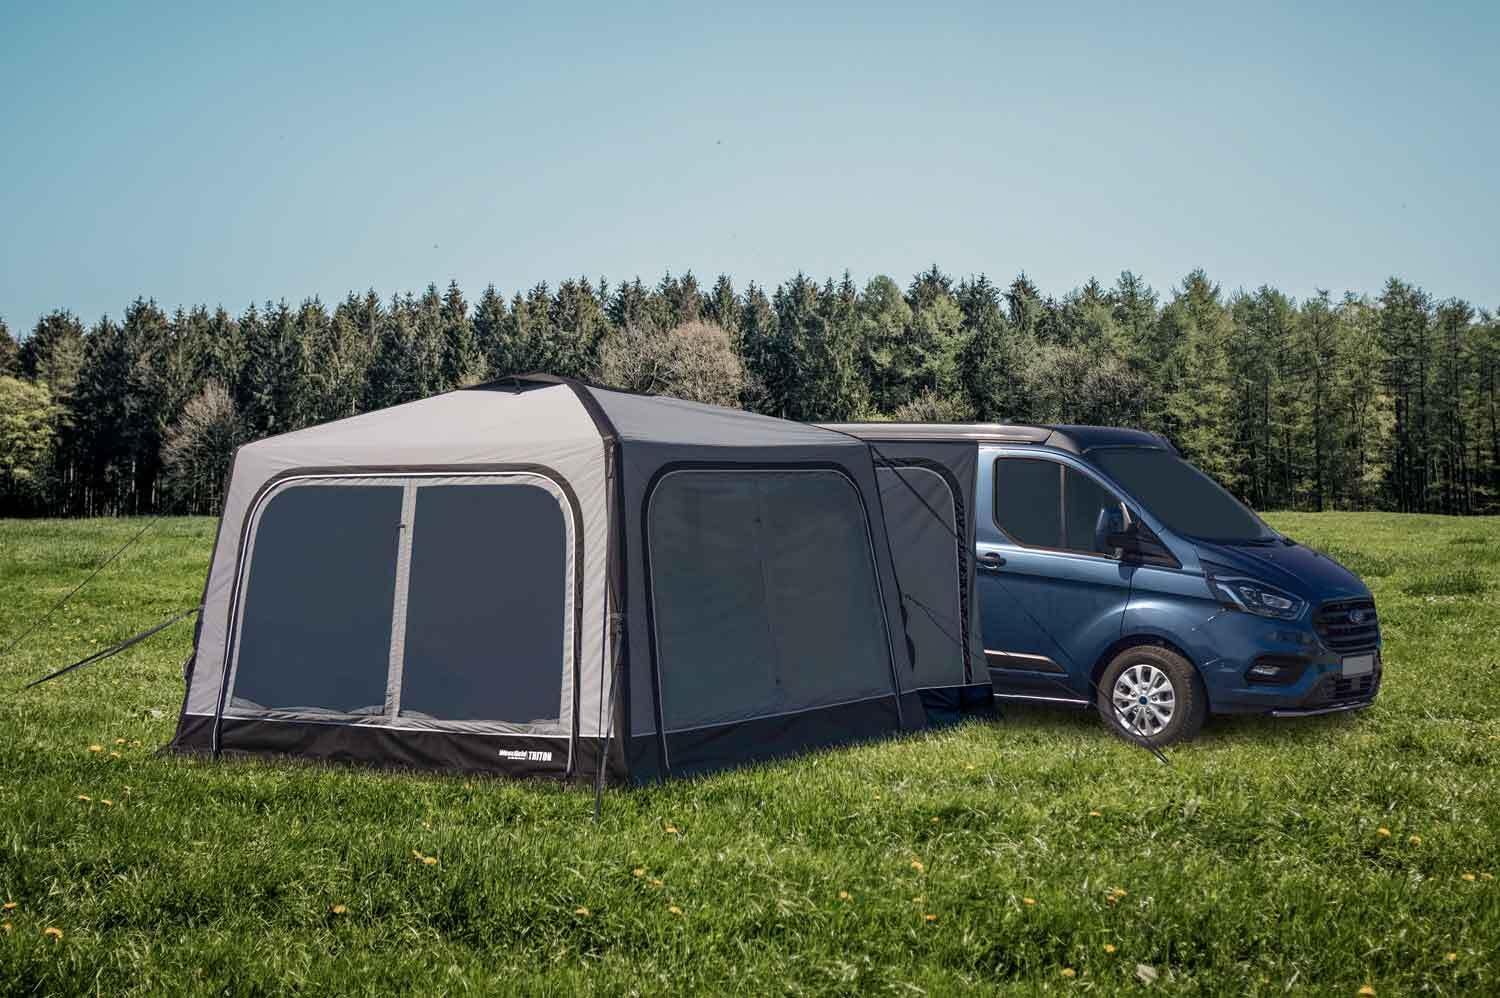
Image 1.1: The Westfield Triton Awning Gazebo shown attached to a blue van in an outdoor setting, demonstrating its primary use as a vehicle awning.
2. Setup Instructions
2.1. Unpacking and Preparation
- Carefully remove all components from the carry bag.
- Lay out the main tent fabric and identify all poles, pegs, and guylines.
- Choose a flat, clear area for setup, free from sharp objects.
2.2. Freestanding Gazebo Setup
- Unfold the gazebo fabric and lay it flat.
- Assemble the main frame poles according to the diagram (not provided, but implied for a tent). Insert them into the designated sleeves on the gazebo fabric.
- Lift the structure and connect the poles to form the gazebo's shape.
- Secure the base of the gazebo to the ground using the provided pegs.
- Attach and tension the guylines to ensure stability, especially in windy conditions.

Image 2.1: The Westfield Triton Awning Gazebo configured as a freestanding unit, demonstrating its versatility without vehicle attachment.
2.3. Vehicle Awning Setup (Optional)
For vehicle attachment, optional airlocks (with zippers) can be installed. These allow for a secure and weather-tight connection between the gazebo and your vehicle.
- Position the gazebo next to your vehicle, ensuring the attachment side aligns with the vehicle's entry point (e.g., sliding door).
- Attach the optional airlock fabric to the gazebo using the integrated zippers.
- Secure the airlock to your vehicle. This may involve using suction cups, magnetic strips, or keder beading depending on your vehicle and the airlock design (specific airlock attachment method not detailed in product description).
- Ensure a snug fit to prevent drafts and water ingress.
- Peg down the base of the gazebo and tension guylines as described in the freestanding setup.

Image 2.2: A front view of the Westfield Triton Awning Gazebo connected to a blue van, highlighting the vehicle attachment method.
3. Operating Instructions
3.1. Side Walls and Windows
- The two side walls feature tinted windows for privacy and sun protection.
- Integrated mosquito nets can be deployed to allow ventilation while keeping insects out.
- All side walls are fully removable via zippers, allowing for an open-air gazebo experience.

Image 3.1: An interior perspective of the gazebo's roof, illustrating the zipper mechanisms for attaching or removing components, such as the optional airlocks or side panels.
3.2. Blackout Coating
The blackout coating on the windows and certain fabric sections helps to reduce light transmission, providing a darker interior for comfort or privacy.
4. Maintenance and Care
- Cleaning: Clean the fabric with mild soap and water. Do not use harsh chemicals or abrasive cleaners. Rinse thoroughly.
- Drying: Always ensure the gazebo is completely dry before packing away to prevent mildew and fabric degradation.
- Storage: Store in a cool, dry place, away from direct sunlight and extreme temperatures.
- Zippers: Keep zippers clean and lubricated with a silicone-based spray to ensure smooth operation.
- Poles: Inspect poles for damage or bending before and after each use. Clean off any dirt or debris.
5. Troubleshooting
5.1. Stability Issues
- Ensure all pegs are fully inserted into the ground.
- Check that all guylines are properly tensioned and secured.
- In strong winds, consider adding additional storm straps (if available) or lowering the gazebo if possible.
5.2. Water Leaks
- Verify that all zippers are fully closed.
- Check for any tears or punctures in the fabric. Small holes can often be repaired with a tent repair kit.
- Ensure the gazebo is pitched correctly to allow water to run off the roof.
5.3. Zipper Malfunction
- Clean any debris from the zipper teeth.
- Apply a zipper lubricant to the teeth and slider.
- If the slider is bent, it may need professional repair or replacement.
6. Specifications
| Model | Triton |
| Brand | Westfield |
| Dimensions (L x W) | 300 cm x 300 cm (approx. 9.8 ft x 9.8 ft) |
| Ridge Height | 235 cm (approx. 7.7 ft) |
| Features | Tinted windows, Mosquito nets, Blackout coating, Removable side walls, Optional vehicle airlocks |
| ASIN | B0CTTGSX8F |
| Manufacturer | Westfield |
7. Warranty and Support
This product is manufactured by Westfield. For any warranty claims, technical support, or inquiries regarding spare parts, please contact Westfield directly or your point of purchase.
Please retain your proof of purchase for warranty purposes. The return policy from the seller is 30 days from the date of purchase.