Suuim B0CTQ1WGTG
Suuim Commercial Ice Maker Machine User Manual
Model: B0CTQ1WGTG
Introduction
This manual provides essential instructions for the safe and efficient operation, installation, and maintenance of your Suuim Commercial Ice Maker Machine, Model B0CTQ1WGTG. Please read this manual thoroughly before using the appliance and retain it for future reference.
Important Safety Instructions
To reduce the risk of fire, electric shock, or injury, always follow basic safety precautions when using this appliance.
- Read all instructions before use.
- Ensure the power supply matches the specifications of the ice maker.
- Do not operate any appliance with a damaged cord or plug, or after the appliance malfunctions or has been damaged in any manner.
- Keep children away from the appliance.
- Avoid contact with moving parts.
- Do not immerse cord, plug, or appliance in water or other liquid.
- Unplug from outlet when not in use and before cleaning.
- Store in a dry environment.
- Stay away from sources of fire.

Image Description: This image displays safety warnings in multiple languages, including English, German, French, Italian, Spanish, Dutch, Swedish, and Polish. Key warnings include "Avoid contact with children," "Stay away from sources of fire," and "Store in a dry environment."
Product Overview
The Suuim Commercial Ice Maker Machine is a freestanding unit designed for efficient ice production in various settings, including restaurants, bars, homes, and offices. It features a stainless steel and iron painting construction for durability.
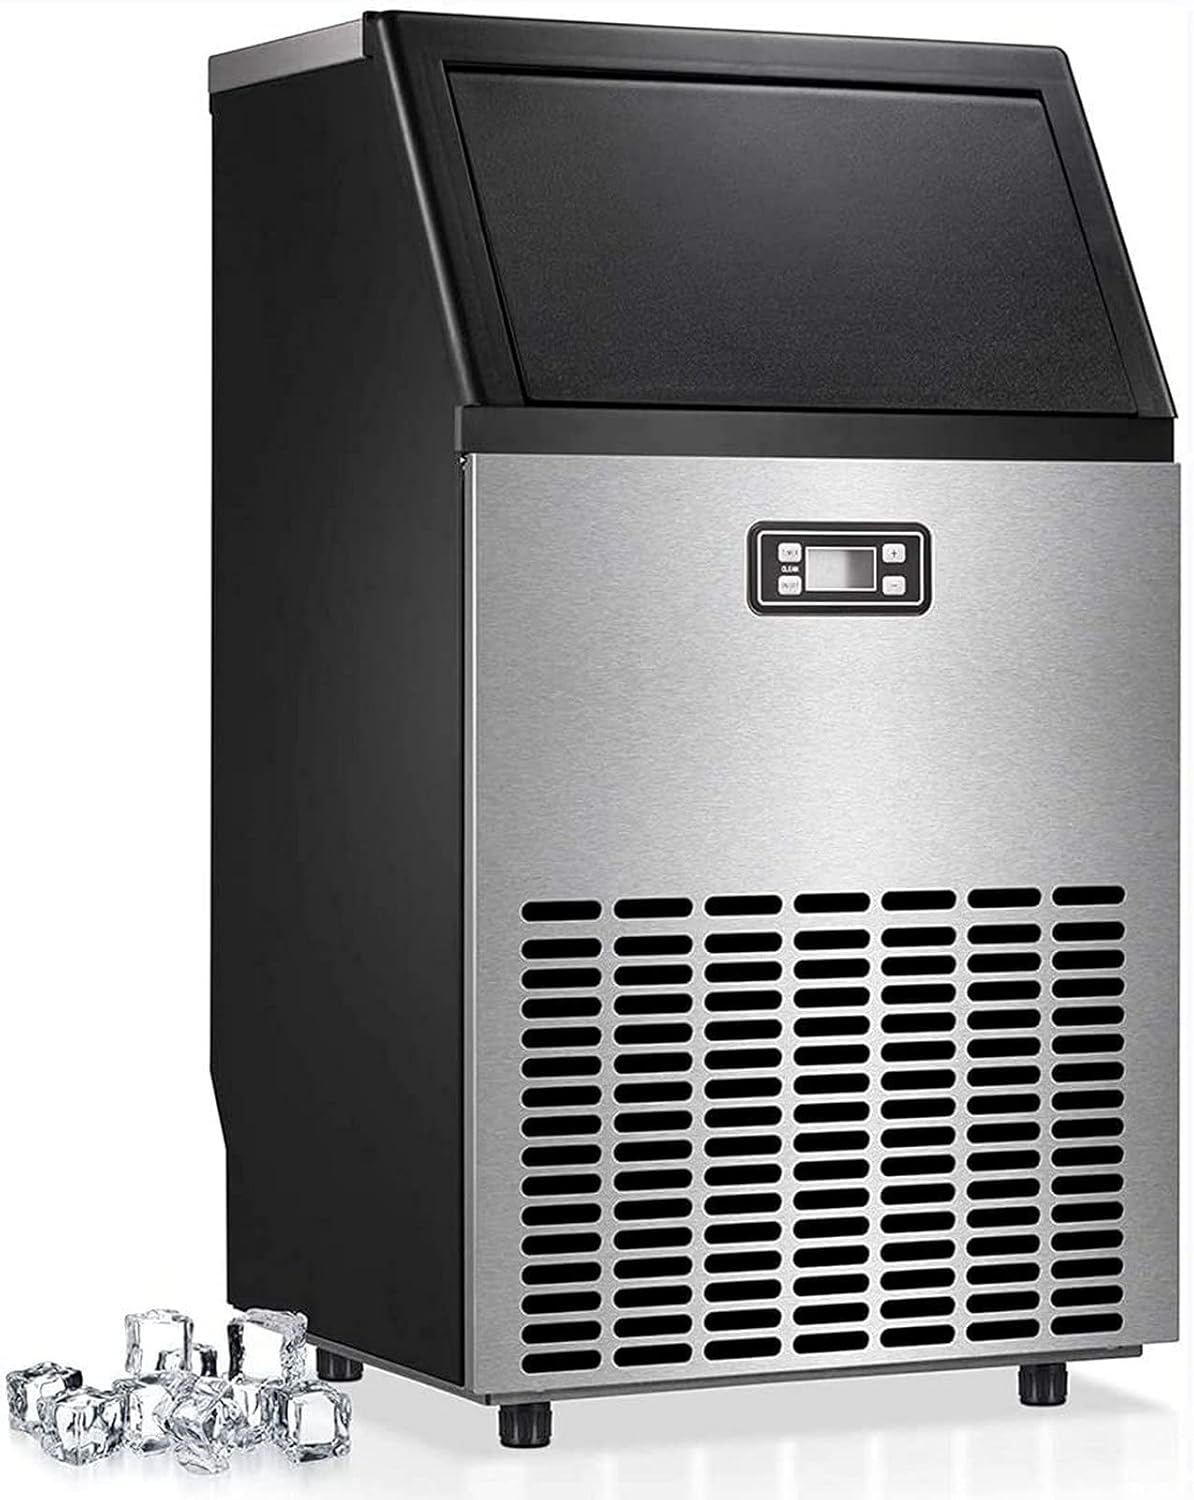
Image Description: A front-facing view of the Suuim Commercial Ice Maker Machine. It features a stainless steel front panel with a control display and ventilation grilles at the bottom. The top section is black, indicating the ice storage area.
Key Features:
- Fast Ice Making: Produces 48 clear ice cubes per cycle in 12-18 minutes, up to 100 lbs per 24 hours.
- Energy Saving: Equipped with a 200W compressor, achieving up to 99% water usage efficiency.
- Durable Construction: Made of food-grade material with a durable ABS shell and rust-resistant stainless steel interior.
- Freestanding Design: Compact dimensions (17.6" x 15.7" x 31.4") allow for flexible placement.
- Adjustable Ice Size: Offers options for thin, normal, or thick ice cubes.
- Low Noise Operation: Designed for quiet performance.
- Timer Function: Allows for scheduled operation and cleaning.
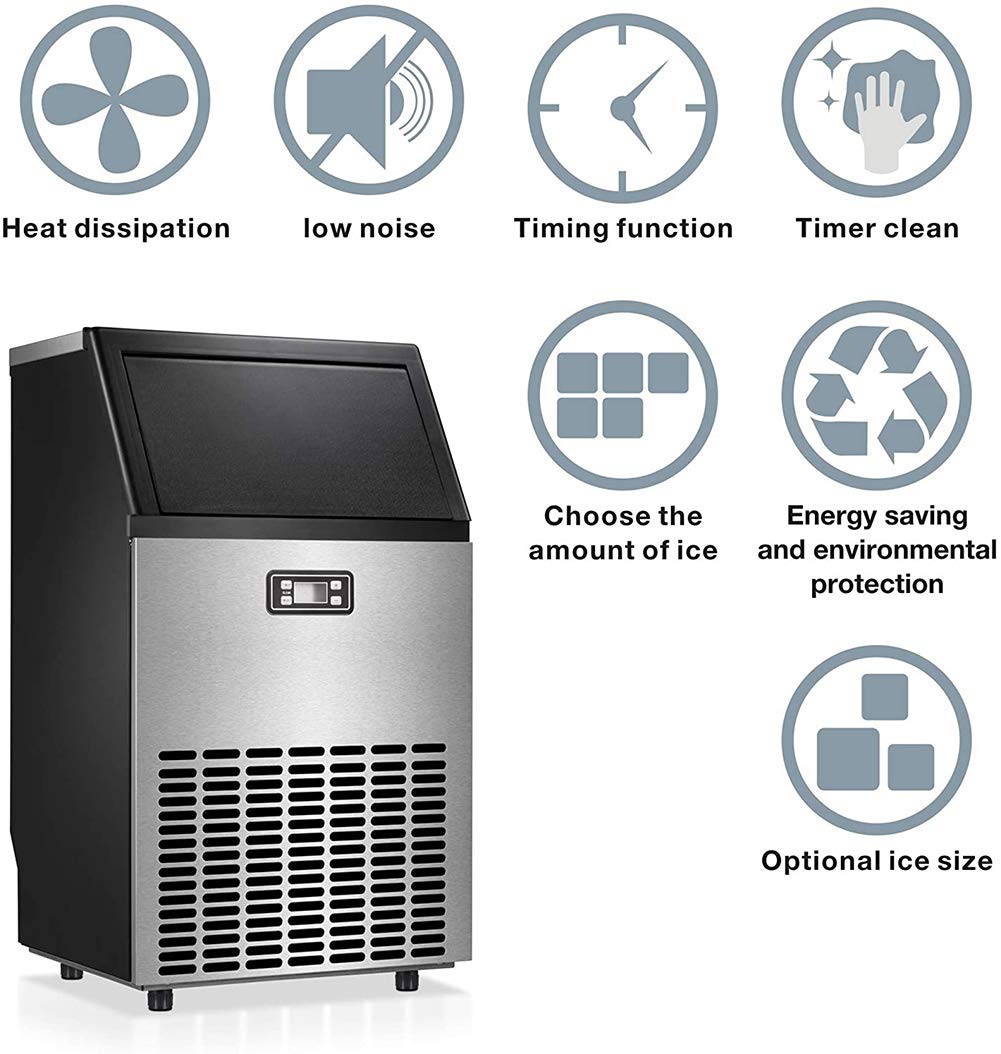
Image Description: This image displays a set of icons illustrating the ice maker's features: heat dissipation, low noise, timing function, timer clean, ability to choose the amount of ice, energy saving and environmental protection, and optional ice size.
Specifications
| Feature | Specification |
|---|---|
| Certification | ETL |
| Voltage | 115V/60Hz |
| Power | 270W |
| Material | Stainless Steel & Iron Painting |
| Ice Making Capacity | 100 lbs/24H |
| Ice Making Time | 11-20 minutes per cycle |
| Ice Storage Capacity | 33 lbs |
| Ice Shape | Ice Cube (0.9''x0.9''x0.9'') |
| Net Weight | 63 lbs |
| Product Size (LxWxH) | 18"x16"x31" |

Image Description: This image illustrates the dimensions of the ice maker: 31.4 inches high, 15.7 inches deep, and 17.6 inches wide. It also shows included accessories: an ice shovel, a 6'5" sewage pipe, and a 9' inlet pipe.
Setup and Installation
Proper installation is crucial for the optimal performance and longevity of your ice maker. Ensure the unit is placed on a level surface and has adequate ventilation.
- Unpacking: Carefully remove the ice maker from its packaging. Inspect for any shipping damage.
- Placement: Position the ice maker in a location with sufficient space for air circulation around the unit. Ensure it is near a water source and a drain.
- Water Connection:
- Connect the inlet pipe to a clean water source.
- Connect the sewage pipe to a drain.
- Ensure all connections are secure to prevent leaks.
- Power Connection: Plug the power cord into a grounded 115V/60Hz electrical outlet.
- Initial Cleaning: Before first use, clean the interior of the ice maker according to the maintenance section.

Image Description: This diagram illustrates the installation process. It shows connecting the power plug, opening the water source, connecting the inlet pipe (with an optional filter), connecting the sewage pipe, and turning on the switch. Detailed steps for connecting the pipes are also shown: removing a blue ring and white plug, removing the plug, plugging in the pipe, and buckling the blue ring.
Operating Instructions
Follow these steps to operate your ice maker and produce ice.
- Power On: Press the power button on the control panel to turn on the machine.
- Select Ice Size: Use the control panel to select your desired ice cube thickness (thin, normal, or thick).
- Start Ice Production: The machine will automatically begin the ice-making cycle. Ice will be produced in 11-20 minute cycles.
- Ice Collection: Ice cubes will drop into the storage bin. Use the provided ice shovel to retrieve ice.
- Timer Function: Refer to the control panel instructions for setting the timer for delayed start or automatic cleaning cycles.

Image Description: This image illustrates the ice-making process, highlighting that the machine produces up to 100 lbs of ice per day in 11-20 minute cycles. It also shows three different ice cube sizes: thin, normal, and thick, demonstrating the machine's versatility.
Maintenance
Regular cleaning and maintenance ensure the hygiene and efficiency of your ice maker.
- Daily Cleaning: Wipe down the exterior with a soft, damp cloth.
- Weekly Cleaning (Ice Bin): Remove any remaining ice. Clean the ice storage bin with a mild detergent and warm water. Rinse thoroughly and dry.
- Monthly Cleaning (Internal System):
- Initiate the automatic cleaning cycle if available (refer to control panel instructions).
- Alternatively, disconnect power, drain water, and clean internal components with a food-grade ice maker cleaner solution. Follow cleaner instructions carefully.
- Rinse thoroughly multiple times to remove all cleaning solution residue.
- Condenser Cleaning: Periodically clean the condenser coils to ensure efficient cooling. Use a soft brush or vacuum cleaner to remove dust and debris.
- Water Filter: If an external water filter is used, replace it according to the manufacturer's recommendations.
Troubleshooting
Refer to this section for common issues and their solutions.
| Problem | Possible Cause | Solution |
|---|---|---|
| No Ice Production | No power; Water supply off; Clogged water inlet; Low refrigerant. | Check power connection; Ensure water supply is on; Clean water inlet filter; Contact customer support for refrigerant issues. |
| Small or Soft Ice Cubes | High ambient temperature; Poor ventilation; Water temperature too high. | Ensure proper ventilation around the unit; Lower ambient temperature; Use colder water supply. |
| Water Leakage | Loose water connections; Clogged drain pipe. | Tighten all water inlet and drain connections; Clear any blockages in the drain pipe. |
| Unusual Noise | Unit not level; Loose components; Fan obstruction. | Ensure the unit is on a level surface; Check for and secure any loose parts; Clear any obstructions from the fan. |
Warranty and Support
For technical assistance, warranty claims, or any product-related inquiries, please contact Suuim customer support. Our technical advice and customer service are provided throughout the product's life.
Please have your model number (B0CTQ1WGTG) and purchase information ready when contacting support.
Ask a question about this manual
Ask about setup, troubleshooting, compatibility, parts, safety, or missing instructions. Manuals+ will review the question and use this page’s manual context to help answer it.