
1. Introduction
Thank you for choosing the IDEALHOUSE Queen Bed Frame. This manual provides essential information for the safe assembly, operation, and maintenance of your new bed frame. Please read all instructions carefully before beginning assembly and retain this manual for future reference.
Important Safety Information
- Weight Capacity: Do not exceed the maximum weight recommendation of 1000 pounds. Exceeding this limit may cause damage to the bed frame or result in injury.
- Assembly: Improper assembly can lead to instability or collapse. Ensure all parts are securely fastened according to the assembly instructions.
- Pinch Points: Be aware of potential pinch points and sharp edges during assembly and use.
- Children: Keep small parts away from children during assembly.
- Regular Checks: Periodically check all bolts and screws to ensure they remain tight.
2. Parts List
Before assembly, verify that all components are present and undamaged. Refer to the separate installation manual included in your package for a detailed list of parts and hardware. If any parts are missing or damaged, do not proceed with assembly. Contact IDEALHOUSE customer support for assistance.

Figure 2.1: Product dimensions for the Queen size bed frame. The headboard height is approximately 43.3 inches, the total length is 83.5 inches, and the width is 63 inches.
3. Setup and Assembly
The IDEALHOUSE Queen Bed Frame is designed for straightforward assembly. It comes packaged in a single box with all necessary tools and instructions. We recommend assembling the bed frame with two people.
- Unpack Components: Carefully unpack all parts from the box. Lay them out on a clean, soft surface (like a carpet) to prevent scratches.
- Identify Parts: Refer to the included installation manual to identify each part and piece of hardware.
- Assemble Headboard and Footboard: Follow the step-by-step diagrams in the manual to attach the linen upholstered panels to the metal frames of the headboard and footboard. Ensure all rivets are securely in place.
- Connect Side Rails: Attach the side rails to the assembled headboard and footboard using the provided bolts and tools. Do not fully tighten bolts until all connections are made.
- Install Support Slats: Place the metal support slats across the side rails. The bed frame features high-quality metal slats designed for enhanced mattress support. Ensure the Eva mute bar is correctly positioned to prevent noise.
- Final Tightening: Once all components are in place and aligned, securely tighten all bolts and screws. Do not overtighten.
- Placement: Position the assembled bed frame in your desired location.

Figure 3.1: Illustration highlighting the noise-free design with an Eva mute bar and the ease of assembly for the bed frame.
4. Usage and Operation
This platform bed frame is designed to provide optimal support for all mattress types without the need for a box spring.
- Mattress Placement: Carefully place your mattress directly onto the metal slats. The robust slat system ensures proper mattress ventilation and support.
- Weight Distribution: Ensure weight is distributed evenly across the bed frame. Avoid concentrating heavy loads in one small area.
- Noise-Free Design: The integrated Eva mute bar and sturdy metal construction are designed to minimize noise, providing a quiet sleep environment.

Figure 4.1: The IDEALHOUSE Queen Bed Frame in a natural wood grain finish with a light linen headboard and footboard, featuring rivet detailing.

Figure 4.2: A detailed view of the soft linen upholstered headboard, showcasing the texture and the decorative rivet design.
5. Maintenance
Proper care will extend the life and appearance of your bed frame.
- Cleaning Metal Parts: Wipe metal surfaces with a soft, damp cloth. Avoid abrasive cleaners or harsh chemicals that could damage the finish.
- Cleaning Linen Fabric: For the upholstered headboard and footboard, spot clean with a mild detergent and a clean, damp cloth. Blot dry. Do not saturate the fabric. For deeper cleaning, professional upholstery cleaning is recommended.
- Tighten Fasteners: Periodically (every 3-6 months) check and retighten all bolts and screws to ensure the frame remains stable and noise-free.
- Avoid Direct Sunlight: Prolonged exposure to direct sunlight may cause the linen fabric to fade over time.
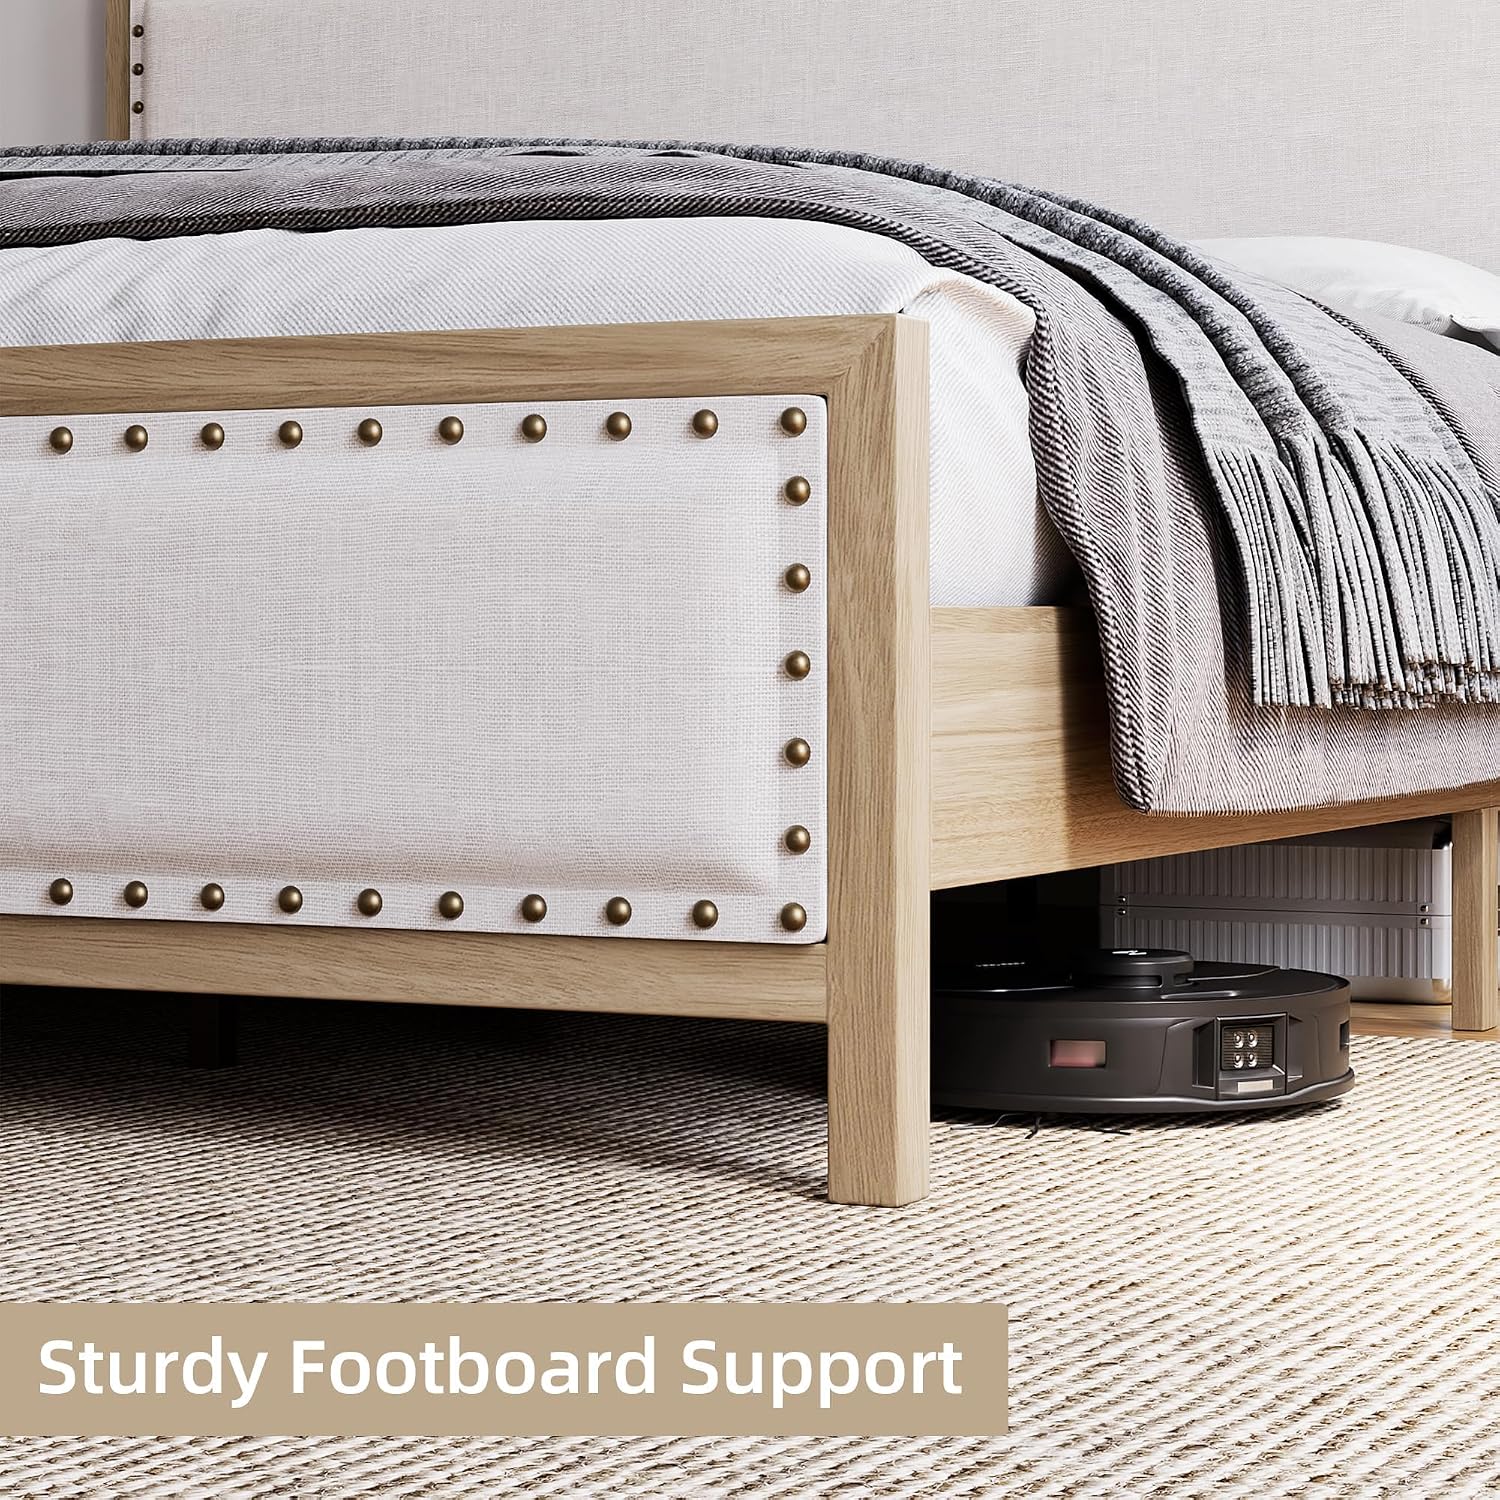
Figure 5.1: The sturdy footboard support design, illustrating the clearance beneath the bed frame which can accommodate a robot vacuum for easy cleaning.
6. Troubleshooting
Refer to this section for solutions to common issues.
| Problem | Possible Cause | Solution |
|---|---|---|
| Bed frame is squeaking or making noise. | Loose bolts or connections. Slats not properly seated. |
|
| Bed frame feels unstable or wobbly. | Loose fasteners. Uneven floor. |
|
| Mattress is sagging between slats. | Incorrect mattress type or excessive weight. |
|
7. Specifications
| Brand | IDEALHOUSE |
| Model Number | Retro bed frame with headboard |
| ASIN | B0CTMQJ3HC |
| Size | Queen (U.S. Standard) |
| Color | Natural |
| Material | Metal |
| Product Dimensions (L x W x H) | 83.5"L x 63"W x 43.3"H (Assembled) |
| Maximum Weight Recommendation | 1000 Pounds |
| Box Spring Needed | No |
| Special Features | Fade Resistant, No Box Spring Needed, Squeak Resistant |
| Assembly Required | Yes |
| Included Components | Installation Manual |
Note: The product dimensions listed in some specifications (e.g., 65.75"L x 27.95"W x 4.72"H) typically refer to package dimensions. Actual assembled bed frame dimensions are approximately 83.5"L x 63"W x 43.3"H (headboard height) as indicated in Figure 2.1.
8. Warranty and Support
Warranty Information
Specific warranty details for your IDEALHOUSE Queen Bed Frame are typically provided with the product packaging or can be found on the official IDEALHOUSE website. Please refer to these resources for information regarding warranty coverage, terms, and conditions.
Customer Support
If you have any questions, require assistance with assembly, or need to report missing/damaged parts, please contact IDEALHOUSE customer service. Contact information can usually be found in the included installation manual or on the IDEALHOUSE brand store page on Amazon.
Visit the official IDEALHOUSE Store: IDEALHOUSE Store