1. Introduction
Thank you for choosing the NextGenOEM SEGOTEP LUX 360 Gaming Desktop Case. This manual provides essential information for the proper assembly, operation, and maintenance of your new PC chassis. Please read these instructions carefully before beginning installation to ensure optimal performance and longevity of your components.
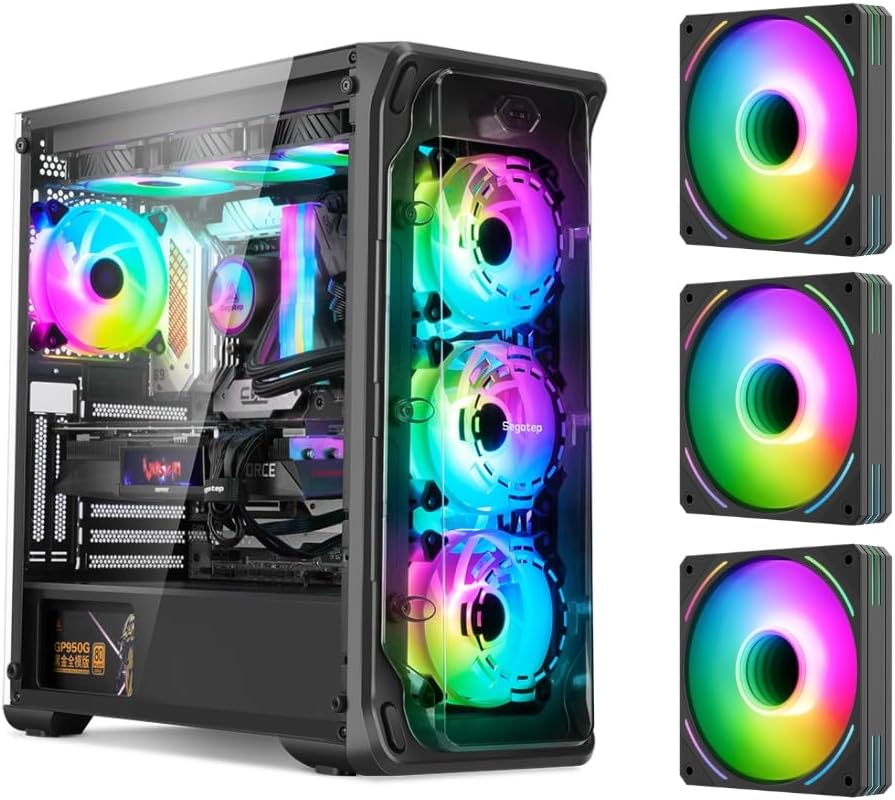
Figure 1: The SEGOTEP LUX 360 Gaming Desktop Case, showcasing its transparent side and front panels with illuminated ARGB fans.
2. Product Features
The SEGOTEP LUX 360 case is designed for high-performance gaming systems, offering a blend of aesthetics and functionality:
- Crystal Streamer Design: Features acrylic front and side panels for showcasing internal components and ARGB lighting.
- 3D Ring Design Panel: The front panel incorporates a distinctive 3D ring design, enhancing the visual appeal of ARGB lighting.
- Extensive Cooling Support: Accommodates 360mm AIO liquid coolers at the front and top, along with multiple fan mounting options for efficient airflow.
- Wide Motherboard Compatibility: Supports E-ATX (up to 305x330mm), ATX, Micro-ATX, and Mini-ITX motherboards.
- Vertical GPU Mounting: Provides support for vertical graphics card installation (riser cable sold separately).
- Included ARGB Fans: Comes with three pre-installed ARGB fans for immediate cooling and customizable lighting.
- Ample Storage Options: Multiple bays for HDDs and SSDs.

Figure 2: Close-up of the front panel, demonstrating the 3D ring design and ARGB fan illumination.
3. Specifications
| Feature | Specification |
|---|---|
| Brand | NextGenOEM |
| Model Name | LUX 360 |
| Case Type | Desktop |
| Motherboard Compatibility | E-ATX (305x330mm), ATX, Micro-ATX, Mini-ITX |
| Material | Acrylic (Panels) |
| Color | Black |
| Item Weight | 5.58 kg (12.27 lbs) |
| Package Dimensions | 21.4 x 20.65 x 10.5 inches |
| USB 3.0 Ports | 3 |
| Power Supply Mounting | Top Mount |
| Cooling Method | Air, Water |
| Recommended Use | Gaming |
| AIO Liquid Cooler Support | Front: 240/280/360mm, Top: 240/280/360mm |
| Fan Position Support | Front: 3x14cm, Top: 2x14cm, Rear: 1x12cm, Internal Board: 2x12cm, PSU Cover: 2x12cm |
4. Package Contents
Upon unpacking, please verify that all the following items are included:
- SEGOTEP LUX 360 Gaming Desktop Case
- Three (3) Pre-installed ARGB Fans
- Accessory Box (containing screws, standoffs, cable ties, etc.)
- User Manual (this document)
If any items are missing or damaged, please contact NextGenOEM customer support immediately.
5. Setup Guide
Follow these steps for proper installation of your PC components into the SEGOTEP LUX 360 case.
5.1. Preparing the Case
- Place the case on a stable, flat surface.
- Carefully remove the side acrylic panel(s) by unscrewing the thumb screws located at the rear of the case.
- Remove the front acrylic panel if necessary for fan or radiator installation by gently pulling it from the bottom or releasing clips.
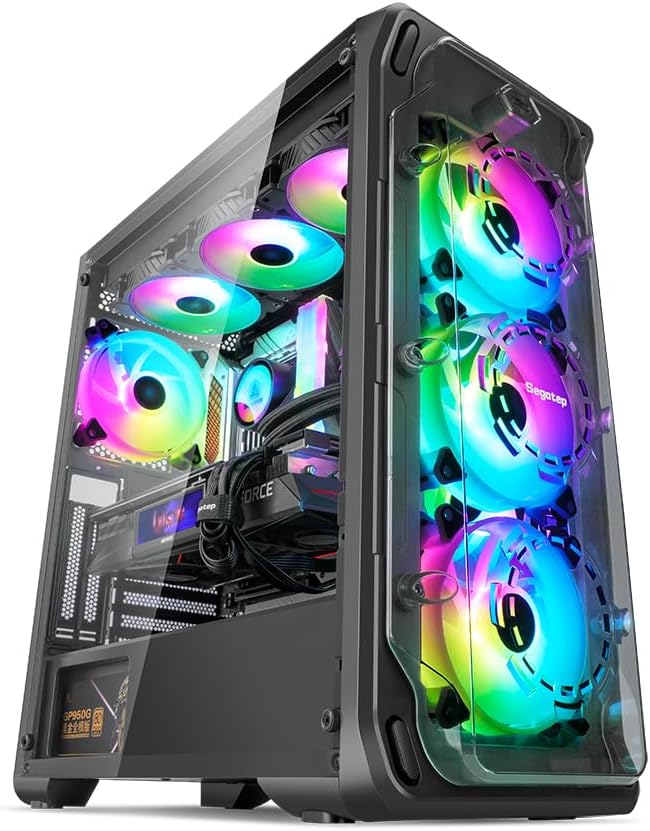
Figure 3: Angled view of the case, illustrating the removable panels.
5.2. Motherboard Installation
- Install the I/O shield into the motherboard tray opening from the inside of the case.
- Ensure the correct standoffs are installed for your motherboard size (E-ATX, ATX, Micro-ATX, Mini-ITX). Adjust or add standoffs as needed using the provided screws.
- Carefully place your motherboard onto the standoffs, aligning the screw holes.
- Secure the motherboard with the appropriate screws.
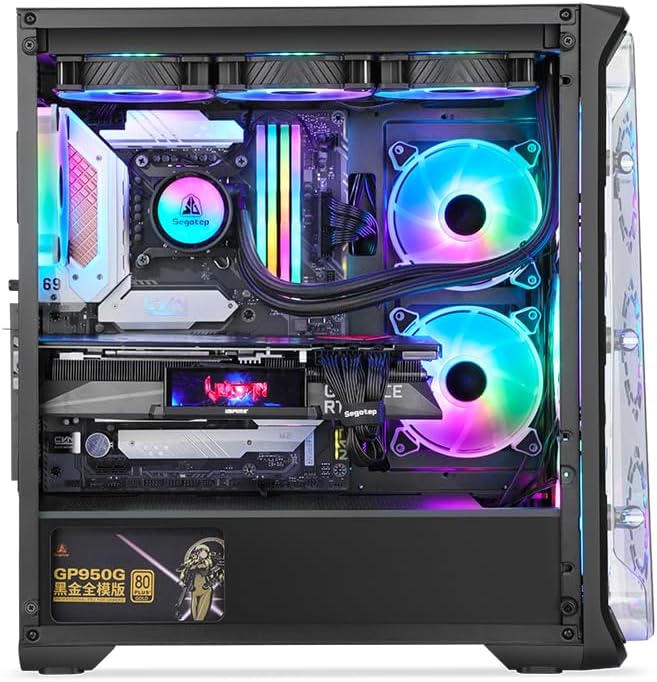
Figure 4: Interior layout of the case, indicating motherboard mounting area.
5.3. Component Installation (GPU, Storage)
- Graphics Card (GPU): Remove the necessary PCIe slot covers. Install your graphics card into the PCIe slot on the motherboard and secure it with screws. The case supports vertical GPU mounting with an optional riser cable.
- Storage Drives (HDDs/SSDs): Locate the drive bays. Install 3.5-inch HDDs and 2.5-inch SSDs into the designated mounting points, typically using trays or direct screw mounts.

Figure 5: Internal drive bay locations for storage devices.
5.4. Cooling System Installation (Fans, AIO)
- Fans: The case comes with three pre-installed ARGB fans. Additional fans can be installed in the front, top, rear, internal board, and PSU cover positions as per the specifications. Ensure proper airflow direction (intake/exhaust).
- AIO Liquid Cooler: Install your 240mm, 280mm, or 360mm AIO liquid cooler radiator and fans in the front or top mounting locations.

Figure 6: Airflow diagram and fan/radiator mounting points.
5.5. Power Supply Installation
- The SEGOTEP LUX 360 supports a top-mounted power supply.
- Slide the power supply into its designated bay at the top rear of the case.
- Secure the power supply with screws from the rear of the case.
5.6. Cable Management
Utilize the cable routing cutouts and tie-down points behind the motherboard tray to manage cables. This improves airflow and aesthetics. Connect all necessary power and data cables to your components.
6. Operation
6.1. Powering On
Once all components are installed and cables are connected, replace the side panels. Connect your monitor, keyboard, mouse, and power cable. Press the power button on the case to start your system.
6.2. ARGB Lighting Control
The included ARGB fans can be controlled via your motherboard's ARGB software (if compatible) or a dedicated ARGB controller (if included or purchased separately). Refer to your motherboard manual for ARGB header locations and software instructions.
7. Maintenance
Regular maintenance helps ensure optimal performance and extends the lifespan of your PC components.
7.1. Cleaning
- Exterior: Use a soft, damp cloth to wipe down the exterior surfaces, including the acrylic panels. Avoid abrasive cleaners.
- Interior: Periodically open the case and use compressed air to remove dust buildup from fans, heatsinks, and other components. Ensure the system is powered off and unplugged before cleaning the interior.
7.2. Dust Filters
The case may include removable dust filters. Clean these filters regularly by rinsing them with water and allowing them to dry completely before reinstallation. This prevents dust from entering the system and maintains efficient airflow.
8. Troubleshooting
If you encounter issues, refer to the following common troubleshooting steps:
- System Not Powering On: Check all power connections, including the power supply unit (PSU) cable, motherboard 24-pin connector, and CPU power connector. Ensure the PSU switch is in the 'ON' position.
- Fans Not Spinning/ARGB Not Lighting Up: Verify that all fan and ARGB cables are correctly connected to the motherboard headers or controller. Check your motherboard's BIOS/UEFI settings or ARGB software for fan speed and lighting control.
- No Display Output: Ensure your graphics card is properly seated in its PCIe slot and connected to power. Check that your monitor cable is securely connected to the graphics card, not the motherboard's integrated graphics port (unless using integrated graphics).
- Overheating: Confirm that all fans are spinning correctly and oriented for optimal airflow. Ensure CPU and GPU coolers are properly installed. Clean any dust buildup from filters and components.
For more complex issues, consult your component manuals or contact NextGenOEM customer support.
9. Warranty and Support
NextGenOEM products are manufactured to high-quality standards. For warranty information, please refer to the warranty card included with your product or visit the official NextGenOEM website. If you require technical assistance or have questions regarding your SEGOTEP LUX 360 case, please contact NextGenOEM customer support through their official channels.
NextGenOEM Customer Support: Please visit NextGenOEM's Amazon Store or their official website for contact details.