1. Introduction
Welcome to the world of precision coffee grinding with your new Fiorenzato All Ground Burr Grinder. Designed and manufactured in Italy, this versatile electric coffee grinder features 64mm flat burrs, offering exceptional consistency for various brewing methods. The All Ground is engineered to provide freshly ground coffee, enhancing the flavor and aroma of your favorite beans, whether for intense espresso, rich moka, or balanced filter coffee.
This manual provides essential information for the proper setup, operation, maintenance, and troubleshooting of your All Ground grinder to ensure optimal performance and longevity.
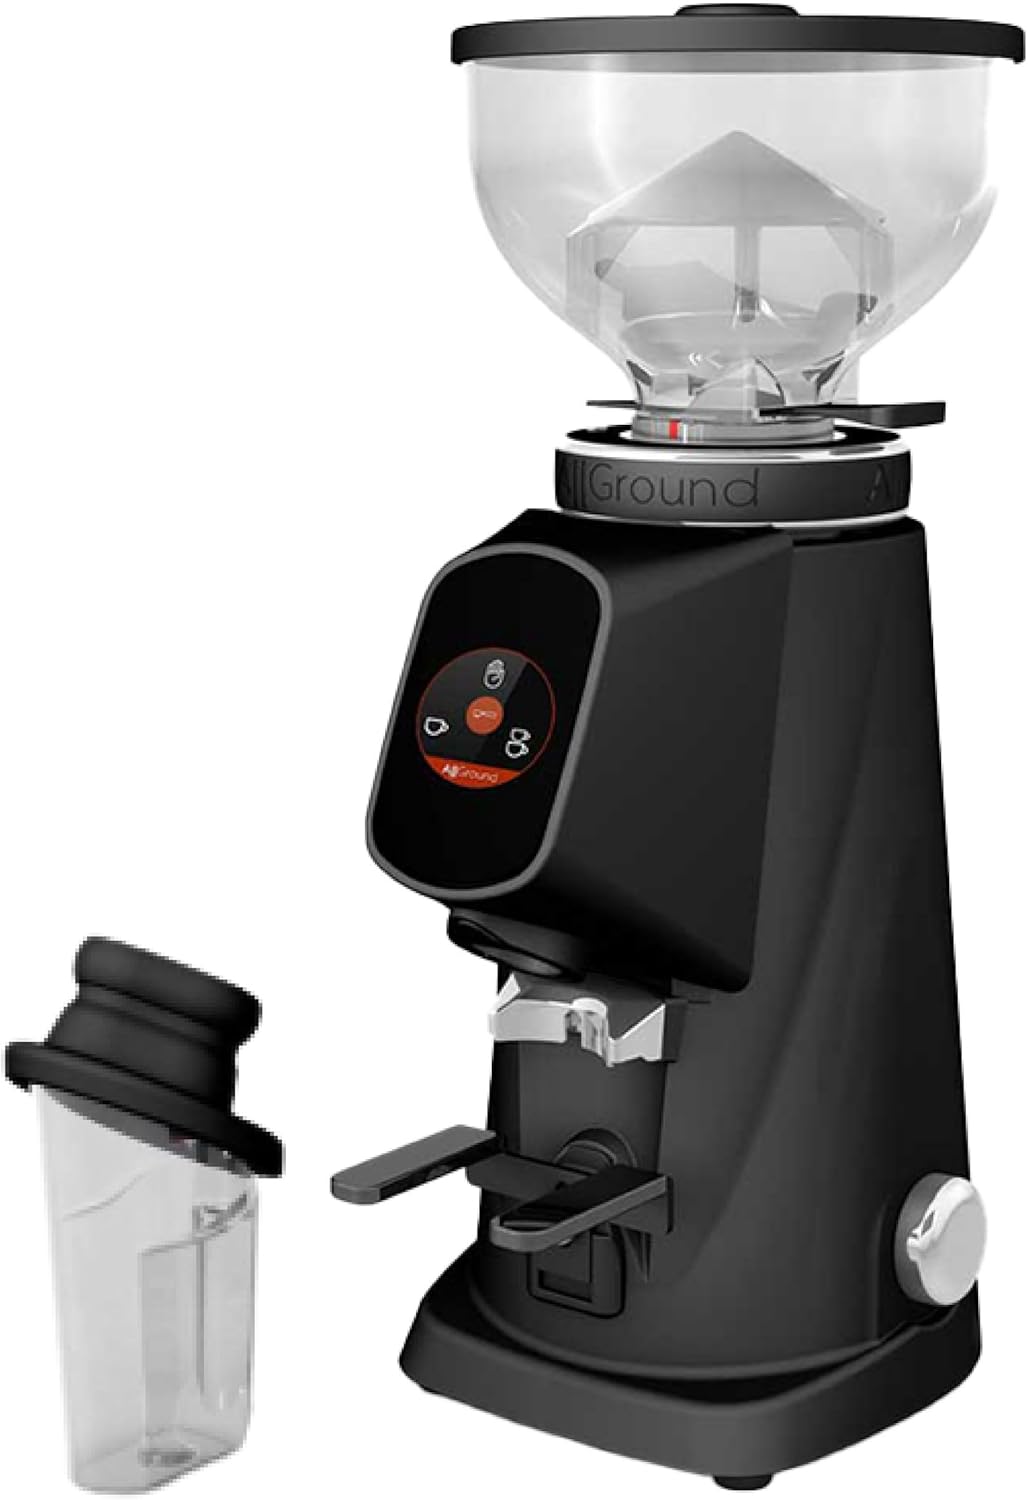
Figure 1: The Fiorenzato All Ground coffee grinder in black, showcasing its sleek design, transparent bean hopper, and included grounds container.
2. Setup
2.1 Unboxing and Inspection
Carefully remove all components from the packaging. Verify that all parts are present and undamaged:
- Fiorenzato All Ground Grinder Unit
- Bean Hopper with Lid
- Grounds Container
- User Manual (this document)
2.2 Placement
Place the grinder on a stable, flat, and dry surface. Ensure there is adequate ventilation around the unit. Avoid placing it near heat sources or in direct sunlight.
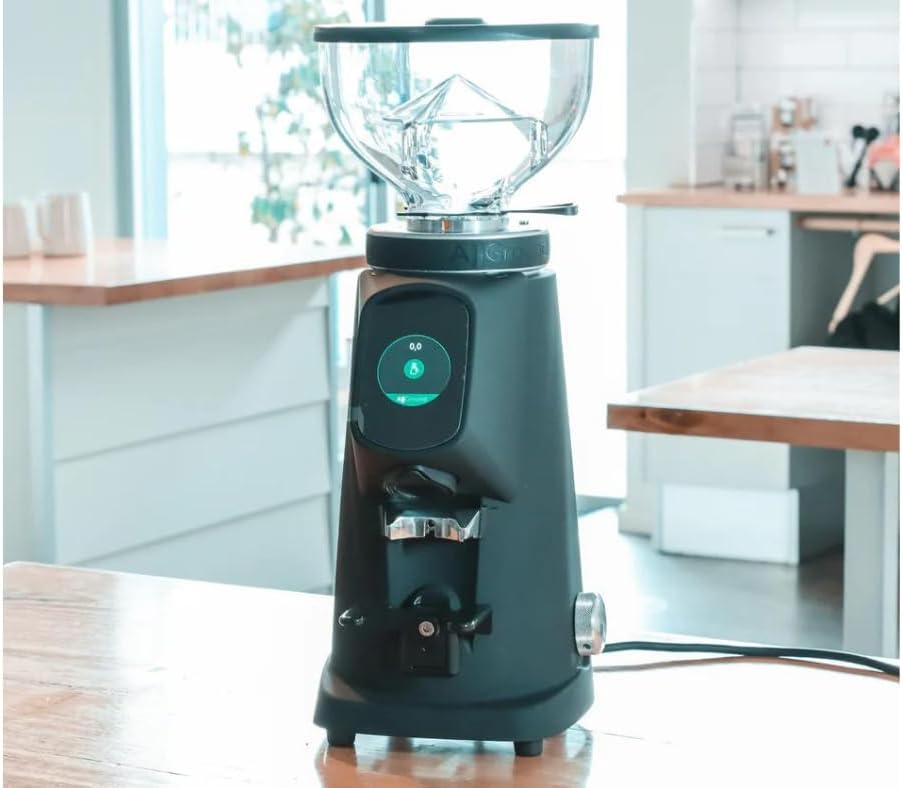
Figure 2: The Fiorenzato All Ground grinder positioned on a kitchen countertop, ready for use.
2.3 Attaching the Bean Hopper
Align the bean hopper with the opening on top of the grinder. Gently twist it clockwise until it locks securely into place. Fill the hopper with whole coffee beans. Do not overfill.
2.4 Power Connection
Connect the power cord to a grounded electrical outlet. The grinder operates on 120 Volts (DC).
3. Operating Instructions
3.1 Grind Adjustment
The All Ground grinder features a precise grind adjustment collar located below the bean hopper. This collar allows you to select the appropriate grind size for your brewing method:
- Espresso: Turn the collar towards the "espresso" marking for a very fine grind, suitable for espresso machines.
- Moka: Adjust towards the "moka" marking for a medium-fine grind, ideal for moka pots.
- Filter: Move the collar towards the "filter" marking for a coarser grind, perfect for drip coffee makers and pour-overs.
Make small adjustments and test the grind to find your preferred setting. It is recommended to adjust the grind size only when the grinder is running to prevent burr damage.

Figure 3: Detailed view of the grind adjustment dial, highlighting the settings for Moka and Filter coffee.

Figure 4: The white version of the Fiorenzato All Ground grinder, demonstrating the portafilter holder for direct grinding.
3.2 Grinding Coffee
The All Ground grinder features a user-friendly interface for initiating the grinding process. Place your portafilter or the included grounds container under the dispensing chute.
To start grinding, press the appropriate button on the touchscreen interface. The grinder will dispense the pre-programmed amount of coffee. You can typically program single or double doses, or use a continuous grind function. Refer to the on-screen menu for specific programming instructions.
Video 1: Official product video demonstrating the Fiorenzato All Ground coffee grinder in use, showcasing its features and the grinding process for different coffee types (Espresso, Moka, Filter).
4. Maintenance
Regular cleaning and maintenance are crucial for preserving the performance and lifespan of your Fiorenzato All Ground grinder. Always unplug the grinder before performing any cleaning or maintenance.
4.1 Cleaning the Burrs
Over time, coffee oils and fine particles can accumulate on the burrs, affecting grind consistency. To clean the burrs:
- Unplug the grinder from the power outlet.
- Remove the bean hopper.
- Carefully unscrew the upper burr assembly. Refer to your grinder's specific mechanism for removal (usually a twist or latch).
- Use a stiff brush (often included with the grinder) or a vacuum cleaner to remove any loose coffee grounds from both the upper and lower burrs, as well as the grinding chamber.
- Reassemble the burr set and hopper, ensuring all parts are securely fastened.

Figure 5: A close-up image showing the 64mm flat burrs, which are essential for consistent grinding and require regular cleaning.
4.2 Cleaning the Bean Hopper and Grounds Container
Wash the bean hopper and grounds container with warm, soapy water. Rinse thoroughly and ensure they are completely dry before reattaching them to the grinder. Do not wash the main grinder unit with water.
4.3 Exterior Cleaning
Wipe the exterior of the grinder with a soft, damp cloth. Avoid abrasive cleaners or solvents that could damage the finish.
5. Troubleshooting
This section addresses common issues you might encounter with your Fiorenzato All Ground grinder. If the problem persists after attempting these solutions, please contact customer support.
| Problem | Possible Cause | Solution |
|---|---|---|
| Grinder does not turn on. | Not plugged in; power switch off; circuit breaker tripped. | Ensure the power cord is securely plugged into a live outlet. Check the power switch. Reset the circuit breaker if necessary. |
| No coffee dispenses or grinding is slow. | Bean hopper empty; chute clogged; burrs dirty or worn. | Refill bean hopper. Clear any blockages in the dispensing chute. Clean the burrs as described in the Maintenance section. If burrs are worn, they may need replacement. |
| Inconsistent grind size. | Grind adjustment not set correctly; burrs dirty or misaligned. | Adjust the grind setting while the grinder is running. Clean the burrs. Ensure the burr assembly is properly seated and tightened. |
| Grinder is unusually noisy. | Foreign object in burrs; loose components. | Unplug and inspect the burrs for any foreign objects. Ensure all parts are securely assembled. |
6. Specifications
- Brand: Fiorenzato
- Model: All Ground
- Burr Type: 64mm Flat Burrs
- Voltage: 120 Volts (DC)
- Country of Origin: Italy
- Product Dimensions: Refer to product packaging for exact dimensions.
7. Warranty and Support
Your Fiorenzato All Ground grinder is covered by a manufacturer's warranty against defects in materials and workmanship. Please refer to the warranty card included with your product for specific terms and conditions, including the warranty period and coverage details.
For technical assistance, troubleshooting beyond this manual, or warranty claims, please contact Fiorenzato customer support or the authorized dealer from whom you purchased the product. Keep your proof of purchase for warranty validation.
For more information, you may visit the official Fiorenzato website or contact your local distributor.


