1. Introduction
This manual provides essential information for setting up, operating, and maintaining your Dell UltraSharp 24 Monitor U2424H. Please read this manual thoroughly before using the monitor to ensure proper installation and functionality.
2. Important Safety Instructions
Observe the following safety precautions to prevent damage to the monitor and ensure personal safety:
- Always place the monitor on a stable, flat surface.
- Ensure proper ventilation around the monitor. Do not block ventilation openings.
- Use only the power adapter and cables supplied by Dell.
- Do not expose the monitor to rain or moisture.
- Avoid placing heavy objects on the power cord.
- Disconnect the power cord from the outlet before cleaning.
- Do not attempt to service the monitor yourself. Refer all servicing to qualified service personnel.
3. Package Contents
Verify that all components are present in your package:
- Dell UltraSharp 24 Monitor (U2424H)
- Stand Riser
- Stand Base
- Power Cable
- HDMI Cable
- DisplayPort Cable
- USB-C to USB-C Cable
- USB-A to USB-C Cable
- Quick Setup Guide
- Safety and Regulatory Information
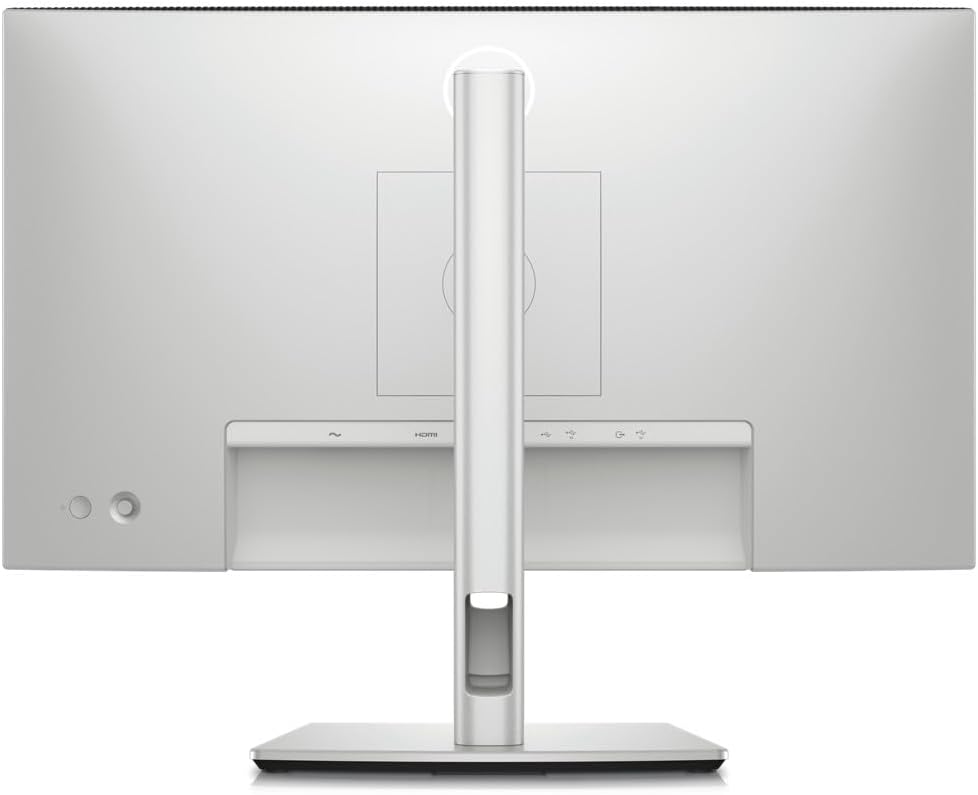
Image: Rear view of the Dell UltraSharp 24 Monitor U2424H, showing the stand assembly and cable routing slot.
4. Setup
4.1 Assembling the Monitor Stand
- Place the stand base on a flat surface.
- Align the stand riser with the slot on the stand base and press down until it clicks into place.
- Attach the assembled stand to the back of the monitor by aligning the mounting tabs on the riser with the slots on the monitor and pushing until it locks securely.
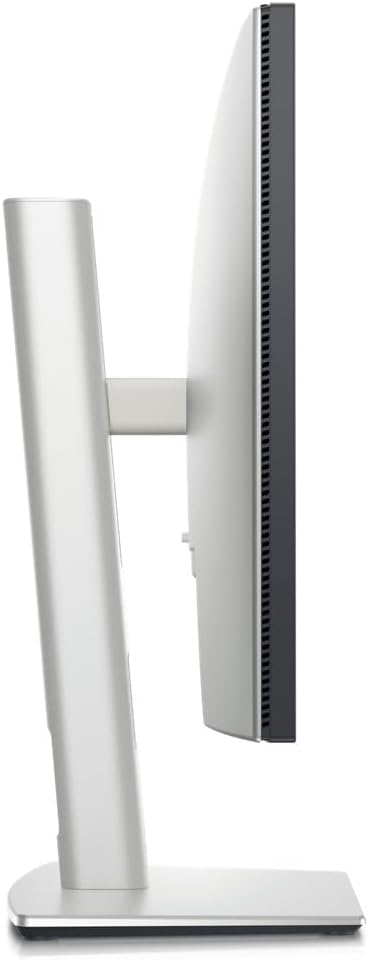
Image: Side profile of the Dell UltraSharp 24 Monitor U2424H, illustrating the monitor attached to its stand.
4.2 Connecting the Monitor
Connect the monitor to your computer and power source using the appropriate cables.
- Power Connection: Connect the power cable to the monitor's power port and then to a wall outlet.
- Video Connection: Choose one of the following options:
- HDMI: Connect one end of the HDMI cable to the monitor's HDMI port and the other end to the HDMI port on your computer.
- DisplayPort: Connect one end of the DisplayPort cable to the monitor's DisplayPort IN port and the other end to the DisplayPort on your computer.
- USB-C: Connect the USB-C to USB-C cable to the monitor's USB-C upstream port and the USB-C port on your computer. This cable can also deliver power and data.
- USB Upstream Connection (for USB Hub functionality): If using HDMI or DisplayPort for video, connect the USB-A to USB-C cable from your computer's USB-A port to the monitor's USB-C upstream port to enable the monitor's USB downstream ports.
- Audio Line Out: Connect external speakers or headphones to the audio line-out port if desired.

Image: Detailed view of the monitor's rear input/output ports, including power, HDMI, DisplayPort, USB-C upstream, USB-C downstream, USB-A downstream, and audio line out.
5. Operating the Monitor
5.1 Power On/Off
Press the power button located on the bottom right side of the monitor to turn it on or off. The power LED indicates the monitor's status.
5.2 On-Screen Display (OSD) Menu
The OSD menu allows you to adjust various monitor settings. Use the joystick control on the back of the monitor to navigate the menu.
- Joystick Control: Push the joystick in to select an item or confirm a setting. Move the joystick up, down, left, or right to navigate through menu options.
- Menu Options: Common settings include Brightness/Contrast, Input Source, Color, Display, Menu, Personalize, and Others.
5.3 Key Features
5.3.1 Reduced Eye Strain
The monitor features a built-in ambient light sensor that intelligently optimizes brightness and color temperature based on your surroundings, contributing to reduced eye strain during prolonged use.
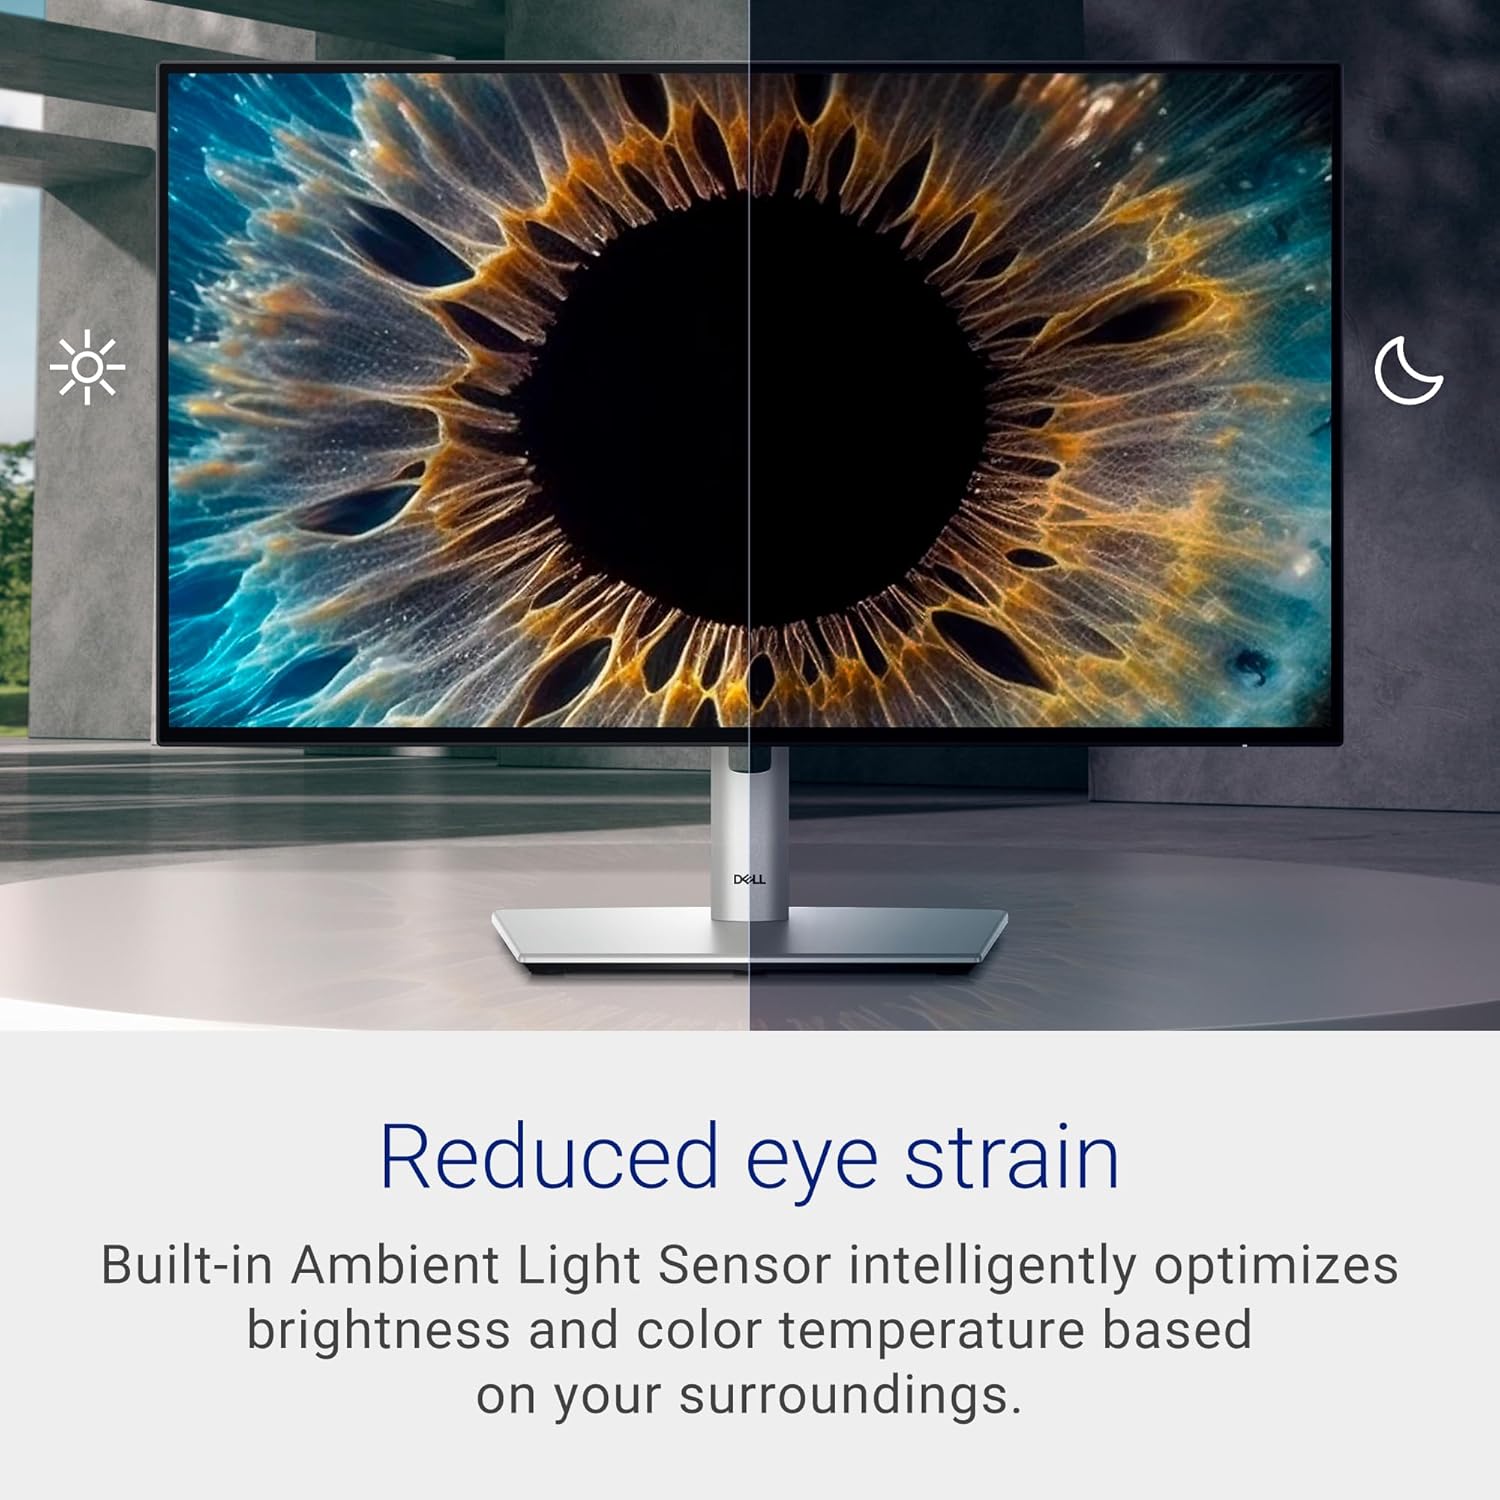
Image: The monitor screen split into two halves, illustrating how the ambient light sensor adjusts brightness and color temperature for reduced eye strain in different lighting conditions.
5.3.2 Adjustable Ergonomics
The monitor stand allows for versatile adjustments to suit your preferred viewing position, including tilt, swivel, pivot, and height adjustments.
- Height Adjustment: Raise or lower the monitor to your desired height.
- Tilt: Adjust the screen's vertical angle (forward or backward).
- Swivel: Rotate the monitor horizontally on its base.
- Pivot: Rotate the screen from landscape to portrait orientation.
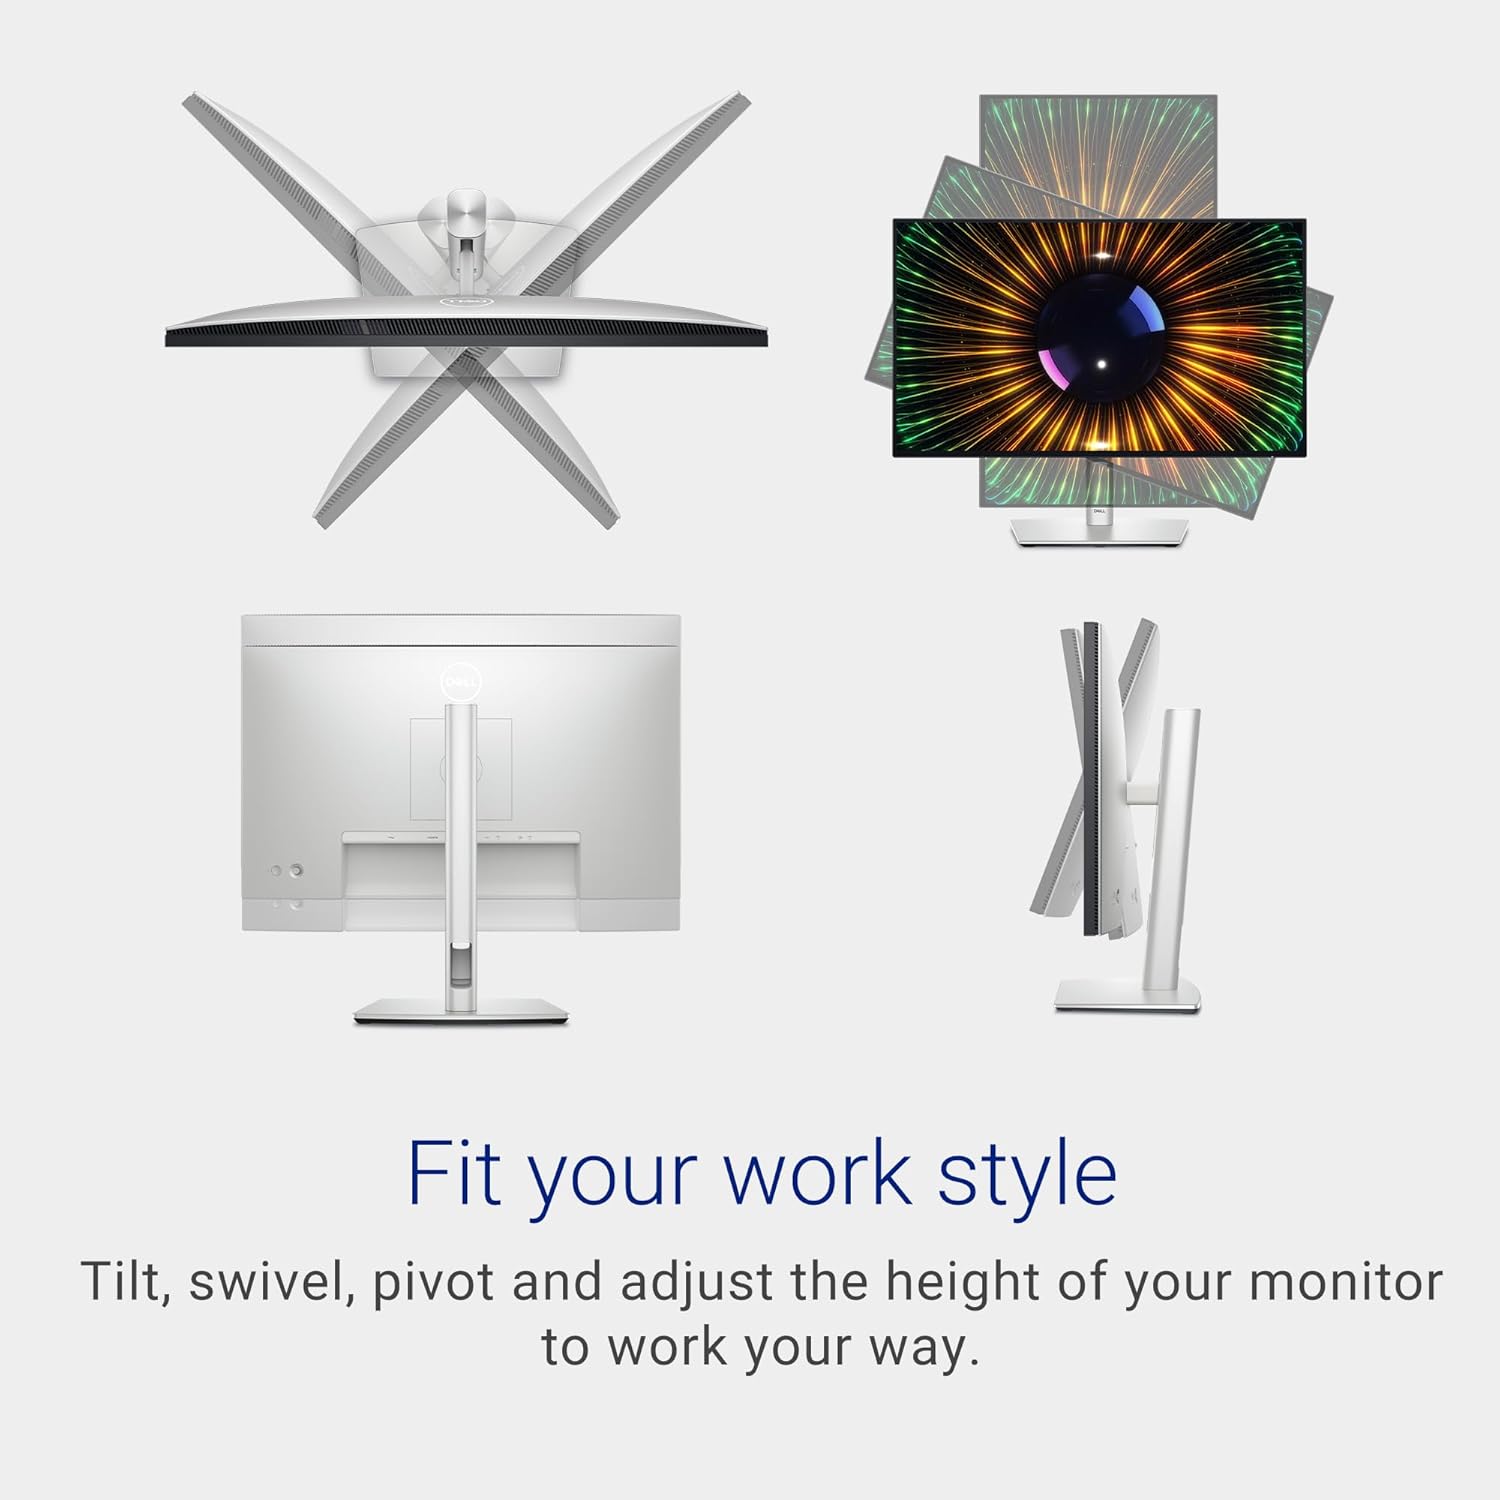
Image: A composite image demonstrating the monitor's full range of ergonomic adjustments, including tilting, swiveling, pivoting, and height changes.
5.3.3 Enhanced Connectivity
The monitor provides multiple ports for connecting various devices and accessories, including quick-access USB-A and a USB-C port that delivers up to 15W of power.

Image: Close-up view of the monitor's side-mounted USB-A and USB-C ports, designed for easy access to connect peripherals.
5.3.4 Dell Display Manager (DDM) with Easy Arrange
Dell Display Manager software allows for easy organization of your screen layout with features like Easy Arrange, and the ability to save profiles with Easy Arrange Memory for enhanced productivity.

Image: The monitor screen showing the Dell Display Manager interface with the Easy Arrange feature, demonstrating how users can organize multiple application windows.
6. Maintenance
6.1 Care and Cleaning
Follow these guidelines to clean your monitor:
- Always unplug the monitor from the electrical outlet before cleaning.
- Use a soft, clean cloth lightly dampened with water to clean the monitor screen. Do not use abrasive cleaners or solvents.
- For the monitor casing, use a soft, dry cloth.
- Avoid spraying cleaning liquids directly onto the screen or casing.
7. Troubleshooting
Refer to the table below for common issues and their solutions.
| Problem | Possible Solution |
|---|---|
| No image on screen | Ensure the power cable is securely connected. Check if the video cable (HDMI, DisplayPort, USB-C) is properly connected to both the monitor and the computer. Select the correct input source via the OSD menu. |
| Image is dim or too bright | Adjust the brightness and contrast settings in the OSD menu. Check the ambient light sensor settings. |
| Flickering image | Ensure the video cable is securely connected. Check the refresh rate setting on your computer. Try a different video cable. |
| USB ports not working | Ensure the USB upstream cable (USB-A to USB-C or USB-C to USB-C) is connected from the monitor to your computer. |
| Monitor not detected by computer | Verify video cable connections. Restart your computer. Update graphics drivers. |
8. Technical Specifications
Below are the key technical specifications for the Dell UltraSharp 24 Monitor U2424H.
| Feature | Specification |
|---|---|
| Screen Size | 24 Inches |
| Max Screen Resolution | 1920 x 1080 (FHD) |
| Aspect Ratio | 16:9 |
| Refresh Rate | 120 Hz |
| Brightness | 250 nits |
| Response Time | 8 ms (normal), 5 ms (fast) |
| Panel Type | IPS |
| Connectivity | HDMI, DisplayPort 1.4 (In/Out), USB-C Upstream, USB-C Downstream (15W Power Delivery), 3x USB-A Downstream, Audio Line Out |
| Ergonomics | Height, Tilt, Swivel, Pivot Adjustable |
| Dimensions (LxWxH) | 1.93 x 19.55 x 21.21 inches (without stand) |
| Item Weight | 11.84 pounds (with stand) |
| Voltage | 230 Volts |
| Color | Black/Grey |
9. Warranty and Support
Your Dell UltraSharp 24 Monitor U2424H comes with a limited hardware warranty. For specific warranty terms and conditions, please refer to the documentation included with your product or visit the official Dell support website.
For technical assistance, driver downloads, or further support, please visit www.dell.com/support and enter your product's service tag or model number.