1. Introduction
Thank you for choosing the Milagro LUXURIA 9xE14 Chandelier. This manual provides essential information for the safe installation, operation, and maintenance of your new lighting fixture. Please read these instructions carefully before beginning installation and retain them for future reference.
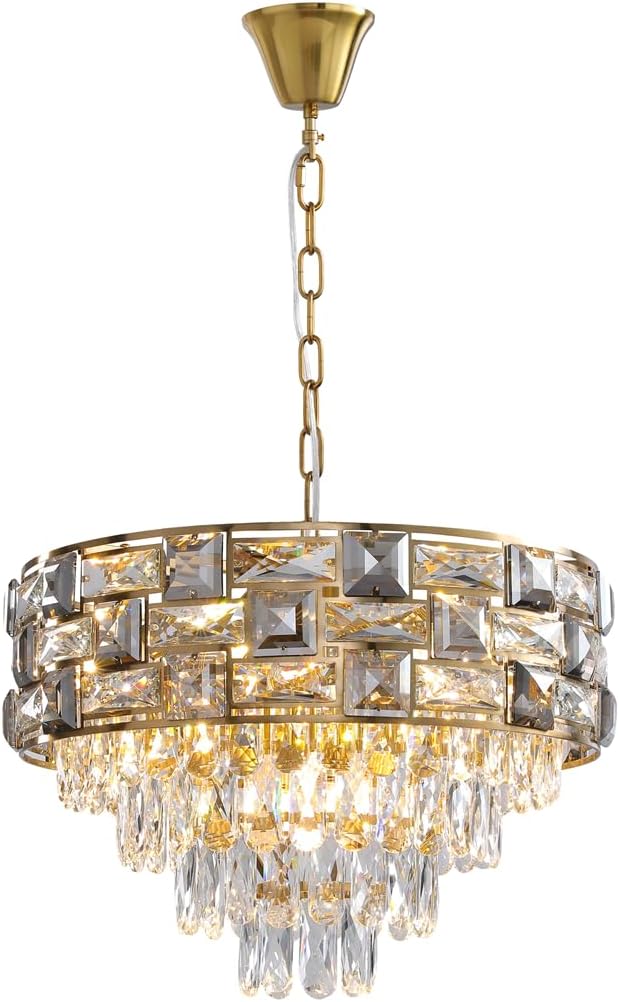
Image 1.1: The Milagro LUXURIA 9xE14 Chandelier, showcasing its gold-finished frame and multi-faceted crystal elements.
2. Safety Information
- Electrical Safety: Always disconnect the main power supply at the circuit breaker before installing, cleaning, or performing any maintenance on the fixture.
- Professional Installation: Installation should be performed by a qualified electrician in accordance with all local electrical codes and regulations.
- Fragile Components: Handle crystal elements with care to prevent breakage.
- Bulb Type: Use only E14 base bulbs. Do not exceed the maximum wattage specified for the fixture.
- IP20 Rating: This fixture is rated IP20, meaning it is protected against solid objects larger than 12.5mm but has no protection against water. It is suitable for indoor use only in dry locations. Do not install in bathrooms or areas exposed to moisture.
- Ventilation: Ensure adequate ventilation around the fixture to prevent overheating.
3. Package Contents
Please verify that all components are present and undamaged before proceeding with installation. If any parts are missing or damaged, contact your retailer.
- Chandelier main body (gold-finished metal frame with pre-installed wiring)
- Crystal elements (various shapes and sizes)
- Ceiling canopy and mounting bracket
- Mounting hardware (screws, anchors, wire connectors)
- Instruction manual
Note: Light bulbs (E14 type) are not included and must be purchased separately.
4. Setup and Installation
Follow these steps carefully for proper installation.
- Prepare for Installation:
- Turn off the electrical power at the main circuit breaker or fuse box.
- Ensure the mounting surface is structurally sound and can support the weight of the chandelier (approximately 8.9 kg).
- Gather necessary tools: screwdriver, wire strippers, electrical tape, ladder.
- Install Mounting Bracket:
- Attach the mounting bracket to the junction box in the ceiling using the provided screws. Ensure it is securely fastened.
- Wiring Connections:
- Carefully connect the fixture's wires to the house wiring. Typically, connect the black wire from the fixture to the black (live) wire from the ceiling, the white wire from the fixture to the white (neutral) wire from the ceiling, and the ground wire from the fixture to the bare copper (ground) wire from the ceiling.
- Secure connections with wire nuts and electrical tape.
- Mount the Chandelier Body:
- Carefully lift the chandelier body and attach it to the mounting bracket, securing it with the canopy screws.
- Attach Crystal Elements:
- Following the diagram or pre-drilled holes, carefully attach each crystal element to the chandelier frame. Ensure they are securely fastened.
- Install Light Bulbs:
- Screw nine E14 base bulbs into the sockets. Do not overtighten.
- Restore Power:
- Once installation is complete, restore power at the circuit breaker and test the fixture.

Image 4.1: Dimensional drawing of the Milagro LUXURIA 9xE14 Chandelier, showing a diameter of 500mm and a total height of 1000mm, with the main crystal section being 150mm high.
5. Operating Instructions
The Milagro LUXURIA 9xE14 Chandelier operates via a standard wall switch connected to its electrical circuit. There are no integrated controls on the fixture itself.
- Turning On/Off: Use the wall switch to turn the chandelier on or off.
- Bulb Replacement: To replace a bulb, ensure the power is off at the circuit breaker. Allow bulbs to cool completely before touching. Unscrew the old bulb and screw in a new E14 bulb of the appropriate wattage.
6. Maintenance
Regular maintenance will help preserve the appearance and functionality of your chandelier.
- Cleaning: Disconnect power before cleaning. Dust the metal frame and crystal elements regularly with a soft, dry, lint-free cloth. For more thorough cleaning of crystals, use a mild glass cleaner applied to a cloth, then gently wipe the crystals. Do not spray cleaner directly onto the fixture.
- Avoid Harsh Chemicals: Do not use abrasive cleaners, solvents, or polishes, as these can damage the finish of the metal or the clarity of the crystals.
- Periodic Inspection: Periodically check all connections and mounting hardware to ensure they remain secure.
7. Troubleshooting
If you encounter issues with your chandelier, refer to the following common problems and solutions:
| Problem | Possible Cause | Solution |
|---|---|---|
| Light does not turn on | No power to the fixture Faulty bulb(s) Loose wiring connection | Check circuit breaker. Replace bulb(s). Verify wiring connections (ensure power is off). |
| Lights flicker | Loose bulb Incompatible dimmer switch Loose wiring | Tighten bulb(s). Ensure dimmer switch is compatible with LED/incandescent bulbs (if applicable). Check wiring connections (ensure power is off). |
| Chandelier is unstable | Improper mounting Loose mounting hardware | Ensure mounting bracket is securely fastened to the junction box and ceiling structure. Tighten all mounting screws. |
If troubleshooting steps do not resolve the issue, please contact a qualified electrician or the product retailer for assistance.
8. Specifications
| Feature | Specification |
|---|---|
| Brand | Milagro |
| Model | LUXURIA 9xE14 |
| Material | Metal + Crystal |
| Finish | Polished |
| Number of Lights | 9 |
| Bulb Type | E14 (bulbs not included) |
| IP Rating | IP20 (Indoor use only) |
| Diameter | 500 mm |
| Total Height | 1000 mm (adjustable chain) |
| Weight | 8.9 kg |
| Power Source | Wired Electric |
| Country of Origin | Poland |
9. Warranty and Support
For warranty information, please refer to the documentation provided at the time of purchase or contact your retailer. Milagro products are designed for quality and durability.
If you require further assistance or have questions not covered in this manual, please contact the seller or manufacturer's customer support. Keep your purchase receipt as proof of purchase.


