1. Important Safety Information
Please read all instructions carefully before beginning installation and save these instructions for future reference. If you are unfamiliar with electrical wiring, consult a qualified electrician.
- Ensure the power is turned off at the circuit breaker before installation or maintenance.
- All wiring must be in accordance with national and local electrical codes.
- The ceiling fan must be grounded.
- Mount the fan only to an outlet box marked "Acceptable for Fan Support of 35 lbs (15.9 kg) or less" and use the mounting screws provided with the outlet box.
- Do not operate the fan if any part is damaged.
- Keep hands, hair, and clothing clear of the fan blades during operation.
2. Package Contents
Verify that all components are present before beginning installation:
- Up Canopy
- Down Rod
- Blades (3)
- Motor
- Light Plate
- Hanging Bracket
- Down Canopy
- Hardware Fitting (screws, washers, etc.)
- Remote Control and Receiver
- Light Cover
3. Installation Instructions
Refer to the installation video for visual guidance. Ensure power is off before starting.
Video: Warmiplanet 30 inch ceiling fan installation video. This video provides a step-by-step guide for installing your ceiling fan.
Step 1: Determine Your Ceiling Type and Install Hanging Bracket
Identify your ceiling type (concrete or wooden) to use the appropriate screws for the hanging bracket.
- For concrete ceilings, install the hanging bracket to the octagon box using 2 machine screws and iron washers.
- For wooden ceilings, install the hanging bracket to the wooden ceiling using 2 wood screws and iron washers.
- Loosen the two opposite screws on the hanging bracket.

Image: Ceiling fan dimensions and mounting options. This image illustrates the fan's size, suitable ceiling types (flat and sloped up to 15 degrees), and recommended room sizes (8x8 ft to 12x12 ft).
Step 2: Prepare the Downrod
- Loosen the two screws on the coupler of the motor.
- Pull out the R-pin from the downrod.
- Install the up canopy, canopy cover, and down canopy onto the downrod.
Step 3: Attach Downrod to Motor
- Feed the wires from the motor through the downrod.
- Insert the cross-pin and fix it with the R-pin.
- Tighten the two screws on the coupler to secure the downrod to the motor.
Step 4: Hang Fan and Connect Wiring
- Hang the fan assembly to the hanging bracket. Ensure the bulge on the hanging bracket aligns with the notch on the hemisphere of the downrod.
- Connect the wires from the motor to the receiver.
- Connect the wires on the other side of the receiver to the home circuit wiring (Live, Neutral, Ground).
Step 5: Secure Canopy
- Rotate the up canopy upwards to cover the hanging bracket.
- Tighten the two screws on the canopy to secure it.
Step 6: Install Blades and Light Kit
- Remove the screws on the motor used to install the blades.
- Install the blades, tightening the screws firmly.
- Remove the three screws used to install the light plate.
- Connect the light power cord.
- Install the light plate, securing it with the three screws.
- Rotate the light cover until it is fixed securely.
4. Operating Instructions
Your warmiplanet ceiling fan is controlled by the included remote. Ensure the remote has batteries installed.
Video: Warmiplanet 30 inch ceiling fan showing video. This short video highlights the fan's operational features.
4.1 Remote Control Functions

Image: Multi-function remote control. This image displays the remote control and its various buttons for operating the fan and light.
- OFF: Turns off all fan and light functions.
- Light ON/OFF: Toggles the LED light on or off.
- Fan Forward (Summer Mode): Activates the fan in a clockwise direction, creating a downdraft for cooling.
- Fan Backward (Winter Mode): Activates the fan in a counter-clockwise direction, creating an updraft to circulate warm air.
- Natural Breeze: Cycles through various fan speeds to simulate a natural breeze.
- Fan Stop: Stops the fan blades.
- 1-6 Button (Fan Speed): Selects one of 6 available fan speeds.
- Timer Setting (1H/4H): Sets the fan to turn off automatically after 1 or 4 hours.
- Brightness (+/-): Adjusts the brightness of the LED light.
- Color Temperature (K+/-): Changes the light color temperature between Cool White (6000K), Natural Light (4000K), and Warm White (3000K).
4.2 LED Light Features

Image: Dimmable LED Light with Three Color Temperatures. This image demonstrates the adjustable light color and dimming capabilities.
- Dimmable: The 22-watt LED light can be dimmed from 10% to 100% brightness using the remote control.
- 3 Color Temperatures: Easily switch between 3000K (Warm White), 4000K (Natural Light), and 6000K (Cool White) to suit your preference.
- Memory Function: Both the fan speed and light settings (color and brightness) have a memory function, retaining the last used settings when turned back on.
4.3 Reversible DC Motor
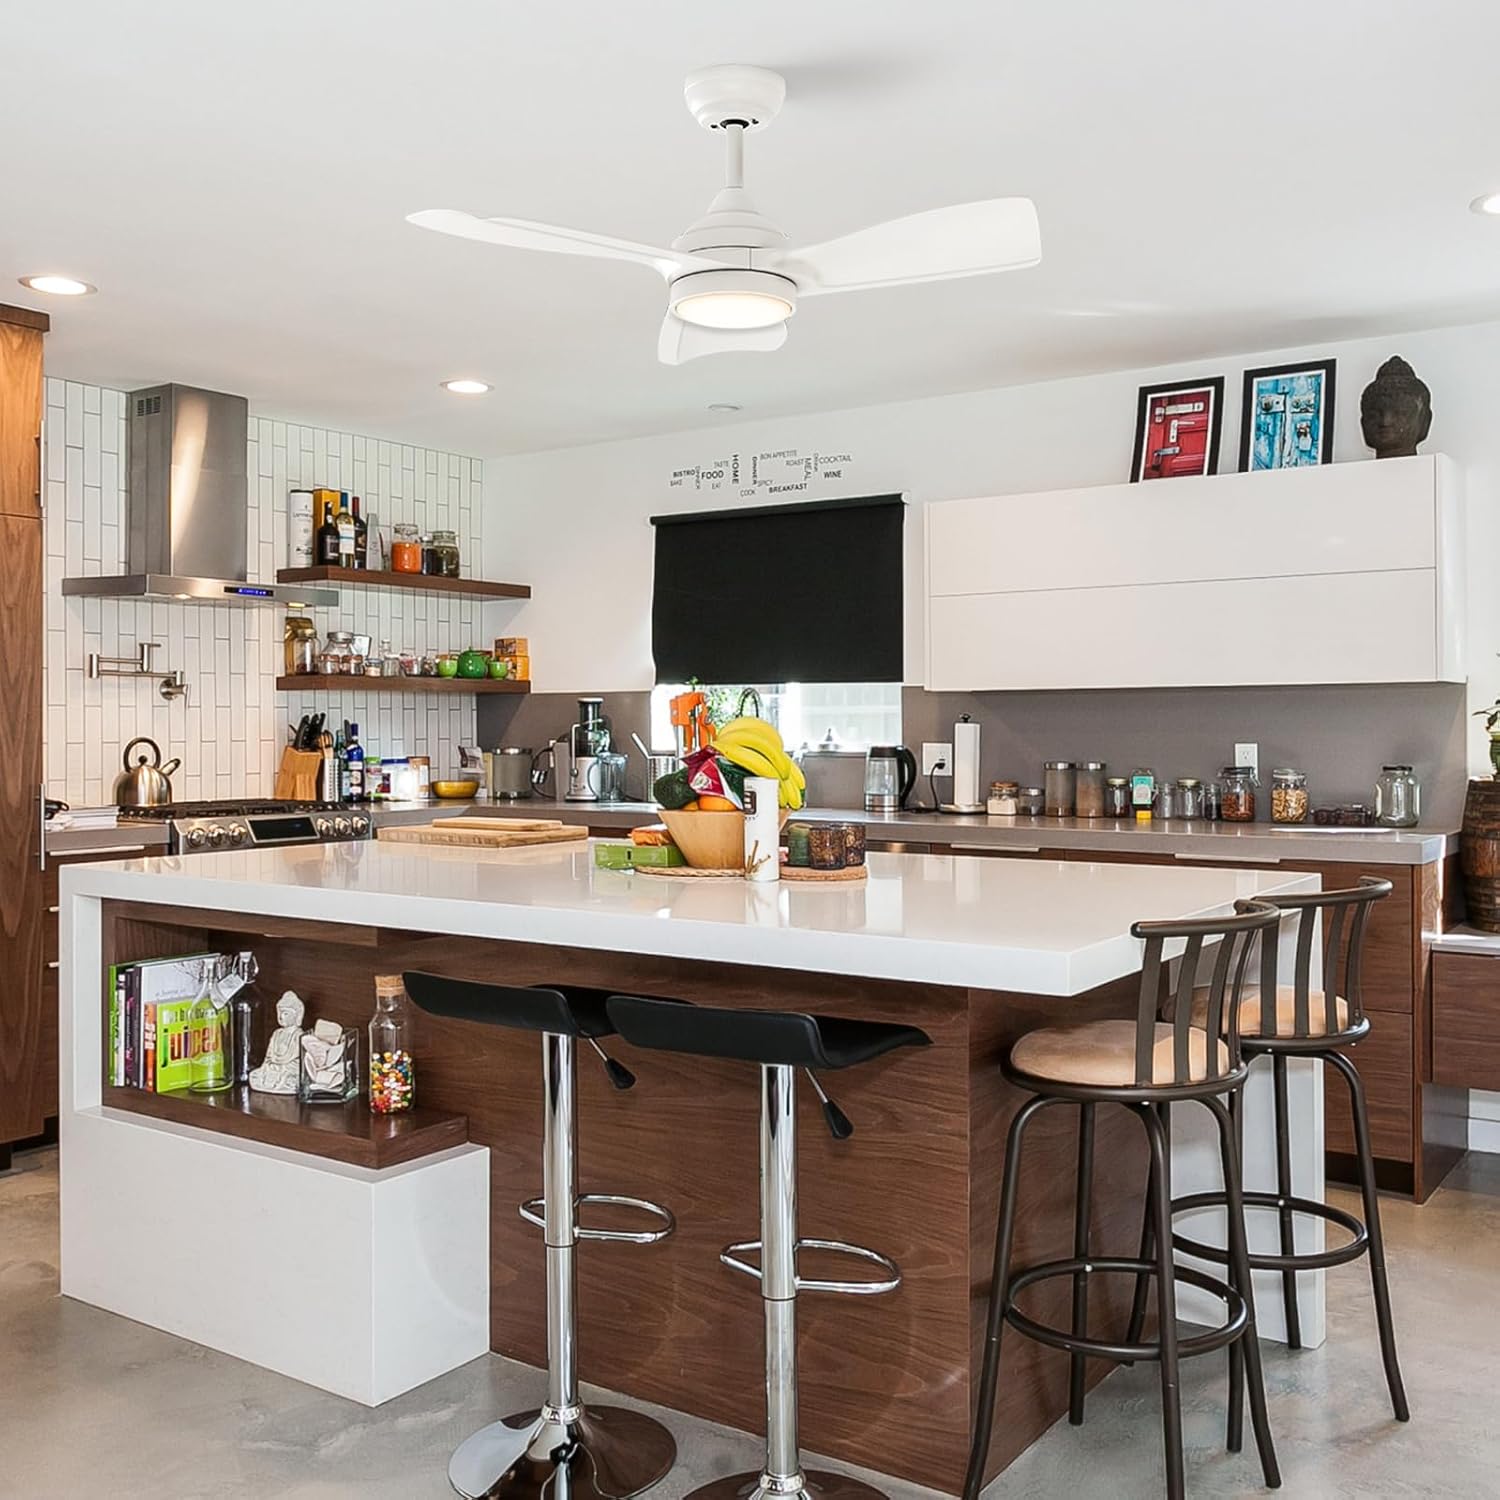
Image: Reversible Function for Summer and Winter. This image shows how the fan's direction can be reversed to optimize air circulation for different seasons.
The fan features a reversible DC motor for year-round comfort:
- Summer Mode (Downdraft): Blades rotate clockwise to create a cooling breeze.
- Winter Mode (Updraft): Blades rotate counter-clockwise to circulate warm air trapped near the ceiling, helping to warm the room.
4.4 Quiet Operation

Image: Noise level comparison. This image illustrates the quiet operation of the fan, with sound levels less than 35dB.
The DC motor ensures extremely quiet operation, making it suitable for bedrooms and other quiet spaces.
5. Maintenance
Regular maintenance helps ensure the longevity and optimal performance of your ceiling fan.
- Cleaning: Use a soft, damp cloth to clean the fan blades and motor housing. Do not use abrasive cleaners or solvents.
- Tighten Screws: Periodically check and tighten all screws on the fan blades and mounting hardware to prevent wobbling or noise.
- Light Source: The LED light is replaceable and durable. If replacement is needed, contact customer support for guidance.
Always ensure the power is disconnected before performing any cleaning or maintenance.
6. Troubleshooting
If you experience issues with your fan, refer to the following common problems and solutions:
| Problem | Possible Cause | Solution |
|---|---|---|
| Fan does not start | No power supply; Loose wiring; Remote control issue | Check circuit breaker; Verify all wire connections; Replace remote batteries or re-pair remote. |
| Light does not work | Loose wiring; LED light failure | Check light kit wiring connections; Contact customer support for LED replacement. |
| Fan wobbles | Loose blades or mounting hardware; Unbalanced blades | Tighten all blade screws and mounting screws; Use a balancing kit (not included) if necessary. |
| Excessive noise | Loose screws; Motor issue | Check and tighten all screws; If noise persists, contact customer support. |
| Remote not responding | Low batteries; Remote not paired | Replace batteries; Refer to remote pairing instructions (usually involves pressing a button combination after power cycle). |
If the problem persists after trying these solutions, please contact warmiplanet customer support.
7. Specifications
| Feature | Detail |
|---|---|
| Brand | warmiplanet |
| Model Number | WICF20-1 |
| Product Dimensions | 30"D x 30"W x 12.99"H |
| Item Weight | 10.1 Pounds |
| Color | White |
| Electric Fan Design | Ceiling Fan |
| Power Source | DC |
| Style | Modern |
| Room Type | Living Room, Bedroom, Kitchen (Indoor) |
| Mounting Type | Downrod Mount (5.9" & 11.8" downrods included) |
| Controller Type | Remote Control |
| Number of Speeds | 6 |
| Wattage | 24.00 W (Fan), 22 W (LED Light) |
| Number of Blades | 3 |
| Voltage | 120 Volts |
| Indoor/Outdoor Usage | Indoor, Covered Outdoor |
| Light Type | LED (Dimmable, 3 Color Temperatures: 3000K, 4000K, 6000K) |
| Special Features | Timer (1H/4H), Reversible DC Motor, Memory Function |
| Material | Plastic (Blades) |
8. Warranty and Support
warmiplanet stands behind the quality of its products.
- Motor Warranty: 10 years.
- Whole Fan Warranty: 2 years.
- Customer Support: We offer 24-hour customer support. If you have any questions or require assistance, please feel free to contact us. We aim to reply within 24 hours and provide the best possible service.
- Installation Assistance: Installation videos and detailed instructions are provided to facilitate easy setup.