1. Introduction
This manual provides comprehensive instructions for the assembly, setup, operation, and maintenance of your Reobrix 11006 McLaren F1 Remote Control Model Kit. Please read this manual thoroughly before beginning assembly or operation to ensure a smooth and enjoyable experience. This kit is designed for enthusiasts aged 14 and up.
2. Product Overview
The Reobrix 11006 McLaren F1 model kit allows you to construct a detailed 1:8 scale replica of the iconic McLaren F1 race car. This set features a streamlined design with interactive elements such as a flip-up front and tail, linked steering wheel, and an impressive rear wing. The model is remote-controlled, offering dynamic playability through a 2.4G remote control or a mobile phone application. It is equipped with one L-motor and one servo-motor for enhanced functionality.
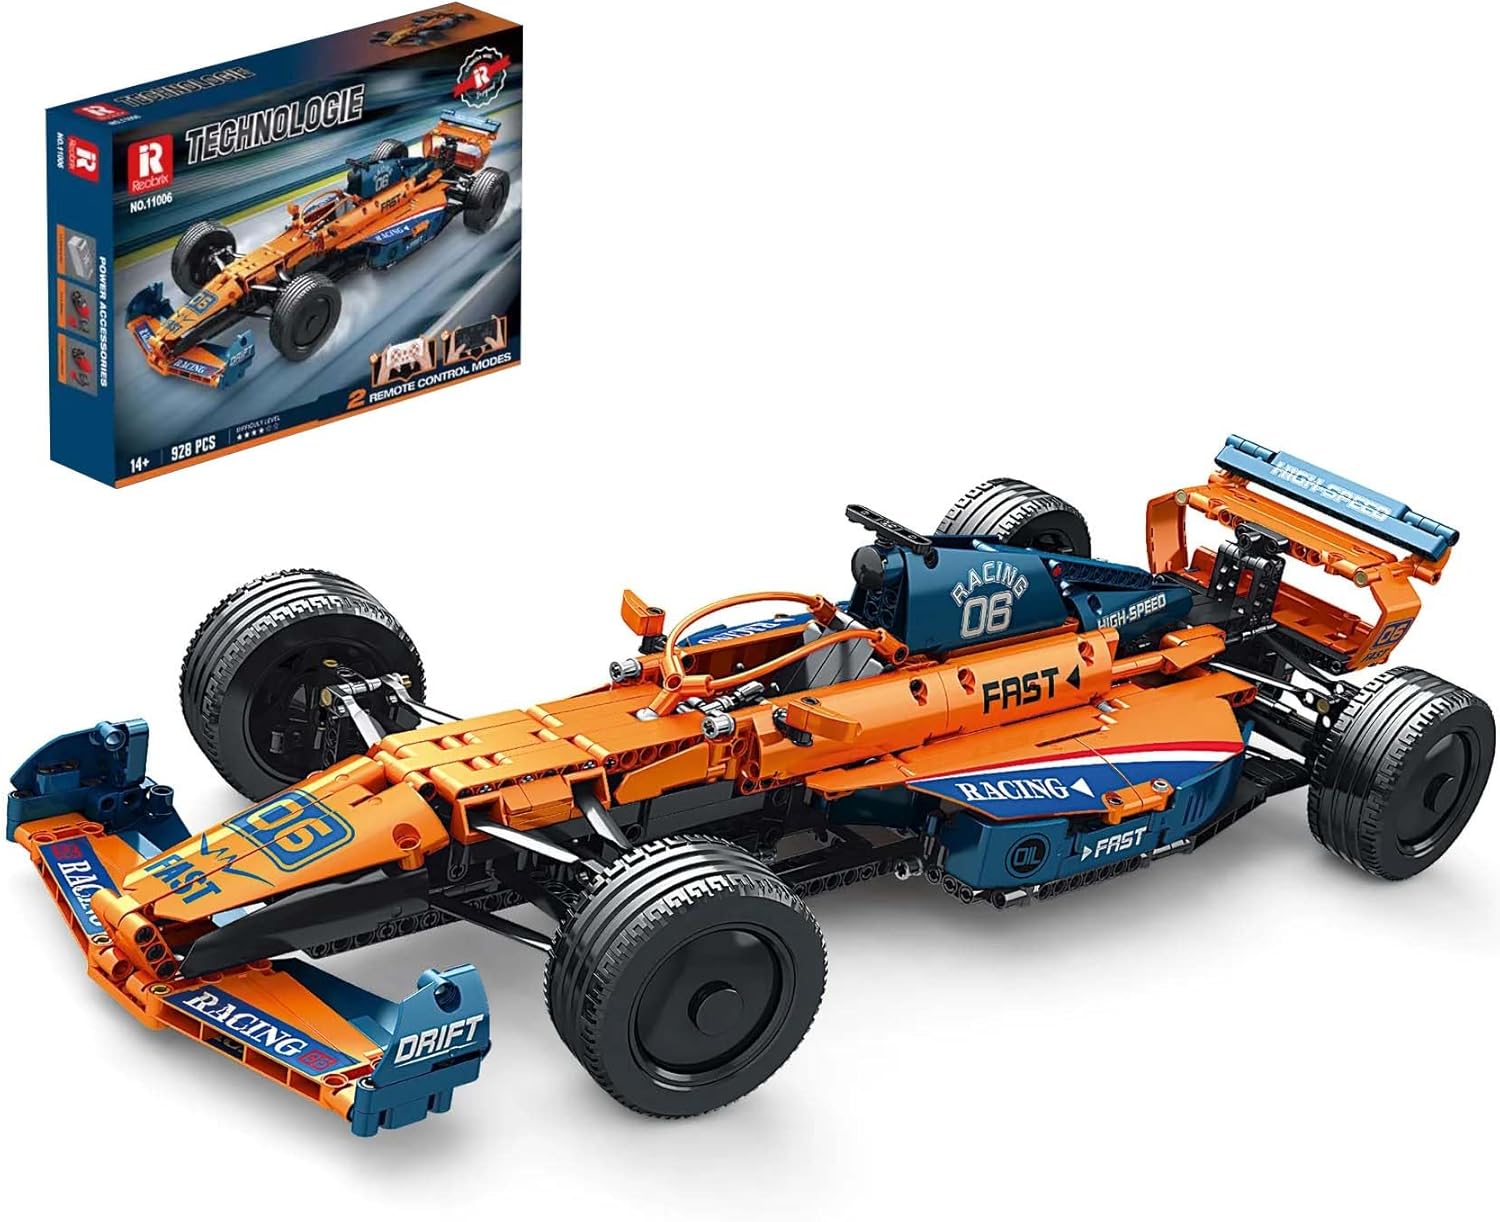
Image 1: The Reobrix 11006 McLaren F1 model kit, showcasing the assembled car and its packaging.
3. Safety Information
- Age Recommendation: This product is suitable for individuals aged 14 years and up.
- Small Parts Warning: The kit contains small parts that could pose a choking hazard. Keep out of reach of small children.
- Material Safety: All parts are crafted from eco-friendly Acrylonitrile Butadiene Styrene (ABS) materials, which are non-toxic and odorless.
- Assembly: Ensure all components are securely fitted during assembly to prevent loose parts during play.
- Electrical Components: Handle motors and battery components with care. Do not expose to water or extreme temperatures.
4. Package Contents
Your Reobrix 11006 kit includes the following:
- 928 building block pieces (finely polished, non-toxic ABS)
- 1 x L-motor
- 1 x Servo-motor
- 1 x Battery Box (batteries not included, see Setup section for details)
- 1 x 2.4G Remote Control
- Detailed Assembly Instruction Manual

Image 2: Power accessories included with the kit, such as the battery box and motors.
5. Assembly Instructions
Follow the detailed, step-by-step instructions provided in the included physical manual. Each step is illustrated to guide you through the construction process. Ensure you identify the correct pieces for each step to avoid errors. The Reobrix building blocks are designed for a snug fit and are compatible with other major building block brands.
- Sorting Parts: Before starting, sort the 928 pieces by color and type to facilitate easier assembly.
- Step-by-Step Guidance: Refer to the numbered steps in the manual. Pay close attention to the diagrams.
- Secure Connections: Press pieces firmly together to ensure stable connections.
- Motor Integration: Carefully integrate the L-motor and servo-motor as indicated in the manual. Incorrect placement may affect remote control functionality.
- Battery Box Placement: Install the battery box in the designated location.

Image 3: Front view of the completed McLaren F1 model, highlighting its streamlined body.

Image 4: Side profile of the assembled model, showing the detailed body design.

Image 5: Rear view of the model, featuring the rear wing and exhaust details.
6. Setup: Remote Control and App Connectivity
To operate your McLaren F1 model, you will need to install batteries and connect to either the 2.4G remote control or the mobile application.
6.1 Battery Installation
- The battery box requires specific batteries (type and quantity usually specified in the physical manual, typically AA or AAA). These are not included in the kit.
- Open the battery compartment on the battery box.
- Insert the required batteries, ensuring correct polarity (+/-).
- Close the battery compartment securely.
- For the remote control, install batteries as per its specific instructions.
6.2 Connecting to Remote Control
- Turn on the power switch on the model's battery box.
- Turn on the 2.4G remote control.
- The model and remote control should automatically pair. If not, refer to the specific pairing instructions in your physical manual.
6.3 Mobile App Connectivity
- Download the official Reobrix control app from your device's app store (iOS/Android).
- Ensure Bluetooth is enabled on your mobile device.
- Turn on the power switch on the model's battery box.
- Open the Reobrix app and follow the on-screen instructions to connect to your model.

Image 6: Remote control and mobile app interface for operating the model.
7. Operating Instructions
Once connected, you can control your McLaren F1 model using the remote control or the mobile app. Familiarize yourself with the controls before operating in confined spaces.
- Driving: Use the directional controls on your remote or app to move the car forward, backward, left, and right.
- Steering: The linked steering wheel mechanism allows for precise control of the front wheels.
- Interactive Features:
- Flip-up Front and Tail: Operate these features as described in your manual or via the app interface.
- Rear Wing: Adjust the rear wing for different aerodynamic effects (if controllable).
- Speed Control: The model may feature variable speed settings for different play styles.

Image 7: Close-up of the model's interactive features, such as the steering wheel and rear wing.
8. Maintenance
Proper maintenance will ensure the longevity and optimal performance of your Reobrix McLaren F1 model.
- Cleaning: Use a soft, dry cloth to gently wipe dust and debris from the model. Avoid using harsh chemicals or abrasive materials.
- Storage: Store the model in a cool, dry place away from direct sunlight and extreme temperatures. Keep it in its original packaging or a protective display case to prevent damage.
- Battery Care: Remove batteries from the model and remote control if not in use for extended periods to prevent leakage.
- Part Inspection: Periodically check for any loose or damaged parts. Reattach or replace as necessary.
9. Troubleshooting
If you encounter issues with your Reobrix 11006 model, refer to the following common problems and solutions:
| Problem | Possible Cause | Solution |
|---|---|---|
| Model does not respond to remote control/app. |
|
|
| Parts do not fit together or instructions are unclear. |
|
|
| Model moves slowly or inconsistently. |
|
|
10. Specifications
| Feature | Detail |
|---|---|
| Model Name | RB11006-D |
| Brand | Reobrix |
| Number of Pieces | 928 |
| Assembly Required | Yes |
| Batteries Required | Yes (for motors and remote control, not included) |
| Material Type | Acrylonitrile Butadiene Styrene (ABS) |
| Recommended Age | 14 years and up |
| Product Dimensions (L x W x H) | 55.98 x 25.48 x 12.98 cm |
| Product Weight | 1.9 kg |
| Educational Objectives | Analytical Skill, Color Recognition, Construction Skills, Creative Thinking, Patience Skills |

Image 8: Dimensions of the assembled Reobrix 11006 McLaren F1 model.
11. Warranty and Support
Reobrix is committed to providing exceptional after-sales service. If you have any questions, concerns, or require assistance with your product, please do not hesitate to reach out to our customer support team. We are dedicated to ensuring your complete satisfaction and a worry-free enjoyment of your Reobrix McLaren F1 model kit.
Please refer to the contact information provided on your product packaging or the official Reobrix website for support details.