Introduction
This manual provides essential information for setting up, operating, maintaining, and troubleshooting your ASRock CL25FF 24.5-inch Full HD 100Hz Gaming Monitor. Please read this manual thoroughly before using the product to ensure proper function and longevity.
Important Safety Information
- Always disconnect the power cable from the electrical outlet before cleaning the monitor.
- Do not expose the monitor to rain or moisture to prevent fire or shock hazards.
- Do not open the monitor casing. There are no user-serviceable parts inside. Refer all servicing to qualified service personnel.
- Place the monitor on a stable, flat surface to prevent it from falling.
- Ensure proper ventilation around the monitor. Do not block ventilation openings.
- Use only the power adapter and cables supplied with the monitor.
Package Contents
Verify that all items are present in your package:
- ASRock CL25FF 24.5-inch Gaming Monitor
- Monitor Stand (Base and Neck)
- Power Adapter and Power Cable
- HDMI Cable
- User Manual (this document)
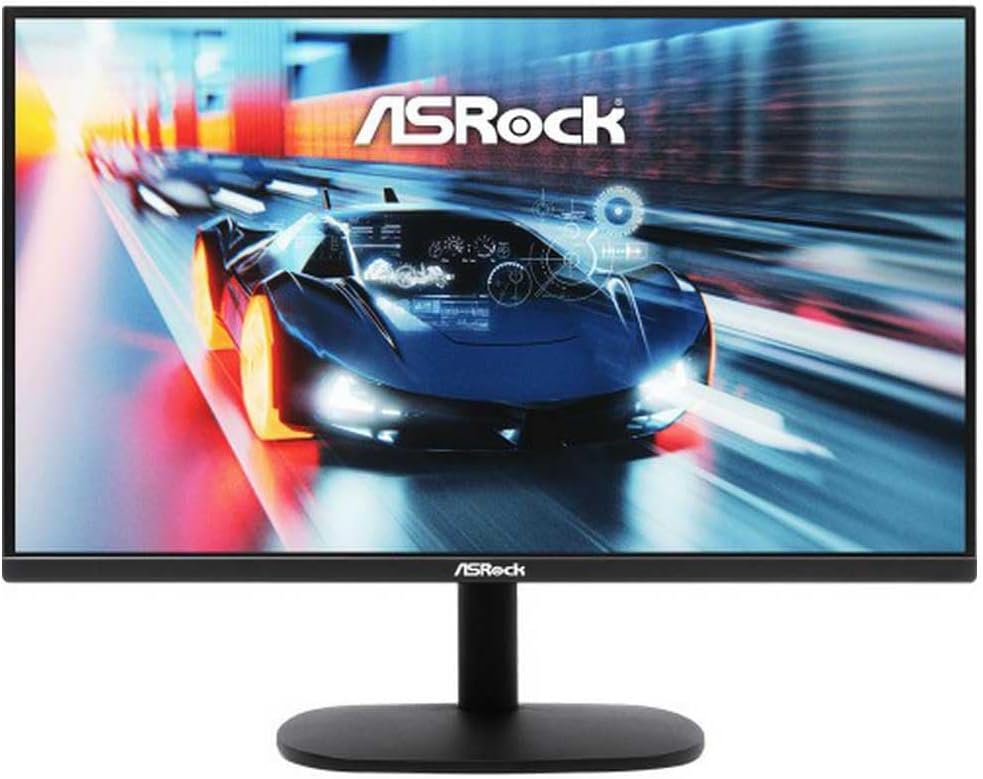
Image: Front view of the ASRock CL25FF 24.5-inch Full HD 100Hz Gaming Monitor, showing the screen displaying a racing car image and the ASRock logo on the bezel and stand.
Setup Instructions
1. Assembling the Monitor Stand
- Carefully remove the monitor from its packaging, keeping it protected on a soft, flat surface (e.g., a cloth or foam).
- Attach the stand neck to the monitor panel. Align the mounting points and secure with screws if provided, or by clicking into place.
- Attach the stand base to the stand neck. Secure with the thumb screw or screws provided.
- Gently place the assembled monitor on a stable desk or table.

Image: Rear view of the ASRock CL25FF monitor, showing the VESA mount points and the ASRock logo at the top. This area is where the stand neck attaches.
2. Connecting to a Computer
The ASRock CL25FF monitor supports multiple video inputs. Choose the appropriate cable for your computer's graphics card.
- HDMI Connection: Connect one end of the HDMI cable to the HDMI port on your monitor and the other end to the HDMI port on your computer.
- DisplayPort Connection (if available on monitor/PC): Connect a DisplayPort cable to the DisplayPort on your monitor and your computer.
- VGA Connection: Connect one end of the VGA cable to the VGA port on your monitor and the other end to the VGA port on your computer. Secure the screws on the VGA connector.

Image: Bottom view of the ASRock CL25FF monitor showing the input ports, including a power input, HDMI port, and VGA port.
3. Connecting Power
- Connect the power adapter cable to the power input port on the monitor.
- Plug the power cable into the power adapter.
- Plug the other end of the power cable into a grounded electrical outlet.
4. Initial Power On
Press the power button located on the monitor (usually on the bottom right or rear) to turn on the display. The power indicator light should illuminate.
Operating Instructions
1. Power On/Off
Press the power button to turn the monitor on or off. The power indicator light will show the monitor's status (e.g., blue for on, amber for standby).
2. On-Screen Display (OSD) Menu
The OSD menu allows you to adjust various monitor settings. The control buttons are typically located on the bottom right or rear of the monitor.
- Press the Menu button to open the OSD menu.
- Use the navigation buttons (up/down/left/right or joystick) to browse through menu options.
- Press the Enter or OK button to select an option or confirm a setting.
- Press the Exit or Back button to return to the previous menu or exit the OSD.
3. Common OSD Settings
- Brightness/Contrast: Adjust the overall luminance and difference between light and dark areas.
- Color Settings: Modify color temperature, gamma, and individual RGB levels.
- Input Select: Manually switch between HDMI, VGA, or other available input sources.
- Picture Mode: Select preset display modes (e.g., Standard, Game, Movie, Text).
- Refresh Rate: Ensure your computer's display settings are configured to utilize the monitor's 100Hz refresh rate for optimal gaming performance. This is typically set within your operating system's display settings or graphics card control panel.
- Aspect Ratio: Adjust the image aspect ratio (e.g., Full, 4:3, 1:1).
Maintenance
1. Cleaning the Monitor Screen
- Turn off the monitor and unplug the power cable.
- Use a soft, lint-free cloth (microfiber is recommended) to gently wipe the screen surface.
- For stubborn marks, lightly dampen the cloth with water or a non-ammonia, non-alcohol based screen cleaner. Do not spray cleaner directly onto the screen.
- Avoid using abrasive cleaners, solvents, or harsh chemicals, as these can damage the screen coating.
2. Cleaning the Monitor Casing
- Turn off the monitor and unplug the power cable.
- Use a soft, dry cloth to wipe the casing.
- For more thorough cleaning, a slightly damp cloth can be used, followed by a dry cloth.
Troubleshooting
If you encounter issues with your monitor, refer to the following common solutions:
| Problem | Possible Solution |
|---|---|
| No image on screen |
|
| Image is blurry or distorted |
|
| Screen flickers |
|
| Colors appear incorrect |
|
Specifications
The following table outlines the key technical specifications for the ASRock CL25FF monitor:
| Feature | Specification |
|---|---|
| Brand | ASRock |
| Model Number | CL25FF (90LXA080-A0E0A0N) |
| Screen Size | 24.5 Inches |
| Resolution | 1920 x 1080 (Full HD) |
| Refresh Rate | 100Hz |
| Aspect Ratio | 16:9 |
| Screen Surface | Glossy |
| Color | Black |
| Item Weight | 2.2 pounds (approx. 1 kg) |
| Product Dimensions (LxWxH) | 8.66 x 31.5 x 21.65 inches (approx. 22 x 80 x 55 cm) |
| Manufacturer | ASROCK |
| First Available Date | March 7, 2025 |
Warranty and Support
Warranty Information
ASRock products are covered by a limited warranty. The specific terms and duration of your warranty may vary by region and product. Please refer to the official ASRock website or your purchase documentation for detailed warranty information.
Keep your proof of purchase (receipt or invoice) as it will be required for any warranty claims.
Technical Support
For technical assistance, driver downloads, or further product information, please visit the official ASRock support website. You can typically find FAQs, troubleshooting guides, and contact options there.
When contacting support, please have your monitor's model number (CL25FF or 90LXA080-A0E0A0N) and serial number ready.
Additional protection plans may be available for purchase from your retailer. These are separate from the manufacturer's standard warranty.


