Introduction
Welcome to the world of HobbyPlus RC! This manual provides essential information for the setup, operation, and maintenance of your new HobbyPlus CR-18P EVO PRO 1/18 Scale RC Rock Crawler. Please read this manual thoroughly before operating your vehicle to ensure safe and optimal performance. Keep this manual for future reference.
Safety Information
WARNING: This product is intended for use by individuals aged 15 years or older. Adult supervision is recommended for all users.
- Always operate the vehicle in a safe, open area away from people, pets, and obstacles.
- Never operate the vehicle near public roads or in areas with vehicle traffic.
- Keep hands, hair, and loose clothing away from moving parts.
- Do not expose the vehicle or electronics to water or moisture unless explicitly stated as waterproof.
- Always disconnect the battery from the vehicle when not in use and during charging.
- Use only the provided charger and battery, or approved replacements.
- Improper use of LiPo batteries can result in fire, injury, or property damage.
Package Contents
Your HobbyPlus CR-18P EVO PRO Ready-to-Run (RTR) kit includes the following components:
- HobbyPlus CR-18P EVO PRO RC Rock Crawler Vehicle
- 2.4GHz 4-Channel RC Transmitter
- 7.4V 2S LiPo 360mAh Battery
- USB Charger with Indicator
- Instruction Manual
Vehicle Specifications
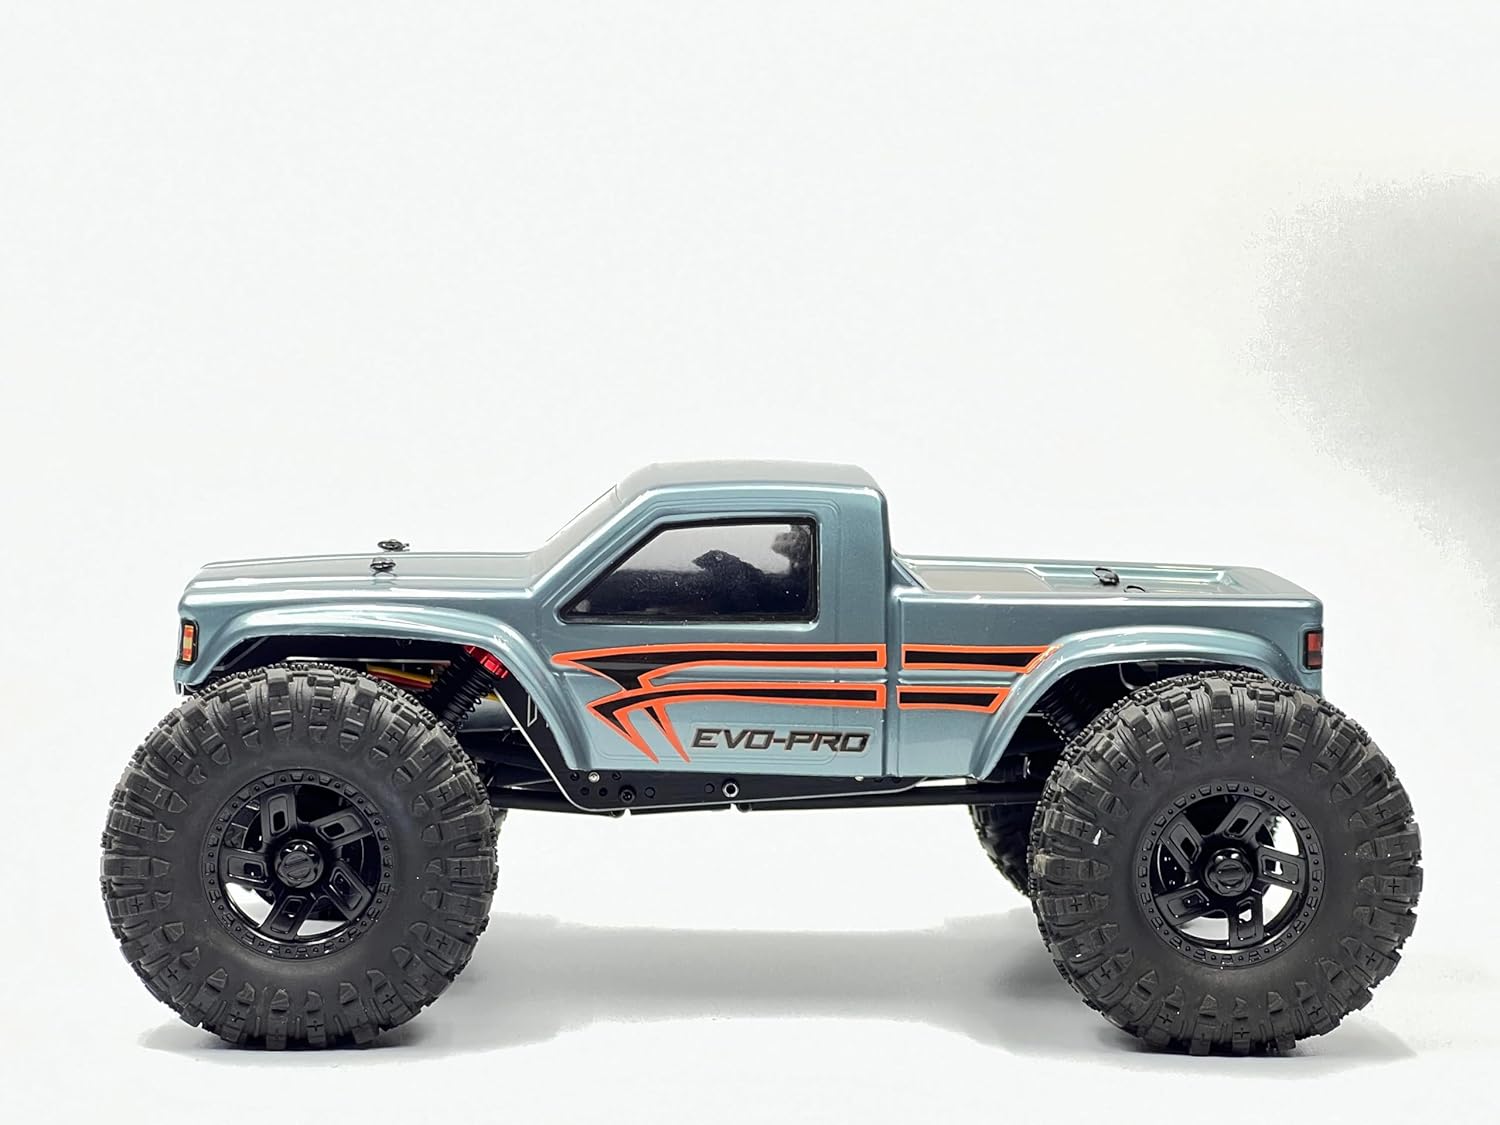
Image: Side view of the HobbyPlus CR-18P EVO PRO, showcasing its compact design and large tires.
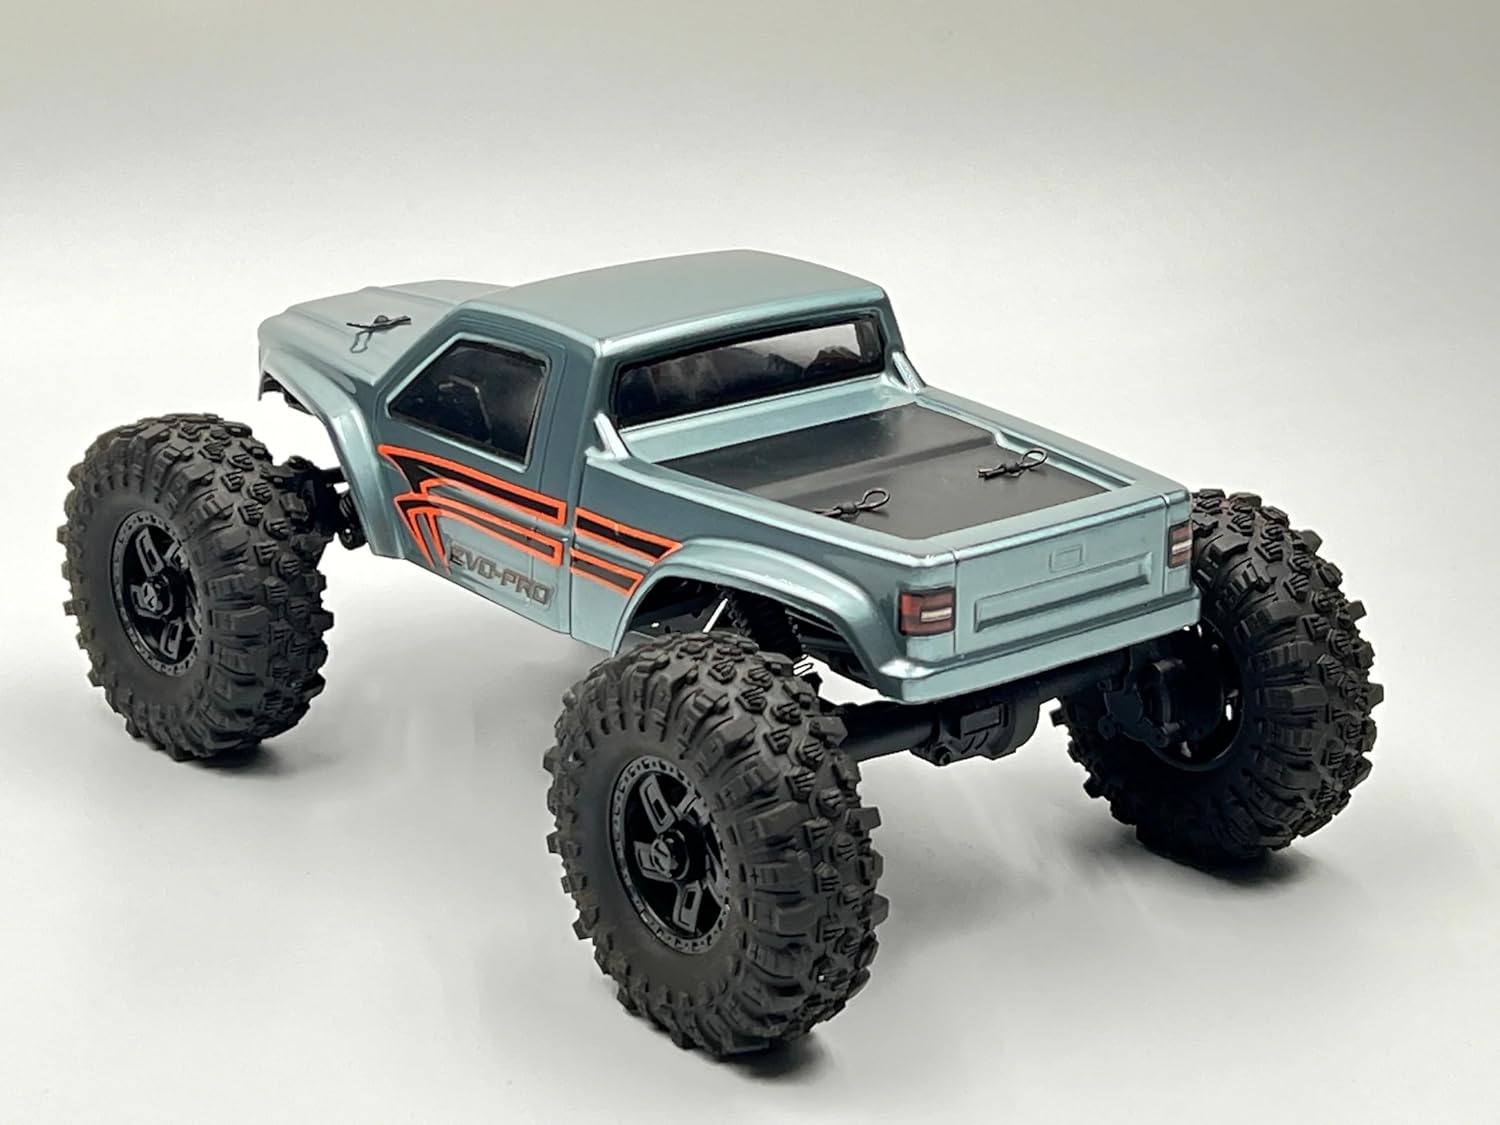
Image: Rear view of the HobbyPlus CR-18P EVO PRO, highlighting the truck bed and rear suspension.
| Feature | Specification |
|---|---|
| Length | 225mm |
| Height | 98mm |
| Width | 138mm |
| Weight | approx 400g |
| Wheelbase | 160mm |
| Drive Train | Full-lock 4WD |
| Shocks | Oil-filled Coil Spring, Big-bore with aluminum caps |
| Wheels | Internal bead lock |
| Tires | 68mm competition-spec Super Soft Rubber |
| Chassis | New angle motor LCG aluminum chassis frame |
| Servo | New servo on axle (SOA) design |
| Driveshaft | Heavy-duty plastic |
| Transmission | Full metal gears, 2-speed gearbox |

Image: Underside view of the CR-18P EVO PRO chassis, showing the drivetrain and suspension components.

Image: Side view of the CR-18P EVO PRO chassis with the body removed, revealing the internal layout.
Electronics Specifications

Image: Detailed view of the Big Block 280 size motor, Flysky ESC/RX combo, and battery connection.

Image: Close-up of the front axle and the servo-on-axle (SOA) steering mechanism.
| Component | Specification |
|---|---|
| Transmitter (TX) | 2.4GHz 4-channel |
| Receiver (RX) | 4-channel (PPX4 grade water resistant) |
| Battery | 7.4V 2S Li-Po 360mAh |
| ESC | FLYSKY ESC/RX combo |
| Motor | Big Block 280 size brushed motor |
| Charger | USB with indicator |
Setup
1. Battery Charging
- Connect the 7.4V 2S LiPo 360mAh battery to the included USB charger.
- Plug the USB charger into a compatible USB power source (e.g., computer USB port, USB wall adapter).
- The indicator light on the charger will show the charging status (typically red for charging, green for fully charged).
- Do not leave the battery unattended while charging.
- Once fully charged, disconnect the battery from the charger.
2. Transmitter Preparation
- Install 4x AA batteries (not included) into the transmitter's battery compartment, observing correct polarity.
- Turn on the transmitter. The indicator light should illuminate.
- Your RTR vehicle and transmitter are typically pre-bound from the factory. If re-binding is necessary, refer to the specific instructions provided with your Flysky ESC/RX combo or contact support.
3. Vehicle Preparation
- Carefully remove the body clips and lift the vehicle body to access the chassis.
- Connect the fully charged 2S LiPo battery to the ESC/RX combo. Ensure the connection is secure.
- Place the battery securely in its compartment.
- Replace the vehicle body and secure it with the body clips.
- Turn on the vehicle's power switch, usually located on the ESC/RX unit.
Operation
Before operating, ensure both the transmitter and vehicle batteries are fully charged and properly connected. Always turn on the transmitter first, then the vehicle. When finished, turn off the vehicle first, then the transmitter.
Basic Controls
- Throttle Trigger: Pull the trigger to move forward. Push the trigger forward to brake, then push again for reverse.
- Steering Wheel: Turn the wheel left to steer left, and right to steer right.
- Trim Adjustments: Use the steering trim dial on the transmitter to adjust the steering so the vehicle drives straight when the steering wheel is centered.
Driving Tips for Rock Crawling
- Start slowly and learn the vehicle's response to controls.
- Utilize the vehicle's low-speed torque and articulation for navigating obstacles.
- Maintain a steady throttle input when climbing to prevent loss of traction.
- Observe the terrain and plan your lines to avoid getting stuck or tipping over.
- Practice in various environments to improve your crawling skills.
Video: This video demonstrates the Hobby Plus CR-18P EVO-PRO in action, showcasing its crawling capabilities and performance on various terrains. It highlights the vehicle's agility and suspension articulation.
Maintenance
Regular maintenance ensures the longevity and performance of your RC vehicle.
General Cleaning
- After each use, especially in dusty or dirty conditions, clean the vehicle.
- Use a soft brush or compressed air to remove dirt and debris from the chassis, suspension, and motor area.
- Wipe down the body with a damp cloth.
- Avoid using harsh chemicals or solvents that could damage plastic or painted surfaces.
Component Inspection
- Regularly inspect all screws and fasteners for tightness. Tighten any loose screws.
- Check the suspension components (shocks, links) for damage or excessive wear.
- Inspect the tires for cuts or tears and ensure they are securely mounted on the wheels.
- Examine the drivetrain (driveshafts, gears) for any signs of wear or obstruction.
- Ensure all electrical connections are secure and free from corrosion.
- Check the motor for debris and ensure it spins freely.
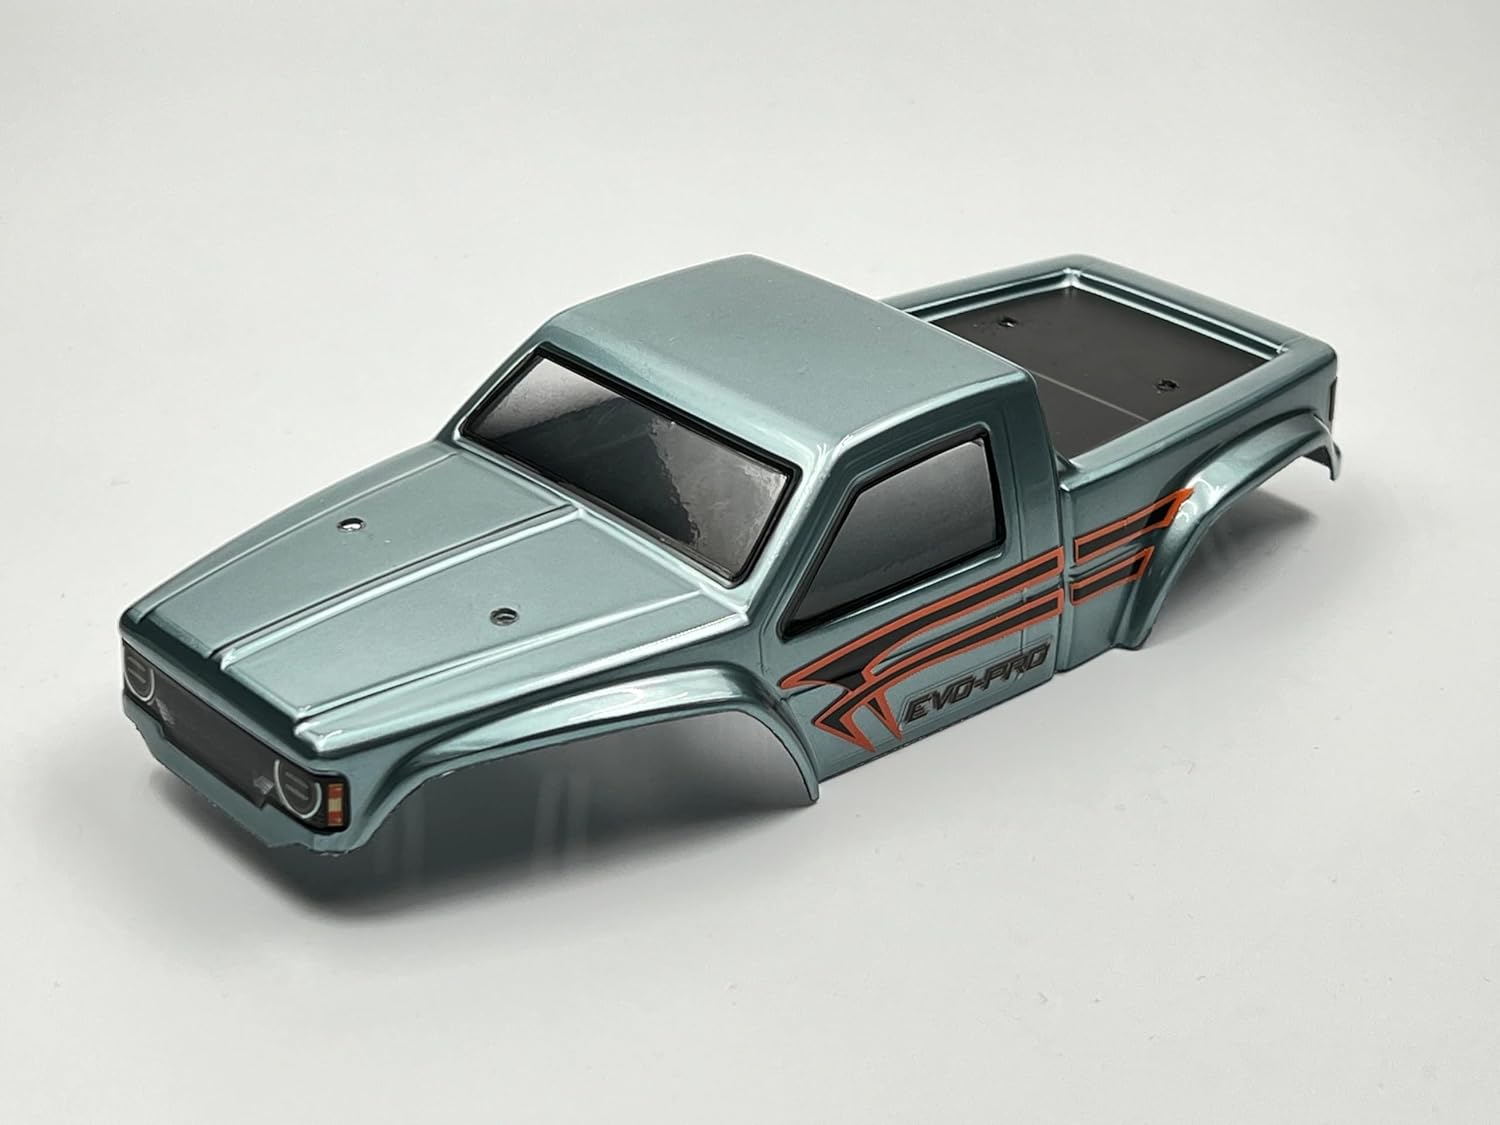
Image: Front view of the CR-18P EVO PRO body shell, showing its design and mounting points.

Image: Rear view of the CR-18P EVO PRO body shell, detailing the rear section and attachment points.
Troubleshooting
| Problem | Possible Cause | Solution |
|---|---|---|
| Vehicle does not respond | Low battery (vehicle or transmitter), loose connections, vehicle/transmitter not powered on, binding issue. | Charge/replace batteries. Check all connections. Ensure both are powered on. Re-bind if necessary. |
| Poor range or intermittent control | Interference, low transmitter battery, damaged antenna. | Move to an area with less interference. Replace transmitter batteries. Inspect antenna for damage. |
| Motor runs but wheels do not turn | Stripped gears, loose driveshaft, motor pinion loose. | Inspect and replace damaged gears. Secure driveshaft connections. Tighten motor pinion. |
| Vehicle pulls to one side | Steering trim incorrect, damaged steering components. | Adjust steering trim on the transmitter. Inspect steering servo and linkages for damage. |
Warranty and Support
For warranty information, technical support, or replacement parts, please contact your retailer or the manufacturer directly. Keep your proof of purchase for warranty claims.
Manufacturer: HobbyPlus - Helidirect


