Introduction
This manual provides instructions for the proper setup, operation, and maintenance of your Ozark Trail 10-Person Instant Cabin Tent with LED Lighted Poles, Model 30711. Please read all instructions carefully before attempting to set up or use the tent. Retain this manual for future reference.
Safety Information
- Fire Safety: Keep all flame and heat sources away from this tent fabric. The tent is made of flame-resistant fabric, but it is not fireproof.
- Ventilation: Ensure adequate ventilation to prevent suffocation. Do not use fuel-burning devices inside the tent.
- Weather Conditions: This tent is designed for general use in mild to moderate weather conditions. In severe weather (heavy winds, snow, extreme rain), seek alternative shelter.
- Electrical Safety: When using the electrical port, ensure all cords are in good condition and properly insulated. Avoid overloading circuits.
- Children: Keep children away from setup areas. Adult supervision is required when children are near the tent.
Package Contents
Verify that all components are present before beginning setup:
- Tent Body with Pre-attached Poles
- Removable Rainfly
- Tent Stakes
- Guy Ropes
- Removable Room Divider
- Carry Bag
- Instruction Manual
Setup Instructions
The Ozark Trail 10-Person Instant Cabin Tent features pre-attached poles for a quick and efficient setup. It is recommended that two people set up the tent.
- Unpack and Lay Out: Remove the tent from its carry bag. Lay the tent body flat on the ground at your desired campsite, ensuring the floor is spread out evenly.
- Extend Poles: Locate the pre-attached poles. Gently lift the center of the tent and extend each leg pole outwards until it locks into place. Ensure all joints are fully extended and locked.
- Raise Tent: Once all poles are extended and locked, the tent structure will stand upright.
- Secure Tent: Stake down the four corners of the tent. For added stability, attach and stake out the guy ropes.
- Attach Rainfly: Drape the rainfly over the top of the tent, aligning the doors and windows. Secure the rainfly to the tent poles or base using the attached clips or ties. This provides additional weather protection.

Image: The tent body with its pre-attached poles fully extended, standing upright before the rainfly is added. This shows the basic structure of the instant cabin tent.
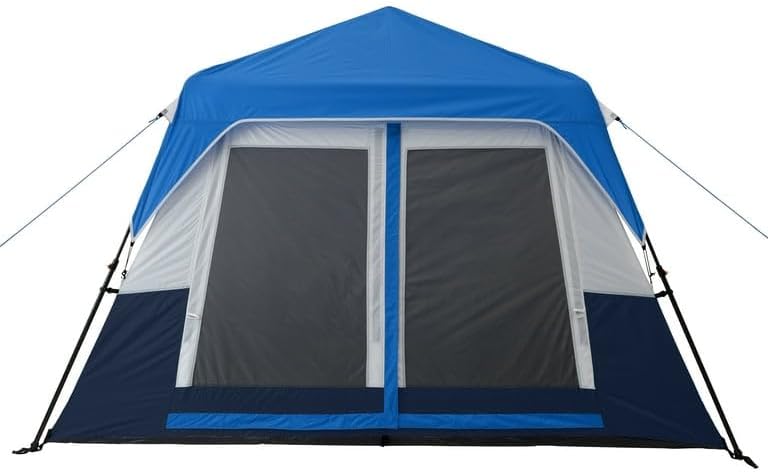
Image: The Ozark Trail 10-Person Instant Cabin Tent fully assembled with the blue rainfly in place, secured with guy ropes and stakes. This represents the completed setup.
Operating Instructions
LED Lighted Poles
The tent features built-in LED lighted poles with adjustable brightness settings.
- Power On/Off: Locate the power switch on one of the tent poles or an integrated control panel. Press the button to turn the lights on or off.
- Adjust Brightness: Cycle through the low, medium, and high power settings by pressing the power button repeatedly.
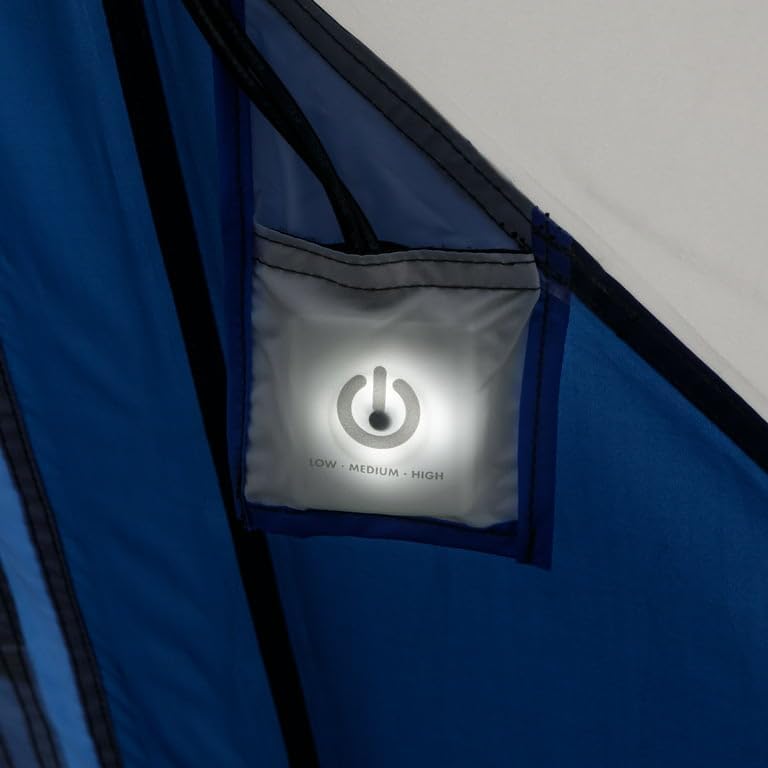
Image: A close-up view of the LED light control switch, labeled "LOW - MEDIUM - HIGH", located within a pocket on the tent wall. This switch controls the brightness of the integrated LED poles.
Electrical Port
An electrical port is provided for convenient access to power inside the tent.
- Usage: Unzip the small opening on the tent wall marked with an electrical plug icon. Pass an extension cord through this opening to bring power inside.
- Closure: Zip the opening closed around the cord to minimize insect entry and maintain weather resistance.

Image: A detailed view of the tent's electrical port, indicated by a plug icon, with an orange extension cord threaded through the zippered opening. This allows for external power access inside the tent.
Room Divider
The tent includes a removable room divider to create two separate sleeping areas or private spaces.
- Installation: Attach the divider to the designated loops or hooks inside the tent.
- Removal: Detach the divider when a single large space is preferred.

Image: An interior shot of the tent demonstrating the removable room divider in place, creating two distinct sections within the tent. This highlights the tent's versatility for privacy or shared space.
Storage Pockets and Lantern Hook
Utilize the mesh storage pockets for organizing small items and the lantern hook for overhead lighting.

Image: A close-up of the tent's interior mesh storage pockets, shown holding sunglasses and a water bottle, illustrating their utility for keeping small items organized and accessible.

Image: An interior view of the tent ceiling, featuring a lantern suspended from a central hook, providing overhead illumination. This demonstrates the tent's integrated lighting solution.
Maintenance
- Cleaning: Clean the tent with a soft sponge, mild soap, and lukewarm water. Do not use harsh detergents, bleach, or abrasive cleaners. Rinse thoroughly and allow to air dry completely before packing.
- Drying: Always ensure the tent is completely dry before storing to prevent mildew and damage to the water-resistant coating.
- Storage: Store the tent in its carry bag in a cool, dry place away from direct sunlight and extreme temperatures.
- Pole Care: Inspect poles for damage before and after each use. Clean any dirt or debris from pole sections and joints.
- Water Resistance: The tent has a 1,200 mm PU water-resistant coating. Over time, this coating may degrade. Re-apply a suitable tent waterproofing spray as needed to maintain water resistance.
Troubleshooting
- Tent Not Standing Firmly: Ensure all pre-attached poles are fully extended and locked into place. Check that the tent is properly staked down and guy ropes are taut.
- Water Leakage: Verify the rainfly is correctly positioned and secured over the tent. Check for any tears or punctures in the fabric. Consider re-applying a waterproofing treatment if the tent is older.
- Zipper Issues: If zippers stick, apply a small amount of zipper lubricant or silicone spray. Avoid forcing zippers. Ensure fabric is not caught in the zipper teeth.
- LED Lights Not Working: Check the battery compartment (if applicable, though not specified, assume internal power for pre-attached poles). Ensure the power button is pressed correctly to cycle through settings.
Specifications
| Feature | Detail |
|---|---|
| Model Number | 30711 |
| Occupancy | 10 Person |
| Dimensions (L x W x H) | 14' x 10' x 78" (168"L x 120"W x 78"H) |
| Floor Area | 140 Square Feet |
| Weight | 40 Pounds |
| Material Type | Polyester |
| Water Resistance | 1,200 mm PU coating |
| Installation Type | Instant Setup |
| Number of Rooms | 2 (with removable divider) |
| Special Features | LED Lighted Poles (Low, Medium, High settings), Electrical Port, Mesh Windows, Adjustable AC Vents, Storage Pockets, Lantern Hook |
Warranty
This Ozark Trail tent is covered by a 6 Months Manufacturer Warranty from the date of purchase. This warranty covers defects in materials and workmanship under normal use. It does not cover damage resulting from misuse, abuse, accidents, unauthorized modifications, or normal wear and tear. Please retain your proof of purchase for warranty claims.
Support
For further assistance, questions, or to report any issues with your Ozark Trail 10-Person Instant Cabin Tent, please contact the manufacturer's customer support. Refer to the packaging or the manufacturer's official website for contact details.