Wellmet DS-FL115
Wellmet Gold Crystal Drum Shade Floor Lamp (Model DS-FL115-Gold-US) User Manual
Your comprehensive guide to assembly, operation, and maintenance.
1. Introduction
Thank you for choosing the Wellmet Gold Crystal Drum Shade Floor Lamp. This manual provides essential information for the safe and efficient use of your new lighting fixture. Please read these instructions carefully before assembly and retain them for future reference.

Image 1.1: The Wellmet Gold Crystal Drum Shade Floor Lamp, featuring a black drum shade, gold finish, and crystal accents, positioned in a modern living room.
2. Important Safety Instructions
WARNING: To reduce the risk of fire, electric shock, or injury to persons:
- Read all instructions carefully before installation and use.
- Ensure the power is turned off at the main circuit breaker before assembly or maintenance.
- Do not connect electricity until your fixture is fully assembled.
- This product is intended for indoor use only. Do not use in wet locations.
- Use only the specified bulb type and wattage (E12 base, max 40W per bulb, 6 bulbs total).
- Do not touch the bulb when the fixture is operating or hot.
- Keep flammable materials away from the light fixture.
- Always handle the lamp with care to avoid damage to components, especially the crystal elements.
3. Package Contents
Carefully unpack all components and check against the list below. If any parts are missing or damaged, please contact Wellmet customer support.
- Lamp Base
- Lamp Pole Sections (typically 3-4 sections)
- Lamp Head with E12 Sockets
- Drum Shade Frame
- Fabric Shade Material
- Crystal Strands and Droplets
- Finial (for securing shade)
- Assembly Hardware (screws, washers, wrench if needed)
- User Manual (this document)
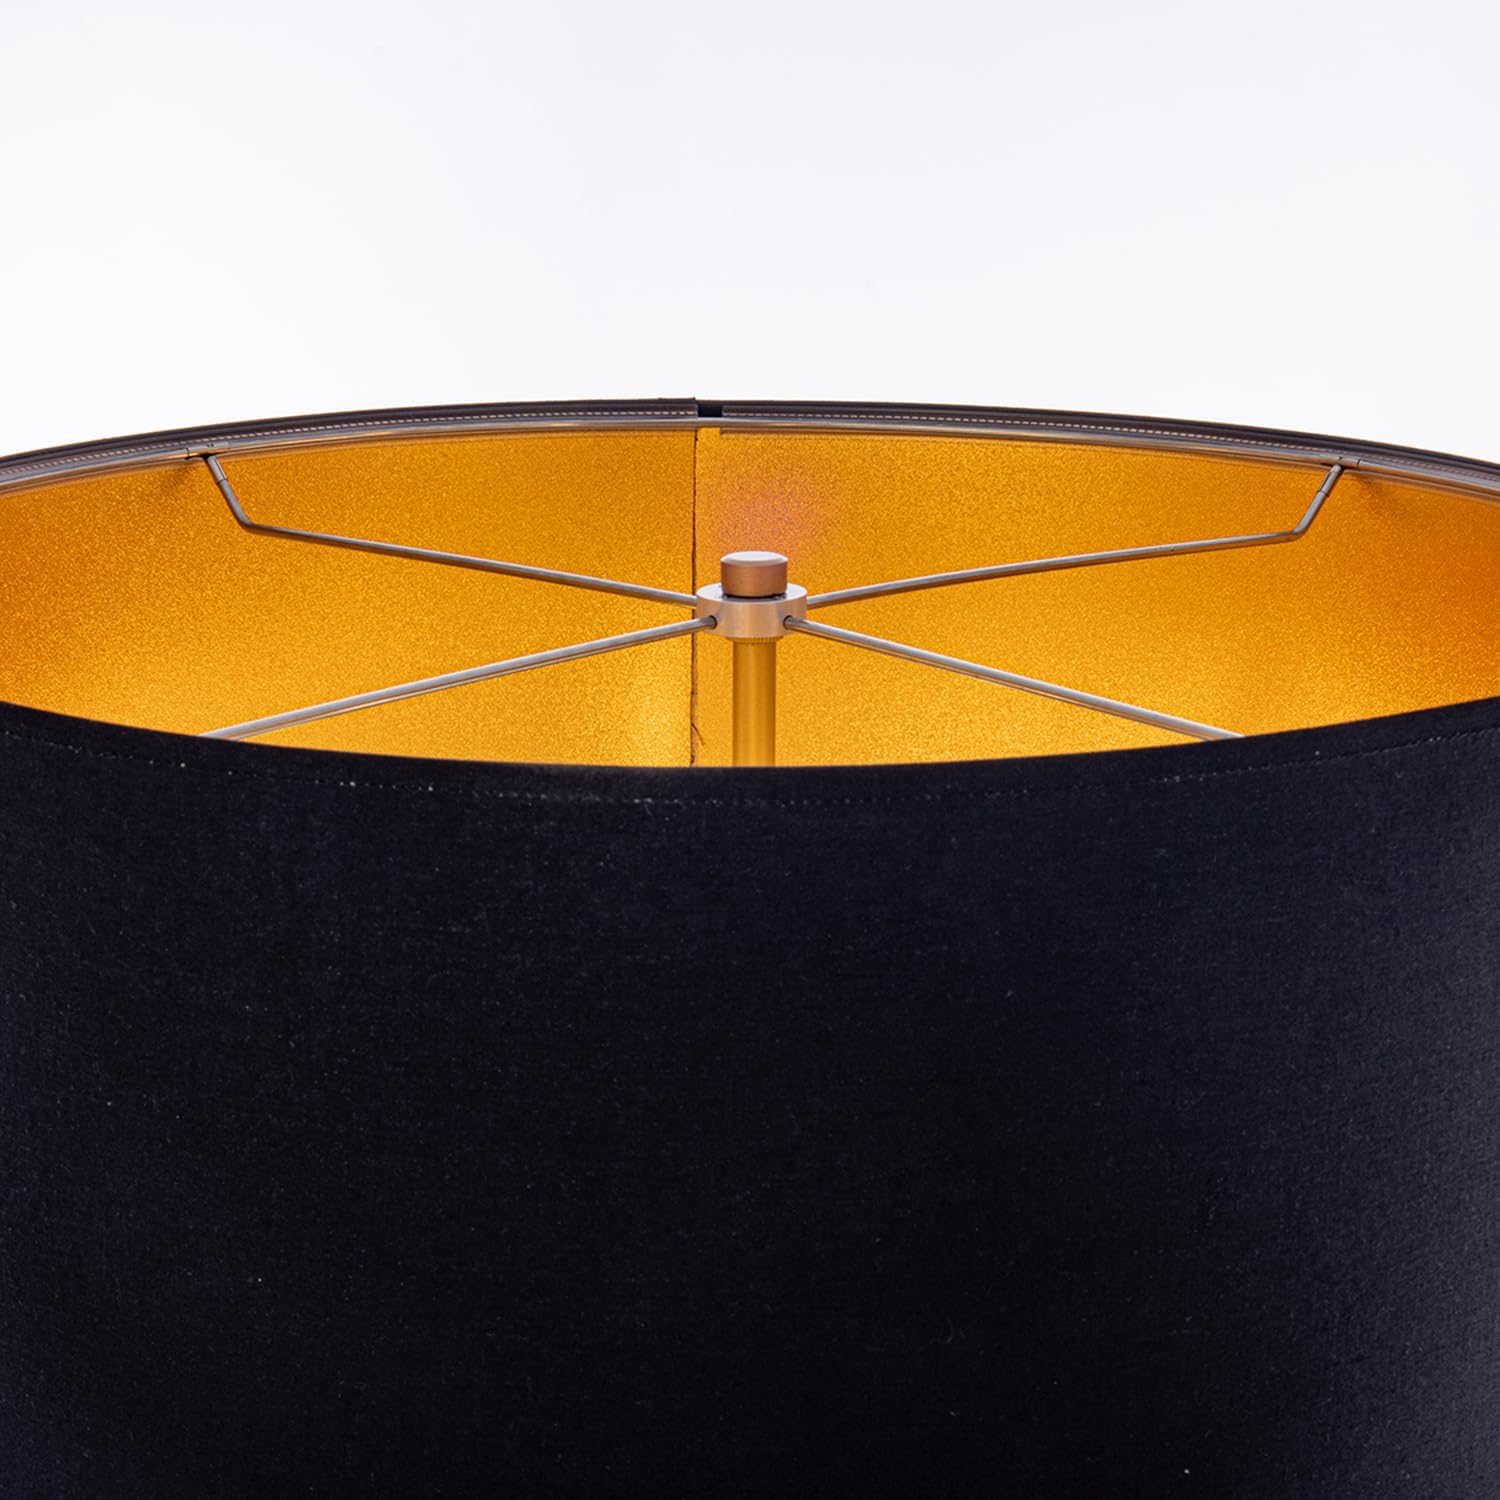
Image 3.1: Detail of the lamp's internal shade structure and gold-finished interior, showing the central rod for attachment.
4. Assembly Instructions
Follow these steps to assemble your floor lamp. It is recommended to assemble the lamp on a soft, clean surface to prevent scratches.
- Attach Lamp Pole to Base: Carefully screw the lowest lamp pole section into the lamp base until secure. Ensure the power cord passes freely through the base.
- Assemble Pole Sections: Continue screwing the remaining lamp pole sections together, working upwards, until the full pole height is achieved. Ensure all connections are tight.
- Attach Lamp Head: Screw the lamp head assembly (with bulb sockets) onto the top of the assembled lamp pole.
- Assemble and Attach Shade:
- Unroll the fabric shade material and attach it to the drum shade frame, typically using Velcro or clips provided. Ensure the gold interior faces inwards.
- Place the assembled drum shade onto the lamp head, aligning the central hole with the threaded rod.
- Secure the shade in place with the finial by screwing it onto the threaded rod until snug. Do not overtighten.
- Hang Crystal Droplets: Carefully attach each crystal strand and droplet to the designated hooks or loops on the lamp head assembly. Refer to the product image for placement guidance.
- Install Bulbs: Screw six E12 base bulbs (not included) into the lamp sockets. Do not exceed the maximum wattage of 40W per bulb.

Image 4.1: Detailed view of the lamp's gold-finished arms and crystal droplets, illustrating how crystals are attached.
5. Operating Instructions
- Connect Power: Plug the lamp's power cord into a standard 110V AC electrical outlet.
- Turn On/Off: The lamp features a touch-sensitive switch. Gently touch the lamp base or pole to turn the lamp on or off. Some models may offer multiple brightness settings with successive touches.
- Bulb Replacement: Ensure the lamp is unplugged and cool before attempting to replace bulbs. Unscrew old bulbs and replace with new E12 base bulbs (max 40W).

Image 5.1: Visual representation of the lamp emitting warm light (top) and cool light (bottom), demonstrating different ambiance options depending on bulb choice.
6. Maintenance
- Cleaning: Disconnect power before cleaning. Use a soft, dry cloth to wipe the lamp base and pole. For crystal droplets, a slightly damp cloth can be used, followed by a dry cloth to prevent water spots. Do not use abrasive cleaners or solvents.
- Shade Care: The fabric shade can be gently dusted with a soft brush or vacuum cleaner with a brush attachment.
- Inspection: Periodically check all connections and wiring for any signs of wear or damage. If any issues are found, discontinue use and contact customer support.
7. Troubleshooting
| Problem | Possible Cause | Solution |
|---|---|---|
| Lamp does not turn on. | No power to outlet. Bulb(s) loose or burnt out. Loose wiring connection. | Check wall switch and circuit breaker. Test outlet with another device. Ensure bulbs are screwed in tightly. Replace burnt-out bulbs. Ensure all lamp sections are securely tightened. If issue persists, contact support. |
| Light flickers. | Loose bulb. Incorrect bulb type. Unstable power supply. | Tighten bulb(s). Ensure E12 base bulbs are used. Try different bulbs. Test lamp in a different outlet. |
| Crystals fall off. | Improper attachment. Vibration. | Re-attach crystals securely to their designated hooks. |
8. Specifications
| Feature | Detail |
|---|---|
| Model Number | DS-FL115-Gold-US |
| Product Dimensions | 20.1"D x 20.1"W x 65.78"H |
| Item Weight | 24.2 Pounds |
| Base Material | Metal |
| Shade Material | Crystal, Fabric |
| Bulb Base | E12 |
| Number of Light Sources | 6 |
| Max Wattage per Bulb | 40W (Bulbs not included) |
| Voltage | 110 Volts |
| Power Source | Corded Electric |
| Switch Type | Touch |
| Indoor/Outdoor Usage | Indoor |

Image 8.1: Dimensional diagram of the lamp, indicating a height of 65.78 inches and a shade diameter of 20.1 inches.
9. Warranty and Customer Support
Wellmet products are manufactured to high-quality standards. For warranty information, please refer to the documentation included with your purchase or contact your retailer. If you encounter any issues or have questions regarding your Wellmet Gold Crystal Drum Shade Floor Lamp, please contact Wellmet customer support for assistance.
Wellmet Customer Support:
Please visit the official Wellmet website or contact your point of purchase for the most current support information.
10. Product Videos
No official seller-created product videos are available for this model at this time.
Ask a question about this manual
Ask about setup, troubleshooting, compatibility, parts, safety, or missing instructions. Manuals+ will review the question and use this page’s manual context to help answer it.