1. Introduction
Thank you for choosing the Maclean MCE385 PIR Motion Detector. This device is designed for outdoor use, providing reliable motion detection with advanced features like pet immunity. Please read this manual carefully before installation and operation to ensure proper use and safety.
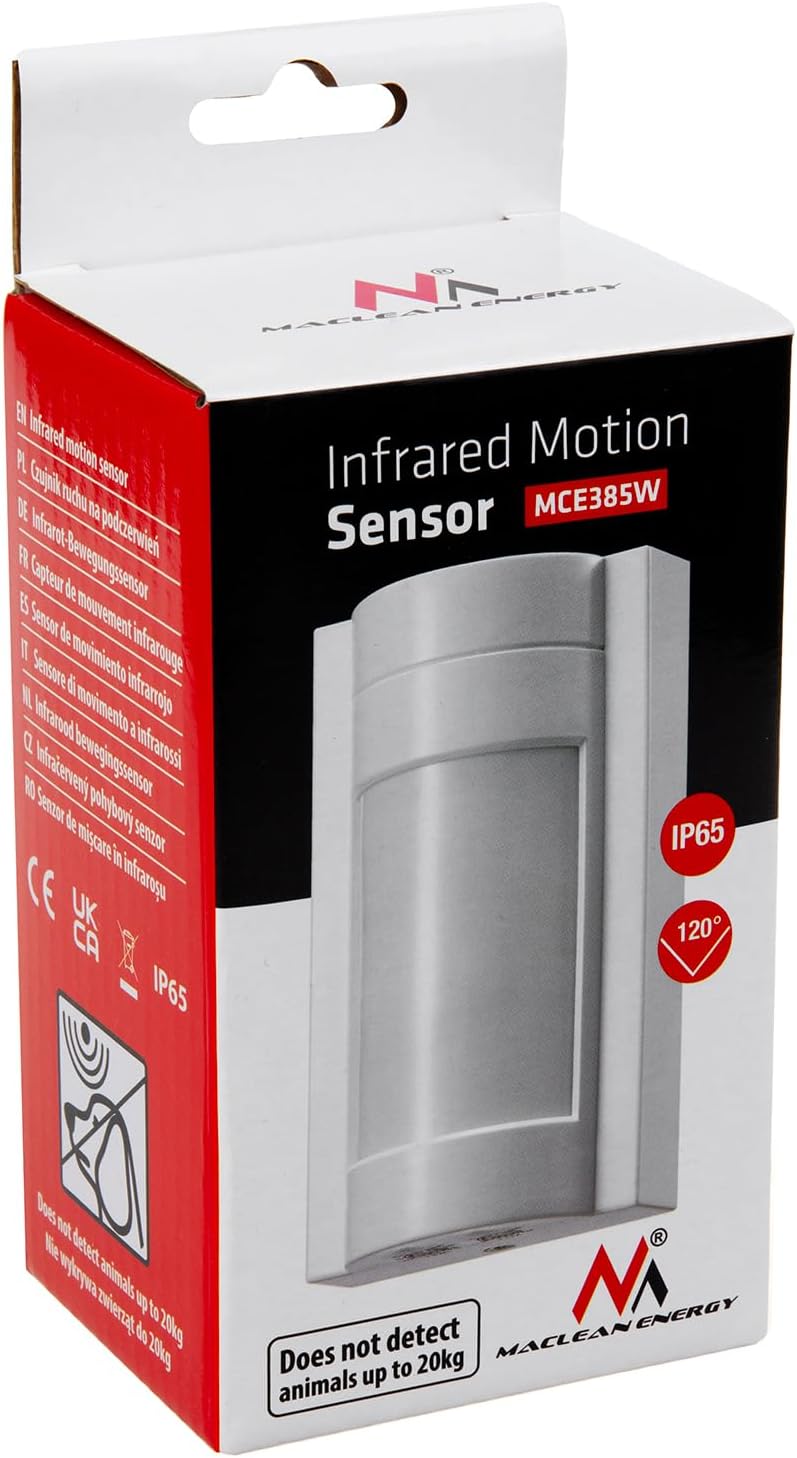
Figure 1: Maclean MCE385 PIR Motion Detector packaging.
2. Safety Instructions
- Electrical Safety: Installation must be performed by a qualified electrician. Disconnect power before installation or maintenance.
- Voltage: Ensure the power supply matches the device's requirements (220-240V/AC, 50/60Hz).
- Outdoor Use: The device has an IP65 rating, making it suitable for outdoor environments. However, avoid direct water jets or submersion.
- Mounting: Mount the device securely to prevent it from falling.
- Temperature: Operate within the specified temperature range of -20°C to +40°C.
3. Product Overview
Key Features:
- PIR Motion Detection: Passive Infrared sensor detects movement by sensing changes in infrared radiation.
- Wide Detection Range: Up to 12 meters with a 120-degree detection angle.
- Pet Immunity: Designed not to detect animals weighing less than 20 kg, reducing false alarms.
- Adjustable Settings: Time delay and ambient light (LUX) sensitivity are adjustable.
- Weatherproof: IP65 rating for outdoor installation.
Components:
- Motion Detector Unit
- Mounting Screws and Anchors

Figure 2: Front view of the motion detector.

Figure 3: Bottom view with adjustment knobs for TIME and LUX.
4. Specifications
| Voltage | 220-240V/AC |
| Frequency | 50/60Hz |
| Ambient Light (Adjustable) | <3-2000 LUX |
| Time Delay (Adjustable) | 10s (±3s) to 15 min (±2 min) |
| Rated Load (Incandescent Lamps) | Up to 1200W |
| Rated Load (Energy Saving Lamps) | Up to 600W |
| Detection Angle | 120 degrees |
| Detection Range | Max. 12m |
| Power Consumption | Approx. 0.5W |
| Mounting Height | 1.8-2.2m |
| Protection Degree | IP65 |
| Operating Temperature | -20°C to +40°C |
| Operating Humidity | <93% RH |
| Electrical Shock Protection Class | Class I |
| Dimensions (L x W x H) | 17 x 8 x 6 cm |
| Weight | 200 Grams |
5. Setup and Installation
5.1 Choosing a Location:
- Mount the sensor at a height of 1.8m to 2.2m for optimal detection.
- Avoid mounting near heat sources (e.g., air vents, direct sunlight) or objects that may cause rapid temperature changes, as this can lead to false triggers.
- Ensure the detection area is clear of obstructions.

Figure 4: Recommended mounting height and detection area.

Figure 5: Detection range and angle.
5.2 Mounting the Device:
- Turn off the main power supply before starting installation.
- Open the sensor casing.
- Mark the desired mounting position on the wall.
- Drill holes and insert the provided wall anchors.
- Secure the sensor base to the wall using the provided screws.

Figure 6: Mounting accessories.
5.3 Wiring Connections:
Connect the power supply and load wires according to the wiring diagram. Ensure all connections are secure and insulated.
- L: Live wire (Input)
- N: Neutral wire (Input)
- L': Live wire (Output to load)

Figure 7: Wiring diagram. Connect Live (L), Neutral (N), and Load (L') wires as shown.
After wiring, close the sensor casing and restore power.
6. Operating Instructions
The Maclean MCE385 motion detector features two adjustable knobs on its underside: TIME and LUX.
Figure 8: TIME and LUX adjustment knobs.
6.1 TIME Adjustment:
The TIME knob controls how long the connected light or device remains on after motion is detected and the detection area is clear. Rotate the knob to set the desired delay:
- Minimum setting: Approximately 10 seconds (fully counter-clockwise).
- Maximum setting: Approximately 15 minutes (fully clockwise).

Figure 9: TIME adjustment knob.
6.2 LUX Adjustment:
The LUX knob determines the ambient light level at which the sensor will activate the connected device. Rotate the knob to set the desired light sensitivity:
- Sun symbol (fully clockwise): The sensor will operate both day and night (high LUX sensitivity).
- Moon symbol (fully counter-clockwise): The sensor will only operate in low light conditions (e.g., dusk or night, low LUX sensitivity).

Figure 10: LUX adjustment knob.
6.3 Walk Test:
After installation and initial settings, perform a walk test to verify the detection area and functionality:
- Set the TIME knob to minimum (10s) and the LUX knob to maximum (sun symbol) for daytime testing.
- Walk through the desired detection area. The connected light should turn on.
- Step out of the detection area. The light should turn off after the set time delay.
- Adjust the sensor's angle or location if the detection area is not satisfactory.
- Once satisfied, set the TIME and LUX knobs to your preferred operational settings.
7. Maintenance
- Cleaning: Regularly clean the sensor lens with a soft, dry cloth to ensure optimal performance. Do not use abrasive cleaners or solvents.
- Inspection: Periodically check the wiring connections and mounting for any signs of wear or damage.
- Power: Disconnect power before performing any cleaning or maintenance.
8. Troubleshooting
| Problem | Possible Cause | Solution |
|---|---|---|
| Light does not turn on when motion is detected. |
|
|
| Light stays on continuously. |
|
|
| False triggers (light turns on without apparent motion). |
|
|
9. Warranty and Support
Information regarding warranty and specific support contacts is not available in this manual. Please refer to your purchase documentation or contact your retailer for warranty details and technical assistance.


