
HITOSINO HS-CUB68G2-LIA/SL
HITOSINO 4K Outdoor Bullet PoE Camera User Manual
Model: HS-CUB68G2-LIA/SL
1. Introduction
This manual provides detailed instructions for the installation, operation, and maintenance of your HITOSINO 4K Outdoor Bullet PoE Camera. This camera is designed for both home and business security, offering advanced features for reliable surveillance.
Key features include 8MP UltraHD resolution, smart color night vision, two-way audio, advanced human and vehicle detection, and a robust IP67-rated metal housing for outdoor use.
2. What's in the Box
Verify that all components are present before proceeding with installation.
- Camera Body (1)
- Quick Start Guide (1)
- Waterproof Accessories (1 set)
- Drill Template (1)
- Pack of Screws (1)

Image: Components included in the HITOSINO 4K Outdoor Bullet PoE Camera package.
3. Specifications
Detailed technical specifications for the HITOSINO 4K Outdoor Bullet PoE Camera.
| Feature | Description |
|---|---|
| Model Number | HS-CUB68G2-LIA/SL |
| Resolution | 8MP UltraHD (3840 × 2160) @ 15fps |
| Sensor | 1/2.4" CMOS |
| Lens | 2.8mm Fixed Lens, F1.6 aperture |
| Viewing Angle | 127 Degrees (Wide Angle) |
| Night Vision | Smart Color Night (up to 98ft/30m), IR Night Vision |
| Audio | 2-Way Audio (Built-in Mic & Speaker) |
| Detection | Human/Vehicle Detection (Motion Detection 2.0) |
| Deterrent | Strobe Lights & Audio Warnings |
| Connectivity | PoE (Power over Ethernet), Ethernet, ONVIF |
| Storage | MicroSD/MicroSDHC/MicroSDXC card (up to 512GB), HITOSINO NVRs, FTP |
| Video Compression | H.265+/H.265/H.264+/H.264 |
| Weather Resistance | IP67 Rated, Full Metal Housing |
| Operating Temperature | -30°C to 60°C (-22°F to 140°F) |
| Dimensions (L x W x H) | 7.1 x 2.7 x 2.7 inches (179 x 69.1 x 67.4 mm) |
| Weight | 1.35 pounds |

Image: Detailed overview of the camera's physical features and dimensions.
4. Setup
4.1 Mounting the Camera
The camera supports both ceiling and wall mounting. Use the provided drill template to mark the screw holes accurately.
- Choose a suitable mounting location that provides the desired viewing angle and is within reach of your network cable.
- Place the drill template on the wall or ceiling and mark the screw holes.
- Drill holes according to the marks and insert wall anchors if necessary.
- Secure the camera base to the mounting surface using the provided screws.
- Adjust the camera angle as needed.

Image: Wall Mount and Ceiling Mount installation examples.
4.2 Connecting the Camera
The camera supports various connection methods:
Standalone Use with 12V 2A Power Adapter (Not Included)
Connect the camera to a router using an Ethernet cable and power it with a 12V 2A power adapter. This setup allows monitoring via laptop or smartphone.

Image: Standalone camera setup using a 12V 2A power adapter.
Standalone Use with PoE Switch
For simplified wiring, connect the camera to a PoE switch using a single Ethernet cable. The PoE switch provides both power and data. Connect the PoE switch to your router.

Image: Standalone camera setup using a PoE switch.
Connect to HITOSINO/Hikvision Non-PoE NVR
Connect the camera to a PoE switch, then connect the PoE switch to your Non-PoE NVR. Ensure the NVR is connected to a monitor and mouse for local access.

Image: Connecting the camera to a Non-PoE NVR.
Connect to HITOSINO/Hikvision PoE NVR
Directly connect the camera to a PoE NVR using an Ethernet cable. The NVR provides power and data. Connect the NVR to your router, monitor, and mouse.

Image: Connecting the camera to a PoE NVR.
4.3 Initial Setup Tips
- Ensure all devices are properly powered up and correctly connected.
- The default IP address of the camera is 192.168.1.64, and DHCP is enabled by default. When connected to your router, the camera should automatically be assigned a valid IP address.
- For this value series, unlike Hikvision branded or HITOSINO white label products, ONVIF is enabled by default. When using with a third-party PoE NVR, ensure you know the NVR's built-in IP address and adjust the camera's IP address to the same network segment accordingly. For full functionality, it is recommended to use a HITOSINO or Hikvision NVR.

Image: Important tips for camera network configuration.
5. Operating the Camera
5.1 Night Vision Modes
The camera offers three distinct night vision modes to suit various lighting conditions:
- White Light: Provides 24/7 full-color imaging up to 100ft (30m). Ideal for clear, detailed color footage in complete darkness.
- IR Light: Offers crystal clear white and black imaging up to 100ft (30m) using infrared illumination. Suitable for discreet monitoring.
- Smart Dual Light: Intelligently switches between IR and white light. The camera uses IR for general monitoring and activates white light for full-color imaging when human or vehicle motion is detected, capturing crucial details.

Image: Visual representation of the three night vision modes.

Image: Example of IR night vision footage.

Image: Example of color night vision footage.
5.2 Motion Detection 2.0 (Human & Vehicle Detection)
The camera features advanced Motion Detection 2.0 technology, which intelligently distinguishes between humans and vehicles, significantly reducing false alarms caused by animals, rain, or falling leaves. This ensures you receive accurate and relevant notifications.
- When connected to a HITOSINO/Hikvision NVR, footage is automatically sorted into 'Human' and 'Vehicle' files for quick and efficient searching.

Image: Motion Detection 2.0 focusing on human and vehicle detection.

Image: How Motion Detection 2.0 reduces false alarms.

Image: Quick target search feature when connected to a HITOSINO/Hikvision NVR.
5.3 Active Deterrence (Strobe Light & Audible Alarms)
The camera is equipped with active deterrent features to warn off potential intruders before an incident occurs. When motion is detected, the camera can activate a strobe light and play pre-recorded audio warnings.
- Strobe Light: A bright flashing light designed to startle and deter intruders.
- Audible Alarms: Choose from 11 default warnings or customize your own audio messages to play through the built-in speaker.

Image: Active deterrence features in action, showing strobe light and audible alarms.

Image: Active deterrence in action, showing instant alerts and two-way audio.
5.4 Real-Time Communication (Two-Way Audio)
The built-in microphone and speaker enable two-way audio communication. You can talk to visitors or deter intruders directly through the camera using the Hik-Connect app.

Image: Real-time two-way audio communication feature.

Image: Another illustration of real-time two-way audio communication.
5.5 Remote Access and Management
Access your camera feed and manage settings from anywhere using compatible applications and software:
- Hik-Connect / Guarding Vision APP: Available for iOS and Android smartphones for remote access, real-time notifications, and two-way audio.
- IVMS-4200: Desktop client for PC (Windows/Mac) for comprehensive camera management.
- SADP Tool: For PC, used for camera activation and IP address modification.
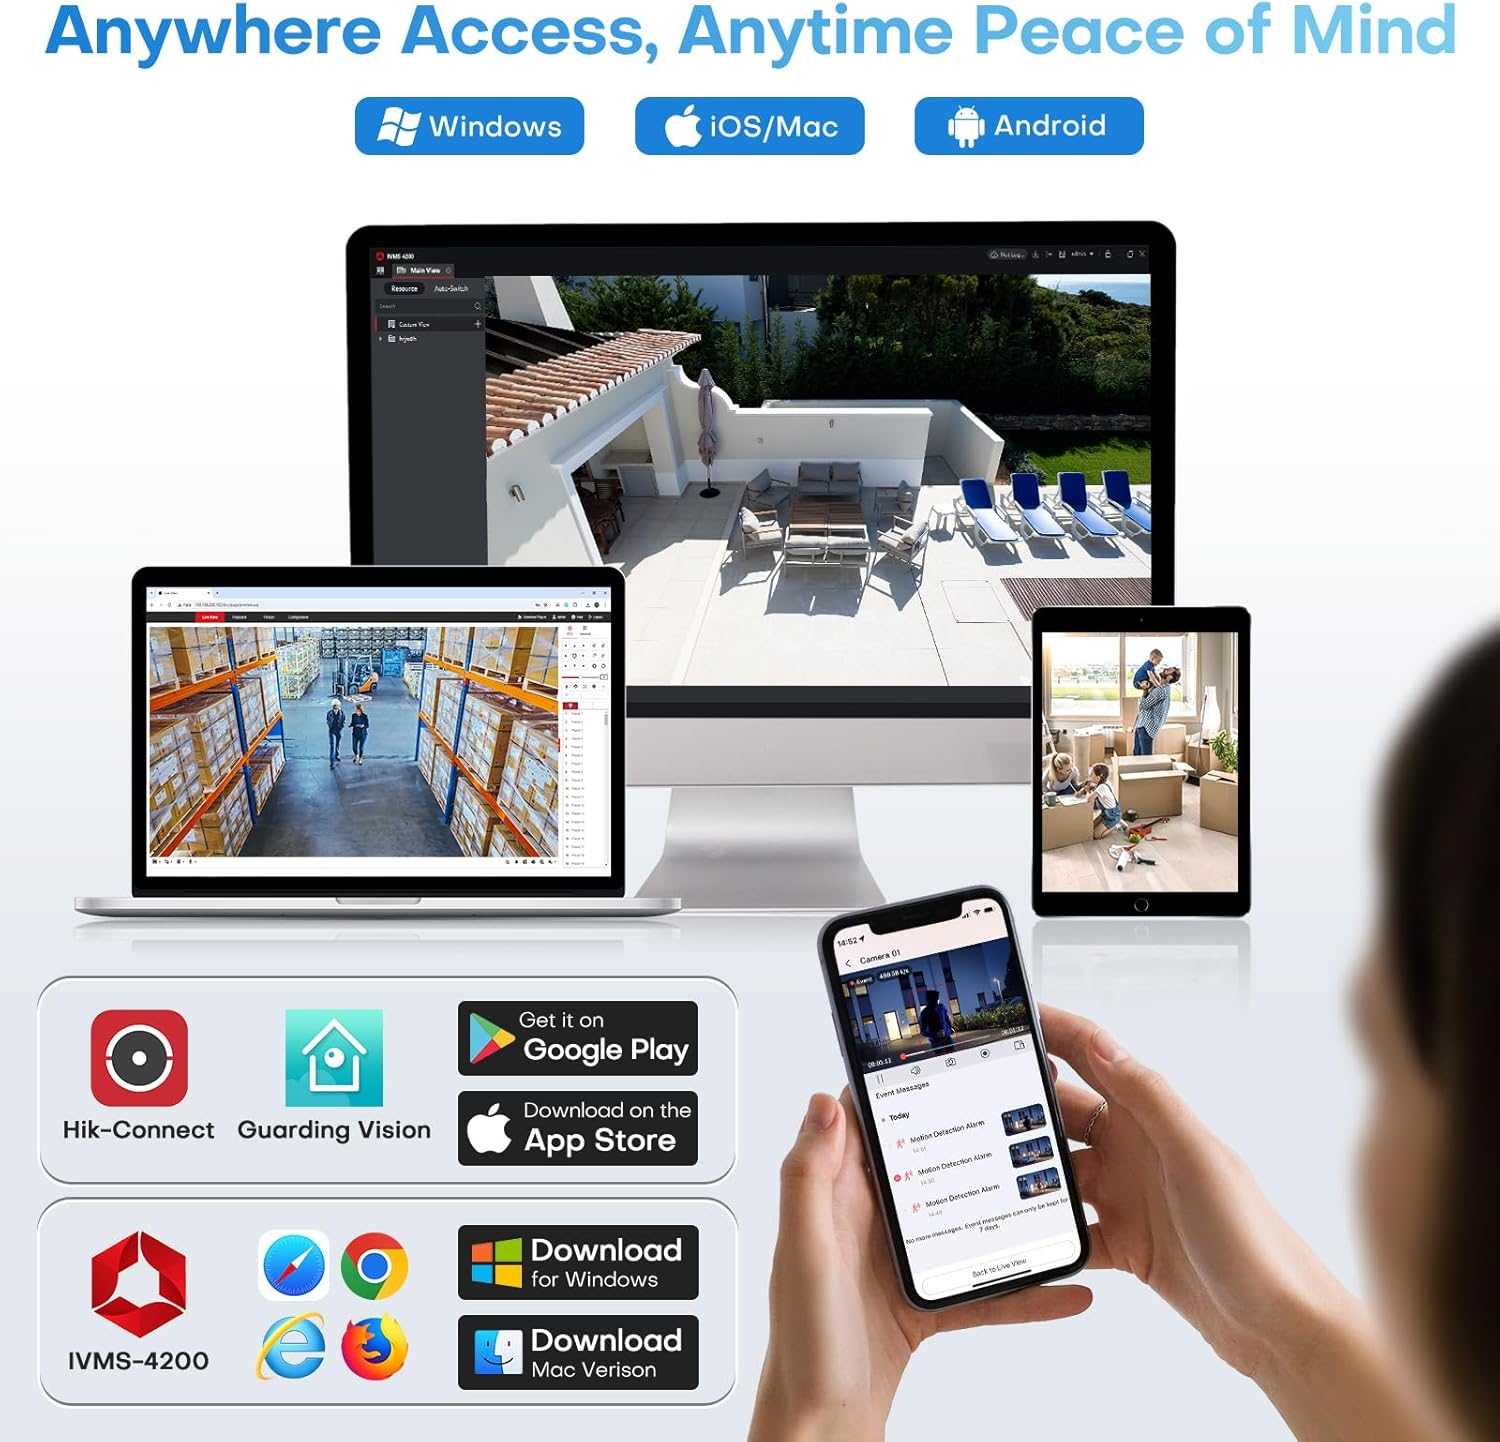
Image: Remote access options via mobile apps and desktop software.

Image: Accessing camera feeds from various devices.
5.6 Local Storage (Micro SD Card Slot)
The camera features a built-in microSD card slot, supporting cards up to 512GB (card not included). This allows for standalone recording without the need for a separate NVR or cloud subscription, providing a cost-effective storage solution.

Image: Built-in Micro SD card slot for local storage.
6. Maintenance
Regular maintenance ensures optimal performance and longevity of your camera.
- Cleaning: Gently wipe the camera lens and housing with a soft, damp cloth. Avoid abrasive cleaners or solvents.
- Firmware Updates: Periodically check the HITOSINO official website or your Hik-Connect/IVMS-4200 application for available firmware updates. Keeping the firmware updated ensures access to the latest features and security enhancements.
- Cable Inspection: Regularly inspect all cables and connections for any signs of wear, damage, or corrosion, especially for outdoor installations.
- Environmental Protection: While the camera is IP67 rated, ensure it is not submerged in water or exposed to extreme conditions beyond its specified operating temperature range.
7. Troubleshooting
This section addresses common issues you might encounter.
| Problem | Possible Cause | Solution |
|---|---|---|
| No image/video feed | No power; Network cable disconnected; Incorrect IP address; NVR/software issue. | Check power supply/PoE connection. Ensure Ethernet cable is securely connected. Verify camera's IP address is in the same network segment as your NVR/router. Restart camera, NVR, or viewing software. |
| Poor image quality | Dirty lens; Insufficient lighting; Network bandwidth issues; Incorrect settings. | Clean the lens. Ensure adequate lighting for the chosen night vision mode. Check network connection speed. Adjust image settings (e.g., WDR, 3D DNR) in the camera's web interface or NVR. |
| Motion detection not working or too many false alarms | Incorrect detection zone setup; Sensitivity too high/low; Environmental factors. | Adjust motion detection zones to exclude irrelevant areas. Modify sensitivity settings. Ensure Motion Detection 2.0 (Human/Vehicle Detection) is enabled for reduced false alarms. |
| Cannot access camera remotely | Network configuration issues (port forwarding, UPnP); App not configured correctly. | Ensure your router's port forwarding is correctly set up for the camera/NVR, or UPnP is enabled. Verify app settings and account login. Check internet connectivity. |
| Two-way audio not functioning | Microphone/speaker disabled; Volume too low; App permissions. | Check audio settings in the camera's web interface or app to ensure microphone and speaker are enabled and volume is adequate. Grant necessary microphone permissions to the app on your smartphone. |
If you encounter issues not listed here or require further assistance, please contact HITOSINO customer support.
8. Warranty and Support
HITOSINO is committed to providing reliable security solutions and excellent customer service.
- 1-Year Limited Warranty: Your HITOSINO 4K Outdoor Bullet PoE Camera is covered by a 1-year limited warranty from the date of purchase, covering manufacturing defects.
- 30-Day Money-Back Guarantee: If you are not satisfied with your purchase, you may be eligible for a refund within 30 days.
- Lifetime Technical Support: HITOSINO provides lifetime technical support for this product.
For warranty claims, technical assistance, or any inquiries, please visit the official HITOSINO website or contact their customer support team through the contact information provided on their website or your purchase platform.

Image: HITOSINO's commitment to customer satisfaction and support.
Related documentsHS-CUB68G2-LIA/SL

Ask a question about this manual
Ask about setup, troubleshooting, compatibility, parts, safety, or missing instructions. Manuals+ will review the question and use this page’s manual context to help answer it.