LATIBELL HJ-17
LATIBELL 8-Tier Indoor Plant Stand with Grow Lights
Model: HJ-17 | Brand: LATIBELL
Introduction
This instruction manual provides detailed guidance for the assembly, operation, and maintenance of your LATIBELL 8-Tier Indoor Plant Stand with Grow Lights. Please read this manual thoroughly before assembly and use to ensure proper function and safety.
Safety Information
- Ensure all components are securely fastened during assembly. Loose parts can lead to instability.
- Do not exceed the recommended weight capacity for each shelf. Distribute plant weight evenly.
- Keep electrical components (grow lights, power cords) away from water to prevent electrical hazards.
- Use the provided anti-tipping straps to secure the plant stand to a wall, especially in households with children or pets, to prevent accidental tipping.
- Place the stand on a flat, stable surface.
- Do not attempt to modify the product or its electrical components.
Package Contents
Please verify that all parts are present before beginning assembly. If any parts are missing or damaged, contact customer support.
- Metal Frame Components
- Particle Board Shelves (8 tiers)
- Grow Light Units (3-head)
- Power Adapter for Grow Lights
- Assembly Hardware (screws, nuts, etc.)
- Anti-Tipping Straps
- Instruction Manual

Figure 1: Diagram illustrating the various parts included in the package, labeled for easy identification.
Setup and Assembly
Follow these steps carefully for proper assembly. It is recommended to have a clear, spacious area for assembly.
- Unpack Components: Carefully remove all parts from the packaging and lay them out on a soft, clean surface to prevent scratches. Identify each component using the parts diagram (Figure 1).
- Assemble the Frame: Connect the metal frame components according to the provided assembly diagram. Ensure all screws are tightened securely but do not overtighten.
- Attach Shelves: Secure the particle board shelves to the assembled frame. Ensure the shelves are level and firmly attached.
- Install Grow Lights: Attach the grow light units to the designated areas on the stand. Route the power cord neatly and connect it to the power adapter.
- Secure with Anti-Tipping Straps: Position the plant stand in its desired location. Use the anti-tipping straps to secure the top of the stand to a wall stud or appropriate anchor point. This step is crucial for stability.
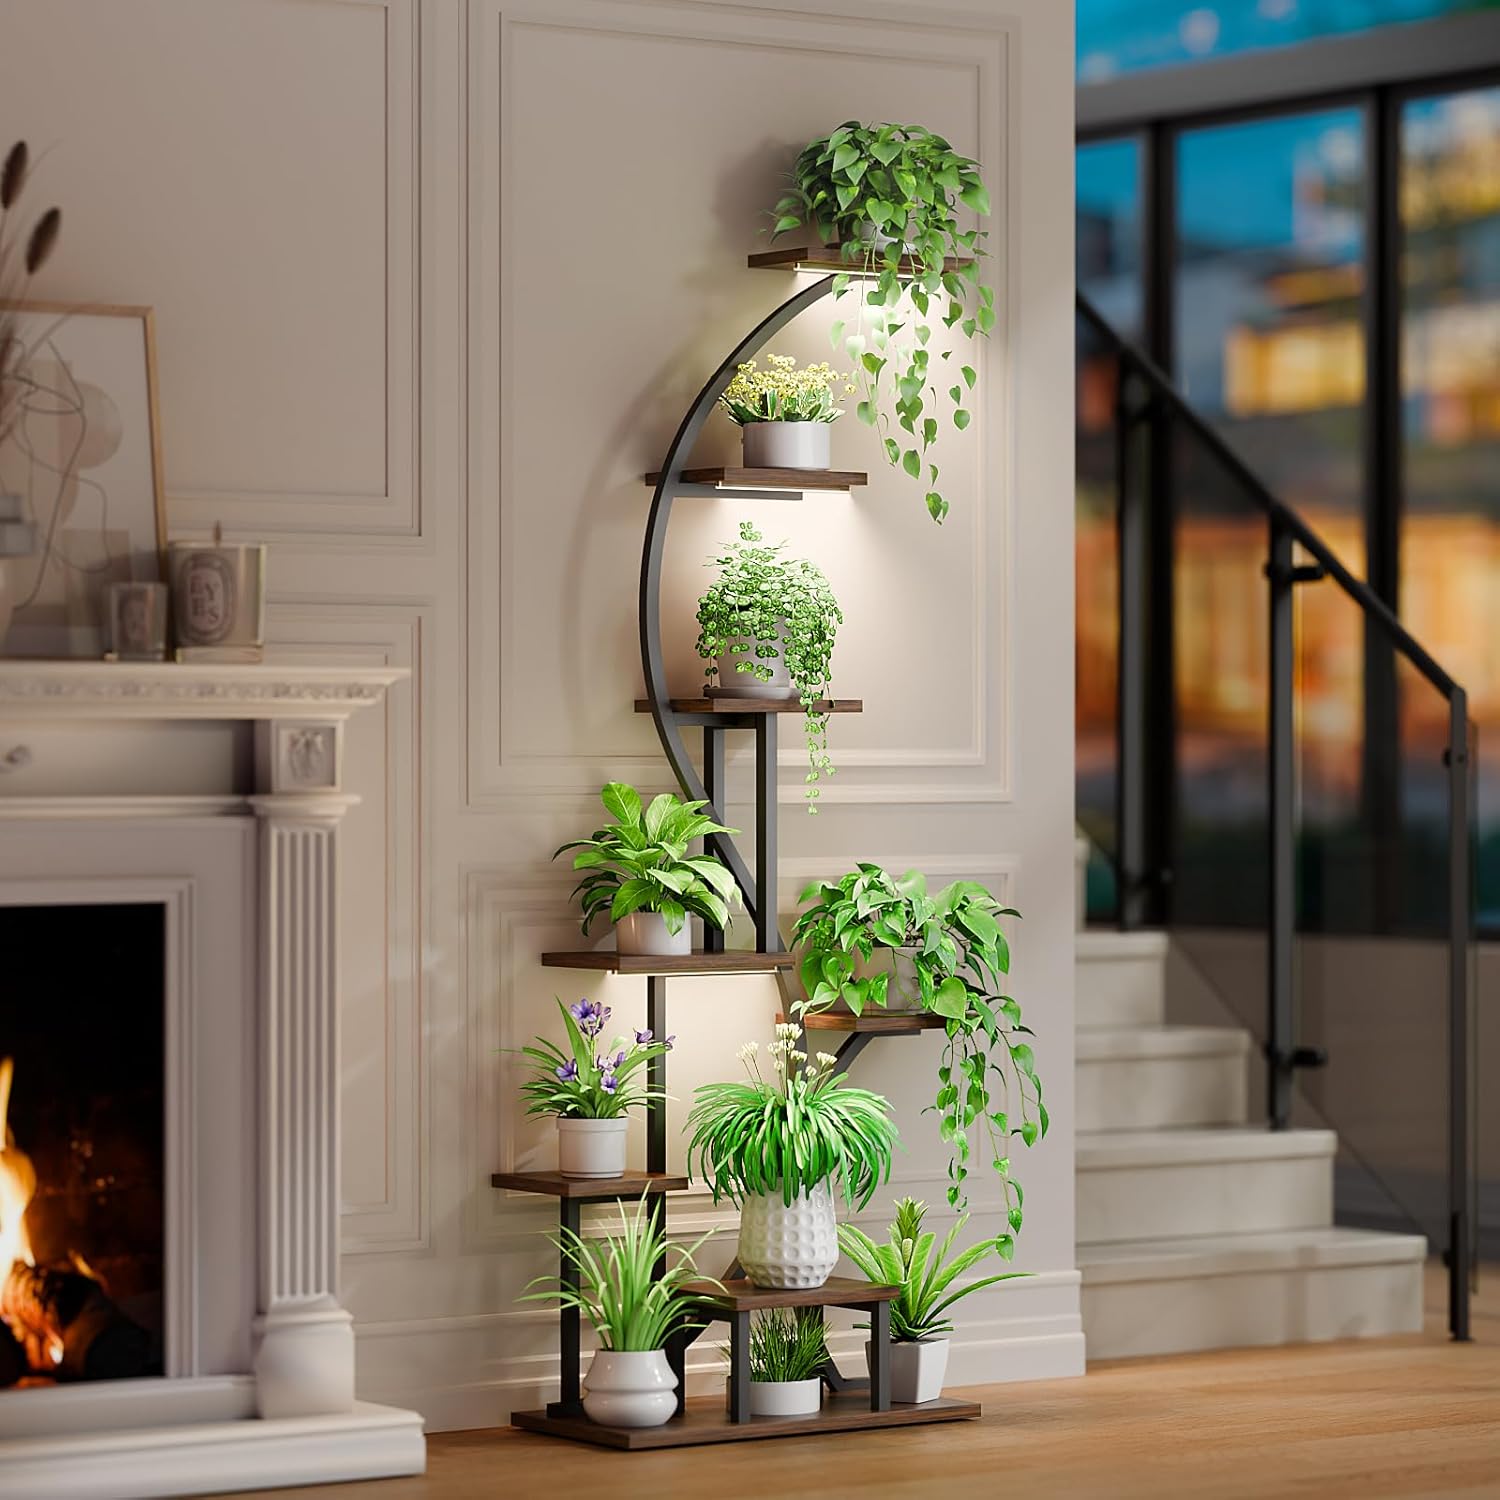
Figure 2: Exploded view diagram showing the components and assembly steps for the plant stand.

Figure 3: Technical drawing with dimensions of the assembled plant stand and individual shelves.
Operating Instructions: Grow Lights
The integrated grow lights provide optimal lighting for your indoor plants. They feature adjustable brightness and a timing function.
- Power On/Off: Connect the power adapter to a suitable electrical outlet. Use the control panel on the grow light unit to turn the lights on or off.
- Adjust Brightness: The grow lights offer 10 levels of adjustable brightness (10%-100%). Press the brightness control button to cycle through the intensity settings to suit your plants' needs.
- Set Timer: The timing function allows you to set the lights to operate for specific durations. Available timer settings are 3 hours, 9 hours, and 12 hours. Select the desired duration, and the lights will automatically turn off after the set time.
- Placement: Ensure plants on all levels receive adequate light. The stepped shelf design helps prevent plants from blocking each other's light.

Figure 4: Detailed view of the grow light controls, illustrating adjustable brightness and timer settings.
Maintenance
- Cleaning: Wipe the shelves and frame with a soft, damp cloth. The particle board shelves have a water-resistant layer, but avoid excessive moisture. Do not use abrasive cleaners.
- Grow Lights: Gently wipe the grow light surfaces with a dry cloth to remove dust. Ensure the lights are unplugged before cleaning.
- Stability Check: Periodically check all screws and connections to ensure they remain tight. Re-tighten if necessary.
- Anti-Tipping Straps: Verify that the anti-tipping straps are securely attached to both the stand and the wall.

Figure 5: Close-up showing the sturdy iron pipes, water-resistant particle board surface, and anti-rust paint finish.
Troubleshooting
| Problem | Possible Cause | Solution |
|---|---|---|
| Stand is wobbly or unstable. | Loose screws; uneven surface; anti-tipping straps not installed. | Ensure all screws are tightened. Place on a level surface. Install and secure anti-tipping straps to the wall. |
| Grow lights are not turning on. | Power adapter not connected; faulty connection; power outage. | Check if the power adapter is securely plugged into both the unit and the outlet. Verify the outlet has power. Ensure all light connections are firm. |
| Grow lights not adjusting brightness or timer. | Control panel malfunction; incorrect operation. | Refer to the 'Operating Instructions' section. If the issue persists, contact customer support. |
| Shelves appear uneven. | Incorrect assembly; frame not level. | Disassemble and re-assemble, ensuring all frame pieces are correctly aligned and screws are tightened evenly. Check the floor for levelness. |
Specifications
- Brand: LATIBELL
- Model Number: HJ-17
- ASIN: B0CSYS7P8W
- Material: Iron, Metal, Wood (Particle Board)
- Color: Brown
- Item Weight: 22.8 pounds (10.37 Kilograms)
- Package Dimensions: 36.4 x 27 x 2.6 inches
- Base Type: Leg
- Assembly Required: Yes
- Special Feature: Grow light with adjustable brightness and timing (3-head, 10 levels brightness, 3/9/12H timer)
- Finish Type: Iron (Anti-Rust Baking Paint)
Warranty and Support
For warranty information, please refer to the documentation included with your product at the time of purchase or contact LATIBELL customer service directly. If you encounter any issues not covered in the troubleshooting section or require further assistance, please reach out to LATIBELL customer support through their official channels.
Ask a question about this manual
Ask about setup, troubleshooting, compatibility, parts, safety, or missing instructions. Manuals+ will review the question and use this page’s manual context to help answer it.