
1. Introduction
Welcome to the user manual for your Tangxi X99 P4 Motherboard. This document provides essential information and detailed instructions to help you install, operate, and maintain your motherboard effectively. Please read this manual thoroughly before proceeding with any installation or operation.
2. Safety Information
Always observe the following safety precautions to prevent damage to the motherboard or injury to yourself:
- Disconnect the power supply from your computer before installing or removing any components.
- Handle the motherboard and other components with care to avoid electrostatic discharge (ESD). Use an anti-static wrist strap if available.
- Ensure proper ventilation within your computer case to prevent overheating.
- Do not expose the motherboard to moisture or extreme temperatures.
- If you encounter any issues, refer to the troubleshooting section or seek professional assistance.
3. Key Features
The Tangxi X99 P4 Motherboard offers a robust platform for your desktop PC with the following key features:
- 6-Phase Power Supply: Ensures stable power delivery with a modular design for efficient heat dissipation.
- Multi-Interface Expansion: Equipped with an LGA 2011-3 socket, including 4 USB 3.0 and 6 USB 2.0 interfaces for diverse peripheral needs.
- Integrated Chipset: Features an integrated sound card and network card for convenient audio and network connectivity.
- DDR4 Dual Channel Support: High-efficiency memory support for up to 128GB DDR4 modules.
- High-Speed NVME M.2: Supports NVME PCIE X4 channel M.2 high-speed hard drives with theoretical bandwidths up to 4 GB/s.
4. Package Contents
Upon unpacking your Tangxi X99 P4 Motherboard, please verify that all the following items are included:
- 1 x Tangxi X99 P4 Motherboard (with integrated CR2032 button battery)
- 1 x I/O Backplate
- 1 x SATA Data Cable
- 1 x User Manual (this document)

Image: Tangxi X99 P4 Motherboard with included I/O backplate and SATA cable.
5. Specifications
| Feature | Description |
|---|---|
| Brand | Tangxi |
| Model Name | Tangxih0v2eg3t6f |
| Chipset | For H81 Series (Integrated 6-channel audio chip) |
| CPU Socket | LGA 2011-3 |
| Supported CPUs | E5 V3/V4 series, i7 58xx/68xx series |
| RAM Memory Technology | DDR4 Dual Channel |
| Max Memory Capacity | Up to 128GB |
| Graphics Card Interface | 1x PCIE X16 slot, Integrated, PCI, PCI-Express x16 |
| Expansion Slots | 1x PCIE X1 slot |
| Storage Interfaces | 2x SATA 2.0 ports, 1x SATA 3.0 interface, 1x NVME M.2 interface (up to 4 GB/s) |
| USB Ports | 1 set USB 3.0 pins, 1 set USB 2.0 pins, 2x USB 3.0 (rear), 4x USB 2.0 (rear) |
| I/O Interfaces | PS/2 Keyboard/Mouse, 1x RJ45 Network, Audio Interface |
| Main Power Connector | 24-pin |
| Power Mode | 6-phase |
| Battery Type | CR2032 Button Battery (240 mAh) |
| Compatible Devices | Keyboard, Personal Computer, Mouse |
6. Setup and Installation
This section guides you through the physical installation of the motherboard and its components.
6.1. Motherboard Overview
Familiarize yourself with the layout of your motherboard before beginning installation.

Image: Overall view of the Tangxi X99 P4 Motherboard, highlighting key components like the CPU socket, RAM slots, and expansion slots.
6.2. CPU Installation
Follow these steps to install your LGA 2011-3 compatible CPU:
- Locate the LGA 2011-3 CPU socket on the motherboard.
- Gently push down the load lever and pull it outwards to open the CPU socket cover.
- Carefully align the CPU with the socket, ensuring the gold triangle on the CPU matches the indicator on the socket. Do not force the CPU into place.
- Once seated, close the socket cover and push the load lever back into its locked position.
- Apply thermal paste to the CPU and install your CPU cooler according to its manufacturer's instructions.

Image: A detailed view of the LGA 2011-3 CPU socket, essential for correctly installing your compatible processor.
6.3. Memory (RAM) Installation
The motherboard supports DDR4 dual-channel memory. Install your RAM modules as follows:
- Open the clips at both ends of the DDR4 memory slots.
- Align the notch on the RAM module with the key in the memory slot.
- Press down firmly on both ends of the RAM module until the clips snap into place.
- For dual-channel performance, install modules in matching color slots (if applicable) or refer to the motherboard's silkscreen for recommended configurations.
6.4. Storage Device Installation
The motherboard supports NVME M.2 SSDs and SATA drives.
6.4.1. NVME M.2 SSD Installation
- Locate the NVME M.2 slot on the motherboard.
- Remove the M.2 standoff screw.
- Insert the M.2 SSD into the slot at a 30-degree angle.
- Gently push down the SSD and secure it with the standoff screw.
6.4.2. SATA Drive Installation
- Connect one end of the SATA data cable to a SATA port on the motherboard.
- Connect the other end of the SATA data cable to your hard drive or SSD.
- Connect a SATA power cable from your power supply unit (PSU) to the drive.

Image: This image highlights the high-speed NVME M.2 interface for modern SSDs and the various USB 3.0 and USB 2.0 ports available for peripheral connections.
6.5. Expansion Card Installation (PCIe)
To install a graphics card or other PCIe expansion cards:
- Locate the appropriate PCIE X16 or PCIE X1 slot.
- Remove the corresponding expansion slot cover from your PC case.
- Align the card with the slot and press down firmly until it is fully seated.
- Secure the card to the case with a screw.
- Connect any necessary power cables from your PSU to the graphics card.
6.6. Connecting I/O Peripherals
Connect your external devices to the rear I/O panel:
- USB Devices: Connect keyboards, mice, and other USB devices to the available USB 2.0 or USB 3.0 ports.
- Network Cable: Connect an Ethernet cable to the RJ45 network port for internet access.
- Audio Devices: Connect speakers, headphones, or microphones to the audio jacks.
- PS/2 Devices: If using legacy PS/2 keyboards or mice, connect them to the dedicated PS/2 ports.
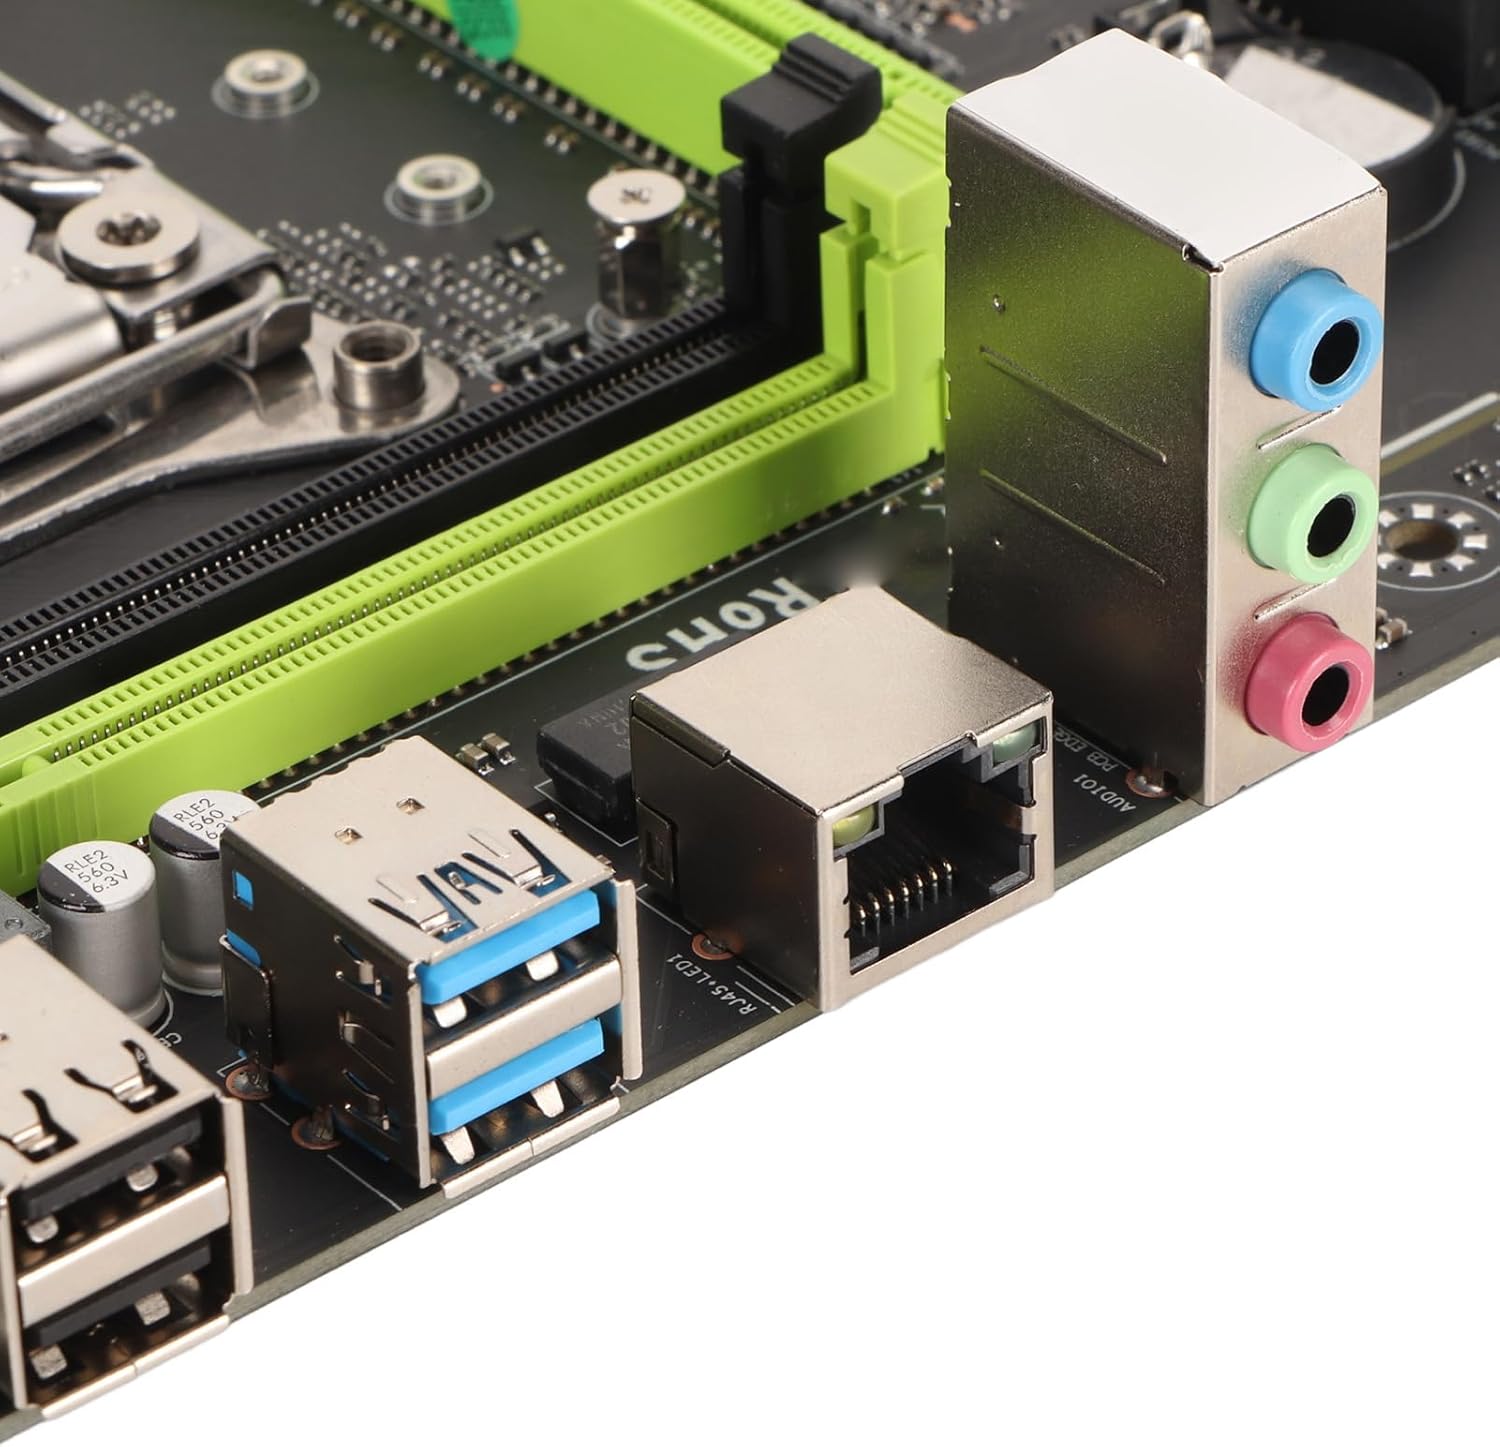
Image: The rear input/output panel of the motherboard, illustrating the available ports for connecting external devices such as keyboards, mice, network cables, and audio equipment.
7. Operating Instructions
7.1. Initial Power On
After completing all hardware installations, connect your monitor, keyboard, and mouse. Connect the power cord to your PSU and turn on the power switch. Press the power button on your PC case. The system should boot up, and you should see a display on your monitor.
7.2. BIOS/UEFI Configuration
To access the BIOS/UEFI setup utility, press the designated key (usually DEL or F2) repeatedly during the initial boot sequence. In the BIOS/UEFI, you can configure boot order, system time, and other advanced settings. Save your changes before exiting.
7.3. Driver Installation
After installing your operating system, it is crucial to install the necessary drivers for your motherboard's components (chipset, audio, network, etc.). These drivers are typically provided on a CD/DVD included with the motherboard or can be downloaded from the Tangxi official website.
8. Maintenance
Regular maintenance helps ensure the longevity and optimal performance of your motherboard.
8.1. Cleaning
Periodically clean the interior of your PC case to remove dust buildup, which can impede airflow and cause overheating. Use compressed air to gently clear dust from the motherboard, CPU cooler, and other components. Ensure the system is powered off and unplugged before cleaning.
8.2. Firmware Updates
Check the Tangxi official website for BIOS/UEFI firmware updates. Firmware updates can improve system stability, add new features, or enhance compatibility. Follow the instructions provided by Tangxi carefully when performing a firmware update, as an incorrect procedure can damage the motherboard.
9. Troubleshooting
If you encounter issues with your motherboard, consider the following common troubleshooting steps:
- No Power: Ensure all power cables (24-pin ATX, 8-pin CPU, PCIe power) are securely connected. Check your PSU and power outlet.
- No Display: Verify that your monitor is connected and powered on. Reseat your graphics card and RAM modules. Try booting with only one RAM stick.
- System Instability/Crashes: Check for overheating. Ensure all drivers are up to date. Test RAM modules individually.
- Peripheral Not Detected: Ensure the device is properly connected. Try a different port. Install necessary drivers.
- BIOS Reset: If system settings are incorrect, you can clear the CMOS by removing the CR2032 battery for a few minutes or using the designated CMOS clear jumper (refer to motherboard silkscreen).
10. Warranty and Support
Warranty information for the Tangxi X99 P4 Motherboard is typically provided at the point of purchase or can be found on the official Tangxi website. Please retain your proof of purchase for warranty claims.
For technical support, driver downloads, or further assistance, please visit the official Tangxi website or contact your retailer. Provide your motherboard model number (Tangxih0v2eg3t6f) and a detailed description of your issue when seeking support.