VOX AUS-AP3AC-COMBO-STD
Vox AmPlug 3 Headphone Guitar Amplifier - AC30 Instruction Manual
Brand: VOX | Model: AUS-AP3AC-COMBO-STD
Introduction
The Vox amPlug 3 AC30 is a compact headphone guitar amplifier designed for convenient practice anywhere, anytime. It replicates the iconic VOX AC30 sound, offering both warm clean tones and bright top-boost drive. This device features built-in stereo effects and rhythm patterns, providing a comprehensive sonic experience for guitarists.

Image: The Vox AmPlug 3 AC30 amplifier, bundled with headphones, guitar picks, and a polishing cloth, showcasing the complete package.
Package Contents
Ensure all items are present in the package:
- Vox AmPlug 3 AC30 Headphone Guitar Amplifier
- Wired Headphones
- Guitar Picks
- Polishing Cloth
- AAA Batteries x 2 (for operation check)
Product Overview
The Vox AmPlug 3 AC30 is a compact and portable device designed to plug directly into your guitar's output jack. It features a multi-position swivel jack for compatibility with various guitar body styles.

Image: Angled view of the Vox AmPlug 3 AC30, highlighting its compact design.
Controls and Features
The AmPlug 3 AC30 features intuitive controls for adjusting your sound:
- GAIN Knob: Adjusts the input gain, controlling the amount of distortion or overdrive.
- TONE Knob: Shapes the overall tonal character, from darker to brighter sounds.
- VOLUME Knob: Controls the overall output volume to your headphones.
- FX/RHYTHM Knob: Selects and adjusts the built-in effects (Reverb, Chorus, Tremolo, Delay) and rhythm patterns.
- TAP Button: Used to set the tempo for effects and rhythm patterns.
- Channel Switch: Toggles between Channel 1 (cleaner, normal AC30 sound) and Channel 2 (bright Top-Boost sound with more drive).
- AUX Jack (3.5mm TRRS): Allows connection of external audio devices (e.g., smartphone, tablet) for jamming along, or for recording your playing.
- Phones Jack (3.5mm): For connecting headphones.

Image: Side view of the AmPlug 3 AC30, detailing the control knobs for Gain, Tone, Volume, and FX/Rhythm, along with the AUX input.
Setup
1. Battery Installation
The AmPlug 3 AC30 requires two AAA batteries. To install:
- Locate the battery compartment on the underside of the unit.
- Slide open the battery cover.
- Insert two AAA batteries, ensuring correct polarity (+/-).
- Close the battery cover securely.
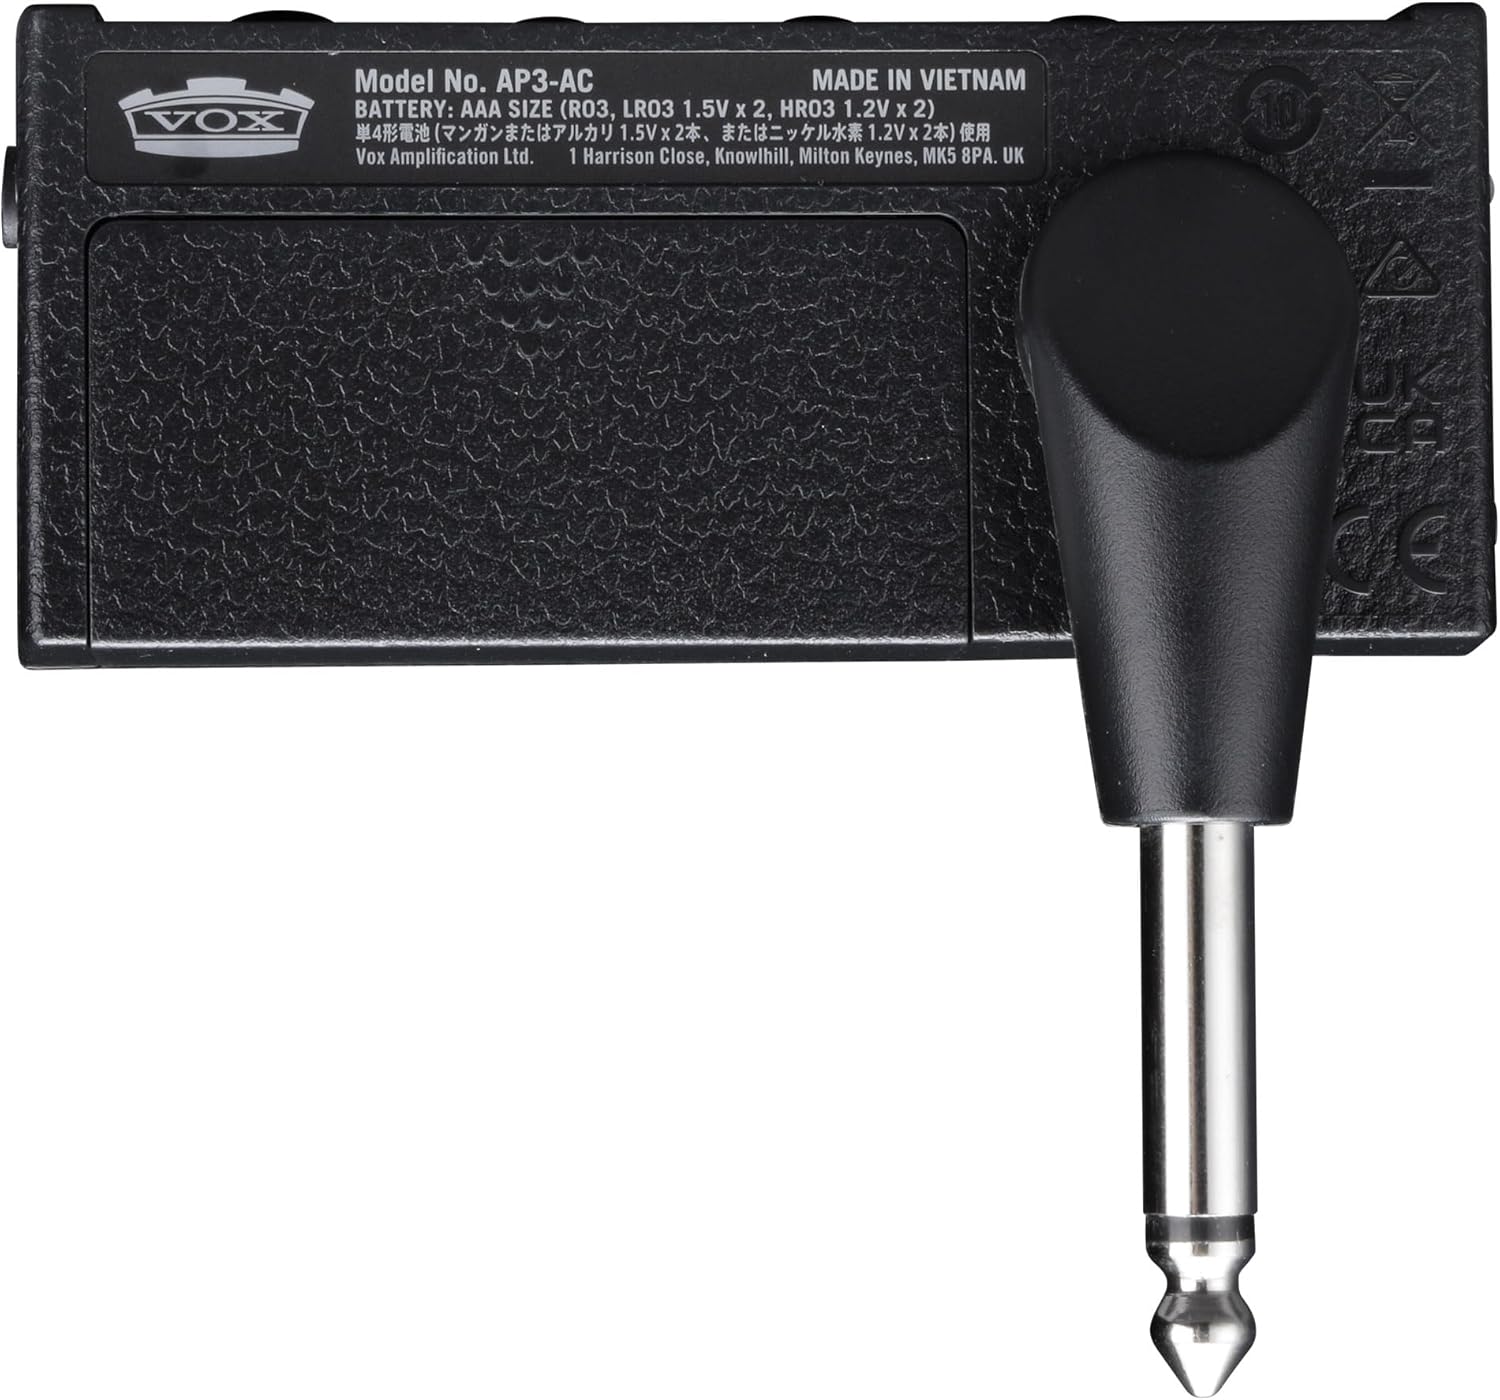
Image: Underside of the AmPlug 3 AC30, showing the battery compartment and model information.
2. Connecting Your Guitar and Headphones
- Plug the AmPlug 3 AC30 directly into your guitar's output jack. Adjust the swivel jack to fit comfortably.
- Connect your headphones to the 3.5mm Phones jack on the AmPlug 3 AC30.
3. Connecting External Audio (Optional)
To play along with music or backing tracks:
- Connect your smartphone, tablet, or other audio device to the AUX jack (CTIA-compliant 3.5mm TRRS mini phone jack) on the AmPlug 3 AC30 using an appropriate audio cable.
- You can also record your playing by connecting the AUX jack to a smartphone or laptop with an optional TRRS cable.
Operating Instructions
Power On/Off
Press and hold the power button (located near the jack) to turn the unit on or off. An LED indicator will illuminate when the unit is powered on.
Adjusting Your Tone
- Channel Selection: Use the channel switch button to toggle between Channel 1 (Normal) for clean tones and Channel 2 (Top-Boost) for driven tones. The LED indicator will change color to show the selected channel (e.g., green for Channel 1, red for Channel 2).
- Gain: Rotate the GAIN knob to increase or decrease the amount of distortion.
- Tone: Adjust the TONE knob to brighten or darken your sound.
- Volume: Control the overall headphone volume with the VOLUME knob.
Using Effects and Rhythms
The AmPlug 3 AC30 includes built-in stereo effects and rhythm patterns:
- Effect Selection: Turn the FX/RHYTHM knob to select different effects (Tremolo, Chorus, Delay, Reverb) or rhythm patterns (Rock1, Blues, Surf, Pop1, Pop2, Funk1, Metal1, Jazz, Metronome).
- Effect Intensity/Tempo: The intensity of the selected effect or the tempo of the rhythm pattern can be adjusted. For effects, rotate the FX/RHYTHM knob. For rhythms, the tempo can be adjusted from 40 to 240 BPM.
- Tap Tempo: Press the TAP button multiple times in rhythm to set the desired tempo for delay effects or rhythm patterns.
Video: A demonstration of the Vox AmPlug 3 AC30 Headphone Guitar Amplifier, showcasing its features, sound capabilities, and ease of use.
Maintenance
- Cleaning: Use the included polishing cloth or a soft, dry cloth to clean the unit. Do not use abrasive cleaners or solvents.
- Battery Care: Remove batteries if the unit will not be used for an extended period to prevent leakage.
- Storage: Store the AmPlug 3 AC30 in a cool, dry place away from direct sunlight and extreme temperatures.
- Handling: Avoid dropping the unit or subjecting it to strong impacts.
Troubleshooting
| Problem | Possible Cause | Solution |
|---|---|---|
| No sound | Low or dead batteries | Replace batteries. |
| No sound | Headphones not properly connected | Ensure headphones are fully plugged into the Phones jack. |
| No sound | AmPlug not fully inserted into guitar jack | Ensure the AmPlug is securely connected to the guitar. |
| Distorted/Unclear sound | GAIN or VOLUME knob set too high | Adjust GAIN and VOLUME knobs to appropriate levels. |
| Effects not working | FX/RHYTHM knob not set to an effect | Rotate FX/RHYTHM knob to select a desired effect. |
Specifications
- Model: AUS-AP3AC-COMBO-STD
- Connections: Phones jack (3.5mm), AUX jack (CTIA-compliant 3.5mm TRRS mini phone jack)
- Power Supply: AAA batteries x 2
- Battery Life (approx.):
- 10 hours (alkaline, FX or RHYTHM on)
- 16 hours (alkaline, FX and RHYTHM off)
- 3 hours (manganese battery, FX or RHYTHM on)
- 5 hours (manganese battery, FX and RHYTHM off)
- Dimensions (L x W x H): 3.43" x 1.3" x 1.54"
- Weight: 1.6 ounces
- Effects: Tremolo, Chorus, Delay, Reverb
- Rhythm Patterns: Rock1, Blues, Surf, Pop1, Pop2, Funk1, Metal1, Jazz, Metronome
- Tempo Range: 40 to 240 BPM
Warranty and Support
For warranty information and technical support, please refer to the manufacturer's official website or contact their customer service department. Keep your purchase receipt for warranty claims.
Ask a question about this manual
Ask about setup, troubleshooting, compatibility, parts, safety, or missing instructions. Manuals+ will review the question and use this page’s manual context to help answer it.