1. Important Safety Instructions
Please read this manual carefully before installing or using your AREBOS induction hob. Keep this manual for future reference.
- Electrical Safety: Ensure the hob is connected to a properly grounded electrical outlet. Installation must be performed by a qualified electrician in accordance with local regulations.
- Child Safety: This appliance is not intended for use by persons (including children) with reduced physical, sensory or mental capabilities, or lack of experience and knowledge, unless they have been given supervision or instruction concerning use of the appliance by a person responsible for their safety. Children should be supervised to ensure that they do not play with the appliance.
- Hot Surfaces: Although induction hobs do not heat up directly, residual heat will be present after cooking. Avoid touching hot surfaces.
- Overheat Protection: The hob is equipped with an automatic shut-off feature to prevent overheating.
- Suitable Cookware: Only use cookware suitable for induction cooking (ferromagnetic material).
- Pacemakers: Persons with pacemakers should consult their doctor before using an induction hob.
- Cleaning: Always disconnect the power supply before cleaning. Use only recommended cleaning agents and methods.
2. Product Overview
The AREBOS AR-HE-IDFR induction hob features four cooking zones and intuitive Sensor Touch controls for efficient and safe cooking.
2.1 Hob Layout

Image: Front view of the AREBOS induction hob, showing the four cooking zones and the central control panel.
2.2 Control Panel
The control panel is located at the front center of the hob. It includes touch-sensitive buttons and digital displays for each cooking zone, power levels, timer, and special functions.

Image: Close-up of the hob's control panel, highlighting the slide-touch control for power adjustment.
3. Installation
Installation should only be carried out by a qualified professional. Ensure the installation area meets the required dimensions and ventilation standards.
3.1 Dimensions and Cutout
The hob requires a specific cutout in your countertop. Refer to the diagram below for precise measurements.

Image: Diagram showing the overall dimensions of the hob (59 cm width, 52 cm depth) and the required cutout size for installation.
- Product Dimensions (L x W x H): 52 x 59 x 5.8 cm
- Ensure adequate clearance around the hob for ventilation.
3.2 Electrical Connection
The appliance must be connected to the mains supply by a qualified electrician. The electrical supply must comply with the specifications provided in this manual and on the product label.
- Voltage: 240 Volts
- Total Power: 7200 Watts
- A suitable circuit breaker must be installed.
4. Operation
This section describes how to use the various functions of your induction hob.
4.1 Turning On/Off
- To turn on: Touch the power button (I) for a few seconds. The displays will light up.
- To turn off: Touch the power button (I) again.
4.2 Adjusting Power Levels (Slide-Touch Control)
Each cooking zone has 9 adjustable power levels. Use the slide-touch control for precise heat adjustment.
- Select the desired cooking zone by touching its corresponding control.
- Slide your finger along the power level bar to increase or decrease the heat.
4.3 Flexible Zones
The hob features two flexible zones, allowing you to combine two individual cooking zones into one larger zone for bigger pots or griddle pans.

Image: The induction hob demonstrating the use of flexible zones with a large griddle pan covering two cooking areas.
- To activate a flexible zone: Place a large pot or griddle pan over the two designated zones. Touch the flexible zone button.
- The combined zone will operate as a single unit with uniform heat distribution.
4.4 Booster Function
The booster function provides maximum power to a selected cooking zone for a short period, ideal for rapidly boiling water.
- Select the desired cooking zone.
- Touch the booster button (often indicated by a 'P' or 'Boost' symbol).
- The zone will operate at its highest power setting and automatically reduce after a set time.
4.5 Timer Function
The integrated timer can be set from 1 to 99 minutes to automatically turn off a cooking zone after the set time.
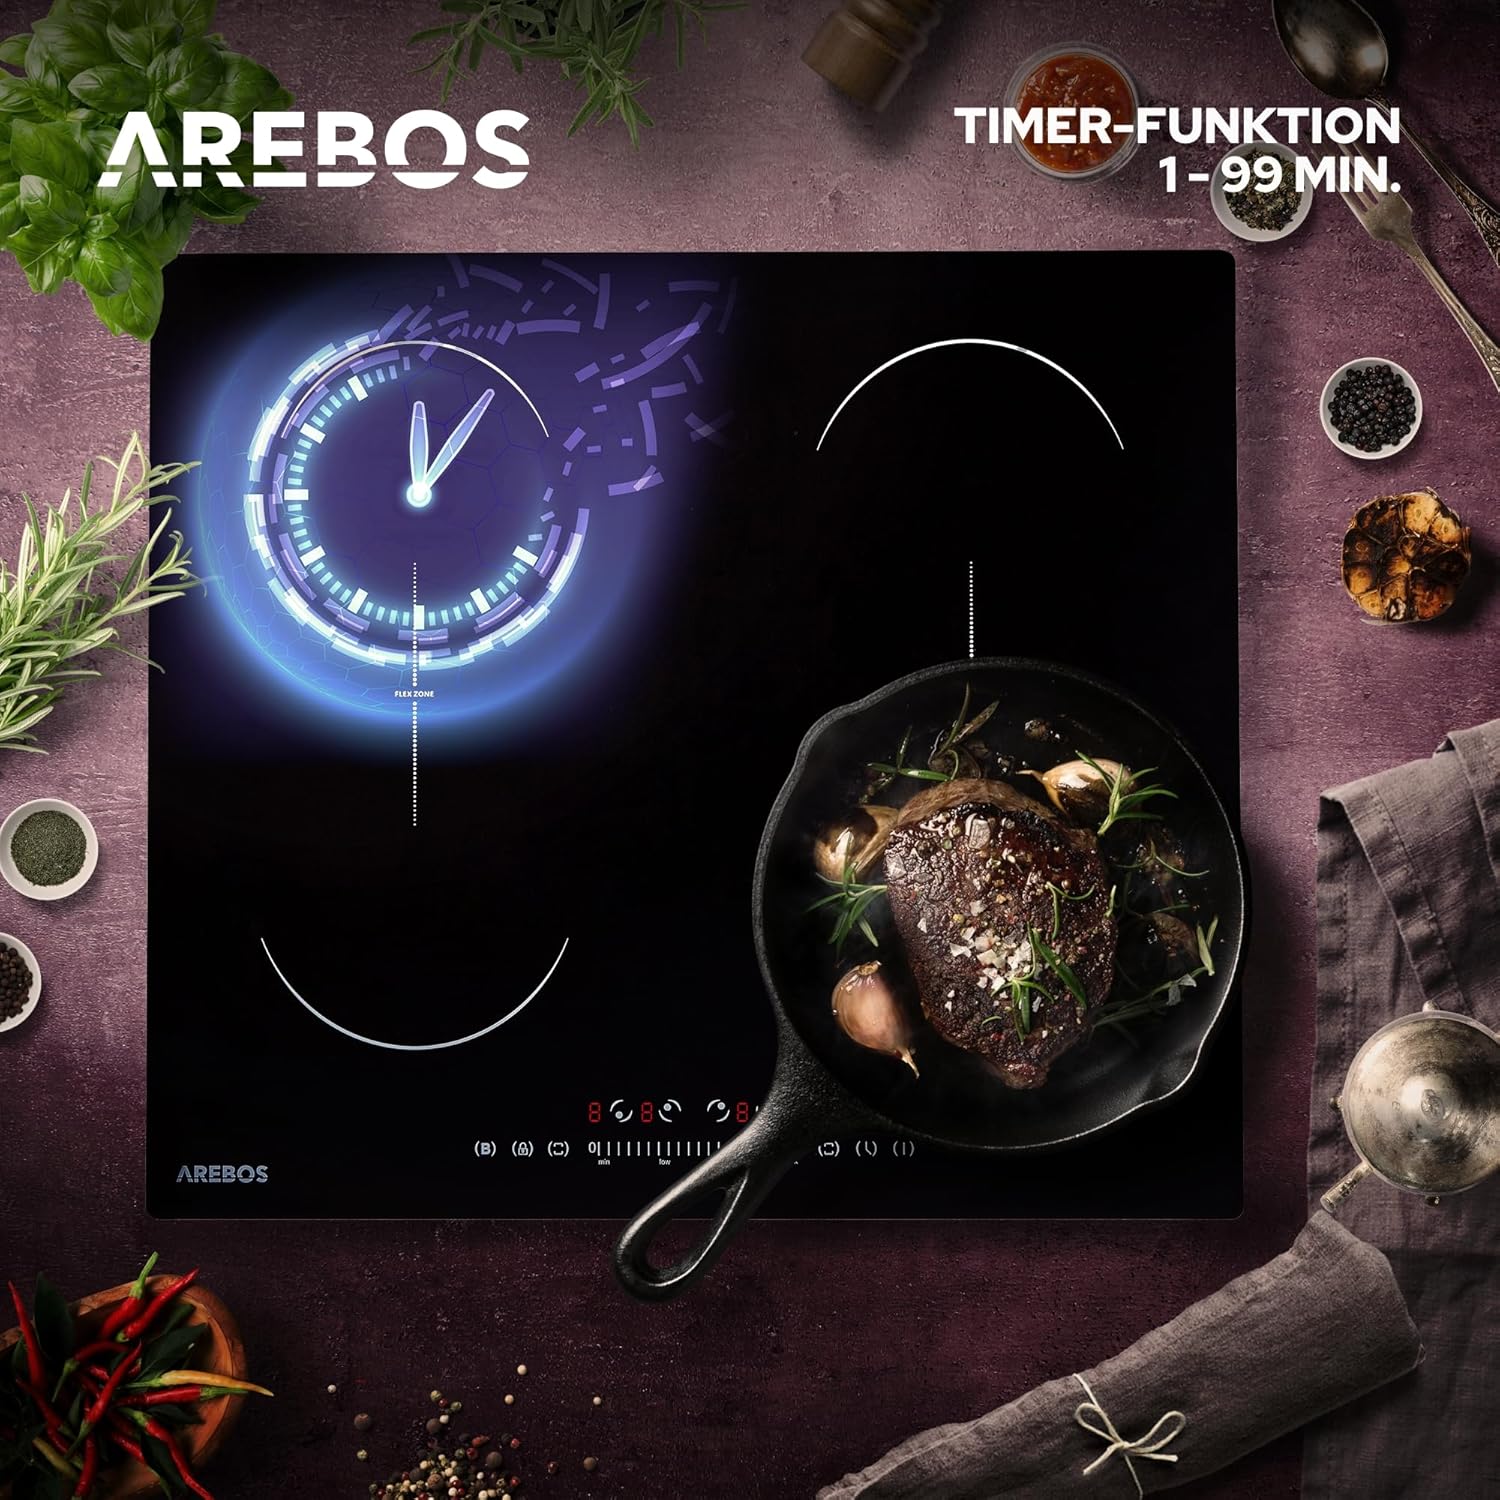
Image: The induction hob displaying the timer function, with a digital clock icon indicating a set countdown.
- Select the cooking zone you wish to set the timer for.
- Touch the timer button and use the '+' and '-' controls to adjust the time.
- The cooking zone will switch off automatically when the timer expires.
4.6 Child Safety Lock
Activate the child safety lock to prevent accidental operation of the hob.

Image: A graphic representation of the child safety lock feature, showing a shield and lock icon, emphasizing protection.
- To activate: With the hob off, touch and hold the child lock button (often a key or lock symbol) for a few seconds. A lock indicator will appear.
- To deactivate: Touch and hold the child lock button again until the indicator disappears.
4.7 Residual Heat Indicator
After cooking, the display for a hot cooking zone will show an 'H' (Hot) to indicate residual heat. Do not touch the surface until the 'H' disappears.
5. Cleaning and Maintenance
Regular cleaning ensures the longevity and optimal performance of your induction hob.
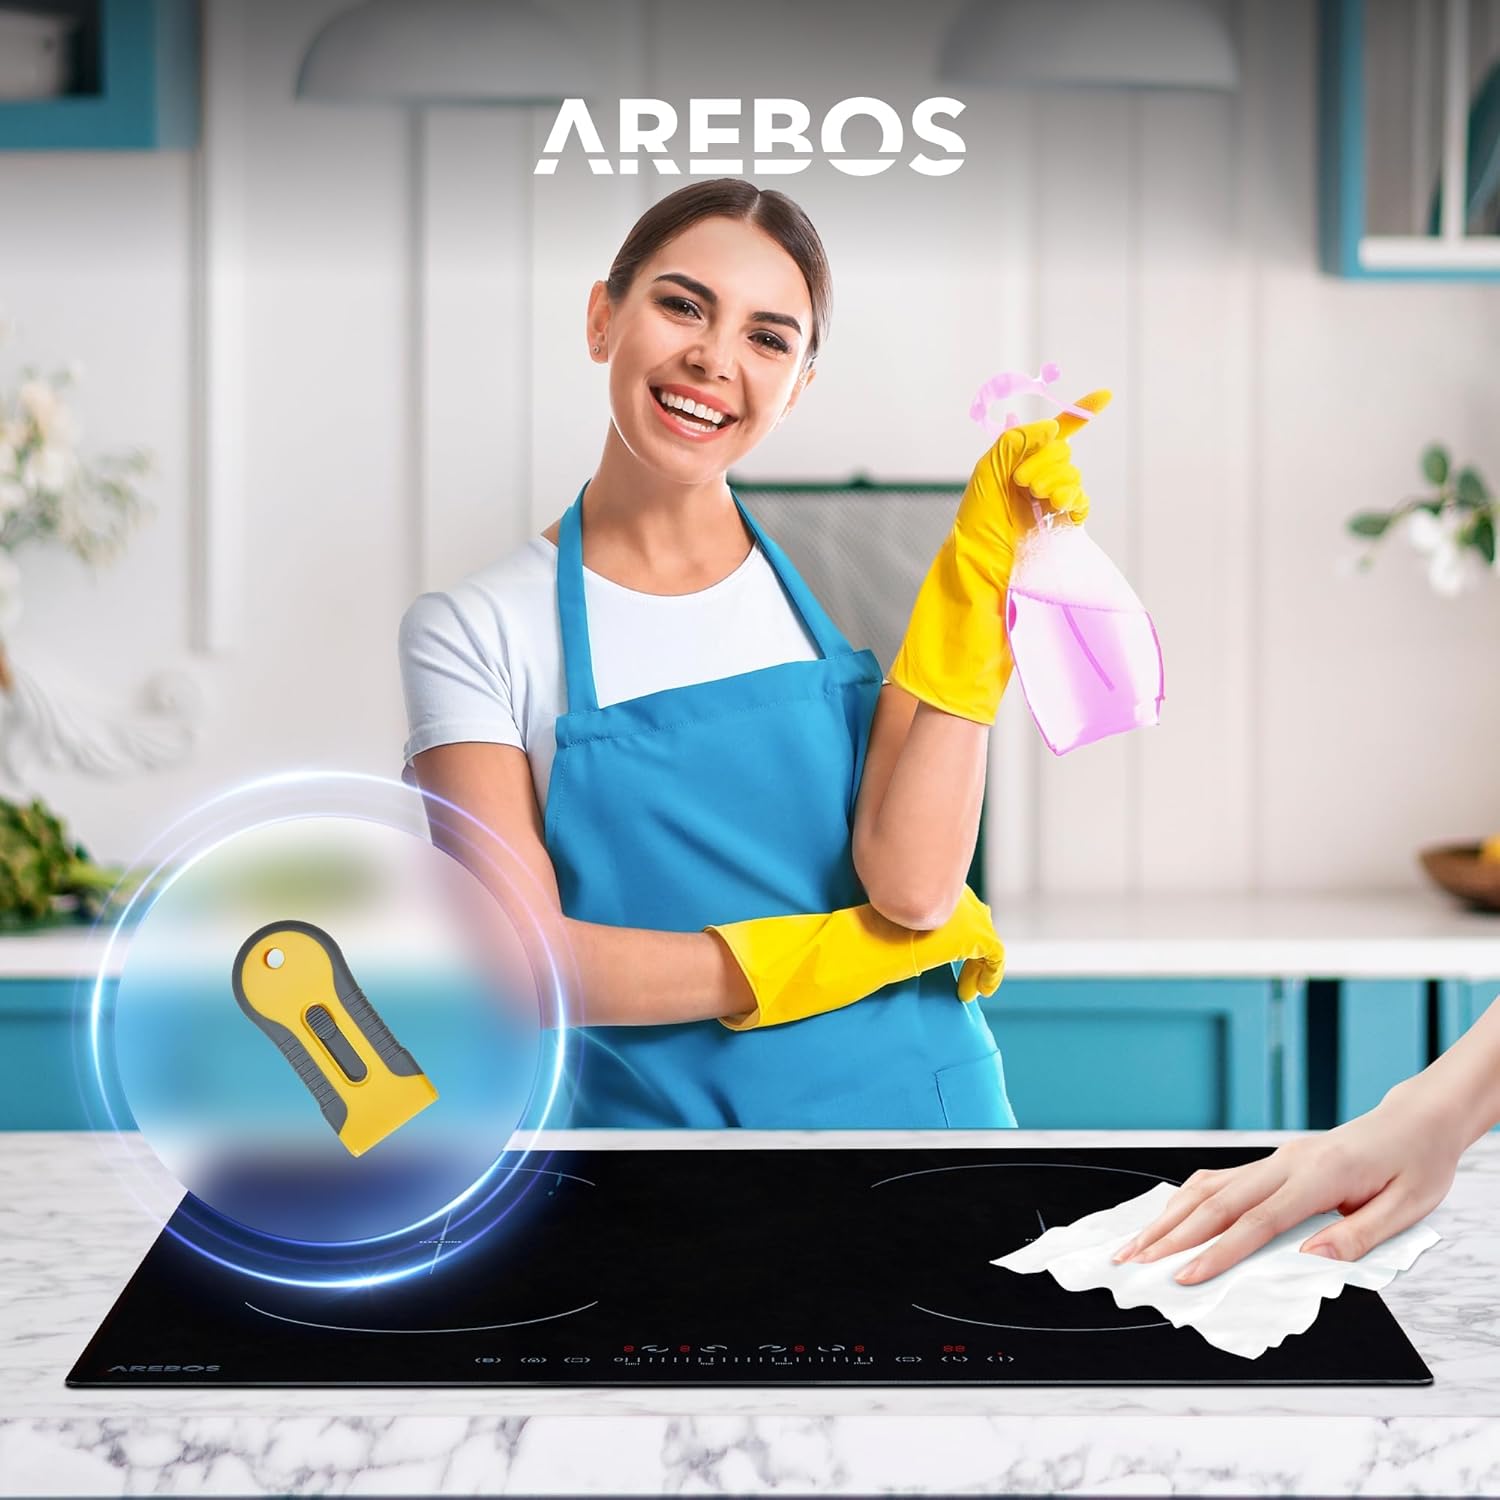
Image: A person cleaning the ceramic glass surface of the induction hob with a cloth and spray, demonstrating ease of maintenance.
- Daily Cleaning: Wipe the ceramic glass surface with a damp cloth and mild detergent after each use, once the hob has cooled down.
- Stubborn Stains: For burnt-on food or stubborn stains, use a specialized ceramic hob scraper (one is included with the product) and a ceramic hob cleaner.
- Avoid Abrasives: Do not use abrasive sponges, scouring pads, or harsh chemical cleaners, as these can scratch or damage the surface.
- Spills: In case of liquid overflow, the hob will automatically shut off. Clean up spills immediately once the surface is cool enough to touch.
6. Troubleshooting
If you encounter issues with your hob, refer to the following common problems and solutions before contacting customer service.
| Problem | Possible Cause | Solution |
|---|---|---|
| Hob does not turn on | No power supply; Child lock activated | Check power connection and circuit breaker; Deactivate child lock. |
| Cooking zone not heating | Incorrect cookware; No cookware detected | Use induction-compatible cookware; Ensure cookware is centered on the zone. |
| Display shows 'E' or error code | Overheating; Internal fault | Turn off the hob, allow to cool, then restart; If error persists, contact service. |
| Unusual noise during operation | Normal induction operation (fan noise, slight hum from cookware) | This is normal. If noise is excessive or unusual, contact service. |
7. Technical Specifications
| Feature | Specification |
|---|---|
| Brand | AREBOS |
| Model Number | AR-HE-IDFR |
| Type | Induction Hob |
| Installation Type | Built-in / Freestanding |
| Number of Cooking Zones | 4 |
| Flexible Zones | 2 (can combine into 2 large zones) |
| Total Power Output | 7200 W |
| Power Levels | 1-9 (Slide-Touch Control) |
| Voltage | 240 V |
| Material | Ceramic Glass |
| Color | Black |
| Dimensions (L x W x H) | 52 x 59 x 5.8 cm |
| Special Features | Timer (1-99 min), Child Safety Lock, Overheat Protection, Automatic Shut-off, Residual Heat Indicator, Booster Function |