Introduction
This manual provides essential instructions for the safe operation, setup, maintenance, and troubleshooting of your RYOBI USB Lithium Soldering Pen Kit, model FVH61K. Please read this manual thoroughly before using the product to ensure proper function and to prevent injury or damage.
Safety Information
Always observe basic safety precautions when using electrical tools to reduce the risk of fire, electric shock, and personal injury.
- Read all instructions: Familiarize yourself with the tool's operation and safety guidelines.
- Wear eye protection: Always wear safety glasses with side shields when operating the soldering pen.
- Work in a well-ventilated area: Soldering fumes can be harmful. Ensure adequate ventilation or use a fume extractor.
- Avoid contact with hot tip: The soldering tip reaches high temperatures (up to 900°F). Do not touch the tip or allow it to contact flammable materials.
- Use a stable work surface: Secure your workpiece and ensure the soldering pen is placed in a heat-resistant holder when not in use.
- Keep out of reach of children: This tool is not a toy.
- Disconnect power when not in use: Always turn off the soldering pen and allow it to cool before storing or changing tips.
- Use only specified accessories: Using non-approved accessories may result in injury or damage to the tool.
Package Contents
Verify that all items are present upon unpacking:
- RYOBI USB Lithium Soldering Pen
- 2.0 Ah USB Lithium-ion Rechargeable Battery
- USB-C Charging Cable
- Soldering Tip (pre-installed or included separately)
- Tip Cover
- Operator's Manual (this document)
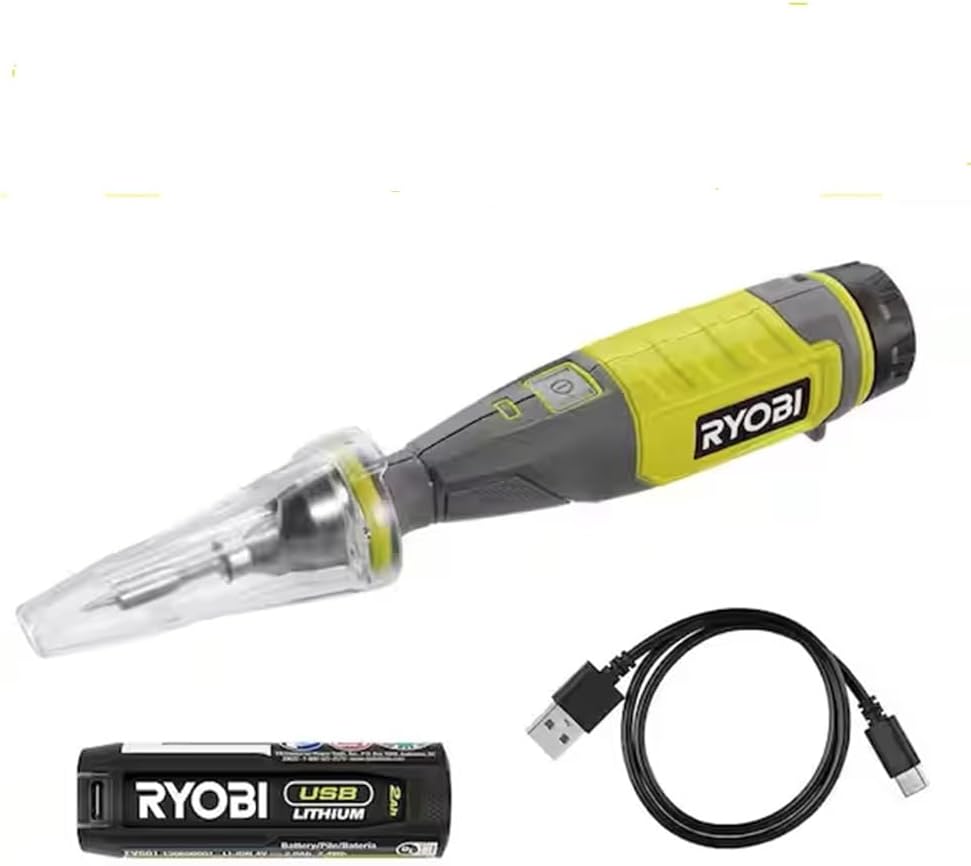
Figure 1: The RYOBI USB Lithium Soldering Pen Kit, showing the soldering pen, USB Lithium battery, and USB-C charging cable.
Setup
1. Charging the USB Lithium Battery
- Connect the USB-C charging cable to the USB-C port on the 2.0 Ah USB Lithium battery.
- Connect the other end of the USB-C cable to a compatible USB power source (e.g., wall adapter, computer USB port).
- The LED fuel gauge on the battery will indicate charging status. A full charge is indicated when all LEDs are solid.
- Allow the battery to fully charge before first use.

Figure 2: The RYOBI USB Lithium battery with its USB-C charging port and LED fuel gauge, alongside the charging cable.
2. Attaching the Soldering Tip
- Ensure the soldering pen is off and completely cool.
- Carefully screw the desired soldering tip into the threaded end of the soldering pen. Do not overtighten.
- Ensure the tip is securely seated for proper heat transfer.
3. Inserting the Battery
- Align the charged USB Lithium battery with the battery compartment at the base of the soldering pen.
- Slide the battery into the compartment until it clicks securely into place.
Operating Instructions
1. Powering On/Off
- To turn on, press and hold the power button located on the pen handle until the indicator light illuminates.
- The pen will begin to heat up. It reaches 900°F in under 2 minutes.
- To turn off, press and hold the power button again until the indicator light extinguishes.
2. Using the Work Light
- The soldering pen features an on-board work light to illuminate your work area. This light activates automatically when the pen is powered on.
3. Auto Shut-Off Features
- Tip Cover Auto Shut-Off: Placing the tip cover over the hot tip will automatically shut off the soldering pen for safe storage.
- Idle Auto Shut-Off: The soldering pen will automatically shut off after 10 minutes of inactivity to conserve battery and enhance safety.
4. Soldering Techniques
- Ensure the soldering tip is clean and tinned (coated with a thin layer of solder).
- Apply the hot tip to the components or wires to be joined, heating them simultaneously.
- Once the components are hot enough, apply solder to the joint, not directly to the tip. The solder should flow smoothly into the joint.
- Remove the solder, then remove the soldering pen. Allow the joint to cool undisturbed.

Figure 3: A user demonstrating the RYOBI USB Lithium Soldering Pen for intricate soldering tasks, highlighting its precision and portability.
Maintenance
1. Cleaning the Soldering Tip
- Regularly clean the soldering tip using a damp sponge or brass wool to remove excess solder and oxidation. A clean tip ensures efficient heat transfer.
- Re-tin the tip after cleaning by applying a small amount of fresh solder.
2. Battery Care
- Store the battery in a cool, dry place away from direct sunlight and extreme temperatures.
- Do not store the battery completely discharged for extended periods. Charge it periodically if not in use.
- Avoid dropping or physically damaging the battery.
3. Storage
- Ensure the soldering pen is turned off and completely cool before storing.
- Place the tip cover over the soldering tip for protection and to activate the auto shut-off.
- Store the tool and battery in a dry, secure location, out of reach of children.
Troubleshooting
| Problem | Possible Cause | Solution |
|---|---|---|
| Soldering pen does not heat up. | Battery is discharged or not properly inserted. | Charge the battery. Ensure the battery is fully inserted and clicks into place. |
| Poor solder joints. | Soldering tip is dirty or oxidized. Not enough heat. | Clean and re-tin the soldering tip. Ensure the pen has reached full operating temperature. |
| Pen shuts off unexpectedly. | Idle auto shut-off activated. Battery low. Tip cover engaged. | Restart the pen. Charge the battery. Remove the tip cover. |
| Work light not functioning. | Pen is not powered on. | Ensure the soldering pen is powered on. |
Specifications
- Model: FVH61K
- Power Source: USB Lithium Battery (2.0 Ah)
- Wattage: 10 Watts
- Max Temperature: 900°F (482°C)
- Heat-up Time: Under 2 minutes
- Auto Shut-off: 10 minutes of inactivity, or when tip cover is applied
- Included Components: Soldering Pen, 2.0 Ah USB Lithium Battery, USB-C Charging Cable, Soldering Tip, Tip Cover
- Item Weight: Approximately 1 Pound (0.45 kg)
- Material: Copper (tip)
Warranty and Support
For warranty information, technical support, or to purchase replacement parts, please contact RYOBI customer service or visit their official website. Retain your proof of purchase for warranty claims.
RYOBI Official Website: www.ryobitools.com


