1. Introduction
This manual provides essential information for the safe and efficient installation, operation, and maintenance of the SUNTEC AS47A 7432-4 oil pump. Please read this manual thoroughly before attempting to install or operate the pump. Retain this manual for future reference.
The SUNTEC AS47A 7432-4 is a high-quality oil pump designed for use in boiler burner systems, ensuring reliable fuel delivery.
2. Safety Information
Always observe the following safety precautions to prevent personal injury or damage to the equipment:
- Installation and service must be performed by qualified personnel only.
- Ensure the power supply to the burner is disconnected before any installation, maintenance, or service work.
- Wear appropriate personal protective equipment (PPE) such as gloves and eye protection.
- Handle fuel oil with care, as it is flammable. Avoid spills and ensure adequate ventilation.
- Check all connections for leaks after installation and before operation.
- Do not operate the pump if it is damaged or malfunctioning.
3. Product Overview
The SUNTEC AS47A 7432-4 oil pump is a compact and robust unit designed for precise fuel delivery in various boiler burner applications. It features an integrated pressure regulating valve and a solenoid valve connection.
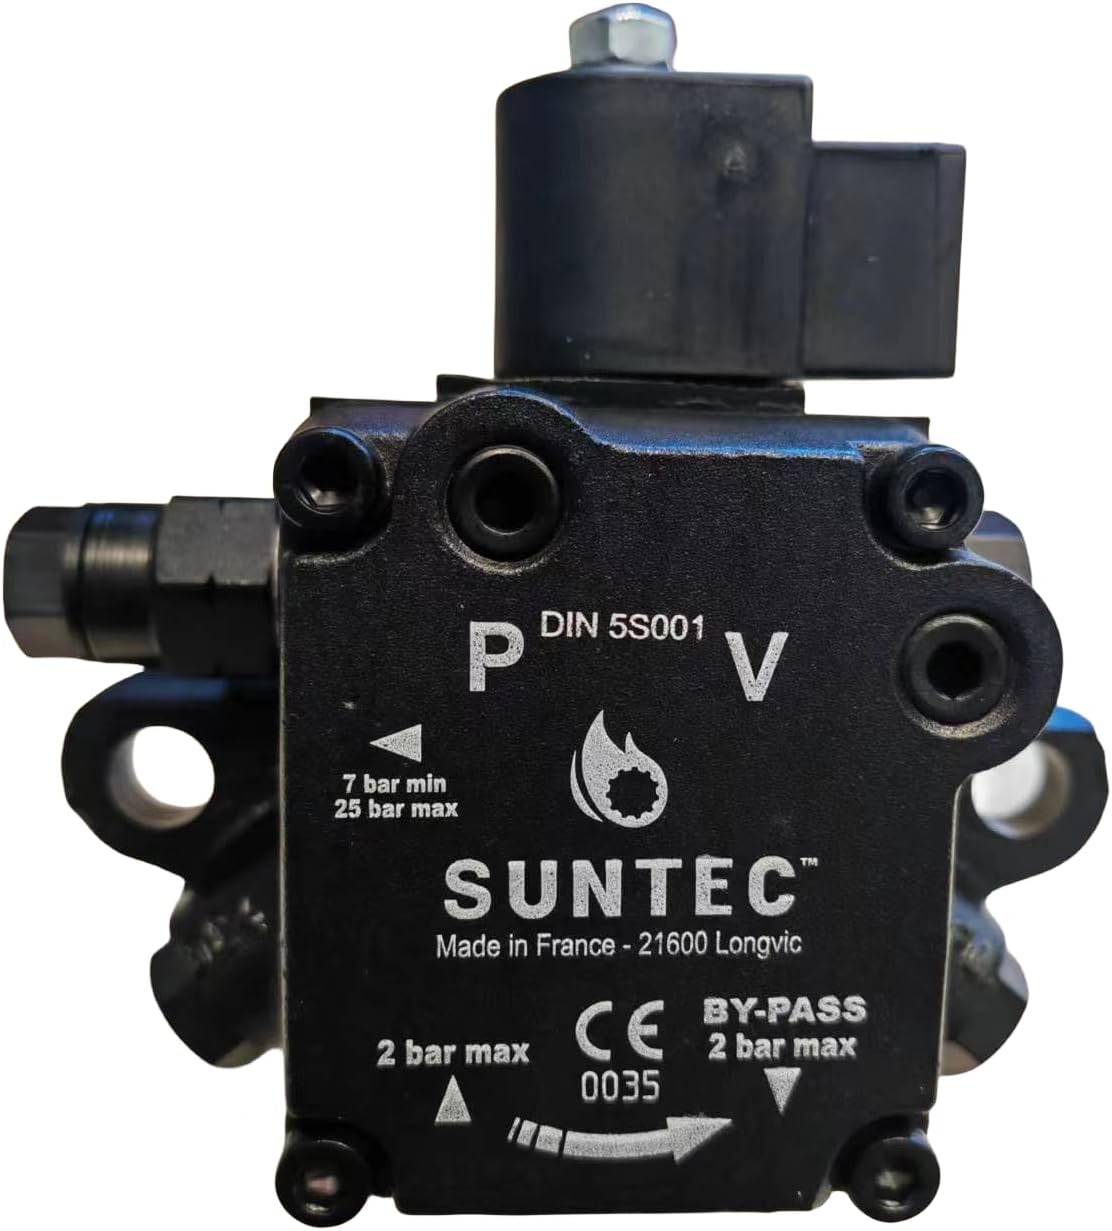
Figure 3.1: Front view of the SUNTEC AS47A 7432-4 oil pump. This image displays the SUNTEC brand logo, "Made in France" origin, and key specifications such as the pressure range (7 bar min, 25 bar max) and bypass information. The solenoid valve connection is visible at the top.

Figure 3.2: Close-up view of the pump body, clearly showing the engraved model numbers "7432-4" and "AS47A". This detail helps in product identification and verification.
Key Components:
- Inlet Port: For fuel supply from the tank.
- Outlet Port: For fuel delivery to the burner nozzle.
- Return Port: For unused fuel to return to the tank.
- Pressure Gauge Port: For connecting a pressure gauge to monitor operating pressure.
- Pressure Regulating Valve: Adjusts the fuel pressure.
- Solenoid Valve Connection: For electrical control of fuel flow.
- Shaft: Connects to the burner motor for pump operation.
4. Setup and Installation
Proper installation is crucial for the pump's performance and longevity. Follow these steps carefully:
- Mounting: Securely mount the pump to the burner motor flange using appropriate fasteners. Ensure the pump shaft aligns correctly with the motor coupling.
- Fuel Line Connections:
- Connect the fuel supply line from the tank to the pump's inlet port (marked 'P' or 'IN').
- Connect the fuel line to the burner nozzle to the pump's outlet port (marked 'V' or 'OUT').
- Connect the return line from the pump's return port to the fuel tank. Ensure the return line is submerged below the fuel level in the tank to prevent air ingress.
- Pressure Gauge Installation: Install a suitable pressure gauge into the designated port to monitor the operating pressure.
- Solenoid Valve Wiring: Connect the solenoid valve according to the burner manufacturer's wiring diagram. Ensure correct polarity if specified.
- Leak Check: After all connections are made, visually inspect for any potential leaks.

Figure 4.1: Bottom view of the SUNTEC AS47A 7432-4 oil pump. This image shows the central drive shaft and the surrounding mounting points, which are essential for proper alignment and secure attachment to the burner motor.
5. Operating Instructions
Once installed, follow these steps for initial startup and operation:
- Priming the Pump:
- Ensure the fuel tank has sufficient oil.
- Open any shut-off valves in the fuel supply line.
- Start the burner motor. The pump will begin to draw oil. It may take a few seconds for the pump to prime and for the pressure to stabilize.
- If the pump does not prime within 30-60 seconds, check for air leaks in the suction line or ensure the tank has fuel.
- Adjusting Pressure:
- The pump features an adjustable pressure regulating valve. Use a suitable tool to turn the adjustment screw.
- Turn clockwise to increase pressure, counter-clockwise to decrease pressure.
- Monitor the pressure gauge while adjusting to achieve the desired operating pressure as specified by the burner manufacturer (typically between 7 and 25 bar for this model).
- Solenoid Valve Operation: The integrated solenoid valve controls the immediate cut-off of fuel flow to the nozzle when the burner shuts down, preventing after-drip. Ensure it is functioning correctly during burner cycles.
6. Maintenance
Regular maintenance ensures optimal performance and extends the life of your SUNTEC oil pump. Always disconnect power to the burner before performing any maintenance.
- Filter Cleaning/Replacement: The pump may contain an internal filter. Check the burner manufacturer's recommendations for filter maintenance. Clean or replace the filter periodically (e.g., annually or as needed based on fuel quality).
- Leak Inspection: Regularly inspect all fuel lines and connections for signs of leaks. Tighten any loose connections.
- General Cleaning: Keep the exterior of the pump clean and free from dust and debris.
- Shaft Inspection: Periodically check the pump shaft for any signs of wear or damage.
7. Troubleshooting
Refer to the following table for common issues and their potential solutions:
| Problem | Possible Cause | Solution |
|---|---|---|
| No oil flow / No pressure |
|
|
| Incorrect pressure |
|
|
| Excessive noise |
|
|
If problems persist after attempting these solutions, contact a qualified service technician.
8. Specifications
| Model Number | AS47A 7432-4 |
| Manufacturer | SUNTEC |
| Application | Boiler Burner Oil Pump |
| Pressure Range | 7 bar (min) to 25 bar (max) |
| Origin | Made in France |
9. Warranty and Support
For warranty information, please refer to the terms and conditions provided by your supplier or the original manufacturer, SUNTEC. Keep your proof of purchase for any warranty claims.
For technical support or service, please contact your authorized SUNTEC dealer or a qualified HVAC technician.