1. Introduction
Thank you for choosing the Zgrmbo MX6035 Digital Atomic Alarm Clock. This clock is designed to provide accurate timekeeping, indoor temperature, and humidity readings, along with a reliable alarm function. Its atomic synchronization feature ensures precise time without manual adjustments, and the battery-operated design offers portability and convenience.

Figure 1: Zgrmbo MX6035 Digital Atomic Alarm Clock
2. Package Contents
- 1 x Zgrmbo MX6035 Digital Atomic Alarm Clock
- 1 x User Manual
Note: 3 x AAA batteries are NOT included and must be purchased separately.
3. Product Features
- Accurate Atomic Time: Automatically synchronizes with the WWVB radio broadcast from NIST in Fort Collins, Colorado, ensuring precise timekeeping.
- Auto-Dimming Smart Night Light: Features a built-in ambient light sensor that automatically illuminates the display in dark environments. The display can also be manually lit by pressing the top of the clock.
- Alarm with Snooze: A classic alarm function with a gradually increasing beep sound for 120 seconds. The top snooze button provides an extra 5-minute nap.
- Multi-Display: Shows time, date, indoor temperature (℉/℃), and indoor humidity.
- Battery Operated & Portable: Cordless design powered by 3 AAA batteries (not included), making it ideal for bedrooms, desks, or travel.

Figure 2: Atomic Time Synchronization

Figure 3: Automatic Night Light in use

Figure 4: Alarm with 5-Minute Snooze

Figure 5: Multi-Display Features
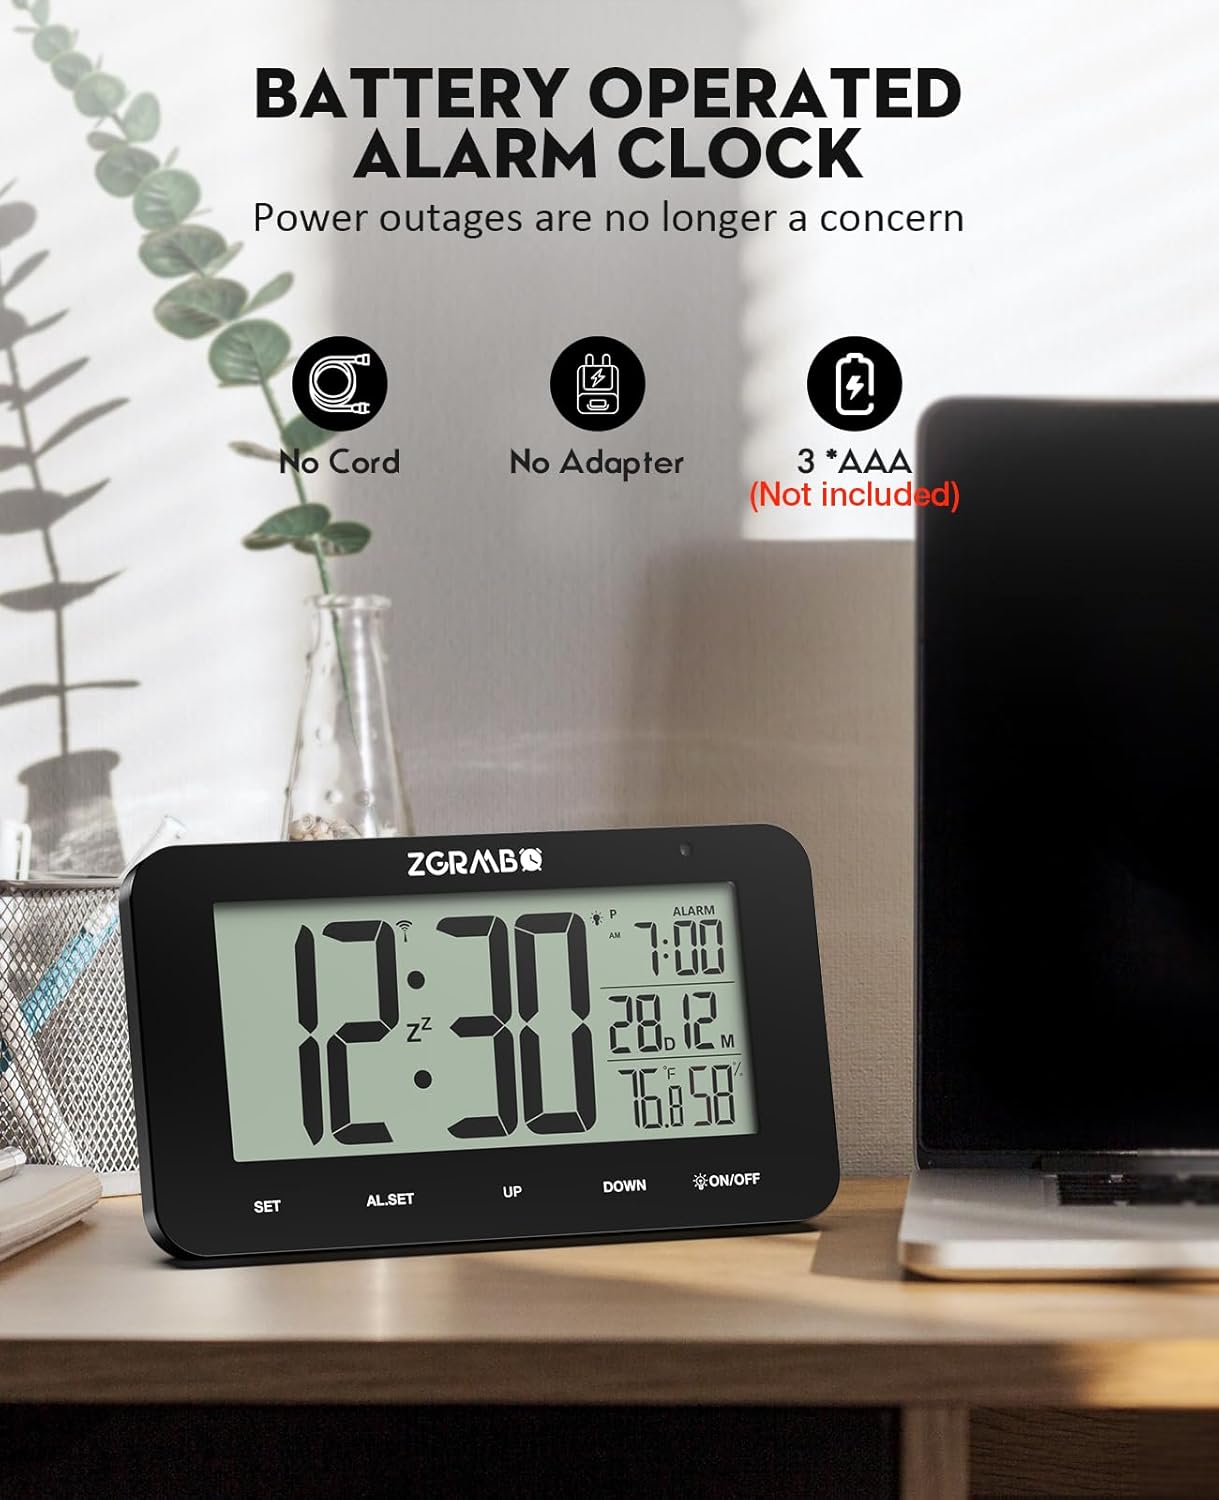
Figure 6: Battery Operated Design
4. Setup Guide
Follow these steps for initial setup of your Zgrmbo MX6035 Atomic Alarm Clock:
- Install Batteries: Open the battery compartment on the back of the clock and insert 3 new AAA batteries, ensuring correct polarity.
- Automatic WWVB Signal Search: Upon battery installation, the clock will automatically begin searching for the WWVB atomic signal. This process may take 7-14 minutes. Place the clock near a window, ideally facing Colorado, for optimal reception. A signal icon will appear on the display when reception is successful.
- Select Time Zone: Once the signal is received and the time is set, press the SET button to cycle through and select your correct time zone (PST, MST, CST, EST).

Figure 7: Simple 3-Step Setup
Setup Video Guide
Video 1: Unboxing and Initial Setup of the MX6035 Alarm Clock. This video demonstrates how to unbox the clock, install batteries, and observe the initial synchronization process.
5. Operating Instructions
5.1. Time and Date Display
- The main display shows the current time.
- The date (month and day) is displayed below the alarm time.
- Indoor temperature (℉/℃) and humidity (%) are shown at the bottom right.
5.2. 12/24 Hour Format Switching
To switch between 12-hour (AM/PM) and 24-hour formats, press the UP button.

Figure 8: 12/24 Hour Format Switching
5.3. Setting the Alarm
- Press the AL.SET button once to enter alarm setting mode. The alarm hour will flash.
- Use the UP or DOWN buttons to adjust the alarm hour.
- Press AL.SET again to confirm the hour and move to alarm minute setting. The alarm minute will flash.
- Use the UP or DOWN buttons to adjust the alarm minute.
- Press AL.SET a third time to confirm and exit alarm setting mode. The alarm icon will appear on the display, indicating the alarm is active.
5.4. Snooze Function
When the alarm sounds, press the top of the clock (the ON/OFF button area) to activate the snooze function. The alarm will pause for 5 minutes and then sound again. You can repeat this process.
5.5. Disabling the Alarm
To turn off the alarm completely, press the AL.SET button when the alarm is not sounding. The alarm icon on the display will disappear.
5.6. Manual Backlight Activation
In any lighting condition, press the top of the clock (the ON/OFF button area) to manually illuminate the display for a few seconds.
6. Maintenance
- Cleaning: Wipe the clock with a soft, dry cloth. Do not use abrasive cleaners or chemicals.
- Battery Replacement: When the display dims or functions become erratic, replace all three AAA batteries with new ones. Ensure correct polarity.
- Storage: If storing the clock for an extended period, remove the batteries to prevent leakage.
7. Troubleshooting
| Problem | Possible Cause | Solution |
|---|---|---|
| Clock does not set time automatically / Time is incorrect. | Poor WWVB signal reception. Incorrect time zone selected. | Place the clock near a window, away from electronic interference. Allow 7-14 minutes for signal reception. Ensure the correct time zone is selected using the SET button. If reception is consistently poor, you may need to manually set the time (see manual for advanced settings, if available, or try re-inserting batteries to force a new signal search). |
| Backlight is dim or not working. | Low batteries. Ambient light sensor detecting too much light. | Replace batteries with new ones. Ensure the clock is in a sufficiently dark environment for the auto-dimming feature to activate. Manually press the top of the clock to check if the backlight works. |
| Alarm does not sound. | Alarm is not activated. Alarm volume is too low (if adjustable). | Ensure the alarm icon is visible on the display. If not, set the alarm as per section 5.3. This model has a fixed alarm volume. |
| Display is blank or flickering. | Low or dead batteries. | Replace all three AAA batteries with new ones. |
| Daylight Saving Time (DST) adjustment issue. | Clock not automatically adjusting for DST. | The clock is designed to automatically adjust for DST based on the WWVB signal. Ensure good signal reception. If manual override is needed, consult the full product manual for specific button sequences (often involves the DOWN button or SET button in advanced modes). |
8. Specifications
| Feature | Detail |
|---|---|
| Brand | Zgrmbo |
| Model | MX6035 |
| Display Type | Digital LCD |
| Power Source | 3 x AAA Batteries (not included) |
| Product Dimensions | 5.5"W x 3.25"H |
| Material | Acrylonitrile Butadiene Styrene (ABS) |
| Temperature Range | 32℉ to 122℉ (0℃ to 50℃) |
| Humidity Range | 20%RH to 95%RH |
| Special Features | Atomic Time, Auto-Dimming Night Light, Alarm, Snooze, Date Display, Indoor Temp/Humidity |
9. Warranty and Support
For warranty information or technical support, please refer to the product packaging or contact the seller/manufacturer directly through your purchase platform. Keep your proof of purchase for any warranty claims.
Manufacturer: MEIZHOU MINGXING ELECTRONICS CO.,LTD