1. Introduction
The Leehoos Emergency Crank Weather Radio is a versatile and essential device designed for emergency preparedness and outdoor activities. It combines multiple functionalities including NOAA weather alerts, AM/FM radio, a powerful flashlight, a reading light, an SOS alarm, and a power bank, all powered by various charging methods to ensure reliability in any situation.
2. Key Features
- NOAA Weather Band: Receive real-time weather alerts and forecasts.
- AM/FM Radio: Stay informed and entertained with standard radio broadcasts.
- Multiple Power Sources: Hand crank, solar panel, USB-C charging, and AAA battery compatibility.
- Flashlight & Reading Light: Integrated lighting for various needs.
- SOS Alarm: Audible and visual alarm for emergency signaling.
- Power Bank Function: Charge external devices via USB-A output.
- Compact & Portable: Designed for easy carrying and storage.
- Water and Dust Resistant: IP34 rating for durability in outdoor conditions.
3. Setup
3.1 Initial Charge
Before first use, fully charge the internal battery using one of the following methods:
- USB-C Charging: Connect the provided USB-C cable to the radio's USB-C input port (located under the protective flap on the side) and to a USB power adapter (not included). The charging indicator lights will illuminate.
- Solar Charging: Place the radio with the solar panel facing direct sunlight. The solar indicator light will turn on when charging. This method is primarily for maintaining charge or slow charging.
- Hand Crank: Rotate the hand crank on the side of the radio clockwise or counter-clockwise for approximately 1-2 minutes to generate initial power. The charging indicator lights will show progress.
3.2 AAA Battery Installation
For backup power, the radio can use 3 x AAA batteries (not included).
- Unscrew the protective cap on the side of the radio to reveal the battery compartment.
- Insert 3 AAA batteries, ensuring correct polarity (+/-).
- Securely close the battery compartment and screw the cap back on to maintain water resistance.
3.3 Antenna Extension
For optimal radio reception, extend the telescopic antenna located on the top of the unit.
4. Operating Instructions
4.1 Power On/Off
Press and hold the 'START' button to power the radio on or off.
4.2 Radio Modes (AM/FM/NOAA)
With the radio powered on, short press the 'START' button to cycle through AM, FM, and NOAA weather band modes.
4.3 Tuning
- Auto Scan: In AM or FM mode, press and hold the 'NEXT' or 'LAST' button to automatically scan for the next available station.
- Manual Tuning: Short press the 'NEXT' or 'LAST' button to manually adjust the frequency step-by-step.
- NOAA Weather Band: In NOAA mode, use 'NEXT' or 'LAST' to cycle through the 7 pre-programmed weather channels.
4.4 Volume Control
Use the 'VOL+' and 'VOL-' buttons to adjust the audio volume.
4.5 Lighting Functions
Press the 'LIGHT' button to activate the lighting features:
- First press: Activates the bright flashlight.
- Second press: Activates the softer reading light.
- Third press: Turns off the light.
4.6 SOS Alarm
Press and hold the 'LIGHT' button to activate the SOS alarm. This will trigger a loud siren and a flashing red/blue light. Press and hold the 'LIGHT' button again to deactivate the SOS alarm.
4.7 Power Bank Function
To charge external devices, open the protective flap on the side of the radio and connect your device's charging cable to the USB-A output port.
4.8 Headphone Jack
For private listening, connect 3.5mm headphones to the headphone jack located under the protective flap.
5. Product Demonstrations

Image: The Leehoos Emergency Radio highlighting its five versatile power options: built-in rechargeable battery, AAA batteries, USB-C charging, hand crank, and solar panel. This ensures continuous operation in various scenarios.

Image: The Leehoos Emergency Radio tuned to a NOAA weather frequency, demonstrating its capability to receive critical weather alerts. The display shows '162.425', indicating a specific NOAA channel.

Image: The Leehoos Emergency Radio illustrating its three lighting modes: a bright flashlight for illumination, a softer reading light for close-up tasks, and an S.O.S. alarm with flashing lights for emergencies.

Image: The Leehoos Emergency Radio showcasing its compact, pocket-sized design with dimensions of 4.13 inches in length, 2.79 inches in width, and 2.32 inches in height, making it highly portable.

Image: The Leehoos Emergency Radio with its S.O.S. Light & Alarm activated, emitting a bright red flashing light to signal for help in emergency situations.
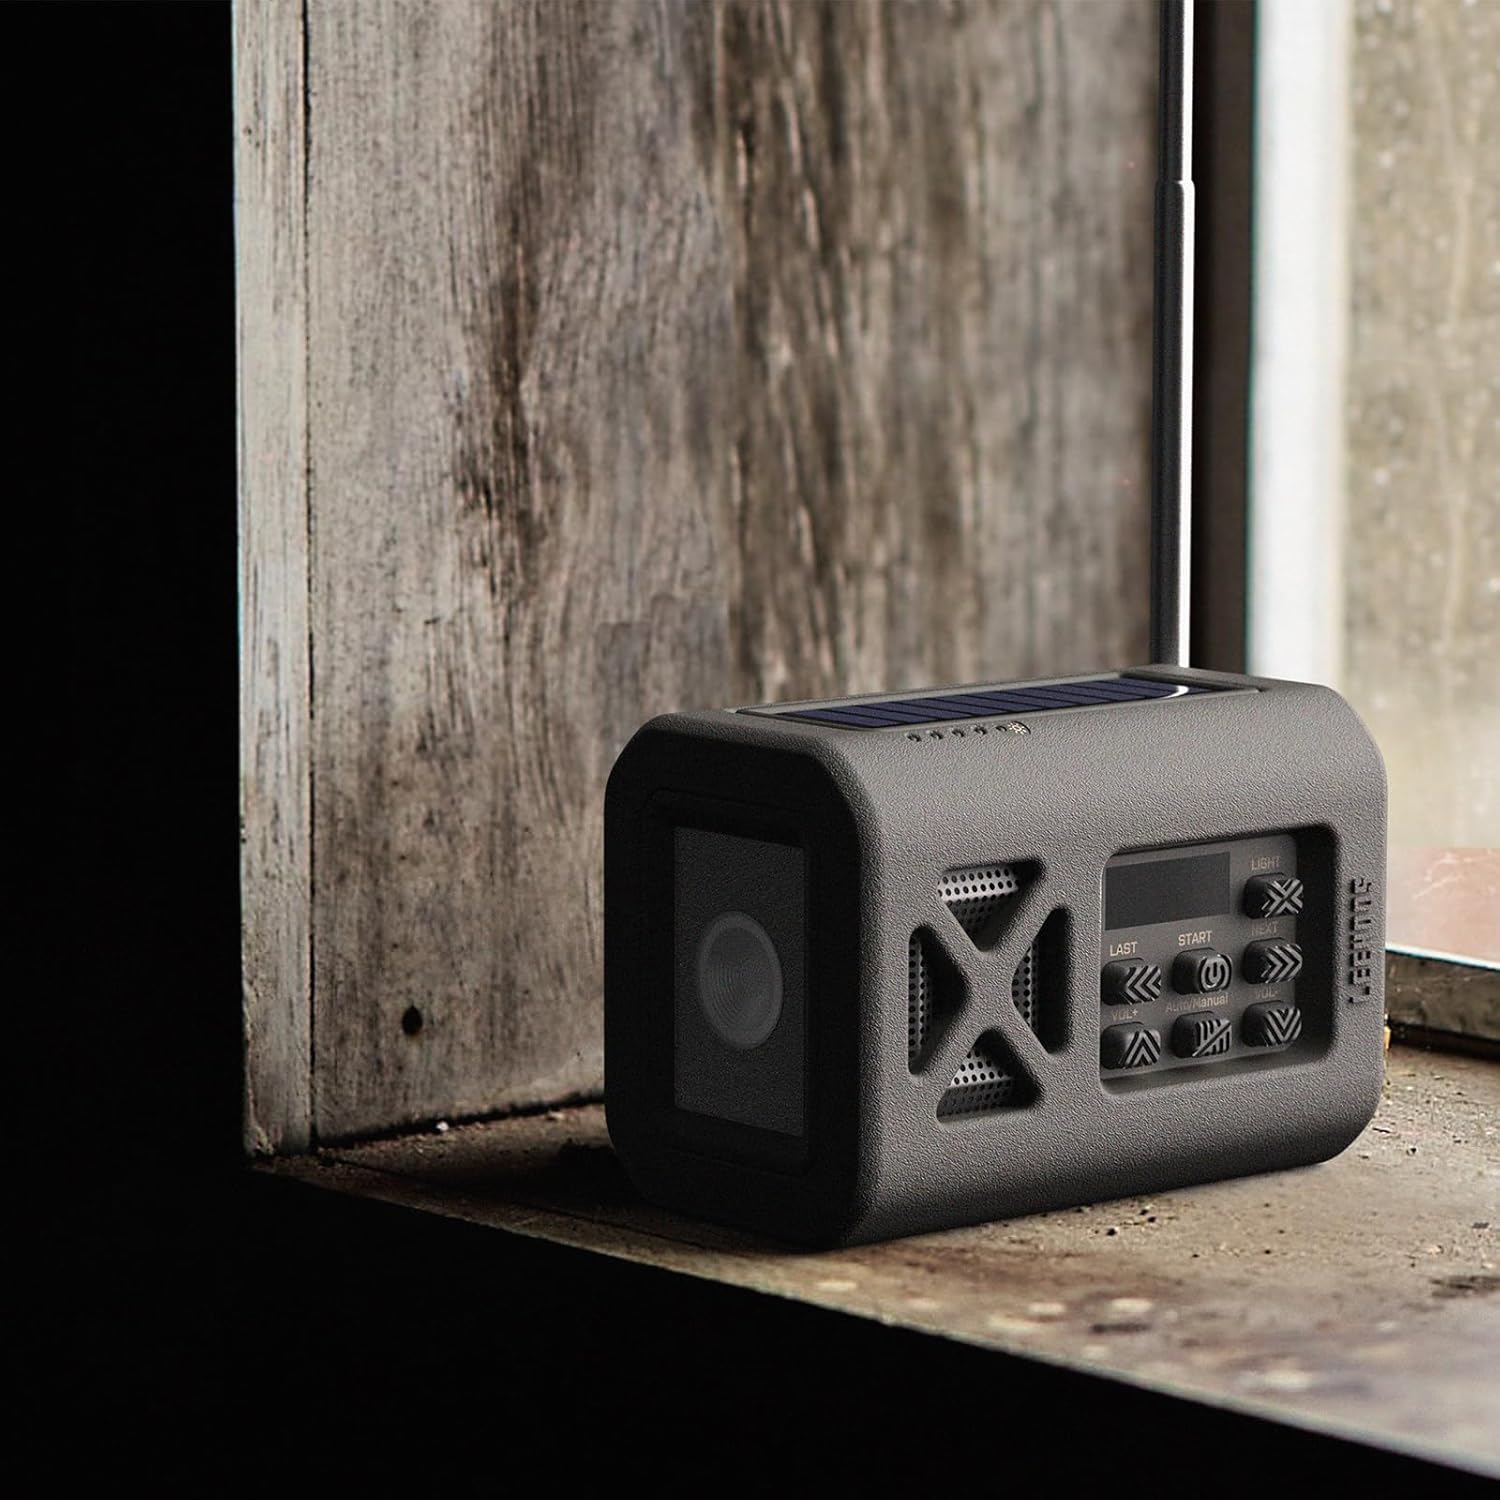
Image: The Leehoos Emergency Radio positioned on a windowsill, illustrating its solar charging capability. The solar panel on top is exposed to light, indicating it is actively charging.
5.1 Official Product Videos
Video: This video titled "2024 New Radio" demonstrates the Leehoos Emergency Radio's features, including its flashlight, NOAA weather band, USB charging, and hand-crank power generation during a simulated power outage. It highlights the device's readiness for home emergencies.
Video: A short preview video titled "Emergency Portable Radio" from a seller, showcasing the compact size and portability of the Leehoos Emergency Radio. It briefly highlights its readiness for emergency situations.
6. Maintenance
- Cleaning: Wipe the radio with a soft, damp cloth. Do not use harsh chemicals or abrasive cleaners.
- Storage: Store the radio in a cool, dry place away from direct sunlight and extreme temperatures. If storing for extended periods, ensure the internal battery is partially charged (around 50%) and remove any AAA batteries.
- Water Resistance: Ensure all port covers and battery compartments are securely closed to maintain IP34 water and dust resistance. This rating protects against splashing water and dust, but not immersion.
7. Troubleshooting
- No Power: Check battery level. Try charging via USB-C, hand crank, or solar panel. Ensure AAA batteries are correctly installed if using them.
- Poor Radio Reception: Fully extend the telescopic antenna. Try repositioning the radio. Ensure you are within range of broadcast signals.
- Flashlight/SOS Not Working: Ensure the radio has sufficient power. Press the 'LIGHT' button correctly (short press for light modes, long press for SOS).
- Device Not Charging (Power Bank): Ensure the radio has sufficient power. Check the USB cable and connection. Some devices may draw too much power or be incompatible.
8. Specifications
| Feature | Detail |
|---|---|
| Product Dimensions | 4 x 2 x 2 inches |
| Item Weight | 7.1 ounces (200 Grams) |
| Model Number | L0-US-EM1GTX-Green-2 |
| Power Source | Solar Powered, Manual Winding, USB Charged, 1 Lithium Ion Battery (built-in), 3 AAA Batteries (external) |
| Radio Bands Supported | AM, FM, NOAA Weather Band |
| Frequency | 108 MHz (FM max) |
| Material | Plastic |
| Connectivity Technology | Auxiliary (Headphone Jack) |
| Water Resistance Level | IP34 |
9. Warranty and Support
For warranty information, technical support, or customer service inquiries, please refer to the contact details provided with your purchase or visit the official Leehoos website. Keep your proof of purchase for warranty claims.


