1. Introduction
Thank you for choosing the Lexon Horizon Automatic Gel & Liquid Soap Dispenser, Model LH91D. This device is designed to provide a hygienic and convenient way to dispense liquid soap or disinfectant gel. Featuring a contactless infrared sensor, a rechargeable battery, and adjustable output, it is an ideal addition to any modern home or office environment. Please read this manual thoroughly before use to ensure proper operation and maintenance.
2. Safety Information
- Do not immerse the device in water or any other liquid.
- Keep out of reach of children.
- Use only liquid soap or disinfectant gel. Do not use granular, abrasive, or thick solutions as they may clog the dispenser.
- Avoid direct sunlight or strong light sources on the sensor, as this may affect its performance.
- Do not attempt to disassemble or repair the device yourself. Contact qualified service personnel for assistance.
- Ensure the charging port is dry before connecting the charging cable.
3. Package Contents
Please check the package for the following items:
- Lexon Horizon Automatic Dispenser (LH91D)
- USB Charging Cable
- User Manual
4. Product Overview
The Lexon Horizon dispenser features a sleek design and intuitive operation. Familiarize yourself with its main components:
- Dispensing Nozzle: Where soap/gel is released. Features a non-drip valve.
- Infrared Sensor: Detects hand movement for automatic dispensing.
- Refillable Reservoir: Holds up to 400 ml of liquid soap or gel.
- Touch Control Button: Used to adjust the dispensing volume (1 ml, 1.5 ml, 2 ml).
- LED Indicator: Displays charging status and pump activity.
- Charging Port: For recharging the internal battery.
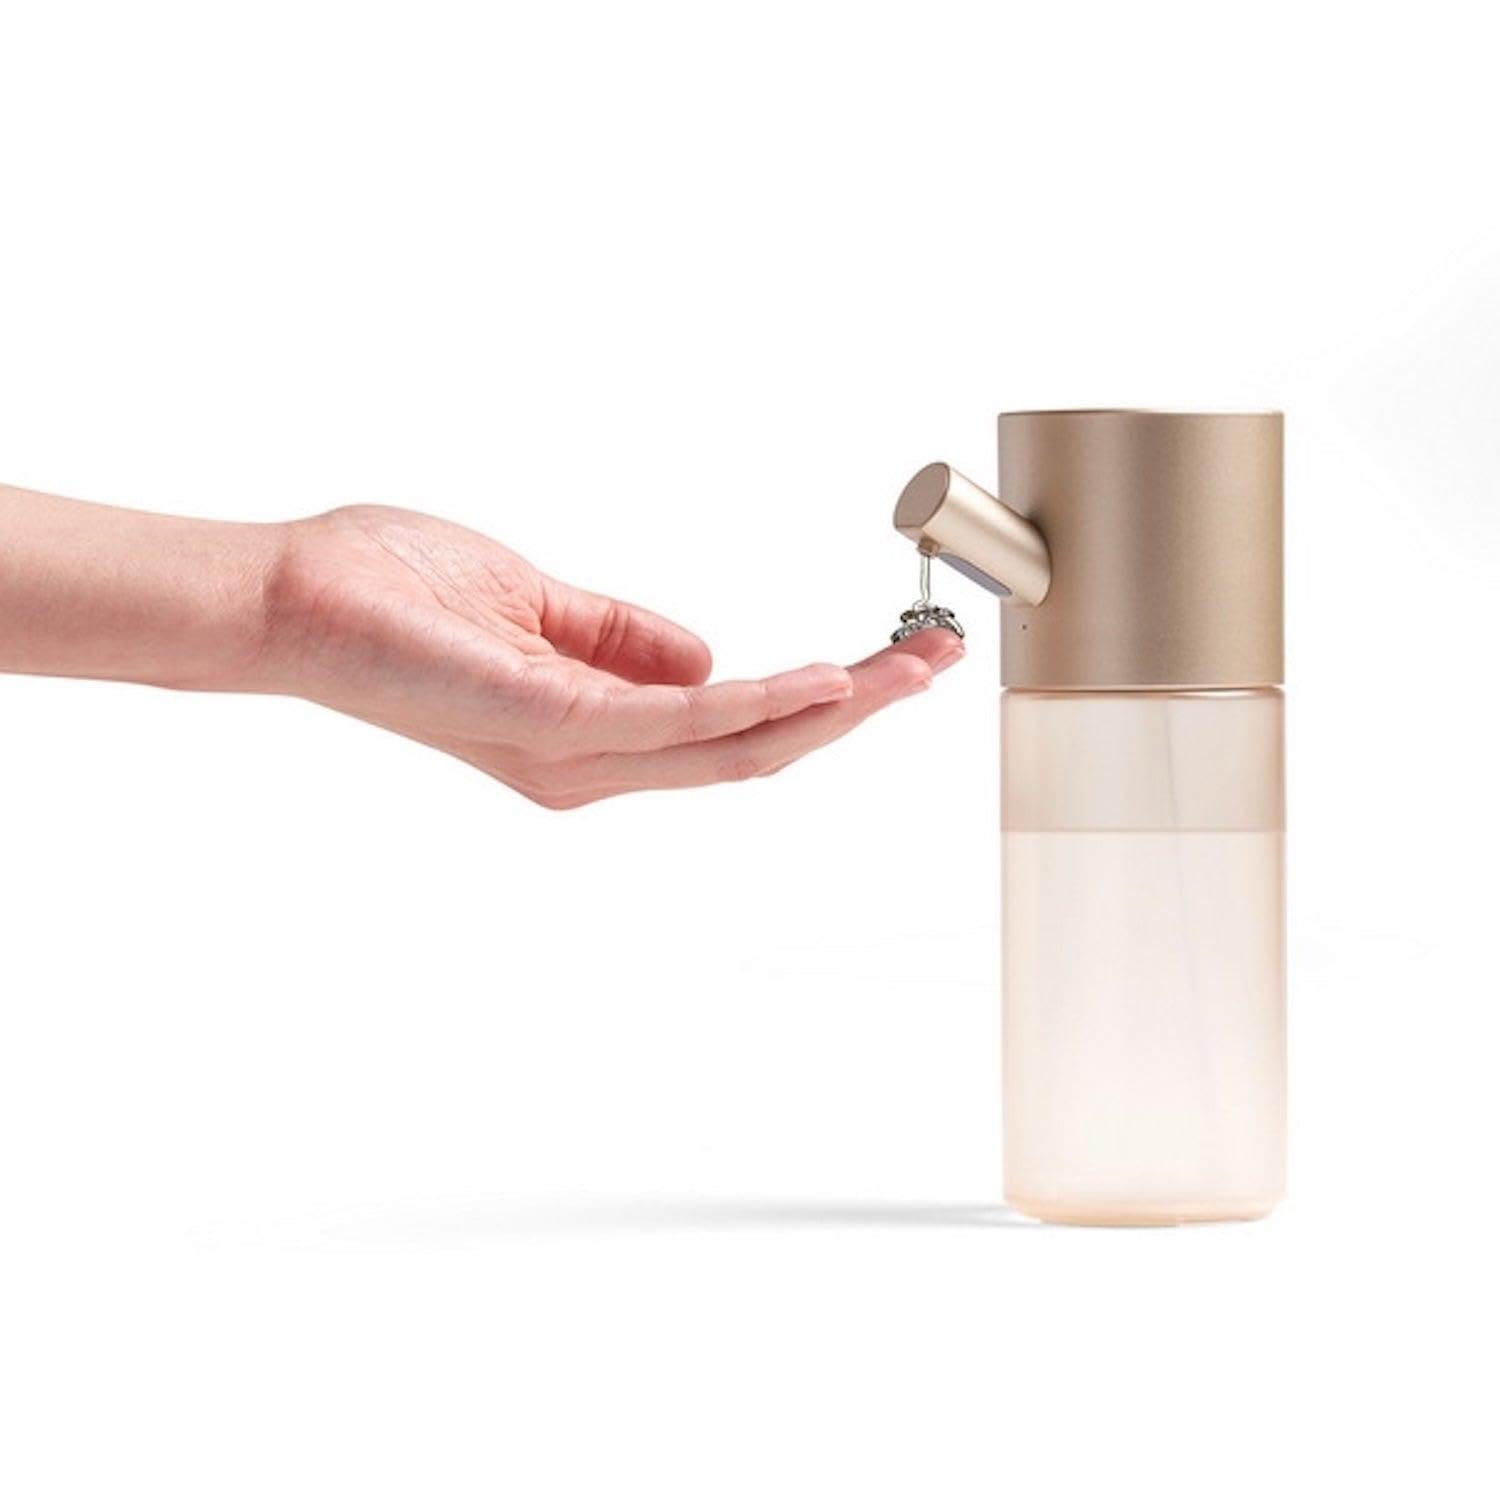
Image 1: Front view of the Lexon Horizon Automatic Gel and Liquid Soap Dispenser. The image shows the sleek, cylindrical design with the dispensing nozzle at the bottom and the sensor area above it. The main body is a metallic gold color.
5. Setup
5.1. Charging the Battery
- Locate the charging port on the device.
- Connect the provided USB charging cable to the dispenser and to a suitable USB power adapter (not included).
- The LED indicator will illuminate to show charging status. A full charge typically takes a few hours.
- Once fully charged, disconnect the cable.
5.2. Filling the Reservoir
- Gently twist and remove the top section of the dispenser to access the reservoir.
- Pour liquid soap or disinfectant gel into the reservoir. Do not overfill; leave a small gap at the top.
- Ensure only suitable liquids are used (liquid soap or gel). Avoid foaming soaps or thick lotions.
- Securely reattach the top section by twisting it back into place.
5.3. Placement
Place the dispenser on a flat, stable surface. Ensure there is enough clear space below the nozzle for hands and that the sensor is not obstructed. Avoid placing it in direct sunlight or near strong reflective surfaces.
6. Operating Instructions
6.1. Dispensing Soap/Gel
- Ensure the dispenser is charged and filled.
- Place your hand approximately 2-5 cm (1-2 inches) below the dispensing nozzle.
- The infrared sensor will detect your hand, and the dispenser will automatically release a pre-set amount of soap or gel.
- Remove your hand once the desired amount is dispensed.
6.2. Adjusting Dispensing Volume
The dispenser offers three volume settings: 1 ml, 1.5 ml, and 2 ml.
- Locate the touch control button, usually near the top or front of the device.
- Tap the touch control button to cycle through the volume settings. The LED indicator may briefly change color or flash to indicate the selected volume.
- Test the dispensing volume by placing your hand under the sensor.
7. Maintenance
7.1. Cleaning
- Wipe the exterior of the dispenser with a soft, damp cloth. Do not use abrasive cleaners or immerse the unit in water.
- If the nozzle becomes clogged, gently clean it with a small brush or toothpick.
- Ensure the sensor area is kept clean and free from obstructions.
7.2. Refilling
When the liquid level is low, refill the reservoir as described in Section 5.2. Regular refilling prevents air from entering the pump mechanism, ensuring consistent performance.
8. Troubleshooting
| Problem | Possible Cause | Solution |
|---|---|---|
| Dispenser does not activate. | Low battery. Sensor obstructed or dirty. Incorrect hand placement. | Charge the dispenser. Clean the sensor area. Place hand 2-5 cm below the nozzle. |
| No soap/gel dispensed. | Reservoir is empty. Liquid is too thick or unsuitable. Nozzle clogged. | Refill the reservoir. Use appropriate liquid soap/gel. Clean the nozzle. |
| Dispensing volume is inconsistent. | Low battery. Air in the pump. | Charge the dispenser. Refill the reservoir and activate a few times to prime the pump. |
9. Specifications
| Feature | Detail |
|---|---|
| Model | LH91D |
| Capacity | 400 ml / 13.5 oz |
| Dispensing Volume | 1 ml, 1.5 ml, 2 ml (adjustable) |
| Sensor Type | Contactless Infrared |
| Battery | Rechargeable (built-in) |
| Material | Aluminum / ABS |
| Dimensions (H x D) | 19.1 cm x 6.8 cm (approx. 7.5 x 2.7 inches) |
| Weight | 195 g (approx. 0.43 lbs) |
10. Warranty and Support
Specific warranty information for the Lexon Horizon Automatic Gel & Liquid Soap Dispenser (LH91D) is not provided in this manual. For detailed warranty terms, technical support, or service inquiries, please contact the manufacturer or your point of purchase directly. Keep your proof of purchase for any warranty claims.
For further assistance, please visit the official Lexon website or contact their customer service department.


