
1. Introduction
This user manual provides essential information for the installation and use of LOTOAK LED Backlight Strips. These strips are designed as replacement parts for various television models, restoring optimal display brightness and clarity. Please read this manual carefully before proceeding with installation.
2. Product Features
- Extended Lifespan: Designed for durability, typically lasting over 100,000 hours of operation.
- High Brightness: Provides illumination with brightness up to 700 nits, ensuring a vibrant display.
- Energy Efficiency: Optimized for broader energy-efficient applications, contributing to lower power consumption.
- Environmental Friendliness: Manufactured with eco-conscious materials and processes.
- Ease of Installation: Engineered for straightforward replacement, though professional installation is recommended.
3. Package Contents
The LOTOAK LED Backlight Strip kit for one TV typically includes the following components:
- 9 x LOTOAK 5LED (6V) Backlight Strips (485mm length each)

Figure 3.1: Complete set of LOTOAK LED backlight strips included in the kit.
4. Setup and Installation
Important Safety Notice: Replacing TV backlight strips involves working with delicate electronic components and potentially high voltage. It is highly recommended that installation be performed by a qualified technician to avoid damage to the television or personal injury. The manufacturer is not responsible for any damage or injury caused by improper installation.
4.1. Preparation
- Disconnect Power: Ensure the television is completely unplugged from the power outlet before beginning any work.
- Work Area: Prepare a clean, static-free, and well-lit work surface.
- Tools: Gather necessary tools, which may include screwdrivers, plastic prying tools, and anti-static wrist straps.
4.2. Disassembly (General Steps)
- Carefully remove the back cover of the television.
- Locate and carefully disconnect any cables or connectors that impede access to the display panel.
- Gently remove the display panel and diffuser layers to expose the existing backlight strips. Handle these components with extreme care to prevent damage.
4.3. Strip Replacement
- Carefully remove the old, faulty LED backlight strips. Note their orientation and connection points.
- Align the new LOTOAK LED backlight strips in the correct positions. Ensure the connectors match the existing wiring.
- Connect the new strips securely. Refer to the markings on the strips (e.g., K500WDC2 A2, 4708-K50WDC-A2113N11) for compatibility and proper orientation.

Figure 4.1: Detail of LED strip showing model identification numbers.

Figure 4.2: View of the connector ends of the LED strips.
4.4. Reassembly and Testing
- Carefully reassemble the television, ensuring all layers and covers are correctly positioned and secured.
- Before fully securing the back cover, connect the TV to power and perform a brief test to ensure the new backlight functions correctly.
- Once confirmed, disconnect power again and fully secure the back cover.
5. Operating Instructions
The LOTOAK LED backlight strips are passive components designed to provide illumination for your television's display. Once correctly installed, they operate automatically as part of your television's internal system. No user interaction is required for their operation beyond the normal use of your television.
6. Maintenance
These LED backlight strips are designed for long-term, maintenance-free operation. To ensure the longevity of your television and its components, it is recommended to:
- Keep the television in a clean, dust-free environment.
- Ensure proper ventilation around the television to prevent overheating.
- Avoid exposing the television to extreme temperatures or humidity.
7. Troubleshooting
If you experience issues after installing the new backlight strips, consider the following:
- No Backlight / Dim Screen:
- Verify all connections are secure and correctly seated.
- Ensure the new strips are fully compatible with your TV model. Double-check the model numbers on the strips against your TV's original specifications.
- Check for any visible damage to the strips or connectors.
- Flickering Backlight:
- This could indicate a loose connection or a faulty power supply unit (PSU) in the TV, not necessarily the LED strips themselves.
If problems persist, it is advisable to consult a professional television repair technician.
8. Specifications
| Attribute | Detail |
|---|---|
| Brand | LOTOAK |
| Model Compatibility | 50put6002, IM50US820, 50USK1810T2, 50PUT6023, K500WDC2 A2, 4708-K50WDC-A2113N11 |
| LED Type | 5LED (6V) per strip |
| Strip Length | Approximately 485mm (19.1 inches) |
| Kit Quantity | 9 pieces per TV set |
| Item Weight (Kit) | Approx. 50 Grams |
| Package Dimensions | 3 x 2 x 1 cm (approximate) |
| Assembly Required | No (refers to the strips themselves, not the TV repair) |
| ASIN | B0CSG8P63P |
| First Available Date | January 16, 2024 |
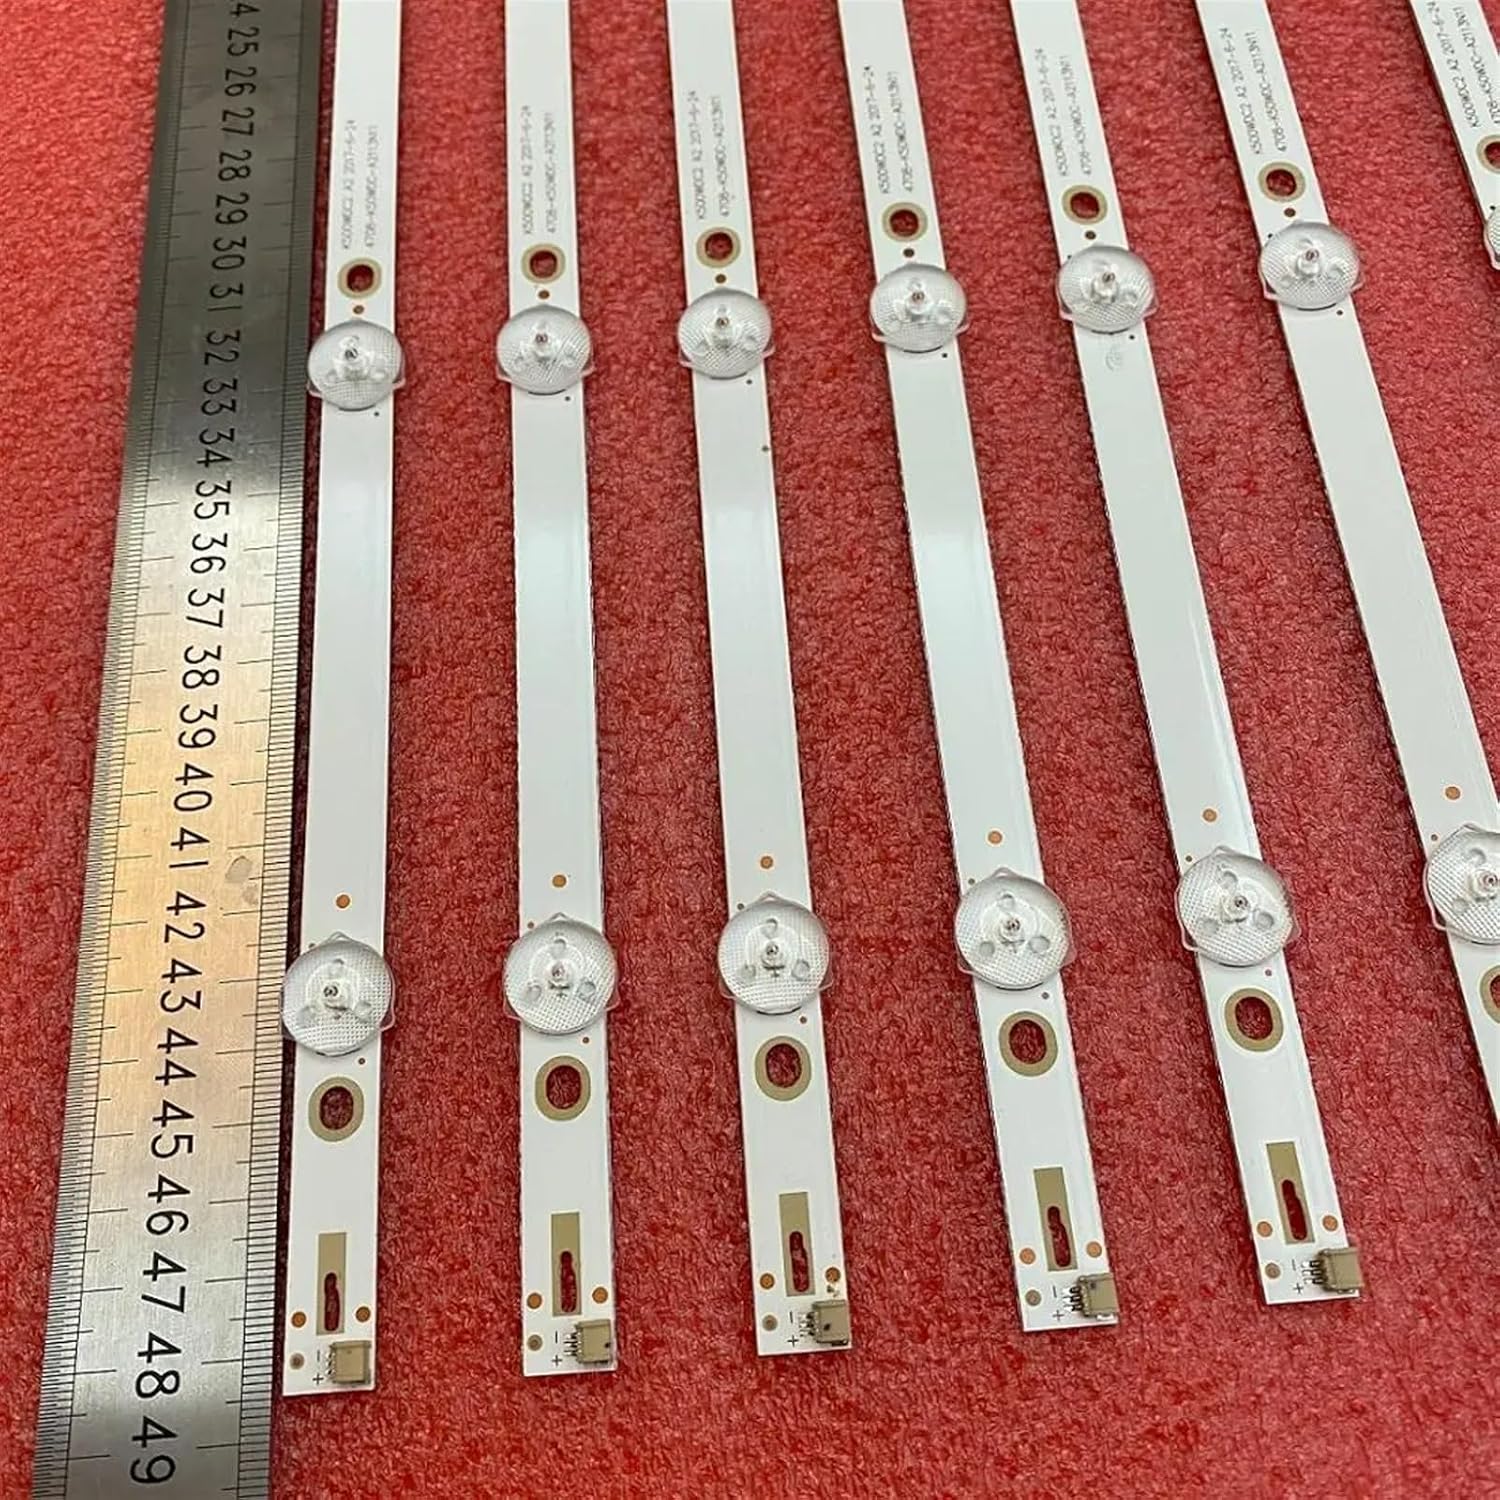
Figure 8.1: Measurement of a single LED strip.

Figure 8.2: Overall view of multiple LED strips with length reference.
9. Warranty and Support
For any questions regarding product compatibility, installation, or troubleshooting not covered in this manual, please contact the seller or manufacturer directly through the platform where the product was purchased. Please retain your proof of purchase for warranty claims, if applicable.