Introduction
This manual provides detailed instructions for the installation, operation, maintenance, and troubleshooting of your SINKVINE 33-inch Undermount Kitchen Sink. Please read this manual thoroughly before installation and use to ensure proper function and longevity of your product.
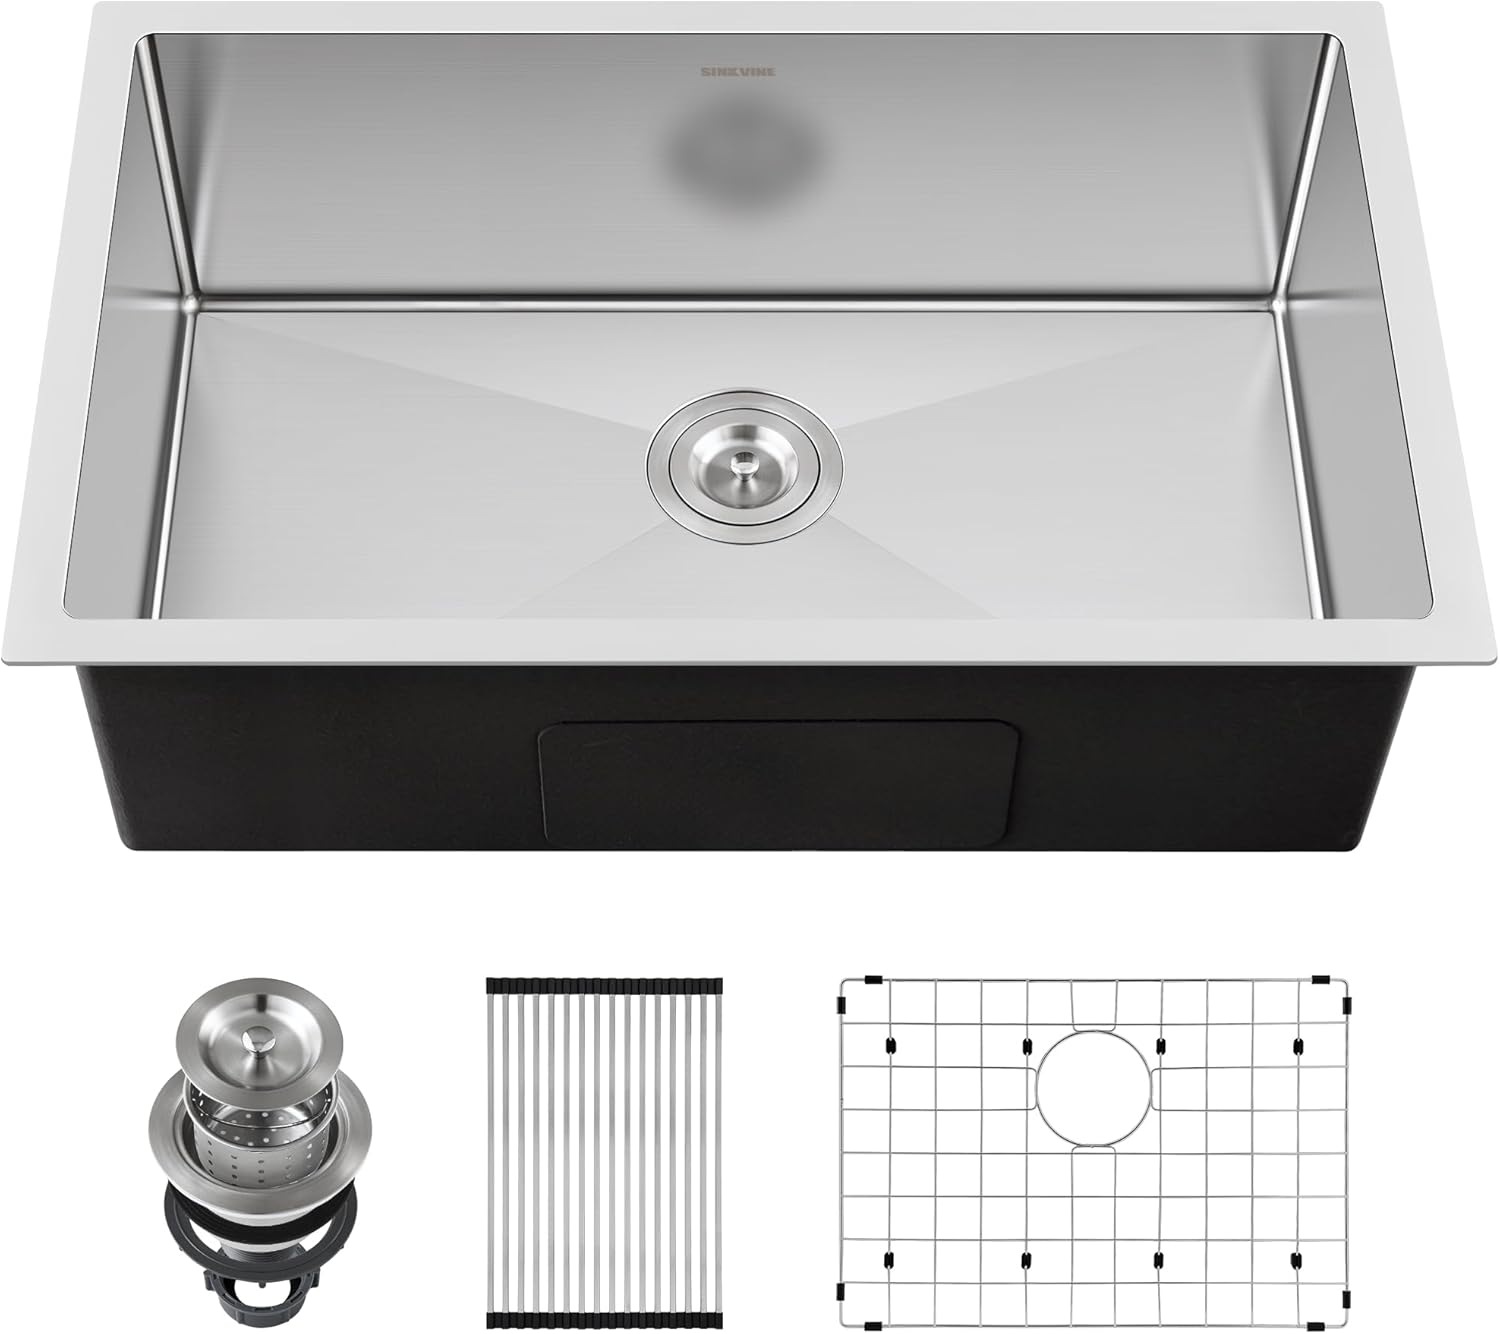
Image: The SINKVINE 33-inch Undermount Kitchen Sink, showcasing its single bowl design and the included drain strainer, bottom grid, and roll-up drying rack.
Safety Information
Always follow basic safety precautions when installing or maintaining kitchen fixtures. Professional installation is recommended. Ensure all water supply lines are shut off before beginning installation. Wear appropriate personal protective equipment, such as gloves and eye protection.
Package Contents
Verify that all components are present before beginning installation:
- SINKVINE 33-inch Undermount Kitchen Sink
- Basket Strainer Drain Assembly (3.5-inch standard)
- Bottom Rinse Grid
- Roll-up Drying Rack
- Installation Guide
- Cut-out Template
- Mounting Clips
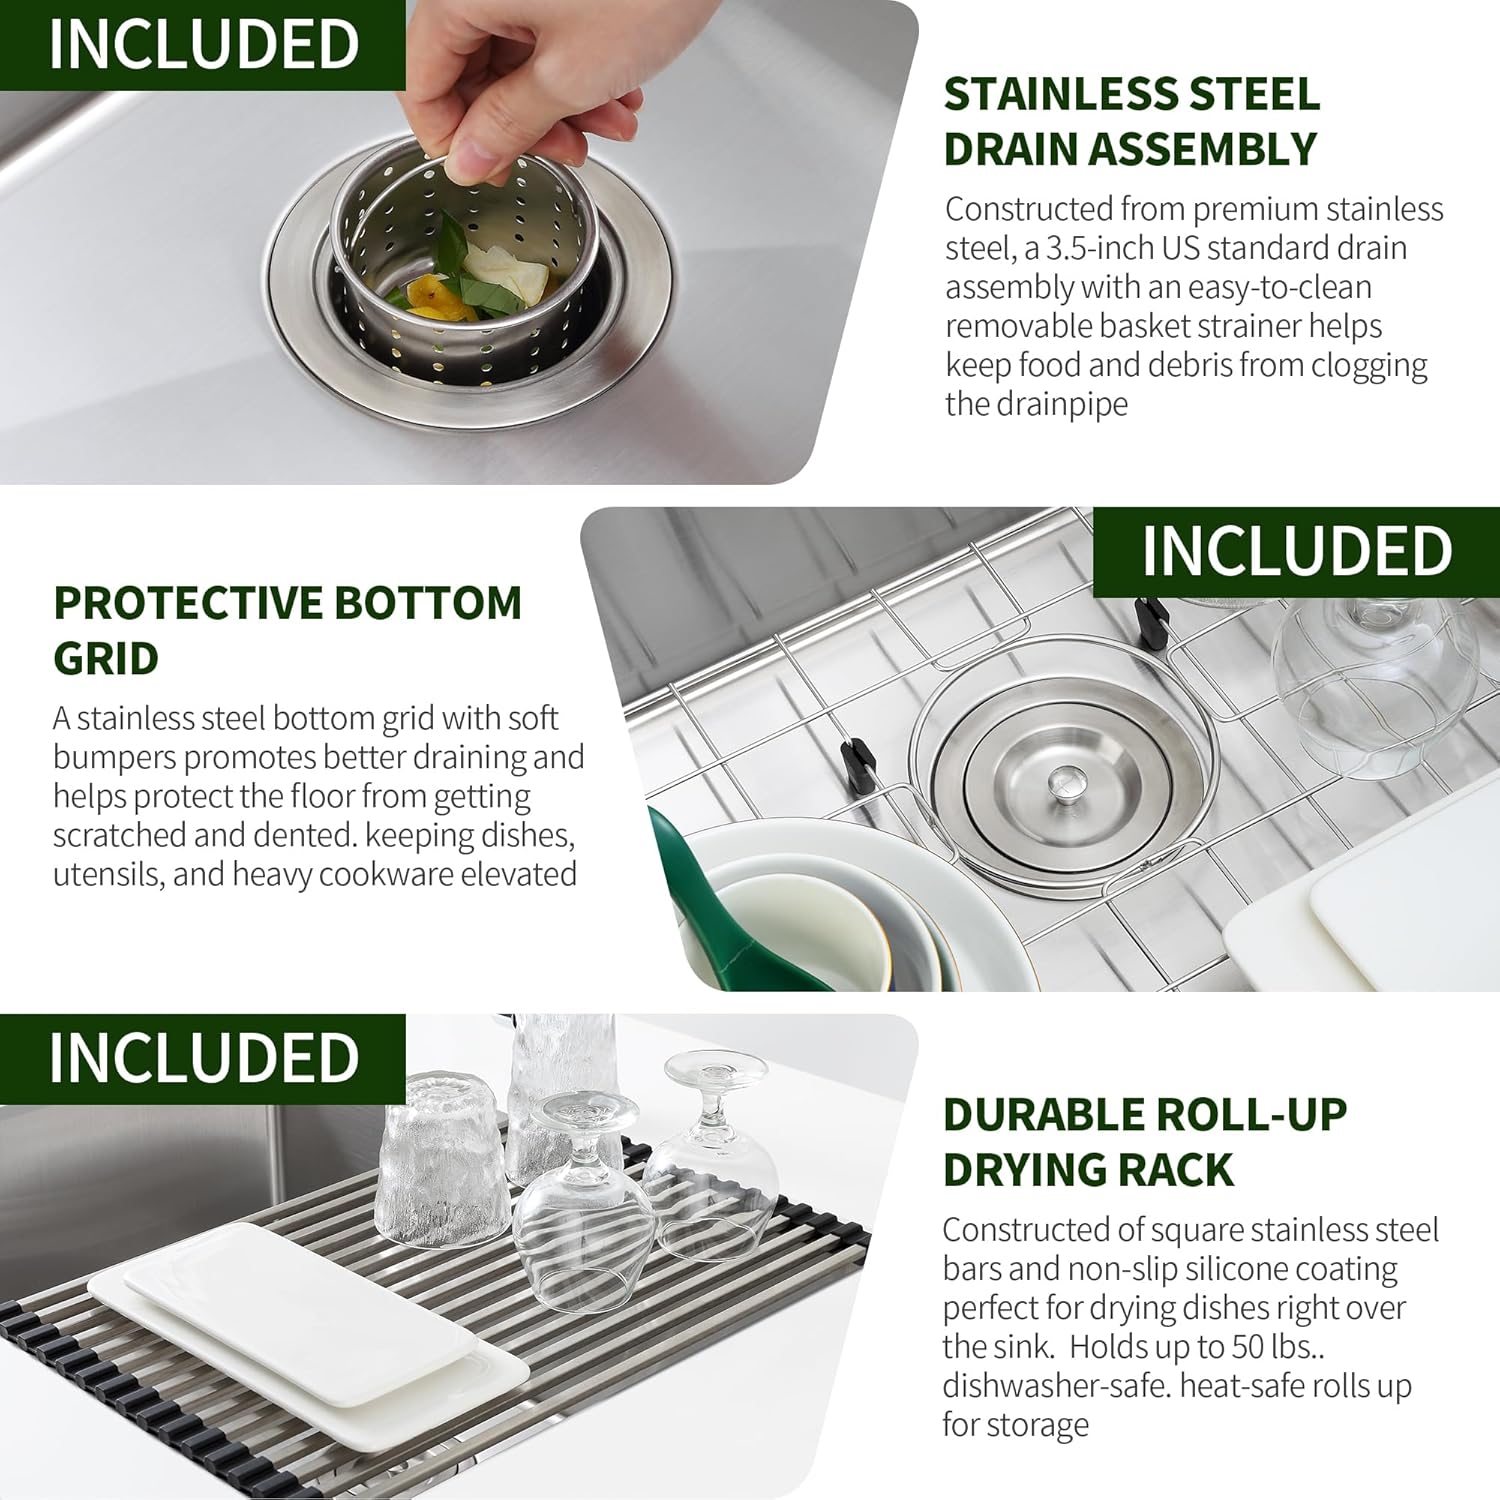
Image: Close-up view of the included stainless steel drain assembly, protective bottom grid, and durable roll-up drying rack.
Setup and Installation
1. Pre-Installation Checks
- Cabinet Size: Ensure your base cabinet is at least 36 inches wide. The minimum cabinet size is crucial for proper fit.
- Dimensions: Verify the sink dimensions against your countertop cutout.
- Exterior Dimensions: 33" (wide) x 19" (front-to-back) x 9" (depth)
- Interior Dimensions (Cutout Size): 31" (wide) x 17" (front-to-back) x 9" (bowl depth)
- Countertop Cutout: Use the provided cut-out template for accurate countertop preparation.

Image: Diagram illustrating the external and internal dimensions of the SINKVINE 33-inch sink, including sink length, width, and depth.

Image: Visual guide on selecting the correct sink size for a cabinet, emphasizing minimum cabinet width and cutout dimensions.
2. Undermount Installation
- Prepare the countertop opening according to the provided template.
- Apply a bead of silicone sealant around the rim of the sink opening on the underside of the countertop.
- Carefully lift the sink into position, aligning it with the cutout.
- Secure the sink using the provided mounting clips, tightening them evenly to create a watertight seal.
- Wipe away any excess sealant. Allow the sealant to cure completely before proceeding with plumbing connections.
3. Drain Assembly Installation
- Apply plumber's putty around the flange of the basket strainer.
- Insert the strainer flange into the sink's drain opening from above.
- From below the sink, attach the rubber gasket, friction washer, and locknut to the strainer body.
- Tighten the locknut securely with a wrench, ensuring a tight seal. Do not overtighten.
- Connect the P-trap and other plumbing components to the drain assembly according to local plumbing codes.
Operating Instructions
Daily Use
- The single bowl design offers ample space for washing large items.
- The X-shape sloped bottom with drain grooves facilitates quick water drainage, preventing pooling.
- The R10 radius inside corners are designed for easy cleaning and a modern aesthetic.

Image: Illustration of the sink's X-shaped drainage grooves for efficient water flow and R10 rounded corners for ease of cleaning.
Using Accessories
- Bottom Rinse Grid: Place the stainless steel grid at the bottom of the sink to protect the surface from scratches and allow for better drainage.
- Roll-up Drying Rack: Position the roll-up rack over the sink for air-drying dishes, fruits, or vegetables. It can be rolled up for compact storage when not in use.
- Basket Strainer: The removable basket strainer collects food debris, preventing clogs in your drainpipe. Empty it regularly.
Maintenance and Care
Proper care will help maintain the appearance and functionality of your SINKVINE sink.
Daily Cleaning
- After each use, rinse the sink thoroughly to remove any food particles or residue.
- Wipe the sink surface with a soft cloth and mild detergent.
- Dry the sink with a soft cloth to prevent water spots, especially in hard water areas.

Image: Illustration detailing the layers of the commercial-grade brushed finish and demonstrating how to clean the sink to prevent oil scale and moisture absorption.
Avoiding Damage
- Avoid using abrasive cleaners, steel wool, or harsh chemicals (e.g., bleach, drain cleaners) as they can damage the stainless steel finish.
- Do not leave acidic foods (e.g., citrus, tomatoes) or corrosive substances in the sink for extended periods.
- Use the bottom rinse grid to protect the sink base from heavy pots and pans.
Troubleshooting
| Problem | Possible Cause | Solution |
|---|---|---|
| Slow Drainage | Clogged basket strainer or drainpipe. | Remove and clean the basket strainer. If the issue persists, check the P-trap for blockages. |
| Water Spots/Stains | Hard water residue or improper drying. | Wipe the sink dry after each use. For existing spots, use a stainless steel cleaner or a solution of vinegar and water, then rinse and dry. |
| Unusual Noise (e.g., rattling) | Loose plumbing connections or objects vibrating against the sink. | Check and tighten all plumbing connections. Ensure no objects are resting against the sink's underside. The sink features sound-absorbing pads to minimize noise. |
| Scratches on Surface | Abrasive contact with sharp objects. | While the sink is scratch-resistant, heavy impact can cause marks. Use the bottom grid to protect the sink. Minor scratches may blend over time with the brushed finish. |
Specifications
| Feature | Detail |
|---|---|
| Brand | SINKVINE |
| Model Number | SVU331909RS0 |
| Material | T-304 Grade Stainless Steel (18/10 Chromium/Nickel) |
| Finish Type | Brushed |
| Exterior Dimensions | 33" (W) x 19" (D) x 9" (H) |
| Interior Dimensions (Cutout) | 31" (W) x 17" (D) x 9" (Bowl Depth) |
| Minimum Base Cabinet Size | 36" wide |
| Installation Type | Undermount |
| Drain Opening | Standard 3.5-inch |
| Item Weight | 27.4 pounds |
| Sound Dampening | 3mm thick sound-absorbing pads, fully insulated with undercoating |
| Included Components | Metal Sink Strainer, Bottom Rinse Grid, Roll-up Drying Rack |
Warranty Information
This SINKVINE kitchen sink is covered by a Lifetime Limited Warranty. This warranty covers defects in material and workmanship under normal use. For specific terms and conditions, please refer to the warranty documentation included with your product or contact SINKVINE customer support.
Customer Support
For further assistance, technical support, or warranty claims, please contact SINKVINE customer service. Refer to the contact information provided in your product packaging or visit the official SINKVINE website.