1. Introduction
This manual provides essential instructions for the assembly, operation, and maintenance of your EROMMY Louvered Pergola. Please read this manual thoroughly before installation and use to ensure proper function and longevity of your product. This pergola is designed to enhance your outdoor living space with its adjustable louvered roof, durable aluminum frame, and integrated curtains and netting.
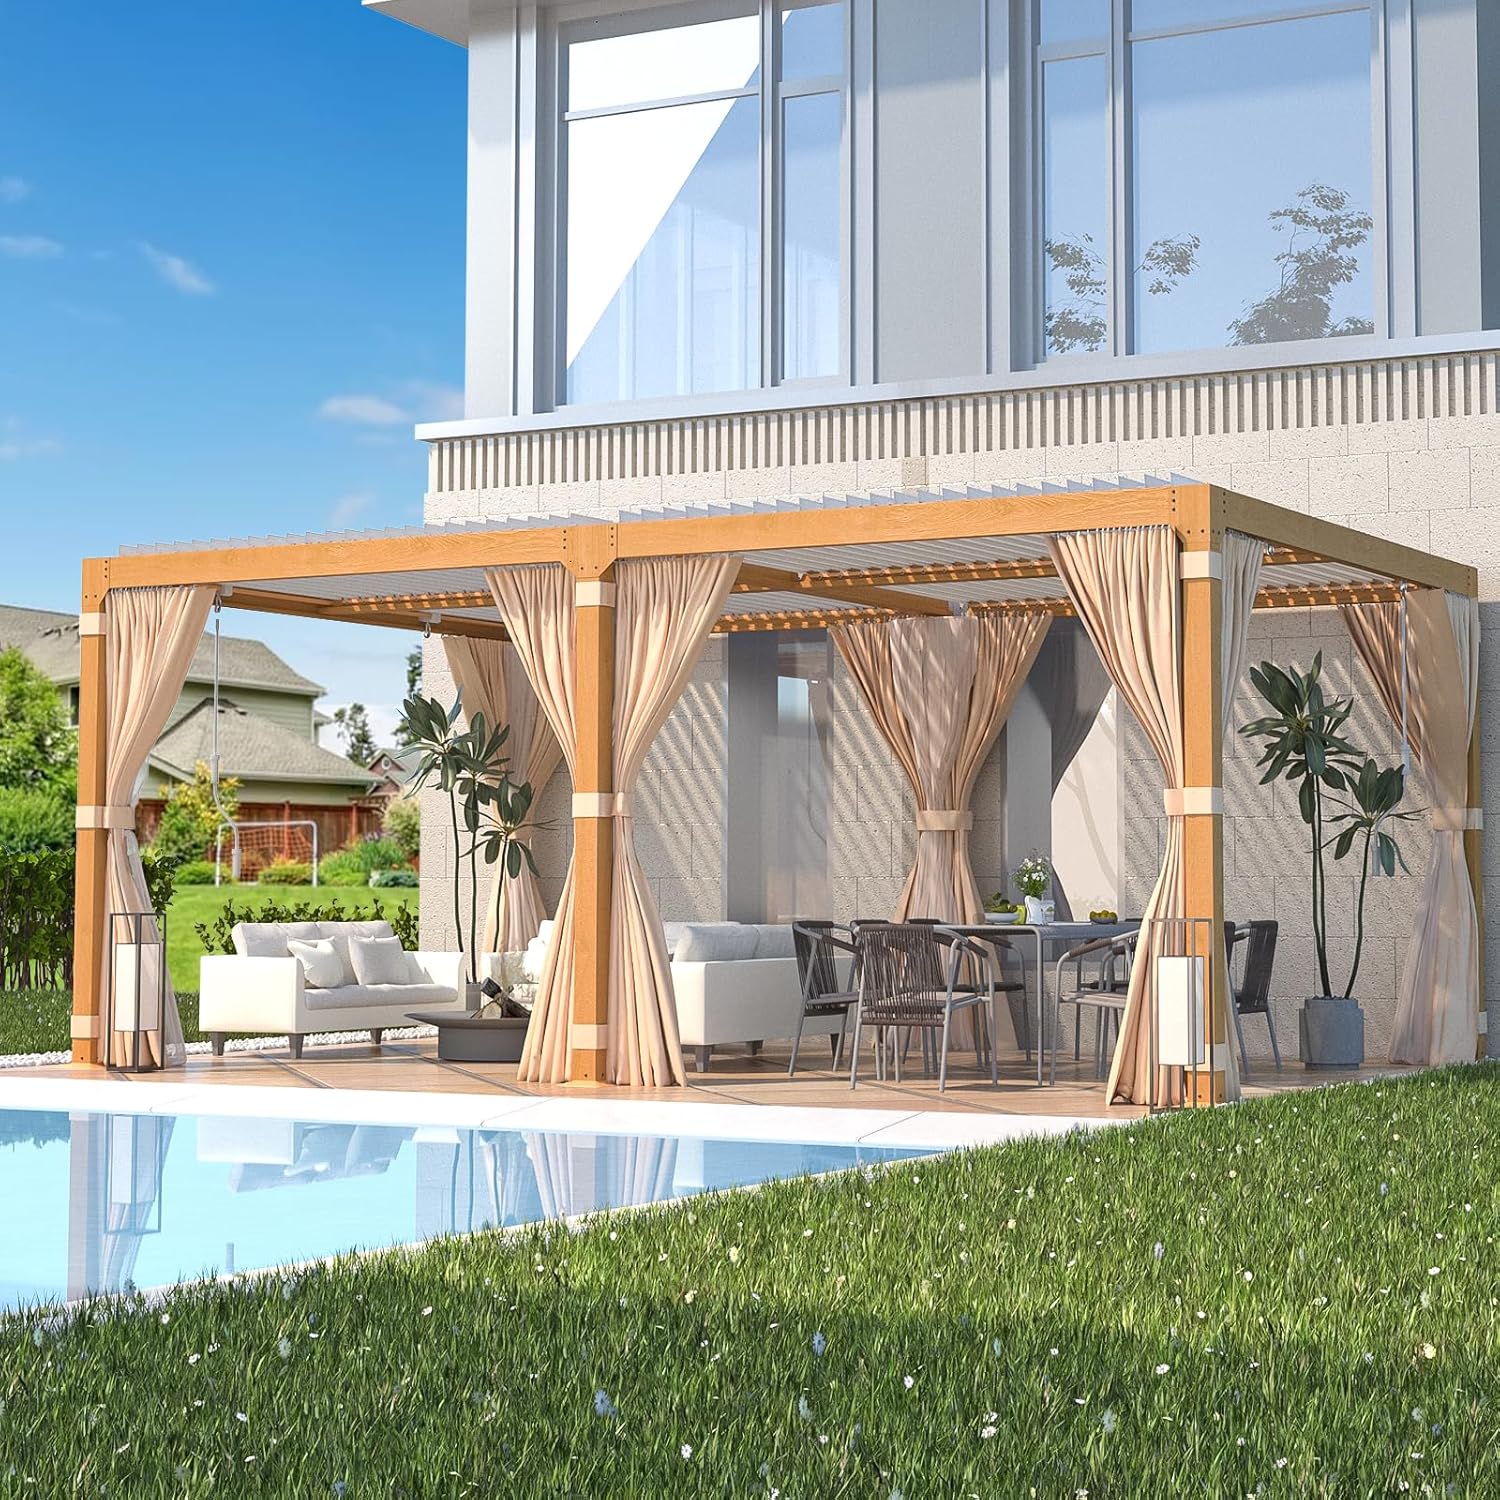
Image 1.1: EROMMY Louvered Pergola 12' x 20' in a patio environment.
2. Safety Information
WARNING: Failure to follow these safety instructions may result in injury or damage to the product.
- Always follow the assembly instructions provided.
- Ensure the pergola is securely anchored to a stable foundation to prevent it from being blown over in strong winds.
- Be cautious of potential hazards during assembly or disassembly, such as sharp edges or heavy components.
- Do not climb on the pergola structure or roof.
- Regularly inspect all components for wear, damage, or loose connections.
3. Product Overview and Features
The EROMMY Louvered Pergola is designed for versatility and durability, offering a comfortable outdoor experience.
3.1. Adjustable Louvered Roof
The louvered roof allows for manual adjustment of the slat angle, providing control over sunlight and shade. This feature enables users to bask in sunlight or seek shelter from rain as needed, adapting to various weather conditions and seasons.

Image 3.1: Detail of the adjustable louvered roof mechanism.
3.2. Durable Construction
Constructed with a high-quality aluminum frame and louvered roof, the pergola is designed to withstand various weather conditions. The wooden-grain finish provides an aesthetic appeal while offering the benefits of aluminum's resistance to rot, splitting, and rust.

Image 3.2: Wood Grain Aluminum Frame detail.
3.3. Integrated Drainage System
The pergola incorporates an innovative drainage system where horizontal beams act as channels, directing rainwater from the roof panels into a built-in gutter system. Water is then discharged through the support pillars, preventing accumulation on the roof.

Image 3.3: Illustration of the in-built gutter system.
3.4. Curtains and Netting
Included polyester curtains and netting provide privacy, protection from insects, and additional shade. Straps on the poles secure these coverings, preventing them from flapping in windy conditions.

Image 3.4: Detail of curtains and netting materials.

Image 3.5: Humanized straps for securing curtains.
4. Specifications
| Attribute | Detail |
|---|---|
| Brand | EROMMY |
| Model | 12x20 FT |
| Material | Aluminum |
| Style | Modern |
| Product Dimensions (L x W x H) | 227"L x 113.4"W x 88.2"H |
| Item Weight | 449.7 Pounds (approx. 450 pounds) |
| Frame Material | Aluminum |
| Water Resistance Level | Water Resistant |
| Shape | Rectangular |
| Ultraviolet Light Protection | 99% |
| Assembly Required | Yes |
| Color | Wood Grain, with Curtain and Netting |
| Floor Area | 222.09 Square Feet |

Image 4.1: Product dimensions diagram.
5. Package Contents
The EROMMY Louvered Pergola is shipped in multiple boxes. Please ensure all boxes are received and accounted for before beginning assembly. The package typically includes:
- Aluminum frame components (posts, beams)
- Louvered roof slats and operating mechanism
- Curtains and netting
- Hardware kit (screws, bolts, anchors, sealant)
- Assembly instructions manual

Image 5.1: Product packaging in multiple boxes.
6. Setup and Assembly Instructions
Assembly of the EROMMY Louvered Pergola requires careful attention to detail and adherence to the provided instructions. It is recommended that 3-4 people participate in the assembly process, which typically takes 2-3 hours.
6.1. Preparation
- Clear the assembly area of any obstructions.
- Unpack all components and verify against the parts list in the separate assembly manual.
- Ensure you have the necessary tools (not included) for assembly.
6.2. Assembly Steps
- Follow the step-by-step instructions provided in the dedicated assembly manual included with your product.
- Assemble the main frame structure, ensuring all connections are secure.
- Install the louvered roof slats and connect the adjustment mechanism.
- Attach the curtains and netting to the designated tracks.
- Securely anchor the pergola to a stable surface using the provided expansion screws for hard ground.

Image 6.1: Stable base stand with anchoring points.
Note: The sealant for plugging seams should be handled carefully. If installing in warm weather, keep the sealant packet in a cool environment until ready to use to prevent expansion and potential mess.
7. Operating Instructions
7.1. Adjusting the Louvered Roof
The pergola's roof consists of multiple louver sections that can be adjusted independently. Use the provided handle to rotate the louvers to your desired position:
- Open View: Rotate the handle to fully open the louvers for maximum sunlight and ventilation.
- Half-Open: Adjust to a partial angle for filtered light and partial shade.
- Close View: Rotate the handle to fully close the louvers for complete shade and rain protection.

Image 7.1: Louvered roof in various positions (closed, half-open, open).

Image 7.2: Handle for louver adjustment.
7.2. Using Curtains and Netting
The included curtains and netting can be deployed or retracted as needed for privacy, insect protection, or weather shielding. Use the integrated straps to secure them to the pergola posts when retracted or to prevent movement in windy conditions.

Image 7.3: Side shade options with curtains and netting.
8. Maintenance
Regular maintenance will extend the lifespan and preserve the appearance of your EROMMY Louvered Pergola.
- Cleaning: Clean the aluminum frame and louvered roof with mild soap and water. Avoid abrasive cleaners or harsh chemicals that could damage the finish.
- Louver Mechanism: Periodically check the louver adjustment mechanism for smooth operation. Lubricate moving parts if necessary with a silicone-based spray.
- Drainage System: Regularly inspect and clean the gutter system and drainage channels to ensure they are free of debris (leaves, dirt) to prevent water accumulation.
- Curtains and Netting: Clean curtains and netting according to their fabric care instructions. Ensure they are dry before storing or retracting for extended periods to prevent mildew.
- Anchoring: Periodically check the stability of the pergola and the security of its anchors, especially after strong winds.
9. Troubleshooting
- Water Dripping from Roof: Ensure the louvers are fully closed during rain. Check the integrated drainage system for blockages and clear any debris. Verify that all seams were properly sealed during assembly.
- Louvers Sticking/Difficult to Adjust: Inspect the louver mechanism for any obstructions. Clean and lubricate moving parts.
- Curtains/Netting Not Moving Smoothly: Check the tracks for debris or damage. Ensure the fabric is not snagged.
- Pergola Instability: Re-check all frame connections and ensure the base is securely anchored to the ground.
10. Warranty and Support
For any issues, missing parts, or concerns regarding your EROMMY Louvered Pergola, please contact the EROMMY service team. Our team is available to provide prompt assistance and support.
Refer to your purchase documentation for specific warranty details and contact information.