
1. Introduction
This manual provides comprehensive instructions for the JQKJCAM JQWP90A Sewer Camera system. This portable inspection camera is designed for visual inspection of sewer lines, drains, and other inaccessible areas. It features a high-definition camera, a 9-inch DVR monitor for real-time viewing and recording, and a durable 30-meter (100-foot) cable with a distance counter.
The system is ideal for plumbers, contractors, and homeowners needing to diagnose pipe issues, locate blockages, or perform routine maintenance checks.

Image 1.1: The JQKJCAM Sewer Camera system, neatly packed in its portable suitcase.
2. Safety Information
Please read and understand all safety warnings and instructions before operating this device. Failure to follow these instructions may result in electric shock, fire, or serious injury.
- Electrical Safety: Ensure all connections are secure before powering on. Do not operate the device in wet conditions unless specifically designed for it (camera head is IP68 waterproof, but monitor and battery box are not).
- Battery Care: Use only the provided charger. Do not expose the battery to extreme temperatures or attempt to disassemble it.
- Cable Handling: Handle the cable carefully to prevent kinks or damage. Avoid excessive force when pushing the camera through pipes.
- Camera Head: The camera head is waterproof (IP68 rated) for use in wet environments. Ensure the camera head is securely attached to the cable before insertion.
- Ventilation: Ensure adequate ventilation around the monitor and battery box during operation.
- Storage: Store the device in a dry, cool place, away from direct sunlight and corrosive materials.
3. Package Contents
Verify that all items listed below are included in your package:
- Portable Aluminum Suitcase (Engineering Box)
- 23mm HD 1000TVL Camera Head with 12 Adjustable LED Lights
- 9-inch TFT Color Monitor with Sunshade
- Battery Box (4500mA Lithium Battery)
- 30-meter (100-foot) Fiberglass Cable with Meter Counter on Spool
- Roller Guide Wheel (Protector 1)
- Smaller Camera Guide (Protector 2)
- Power Adapter/Charger
- Screwdriver
- 16GB SD Card (pre-installed or included separately)
- User Manual

Image 3.1: Visual representation of the package contents.
4. Setup
4.1 Initial Charging
Before first use, ensure the battery is fully charged. Connect the provided charger to the "CHARGE" port on the battery box and plug it into a power outlet. The battery indicator lights will show charging status.
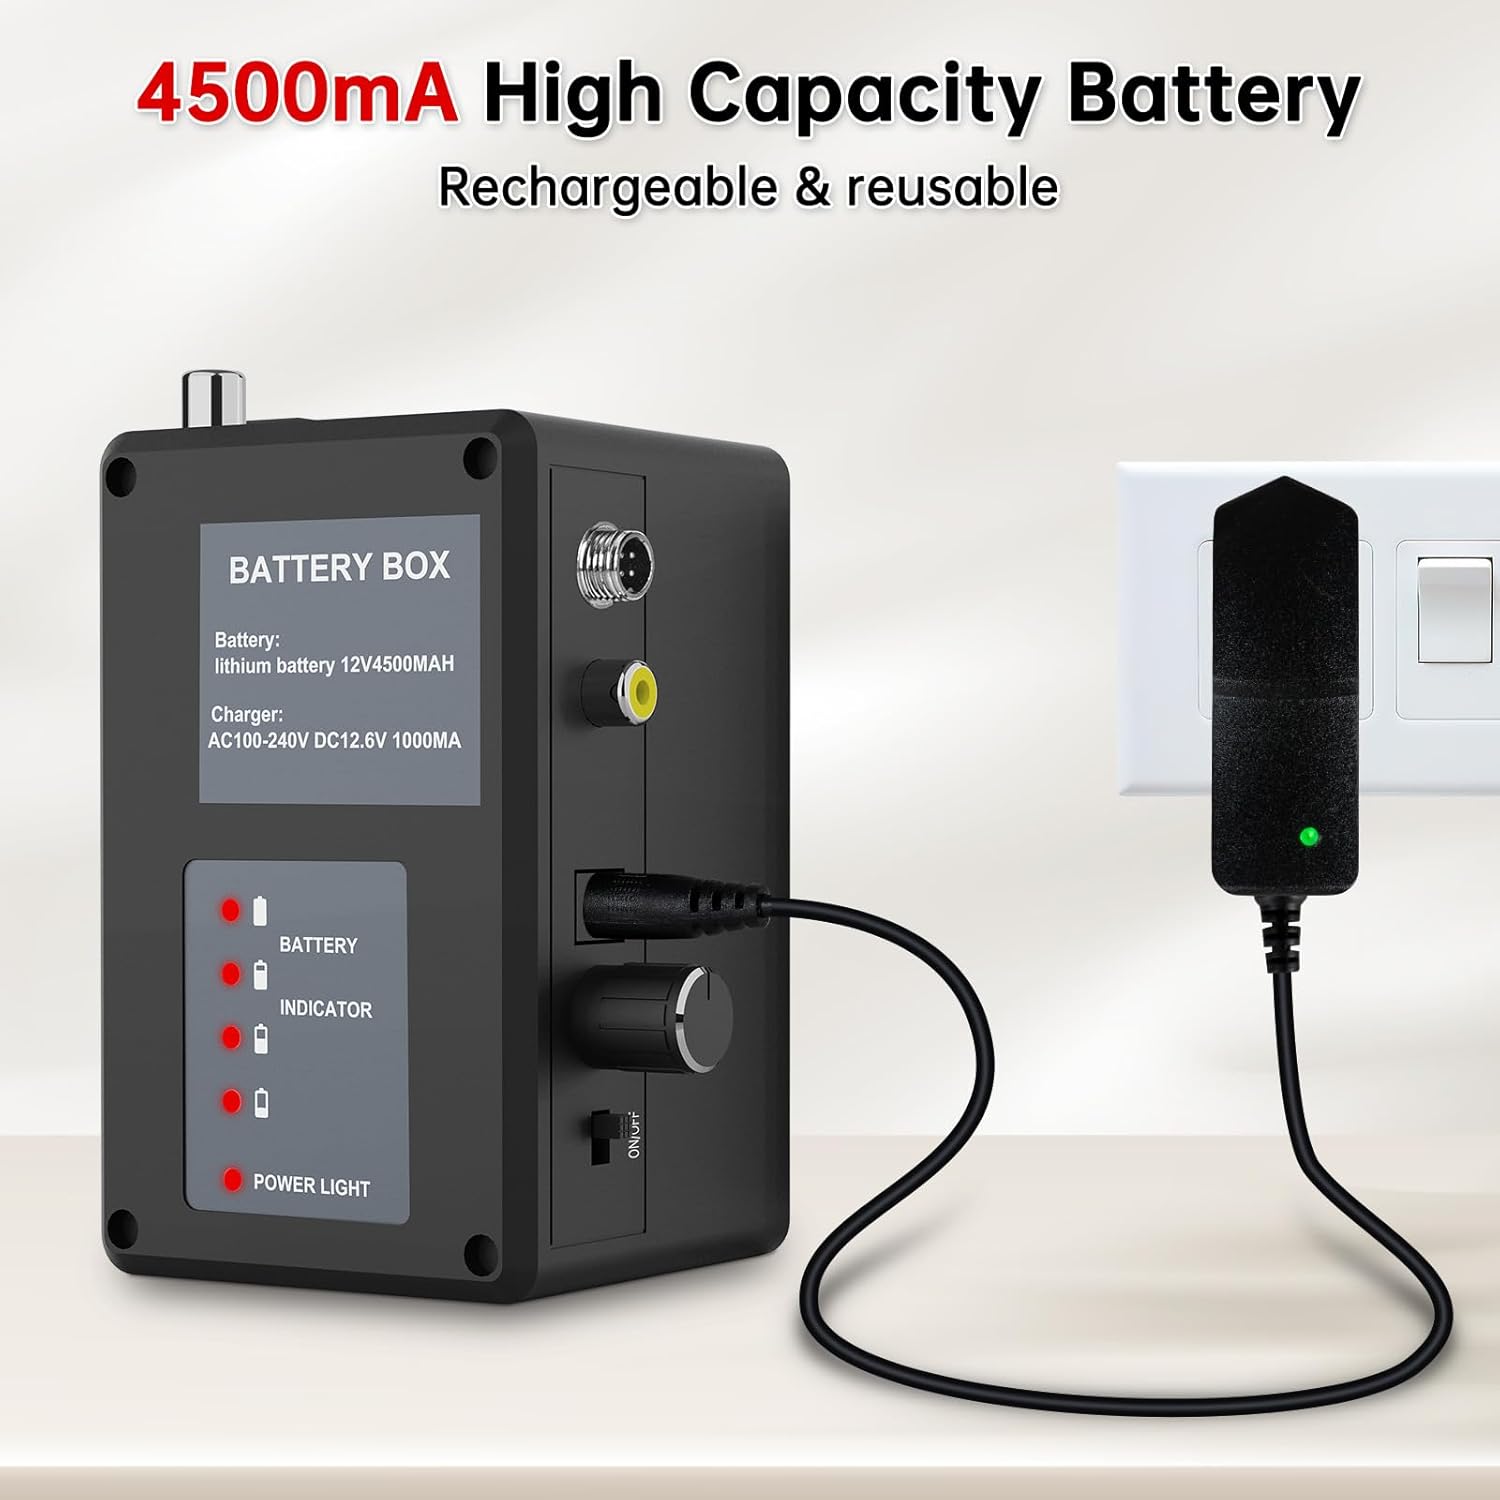
Image 4.1: Connecting the charger to the battery box.
4.2 Assembling the System
- Open the aluminum suitcase. The 9-inch monitor is integrated into the lid.
- Connect the camera cable from the spool to the "CAMERA" port on the battery box. Ensure a secure, threaded connection.
- Connect the video output cable from the battery box to the "VIDEO" input on the monitor.
- If not already inserted, place the 16GB SD card into the "TF CARD" slot on the monitor.
- Attach the appropriate roller guide wheel to the camera head if needed for larger pipes or navigating bends.
Video 4.2: Detailed setup and connection guide for the JQKJCAM WP90A sewer drain camera.

Image 4.3: The 23mm camera head with 12 adjustable LED lights and various guide wheel options.
5. Operating Instructions
5.1 Powering On and Monitor Display
- Flip the "ON/OFF" switch on the battery box to the "ON" position.
- The monitor will power on automatically, displaying the live feed from the camera.
- Adjust the sunshade on the monitor lid for better visibility in bright conditions.

Image 5.1: The 9-inch HD monitor with its sunshade for outdoor use.
5.2 Adjusting Camera Lights
Rotate the "LED" knob on the battery box to adjust the brightness of the 12 LED lights on the camera head. Adjust as needed for optimal visibility within the pipe.
Video 5.2: Demonstration of adjusting camera light intensity and basic operation.
5.3 Inserting and Retracting the Cable
Hold the handle of the cable spool and gently push the camera head into the pipe. The semi-rigid cable allows for easier navigation through bends. The integrated meter counter on the cable provides real-time distance measurement.
- For retraction, pull the cable back while guiding it onto the spool.
- Avoid sharp bends or excessive force to prevent damage to the cable or camera.

Image 5.3: The 5mm sturdy cable with length markings and a convenient spool.
Video 5.4: Demonstration of cable insertion and retraction using the spool.
5.4 Recording and Playback
- Press the "REC/-" button on the monitor to start/stop video recording. A recording indicator will appear on the screen.
- To take a photo, press the dedicated photo button (if available, otherwise capture from video).
- To access recorded files, press the "PLAY/+" button. Use the arrow keys to navigate through files and "MENU/EXIT" to return to live view.
- Files are saved to the 16GB SD card.
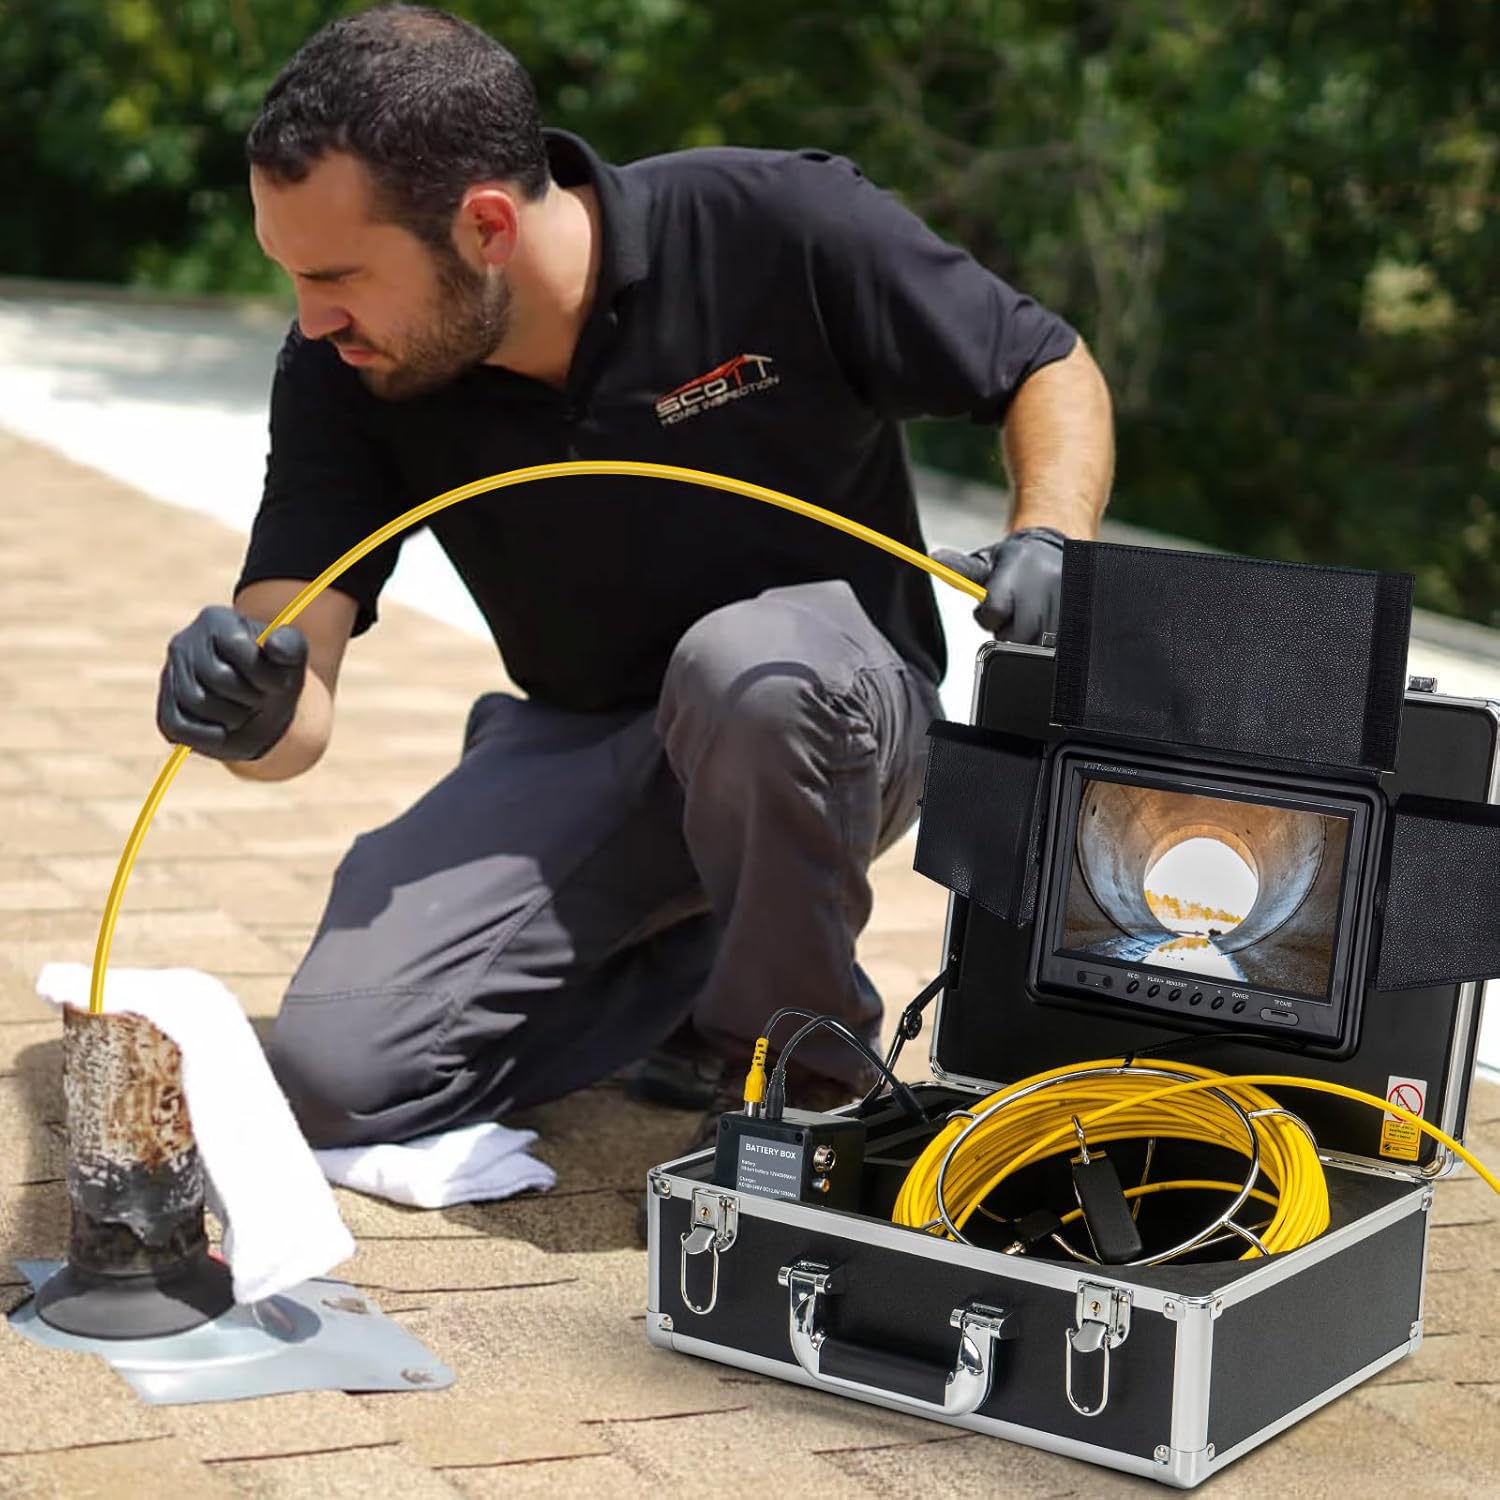
Image 5.5: An operator conducting a pipe inspection with the JQKJCAM Sewer Camera.
6. Maintenance
- Cleaning: After each use, clean the camera head and cable with a damp cloth. Avoid harsh chemicals that may damage the lens or cable material.
- Battery: Recharge the battery regularly, even if not in frequent use, to maintain its lifespan. Do not store the battery completely discharged.
- Storage: Store all components neatly in the provided suitcase in a dry, cool environment.
- Cable Inspection: Periodically inspect the cable for any signs of wear, cuts, or damage. Replace if necessary.
7. Troubleshooting
| Problem | Possible Cause | Solution |
|---|---|---|
| No image on monitor | Loose cable connection, low battery, camera not powered. | Check all cable connections. Ensure battery is charged and power switch is ON. |
| Cannot record video/take photos | SD card full, SD card not inserted, SD card corrupted. | Check SD card capacity, ensure it's properly inserted. Format or replace SD card if corrupted. |
| Camera lights not working or dim | LED brightness knob set too low, power issue. | Adjust the "LED" knob on the battery box. Check battery level. |
| Cable difficult to push/retract | Obstruction in pipe, cable kinked. | Do not force the cable. Gently maneuver or retract and re-insert. Use appropriate guide wheel. |
For further assistance, please refer to the detailed troubleshooting section in the full user manual or contact JQKJCAM customer support.
8. Specifications
- Model: JQWP90A
- Camera Head Diameter: 23mm (0.9 inches)
- Camera Resolution: HD 1000TVL
- Viewing Angle: 110°
- Light Source: 12 Adjustable LED Lights
- Waterproof Rating: IP68 (Camera Head)
- Monitor Size: 9-inch TFT Color Display
- Recording: DVR function with 16GB SD Card support
- Cable Length: 30 meters (100 feet)
- Cable Diameter: 5mm
- Cable Feature: Meter Counter (M+FT)
- Battery: 4500mA Lithium Ion (12V)
- Operating Time: Approximately 6 hours
- Product Dimensions: 14.96 x 13.39 x 6.69 inches
- Item Weight: 11.6 pounds
9. Warranty and Support
JQKJCAM provides professional after-sale service and support for this product. For warranty details, technical assistance, or replacement parts, please refer to the warranty card included in your package or contact JQKJCAM customer service directly.
Contact information can typically be found on the manufacturer's website or in the product documentation.