1. Introduction
This manual provides detailed instructions for the assembly, operation, and care of your 4D Build Transformers Optimus Prime 3D Model Kit. This kit allows you to construct a detailed replica of Optimus Prime, featuring integrated LED lights for enhanced display. Please read all instructions carefully before beginning assembly.

Figure 1: Assembled 4D Build Optimus Prime Model Kit with packaging.
2. What's Included
Verify that all components listed below are present in your kit:
- 18 x 3D Puzzle Sheets (containing 321 punch-out pieces)
- 5 x LED Lights
- 1 x 5V USB Type A Cable (for LED power)
- 1 x Punch Tool
- 1 x Instruction Manual (this document)

Figure 2: Example of punch-out puzzle sheets.
3. Safety Information
- Recommended Age: This product is recommended for ages 12 years and up.
- Small Parts: The kit contains small parts which may pose a choking hazard for young children. Keep out of reach of children under 3 years.
- Sharp Edges: Exercise caution when punching out pieces, as some edges may be sharp.
- Electrical Components: The LED lights and USB cable are electrical components. Do not expose to water or extreme temperatures. Use only the provided 5V USB Type A cable.
4. Setup and Assembly
No glue or additional tools are required for assembly. The pieces are designed to interlock securely.
Assembly Steps:
- Prepare Workspace: Clear a well-lit, flat surface for assembly.
- Identify Pieces: Each sheet and piece is typically numbered or lettered. Refer to the included visual instructions for specific piece identification.
- Punch Out Pieces: Carefully use the provided punch tool to remove pieces from the sheets. Avoid tearing or bending the pieces.
- Follow Instructions: Assemble the model by following the step-by-step diagrams in the included visual instruction booklet. Pay close attention to the orientation and connection points of each piece.
- Secure Connections: Ensure each piece is firmly interlocked to create a stable structure.

Figure 3: Assembly in progress, showing durable pieces.
5. Operating LED Lights
Your Optimus Prime model kit includes 5 LED lights to illuminate specific parts of the model.
Activation Steps:
- Install LEDs: During assembly, integrate the 5 LED lights into the designated slots as indicated in the visual instructions.
- Connect USB Cable: Once the model is fully assembled and the LEDs are in place, connect the provided 5V USB Type A cable to the model's power input port.
- Power Source: Plug the other end of the USB cable into a compatible 5V USB power source (e.g., a USB wall adapter, computer USB port, or power bank).
- Verify Operation: The LED lights should illuminate upon connection to a power source.
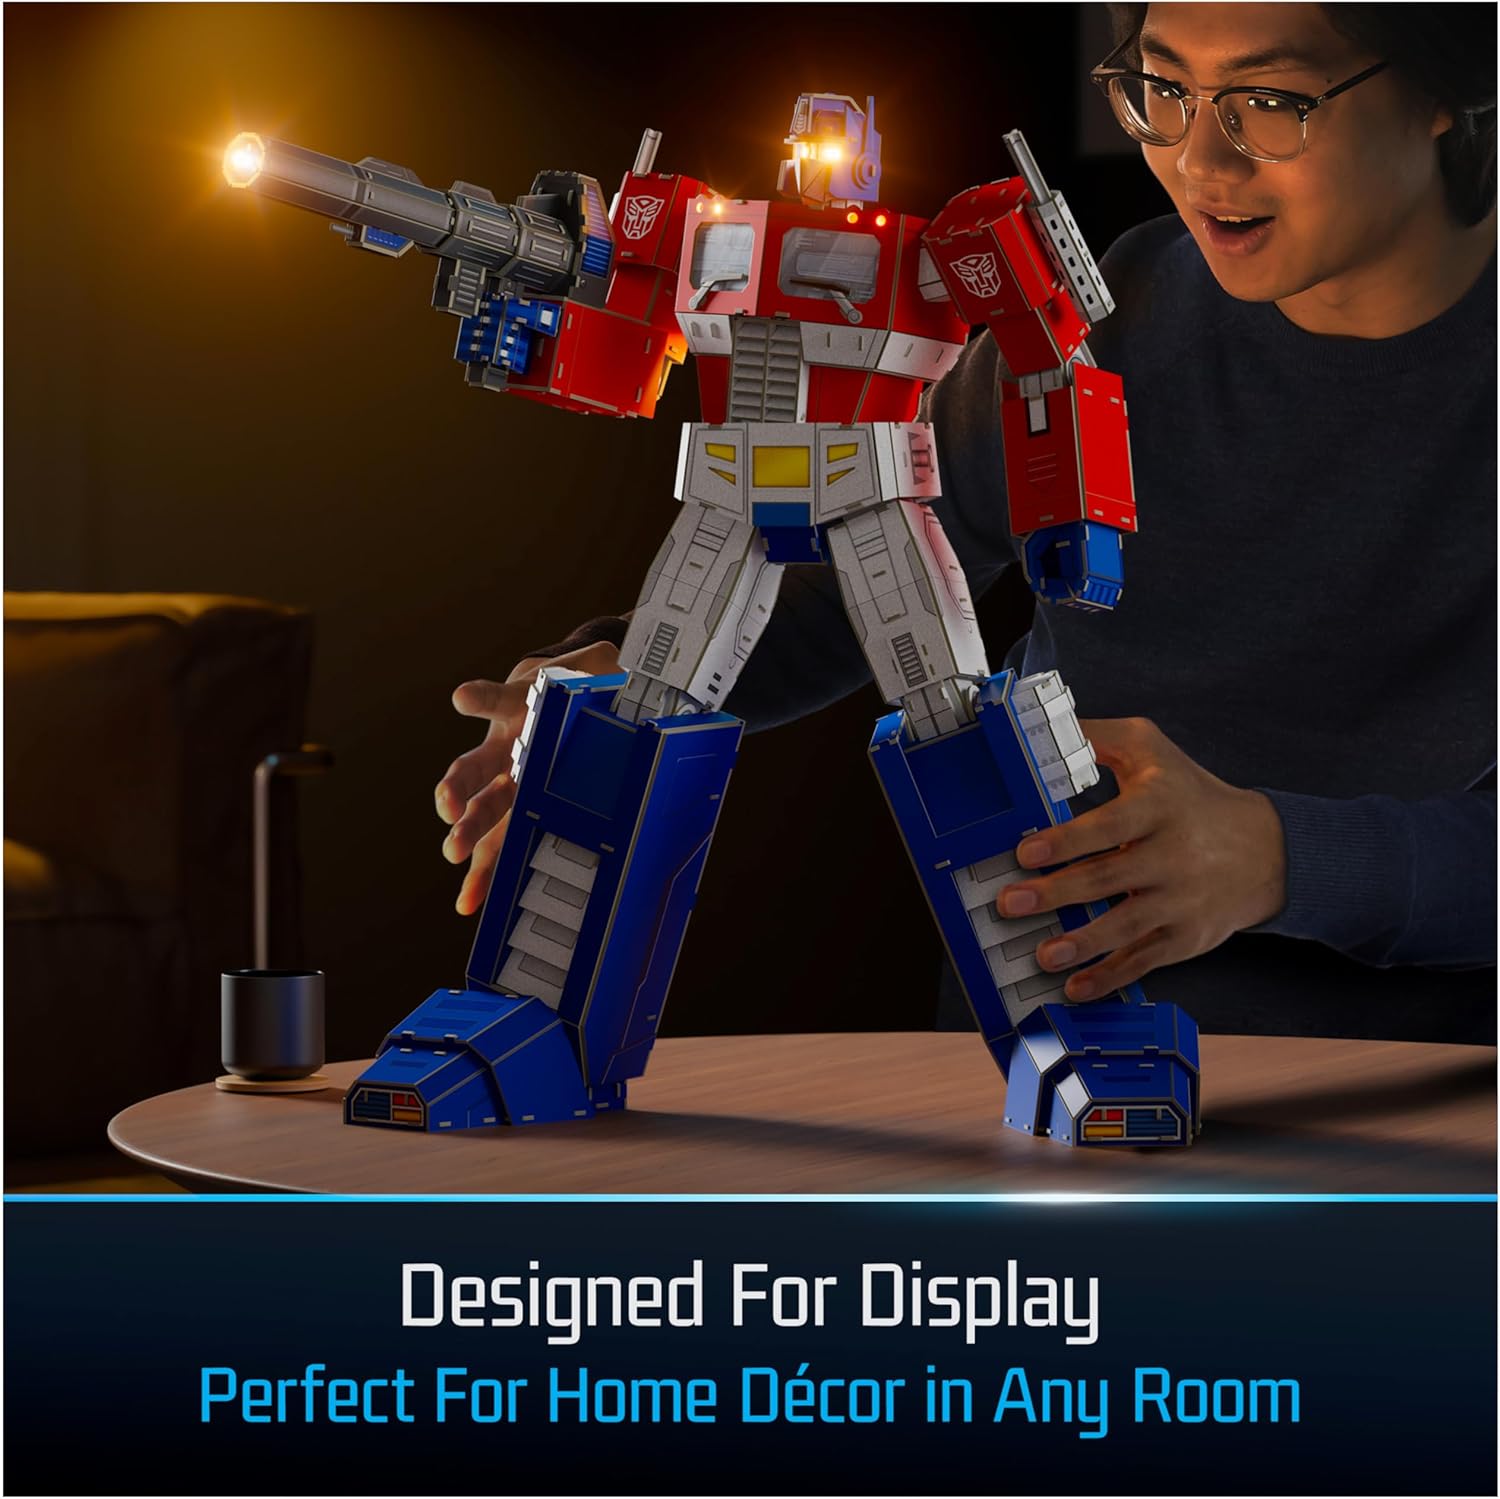
Figure 4: Optimus Prime model with activated LED lights.
6. Maintenance
- Cleaning: To clean the model, gently wipe with a dry, soft cloth. Avoid using liquid cleaners or abrasive materials.
- Storage: Store the assembled model in a cool, dry place away from direct sunlight to prevent fading or warping of the materials.
- Disassembly: While possible, frequent disassembly and reassembly are not recommended as it may weaken the interlocking connections.
7. Troubleshooting
- Pieces Not Fitting: Ensure you are using the correct pieces for each step and that they are oriented correctly. Do not force pieces together; gently adjust until they align.
- Model Instability: Double-check all connections to ensure pieces are fully interlocked. A loose connection can affect overall stability.
- LED Lights Not Working:
- Verify the USB cable is securely connected to both the model and the power source.
- Ensure the power source is active and providing 5V output.
- Check if the LED lights are correctly installed in their designated slots.
- Missing Pieces: If you believe a piece is genuinely missing, refer to the warranty and support section for assistance.
8. Specifications
| Feature | Detail |
|---|---|
| Product Dimensions (Assembled) | 17.6 in x 13.9 in x 21.1 in (44.7 cm x 35.2 cm x 53.7 cm) |
| Item Weight | 3.12 pounds |
| Model Number | 6070827 |
| Manufacturer Recommended Age | 12 years and up |
| Release Date | June 1, 2024 |
| Manufacturer | Spin Master |
| Number of Pieces | 321 |
| LED Lights | 5 (powered by 5V USB Type A) |
9. Warranty and Support
This product is covered by the Spin Master Care Commitment. For detailed warranty information, product support, or to report missing parts, please visit the official Spin Master website or contact their customer service directly. Contact information can typically be found on the product packaging or the manufacturer's website.