1. Introduction
This manual provides essential instructions for the safe and efficient operation of your Rolokit 30A PWM Solar Charge Controller. This intelligent regulator is designed to manage the charging process from solar panels to batteries in 12V or 24V solar systems, featuring an LCD display, dual USB outputs, and various load control modes. Please read this manual thoroughly before installation and use.
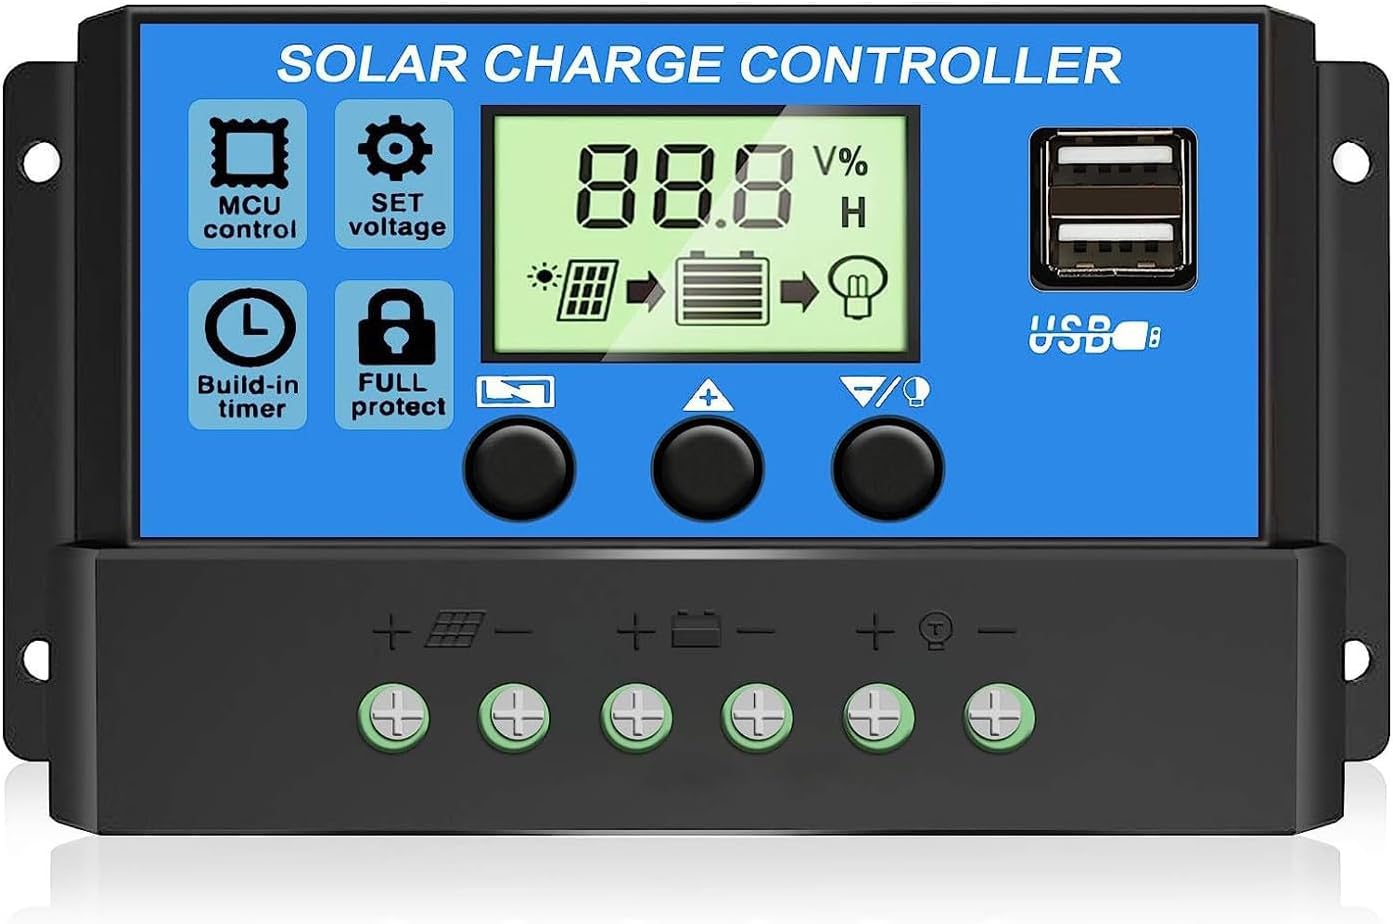
Image: The Rolokit 30A PWM Solar Charge Controller, showing its LCD screen and dual USB ports.
2. Safety Information
To ensure safe operation and prevent damage, observe the following safety precautions:
- Ensure proper ventilation around the controller.
- Connect the battery first, then the solar panel, and finally the load. Disconnect in the reverse order.
- This controller is designed for lead-acid batteries only (OPEN, AGM, GEL). It is not suitable for Lithium batteries.
- Ensure all wiring is correctly polarized (+ to + and - to -) to prevent damage.
- Use appropriate wire gauges for your system's current to avoid overheating.
- Avoid contact with water or other liquids.
- Do not attempt to disassemble or repair the controller yourself. Contact support if issues arise.

Image: The controller features a 7-point safety system including protection against open circuits, short circuits, overcurrent, overcharge, reverse connection, and self-recovery capabilities.
3. Product Features
- Industrial Microcontroller: Built-in industrial microcontroller for automatic management of solar panel and battery operations.
- Automatic Voltage Recognition: Automatically detects 12V or 24V system voltage.
- LCD Display: Clear LCD screen for status and data display, parameter configuration, and mode switching.
- Dual USB Outputs: Two 5V/3A USB ports for charging mobile devices.
- Advanced Battery Protection: Protects against over-discharge, overcharge, short circuit, and reverse polarity.
- Adjustable Parameters: User-adjustable parameters for battery float voltage, reconnect voltage, and stop discharge voltage.
- Timer Setting & Load Control: Multiple load control modes with timer settings.
- Memory Function: Retains set parameters even after power loss.
4. Setup and Installation
Follow these steps for correct installation. Incorrect wiring can damage the controller.
4.1 Wiring Sequence
- Connect the Battery: Connect the battery to the charge controller first. Ensure correct polarity. The controller will automatically detect 12V or 24V.
- Connect the Solar Panel: Connect the solar panel to the charge controller. Ensure correct polarity.
- Connect the Load: Connect the DC load to the charge controller. Ensure correct polarity.
Important Note: The disassembly sequence is the reverse of the wiring order (disconnect load, then solar panel, then battery).

Image: A system connection diagram illustrating the correct wiring order for the battery, solar panels, and load to the charge controller. An inverter and AC loads are shown as optional connections.
4.2 Battery Compatibility
This controller is compatible with the following lead-acid battery types:
- OPEN (Flooded)
- AGM
- GEL
This PWM solar charge controller is NOT suitable for Lithium batteries.

Image: Visual representation of compatible battery types: OPEN, AGM, and GEL.
5. Operating Instructions
5.1 LCD Display Overview
The LCD display provides real-time system status and allows for parameter adjustments.
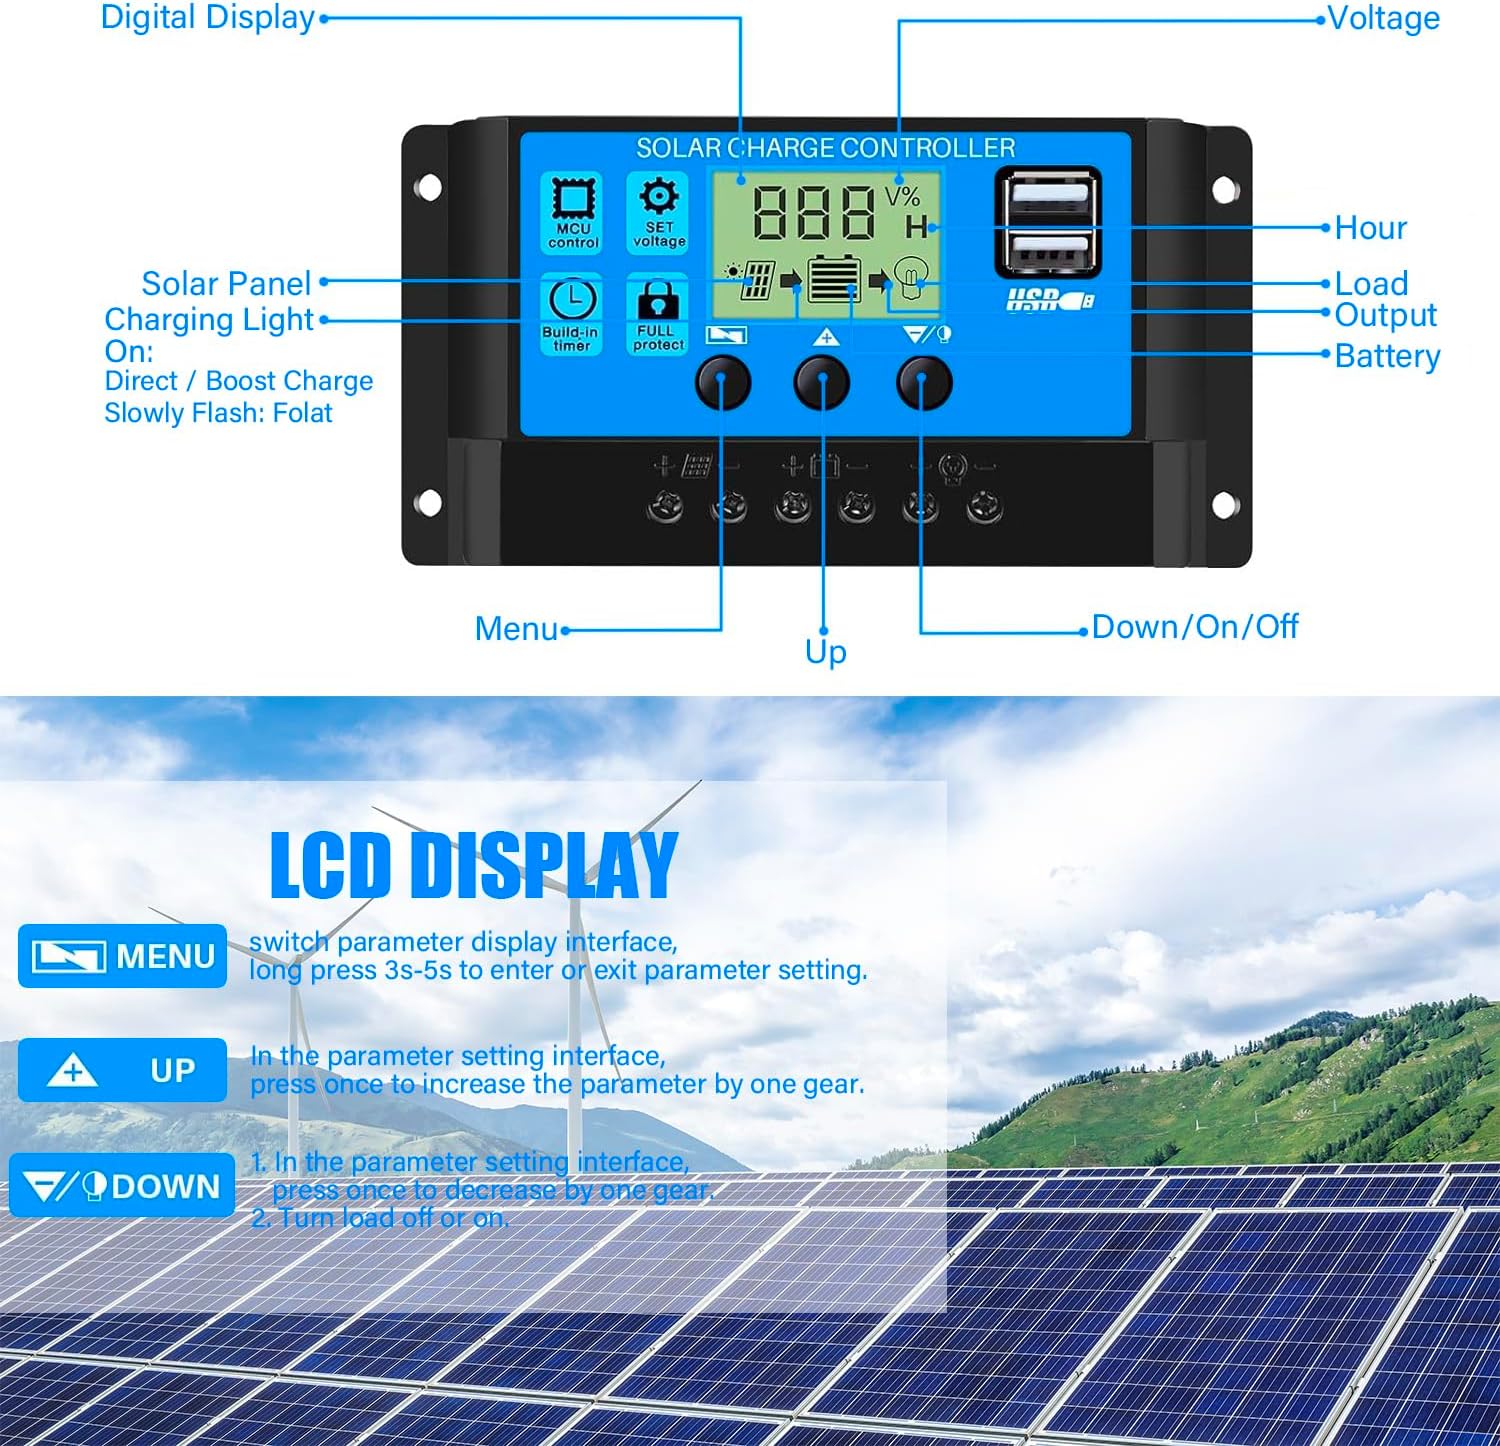
Image: Detailed view of the LCD display and control buttons, indicating functions such as digital display, voltage, hour, load output, battery status, solar panel charging light, and navigation buttons (Menu, Up, Down/On/Off).
5.2 Button Functions
- MENU Button: Short press to switch parameter display interfaces. Long press (3-5 seconds) to enter or exit parameter setting mode.
- UP Button (▲): In parameter setting interface, press once to increase the parameter value.
- DOWN/ON/OFF Button (▼/⏻): In parameter setting interface, press once to decrease the parameter value. In normal display mode, press to turn the load on or off.
5.3 Parameter Setting
To adjust parameters such as float voltage, discharge reconnect, and discharge stop voltage:
- From the main display, short press the MENU button to browse through different interfaces (e.g., Float Voltage, Discharge Reconnect, Discharge Stop, Work Mode, Type of Battery).
- When on the desired parameter interface (interfaces 2-5), long press the MENU button to enter setting mode. The displayed value will start flashing.
- Use the UP (▲) and DOWN (▼) buttons to adjust the parameter value.
- Once the desired value is set, long press the MENU button again to save the setting and exit parameter mode.
- To restore default parameters, long press the DOWN (▼) button while in a parameter setting interface.

Image: A visual guide demonstrating how to navigate through the LCD display interfaces and set various parameters like float voltage, discharge reconnect, discharge stop, work mode, and battery type.
5.4 Load Control Modes
The controller supports various load control modes, including timer settings. Refer to the parameter setting section to configure the work mode (interface 5) according to your requirements.
6. Maintenance
Regular maintenance ensures optimal performance and longevity of your solar charge controller:
- Inspect Connections: Periodically check all wire connections for tightness and corrosion.
- Clean Controller: Keep the controller clean and free from dust and debris. Use a dry cloth for cleaning.
- Ventilation: Ensure the area around the controller remains well-ventilated to prevent overheating.
- Battery Health: Monitor battery voltage and health regularly, especially for lead-acid batteries.
7. Troubleshooting
If you encounter issues, refer to the following common problems and solutions:
| Problem | Possible Cause | Solution |
|---|---|---|
| Controller not powering on | Battery not connected or low voltage; reverse polarity. | Check battery connections and voltage. Ensure correct polarity. |
| No charging from solar panel | Solar panel not connected; insufficient sunlight; faulty panel. | Check solar panel connections. Ensure adequate sunlight. Test panel output. |
| Load not working | Load not connected; load output turned off; battery low voltage. | Check load connections. Press DOWN button to turn on load. Check battery voltage. |
| Overcharge/Over-discharge protection active | Battery voltage exceeded/fell below set limits. | The controller will automatically recover. Check battery health and adjust parameters if necessary. |
| Short circuit/Reverse polarity warning | Wiring error. | Immediately disconnect and correct wiring. The controller has built-in protection for automatic recovery. |
8. Specifications
| Specification | Value |
|---|---|
| Brand | Rolokit |
| Model | 30A PWM Solar Charge Controller |
| System Voltage | 12V / 24V Auto-sensing |
| Max Charge Current | 30A |
| USB Output | Dual USB, 5V/3A |
| Display Type | LCD |
| Battery Compatibility | Lead-acid (OPEN, AGM, GEL) |
| Material | Plastic |
| Item Weight | 5 ounces (0.14 Kilograms) |
| Package Dimensions | 5.39 x 3.07 x 1.54 inches |
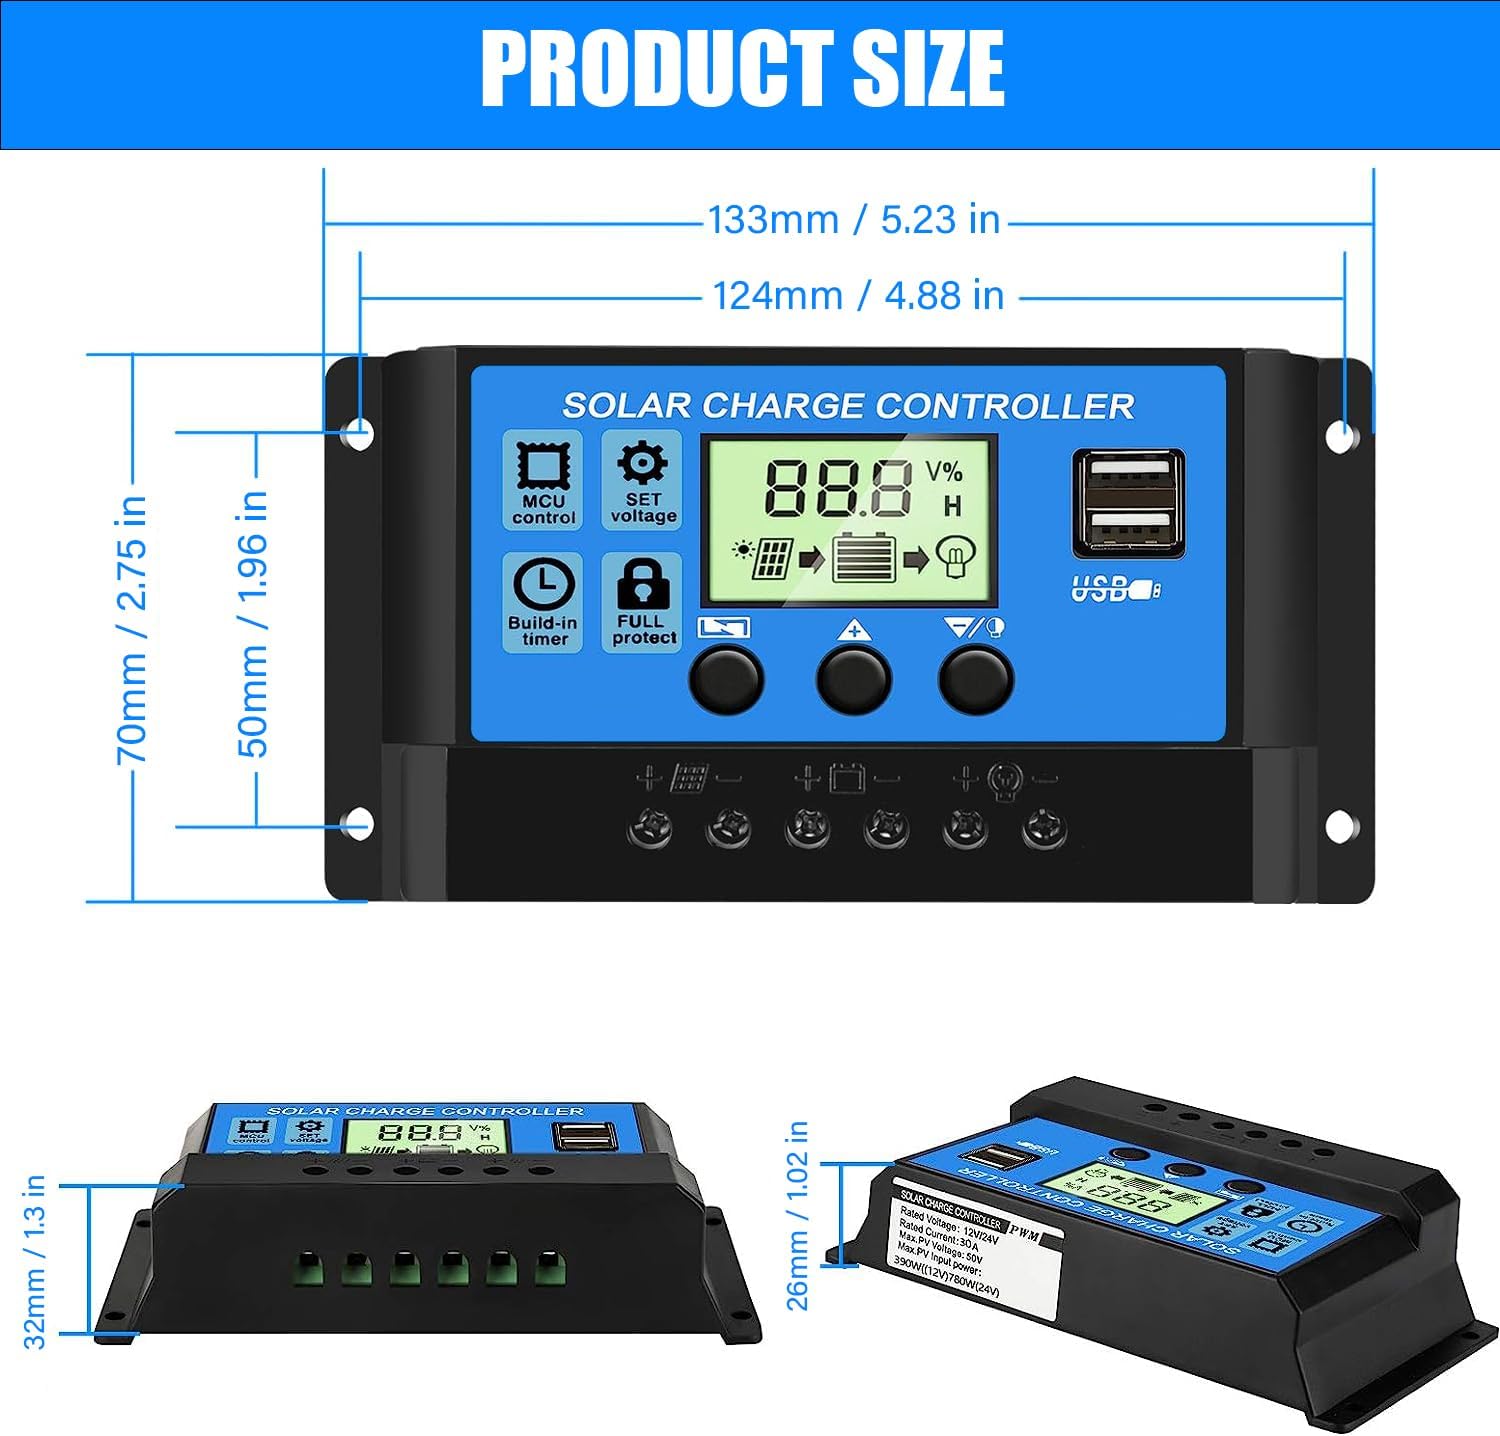
Image: Product dimensions of the Rolokit 30A PWM Solar Charge Controller.
9. Warranty and Support
Rolokit offers a 12-month guarantee for quality-related issues and technical support. If you experience any issues with your 30A PWM Solar Charge Controller, please contact Rolokit customer service for immediate assistance or a refund. Your satisfaction is important to us.


