1. Introduction
The A-Premium AD200 is an advanced OBD2/EOBD diagnostic scan tool designed to help users quickly and accurately identify vehicle issues. This device offers a comprehensive suite of functions, from reading and clearing diagnostic trouble codes (DTCs) to monitoring real-time data streams and performing various system tests. Its user-friendly interface and robust design make it suitable for both automotive enthusiasts and professionals.
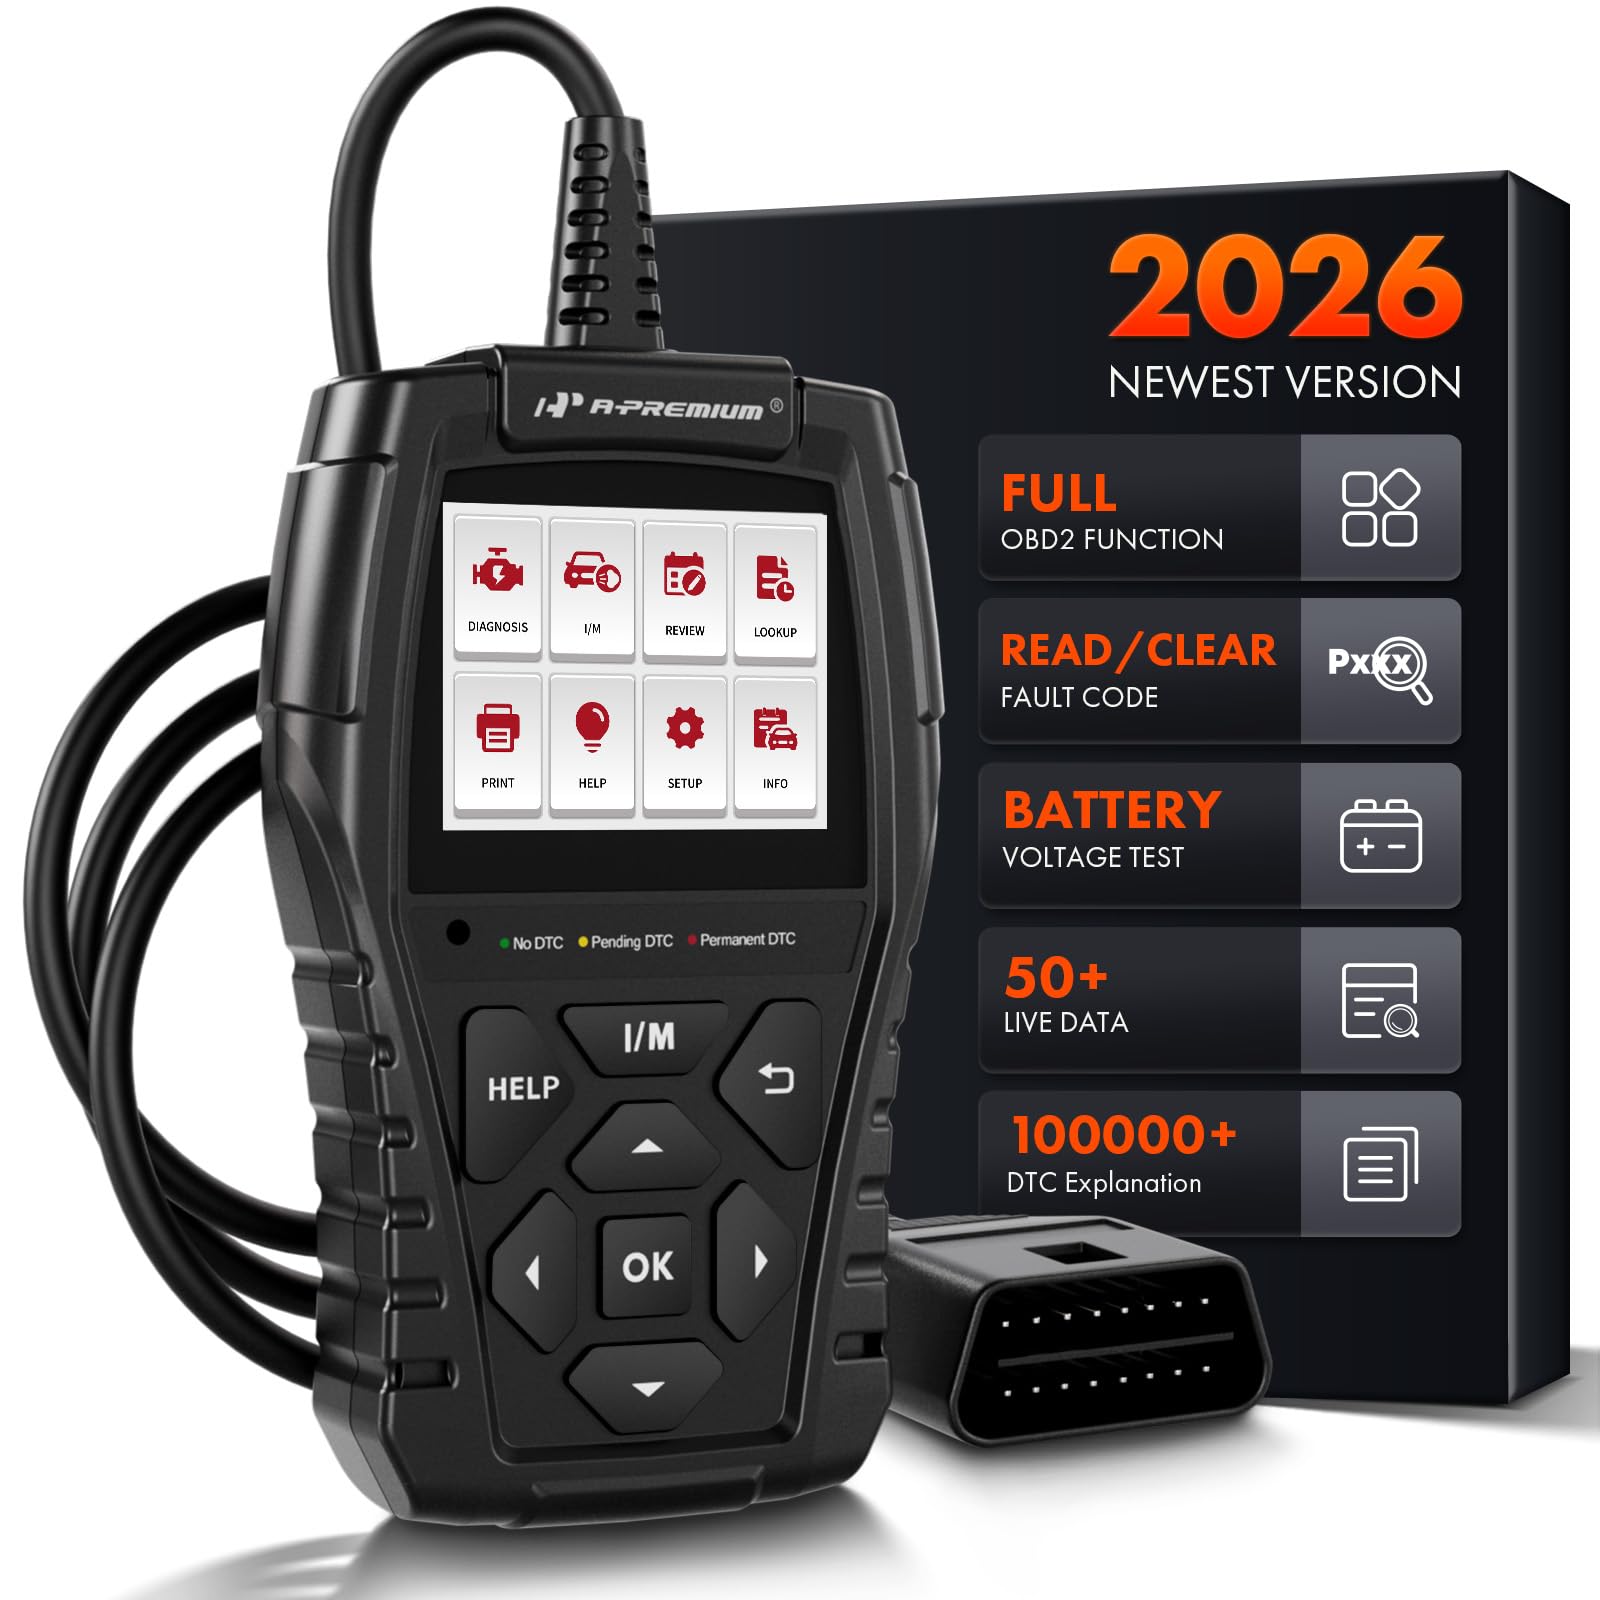
Image: The A-Premium AD200 OBD2 Scanner, a handheld diagnostic tool with a display screen and control buttons.
2. Setup
- Vehicle Compatibility: Ensure your vehicle is OBD2 compliant. The AD200 supports most North American vehicles manufactured from 1996 onwards, European vehicles from 2000 onwards, and Asian vehicles from 2008 onwards. It is compatible with 12V trucks, SUVs, MPVs, and sedans.
- Power Source: The device is powered directly from your vehicle's OBD2 port. Ensure the vehicle's battery voltage is within the range of 9-18 volts.
- Locate OBD2 Port: The 16-pin OBD2 diagnostic link connector (DLC) is typically located under the dashboard, usually within 12 inches of the center of the steering wheel, or on the driver's side. Refer to your vehicle's service manual for the exact location.
- Connect the Scanner: Plug the AD200's diagnostic cable into your vehicle's DLC. The tool will automatically power on.
- Turn on Ignition: Turn the vehicle ignition to the 'ON' position (engine off) or start the engine as required by the specific diagnostic test.

Image: A close-up of the 16-pin standard OBD2 connector, highlighting its plug-and-play design with a 3.3-foot wire.
Video: An overview of the A-Premium AD100 and AD200 OBD2 Scanners, demonstrating their features and ease of connection to a vehicle's diagnostic port.
3. Operating Instructions
The AD200 features a 2.4-inch true color display and intuitive buttons for navigation. The main menu provides access to various diagnostic functions.

Image: A diagram illustrating the easy-to-use buttons on the AD200 scanner, including Warning Light, I/M Button, Help Button, OK Button, Up/Down/Left/Right Buttons, and Return Button.
3.1. Navigating the Menu
- Use the Up/Down/Left/Right arrow buttons to navigate through menu options.
- Press the OK button to confirm a selection.
- Press the Return button to go back to the previous screen.
- Press the HELP button for on-screen tips and explanations.
- Press the I/M button for quick access to I/M Readiness status.
3.2. Diagnostic Process
- From the main menu, select Diagnose and press OK.
- The tool will automatically establish communication with the vehicle's ECU.
- Once connected, you can select from various diagnostic functions.

Image: A four-step visual guide showing how to quickly scan a vehicle: 1. Insert OBD Port, 2. Start the Engine, 3. Select 'Read DTCs' or 'Clear DTCs', 4. Quickly Scan the Car and Show Fault Codes in Seconds.
4. Functions and Features
The AD200 offers over 15 powerful functions for comprehensive vehicle diagnostics:
- Read Codes: Retrieves generic (P0, P2, P3, and U0) and manufacturer-specific (P1, P3, and U1) codes.
- Clear Codes: Erases Diagnostic Trouble Codes (DTCs) from the vehicle's computer and turns off the Check Engine Light (MIL).
- I/M Readiness: Checks the readiness of the emission system monitors. This function helps determine if your vehicle is ready for an emissions test.
- EVAP System Test: Initiates a test of the evaporative emission system.
- O2 Sensor Test: Monitors and tests the functionality of oxygen sensors to ensure efficient emission control.
- Freeze Frame Data: Displays a snapshot of critical vehicle operating conditions recorded by the ECU at the time a fault code was set.
- Real-time Data Stream: Displays live sensor data in text and graphical formats, allowing for accurate diagnosis of vehicle performance. The AD200 can read up to 50 data points (e.g., battery voltage, coolant temp, engine RPM, load value, air flow rate, oil temp, fuel rail pressure, transmission gear status).
- VIN Information: Quickly retrieves Vehicle Identification Number (VIN), Calibration ID (CID), and Calibration Verification Number (CVN).
- Battery Voltage: Provides accurate detection of the current battery voltage.
- Warning Lights: Features three warning lights (green, yellow, red) to indicate the severity of vehicle faults:
- Green: No DTC - Vehicle is in good condition.
- Yellow: Pending DTC - Vehicle has a minor abnormality, but it does not affect driving.
- Red: Permanent DTC - Vehicle has a serious fault requiring immediate attention.
- DTC Lookup: Built-in DTC code encyclopedia with over 100,000 codes, providing immediate explanations without external search.
- Review: Saves and reviews previous diagnostic results, including fault codes, real-time data, and test records.
- Print Data: Supports generating and printing diagnostic reports for professional analysis.

Image: The I/M Readiness screen on the AD200, showing various emission system checks (MIL, DTC, MIS, FUE, CCM, CAT, HCAT, EVAP, AIR, O2S, HRT, EGT) with pass/fail indicators, and a 'SMOG CHECK' logo.

Image: A graphic showing the Oxygen Sensor Test data on the AD200 screen, including Sensor Period, Test ID, Test Value, Minimum Limit, Maximum Limit, and Status (Pass).

Image: A visual representation of the 'View Freeze Frame' function, showing a car with various parameters like Vehicle Speed, Fuel Pressure, Engine RPM, and Intake Air Temperature, alongside the AD200 display indicating "Vehicle does not have freeze frame data."

Image: A graphic demonstrating the 'Show Battery Voltage' function, with the AD200 connected to a car battery and displaying a real-time data stream curve for battery voltage (e.g., max 13.52V, min 12.26V, VPWR 12.27V).

Image: The AD200 scanner highlighting its 3 Warning Light Design (Green for No DTC, Yellow for Pending DTC, Red for Permanent DTC) and a Mini USB port for print function.
5. Maintenance
- Cleaning: Use a soft, damp cloth to clean the device. Avoid harsh chemicals or abrasive cleaners.
- Storage: Store the scanner in a dry, cool place away from direct sunlight and extreme temperatures.
- Durability: The AD200 features a strong plastic body shell designed to withstand accidental drops up to 2 meters, ensuring normal operation.
- Software Updates: The device supports product updates via its USB connection to a computer. Refer to the manufacturer's website for the latest software and update instructions.
6. Troubleshooting
- Device Not Powering On: Ensure the OBD2 cable is securely connected to the vehicle's DLC and the vehicle's ignition is in the 'ON' position or the engine is running. Check the vehicle's battery voltage (must be 9-18V).
- Communication Error: Verify the vehicle is OBD2 compliant. Ensure the ignition is on. Check for loose connections. Try connecting to a different OBD2 compliant vehicle to rule out device malfunction.
- Inaccurate Readings: Ensure the vehicle's throttle is in a closed position before initiating tests. For specific instructions, consult your vehicle's shop manual.
- Check Engine Light Remains On After Clearing Codes: Some fault conditions may require multiple drive cycles or specific repair actions before the MIL light will permanently turn off. Ensure the underlying issue causing the code has been resolved.
7. Specifications
| Feature | Specification |
|---|---|
| Brand | A-Premium |
| Model Number | AD200 |
| Power Source | Corded Electric |
| Product Dimensions (L x W x H) | 4.13"L x 3.15"W x 9.05"H |
| Operating System | ARM SYSTEM (32-bit CPU) |
| Screen Size | 2.4 Inches (262k true color display) |
| Native Resolution | 160x128 |
| Language | English (supports 10 languages) |
| Cable Length | 3.9-foot |
| Supported OBD Protocols | KWP2000, 15765-4 CAN, ISO9141-2, J1850 VPW, SAE J1850 PWM |

Image: A detailed graphic outlining the compact and exquisite specifications of the AD200, including System (ARM), Processor (32-Bit CPU), Display (2.40 inches LCD Screen), Material (Plastic & Rubber), Cable Length (3.9-Foot), Plug Type (16-Pin Standard OBD2 Plug), and physical dimensions (Upper Width, Lower Width, Height, Thickness, Weight).
8. Warranty and Support
The A-Premium AD200 comes with a One Year Unlimited Mileage Quality Guarantee. This guarantee covers the cost of the item only. The manufacturer is not responsible for installation or other fees such as labor expenses, towing expenses, additional repair expenses, or other related expenses.
For further support or inquiries, please refer to the contact information provided in your product packaging or visit the official A-Premium website.