
1. Product Overview
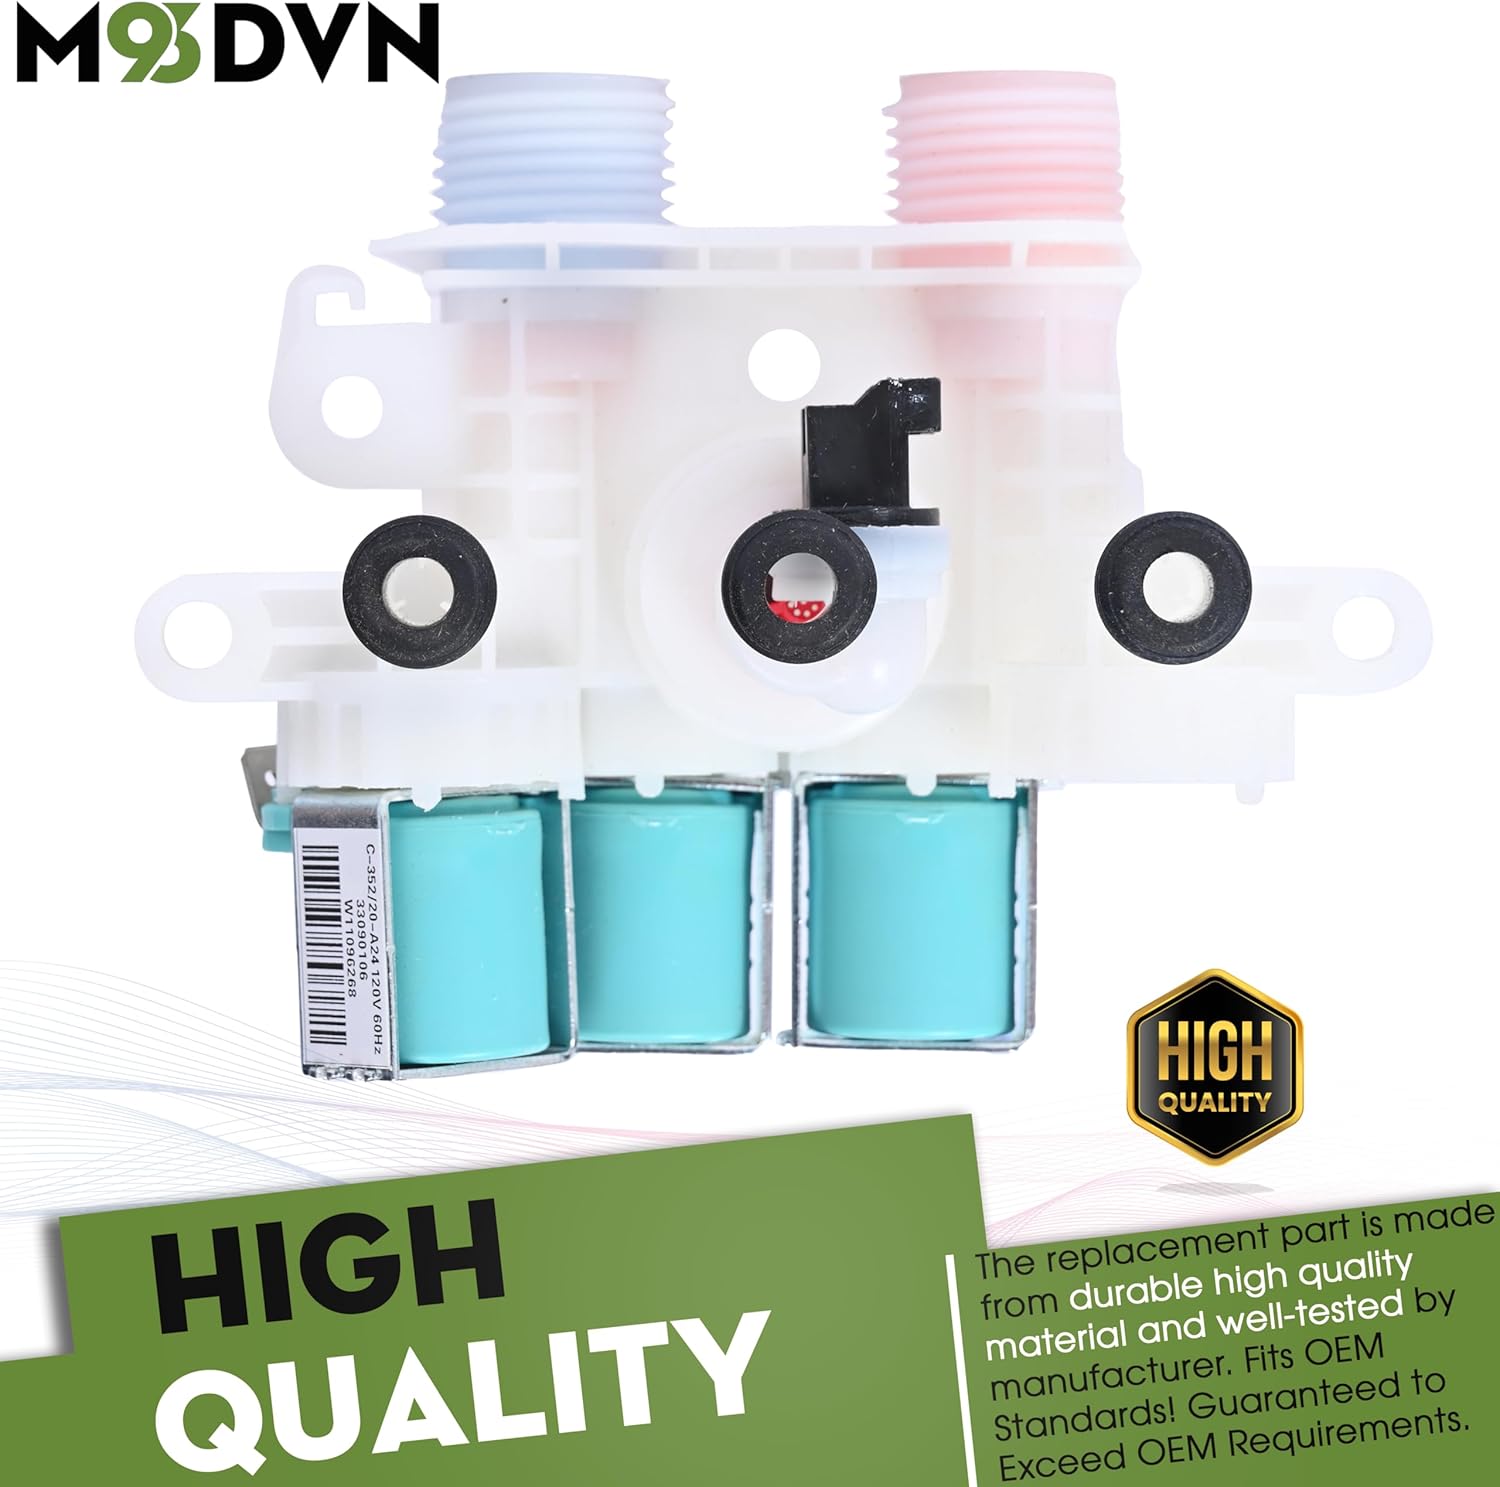
This manual provides detailed instructions for the safe and effective installation, operation, and maintenance of the M93DVN Water Inlet Valve. This component is designed as a direct replacement part for various Kenmore and Whirlpool washing machine models, ensuring proper water flow and machine functionality.
2. Important Safety Instructions
Always prioritize safety when working with appliances. Failure to follow these instructions could result in property damage, personal injury, or death.
- Disconnect Power: Before beginning any repair, always unplug the washing machine from its power source.
- Turn Off Water Supply: Shut off the hot and cold water supply valves to the washing machine.
- Drain Water: Disconnect the water inlet hoses and drain any residual water into a bucket.
- Wear Protective Gear: Use work gloves and safety glasses to prevent injury.
- Professional Assistance: If you are unsure about any step, it is recommended to consult a qualified appliance repair technician.
- Check for Leaks: After installation, carefully check all connections for leaks before fully restoring power and water.
3. Compatibility
The M93DVN Water Inlet Valve is engineered to be compatible with a wide range of Kenmore and Whirlpool washing machine models. Please verify your appliance's model number against the lists below to ensure proper fit.
Compatible Kenmore Models:
- 110.20372710
- 110.20372711
- 110.27132412
- 110.26132410
- 110.27132413
- 110.26132411
- 110.27132411
- 110.26132412
- 110.26132413
- 110.26134610
- 110.27132410
Compatible Whirlpool Models:
- 7MWTW7000EW0
- 7MWTW7000EW1
- 7MWTW7300EW0
- 7MWTW7300EW1
- WED7000DW1
- WED7000DW2
- WED7300DC1
- WED7300DC2
- WED7300DW0
- WED7300DW1
- WED7300DW2
- WGD8000DW3
- WGD8000DW4
- WTW6120HC0
- WTW6120HW0
- WTW7000DW0
- WTW7000DW1
- WTW7000DW4
- WTW7040DW0
- WTW7040DW1
- WTW7040DW2
- WTW7120HC0
- WTW7120HW0
- WTW7300DC0
- WTW7300DW0
- WTW7300DW1

4. Product Specifications and Features
This replacement water inlet valve is constructed from durable materials and designed for reliable performance.
| Specification | Detail |
|---|---|
| Brand | M93DVN |
| Model Number | 110.20372710 |
| Material | Metal |
| Item Dimensions (L x W x H) | 1 x 1 x 1 inches |
| Inlet Connection Size | 1 Inches |
| Inlet Connection Type | National Pipe Tapered |
| Outlet Connection Type | NPT |
| Number of Ports | 2 |
| Outlet Connection Size | 1 Inches |
| Valve Type | Globe Valve |

5. Installation Guide
This section outlines the general steps for replacing a washing machine water inlet valve. Specific procedures may vary slightly depending on your washing machine model. Always refer to your appliance's service manual for detailed instructions.
- Prepare the Appliance: Ensure the washing machine is unplugged and both hot and cold water supply valves are completely shut off. Disconnect the water inlet hoses from the back of the machine and drain any remaining water.
- Access the Valve: Depending on your washing machine model, you may need to remove the back panel or top panel to access the water inlet valve. Refer to your washing machine's specific service instructions.
- Disconnect Wiring and Hoses: Carefully disconnect the electrical wiring harness from the old valve. Note the position of each wire if not clearly marked. Then, disconnect the internal hoses connected to the valve.
- Remove Old Valve: Unscrew or unclip the old water inlet valve from its mounting bracket.
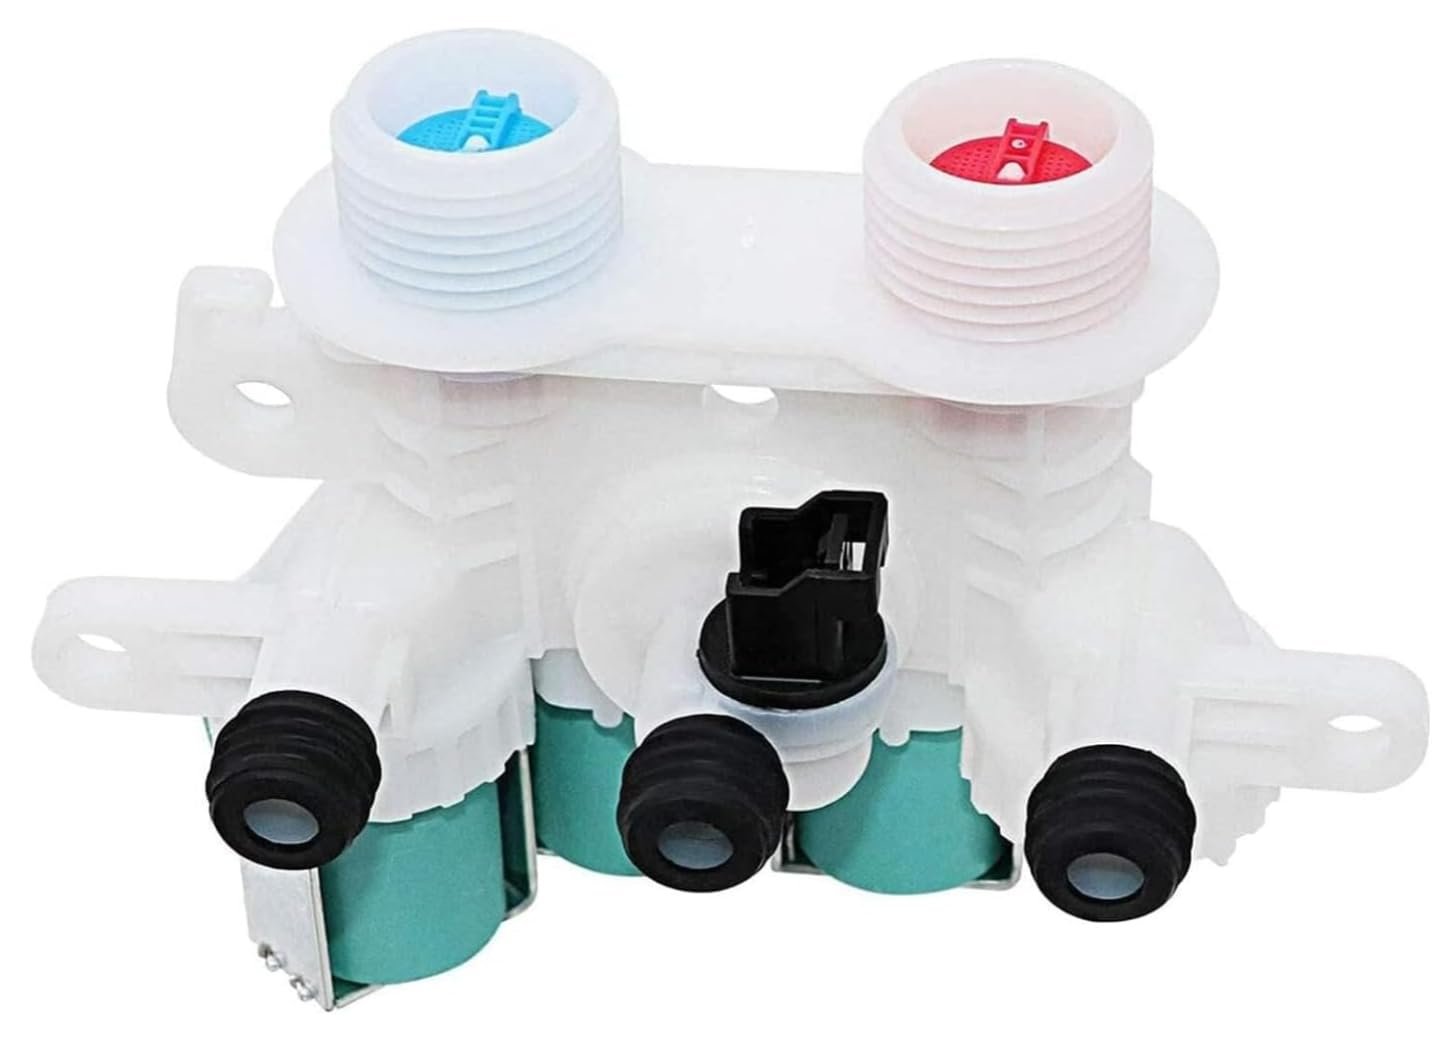
- Install New Valve: Position the new M93DVN water inlet valve in the same location as the old one and secure it with screws or clips.
- Reconnect Components: Reconnect the internal hoses to the new valve, ensuring they are securely fastened. Reattach the electrical wiring harness, matching the connections correctly.
- Reassemble and Test: Reattach the washing machine's panel(s). Reconnect the external water inlet hoses to the valve, ensuring a tight seal. Slowly turn on the hot and cold water supply valves and check for any leaks at all connection points. Plug the washing machine back into the power outlet. Run a short cycle to verify proper operation and check for leaks again.
6. Operating Instructions
Once correctly installed, the M93DVN Water Inlet Valve operates automatically as part of your washing machine's normal cycle. It controls the flow of hot and cold water into the wash tub based on the selected wash settings.
- Ensure both hot and cold water supply valves are fully open.
- Select your desired wash cycle and temperature settings on the washing machine.
- The valve will open and close as needed to fill the tub with the appropriate amount and temperature of water.
7. Maintenance
To ensure the longevity and optimal performance of your water inlet valve and washing machine:
- Inspect Hoses: Periodically check the water inlet hoses for cracks, bulges, or leaks. Replace them if any damage is observed.
- Clean Screens: The water inlet valve typically has screens at its connection points to filter out sediment. If water flow is reduced, these screens may need to be cleaned. Turn off water, disconnect hoses, and carefully clean the screens.
- Check for Leaks: Regularly inspect the area around the valve and hoses for any signs of water leaks. Address any leaks immediately to prevent water damage.
8. Troubleshooting Common Issues
If you encounter problems after replacing the water inlet valve, consider the following:
- "LF" (Low Flow) Error: If your washing machine displays a "Low Flow" error, ensure that both hot and cold water supply valves are fully open and that the inlet screens are not clogged. This replacement valve is designed to resolve such issues.
- No Water Filling: Check if the water supply is on and if the hoses are kinked. Verify that the electrical connections to the valve are secure.
- Continuous Filling/Overflow: This could indicate a faulty water inlet valve or a problem with the water level sensor. If the new valve is continuously allowing water to flow, ensure it is correctly installed and that no debris is preventing it from closing.
- Leaks: Double-check all hose connections and valve mounting points for tightness. Ensure rubber washers are properly seated.
9. Warranty and Support
The M93DVN Water Inlet Valve comes with a 90-day warranty from the date of purchase, covering manufacturing defects. If you experience any issues with the product within this period, please contact your original retailer for assistance, replacement, or refund.
For technical support or further inquiries, please refer to the contact information provided by your retailer or the product packaging.