Strong SRT24HE4023C
Strong 24-inch HD TV SRT24HE4023C User Manual
Model: SRT24HE4023C
1. Introduction
This user manual provides essential information for the safe and efficient operation of your Strong 24-inch HD TV, model SRT24HE4023C. Please read this manual thoroughly before using the product and retain it for future reference.
The Strong SRT24HE4023C is a compact and versatile 24-inch (60 cm) HD Ready television, specifically designed for portability with its 12V power input, making it ideal for use in caravans, campers, or other mobile environments. It features a triple tuner for various signal receptions and multiple connectivity options.
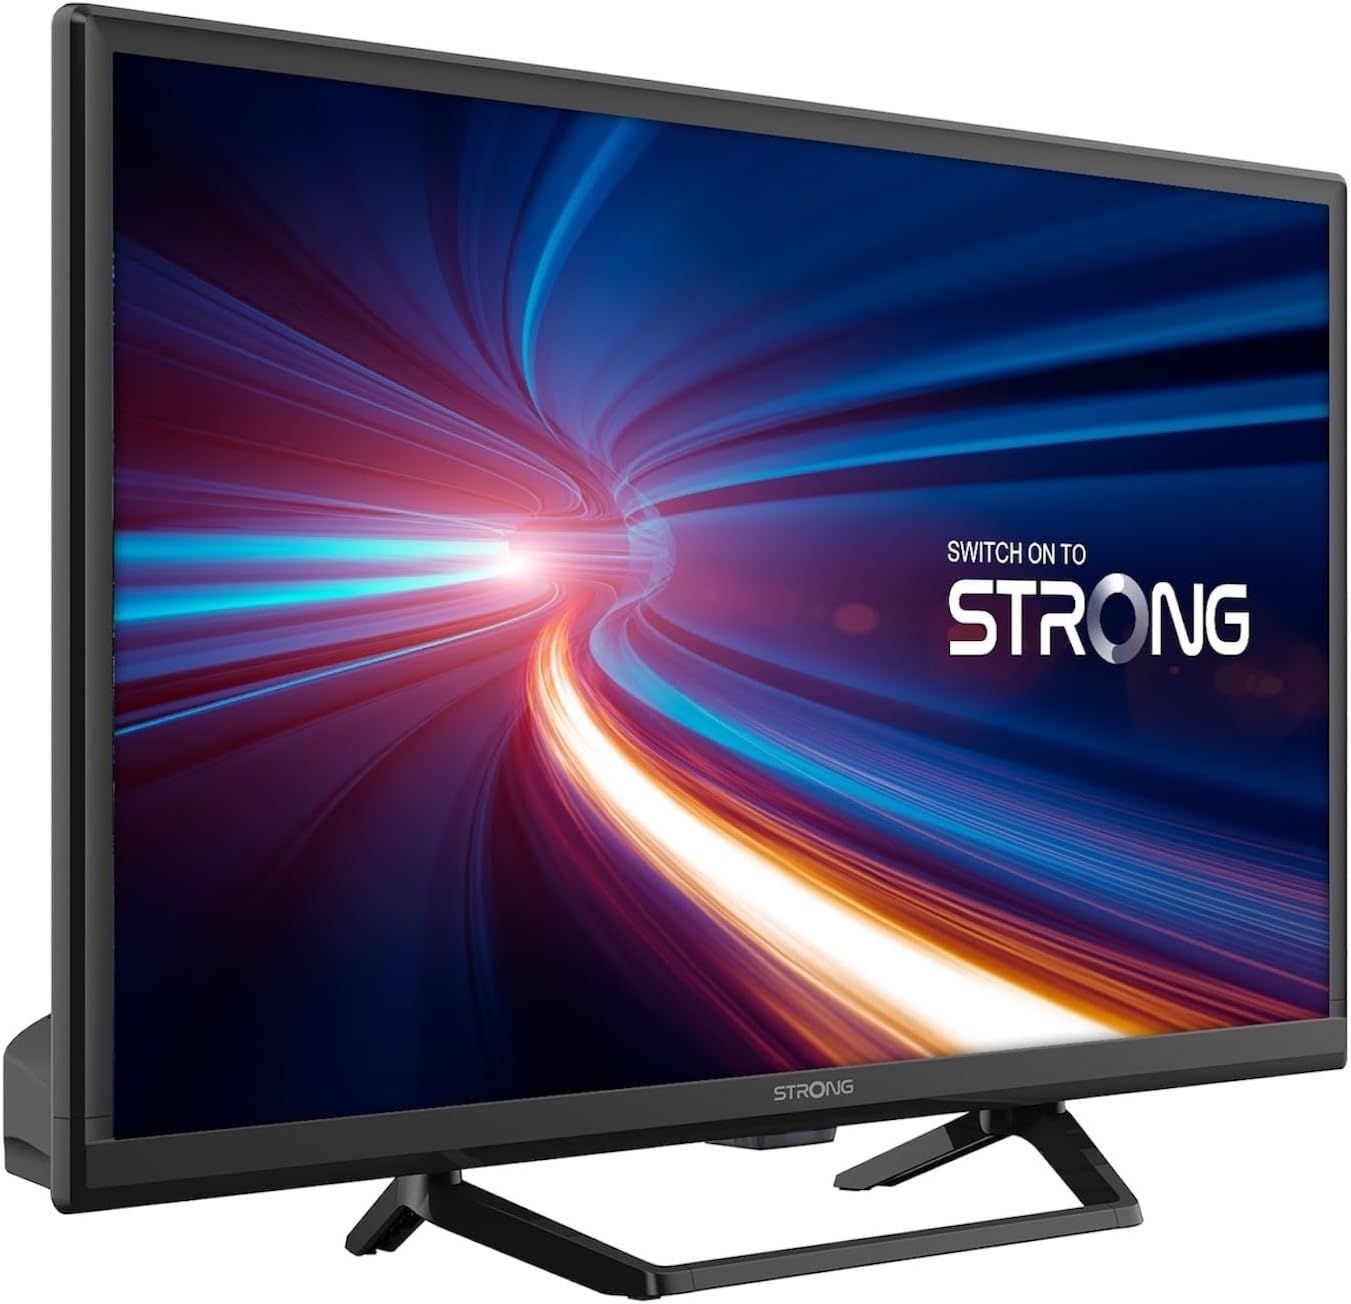
Figure 1.1: Front view of the Strong 24-inch HD TV.
2. Package Contents
Upon unpacking, please ensure all items listed below are present and in good condition. If any items are missing or damaged, contact your retailer immediately.
- Strong 24-inch HD TV (SRT24HE4023C)
- TV Stand
- Remote Control (requires 2 AAA batteries, included)
- User Manual (this document)
3. Setup
3.1. Assembling the Stand
Carefully place the TV screen-down on a soft, clean surface to prevent scratches. Attach the provided stand to the base of the TV using the designated screws. Ensure the stand is securely fastened before placing the TV upright.
3.2. Power Connection
This TV operates on a 12V DC power supply, making it suitable for mobile applications. Connect the 12V power adapter to the TV's power input port and then to a compatible 12V power source. Ensure the power source can provide sufficient current for the TV's operation.
3.3. Connecting External Devices
The TV offers various connectivity options:
- HDMI Ports (x2): Connect Blu-ray players, game consoles, or other HDMI-enabled devices. One port supports ARC (Audio Return Channel).
- USB Port (x1): For playing multimedia files from USB storage devices.
- Mini AV Input: For connecting older devices with composite video and stereo audio outputs.
- Antenna Input (ANT in): Connect a terrestrial antenna for DVB-T/T2 reception.
- Satellite Input (SAT in): Connect a satellite dish for DVB-S/S2 reception.
- CI Slot: Insert a Common Interface module for encrypted channels.
- SPDIF Output: For digital audio output to an external sound system.
- Headphone Jack: For private listening.

Figure 3.1: Rear view showing various connectivity ports.
4. Operating Instructions
4.1. First Time Installation
When you power on the TV for the first time, a setup wizard will guide you through initial settings such as language, country, and channel scanning. Follow the on-screen prompts to complete the setup.
4.2. Channel Scanning
The TV features a triple tuner (DVB-T/T2, DVB-C, DVB-S/S2) for receiving digital terrestrial, cable, and satellite broadcasts. To scan for channels:
- Press the MENU button on your remote control.
- Navigate to the Channel or Installation menu.
- Select Auto Scan or Manual Scan depending on your preference and connection type.
- Follow the on-screen instructions to start the scan.
4.3. Using the Electronic Program Guide (EPG)
The EPG provides a schedule of current and upcoming TV programs. To access the EPG, press the EPG button on your remote control. You can browse programs, view details, and set reminders.
4.4. Multimedia Playback via USB
Insert a USB storage device into the USB port. The TV will typically prompt you to open the media browser. You can play various multimedia files, including videos, photos, and music.
4.5. Parental Control and Hotel Mode
The TV includes parental control features to restrict access to certain channels or programs based on age ratings. Hotel mode provides advanced settings for managing TV functions in a multi-unit environment.
5. Maintenance
5.1. Cleaning the TV
Before cleaning, always unplug the TV from the power source. Use a soft, dry cloth to wipe the screen and cabinet. For stubborn marks, lightly dampen the cloth with water or a mild, non-abrasive screen cleaner. Never spray liquid directly onto the TV.
5.2. Remote Control Battery Replacement
The remote control uses two AAA batteries. If the remote control's range decreases or it stops responding, replace both batteries with new ones, ensuring correct polarity.
6. Troubleshooting
If you encounter issues with your TV, refer to the following common problems and solutions before contacting customer support.
| Problem | Possible Cause | Solution |
|---|---|---|
| No power | Power cable disconnected; no power from source. | Check power cable connection. Ensure 12V power source is active. |
| No picture, but sound is present | Incorrect input source selected; loose cable connection. | Press the SOURCE button to select the correct input. Check HDMI/AV cable connections. |
| No sound, but picture is present | Volume too low or muted; audio settings incorrect. | Increase volume. Check mute status. Adjust audio output settings in the menu. |
| Poor picture quality | Weak signal; incorrect resolution. | Check antenna/satellite connection. Perform a channel scan. Adjust picture settings. |
| Remote control not working | Batteries depleted or incorrectly inserted. | Replace batteries, ensuring correct polarity. Ensure no obstructions between remote and TV. |
7. Specifications
| Feature | Detail |
|---|---|
| Model | SRT24HE4023C |
| Screen Size | 24 inches (60 cm) |
| Display Technology | LED, IPS Panel |
| Resolution | 1366 x 768p (HD Ready) |
| Aspect Ratio | 16:9 |
| Refresh Rate | 60 Hz |
| Response Time | 5 Milliseconds |
| Tuners | DVB-T/T2, DVB-C, DVB-S/S2 |
| Video Codec | HEVC 265 10-bit |
| HDMI Ports | 2 (1 with ARC support) |
| USB Ports | 1 |
| Other Inputs/Outputs | Mini AV In, CI Slot, SPDIF Out, Headphone Jack |
| Audio Decoding | DTS |
| Power Supply | 12 Volt DC |
| Dimensions (W x H x D) | 55.29 x 36.6 x 14.78 cm (with stand) |
| Weight | 2.5 kg |
| VESA Wall Mount | Supported |
| Energy Efficiency Class | E (View EPREL details) |
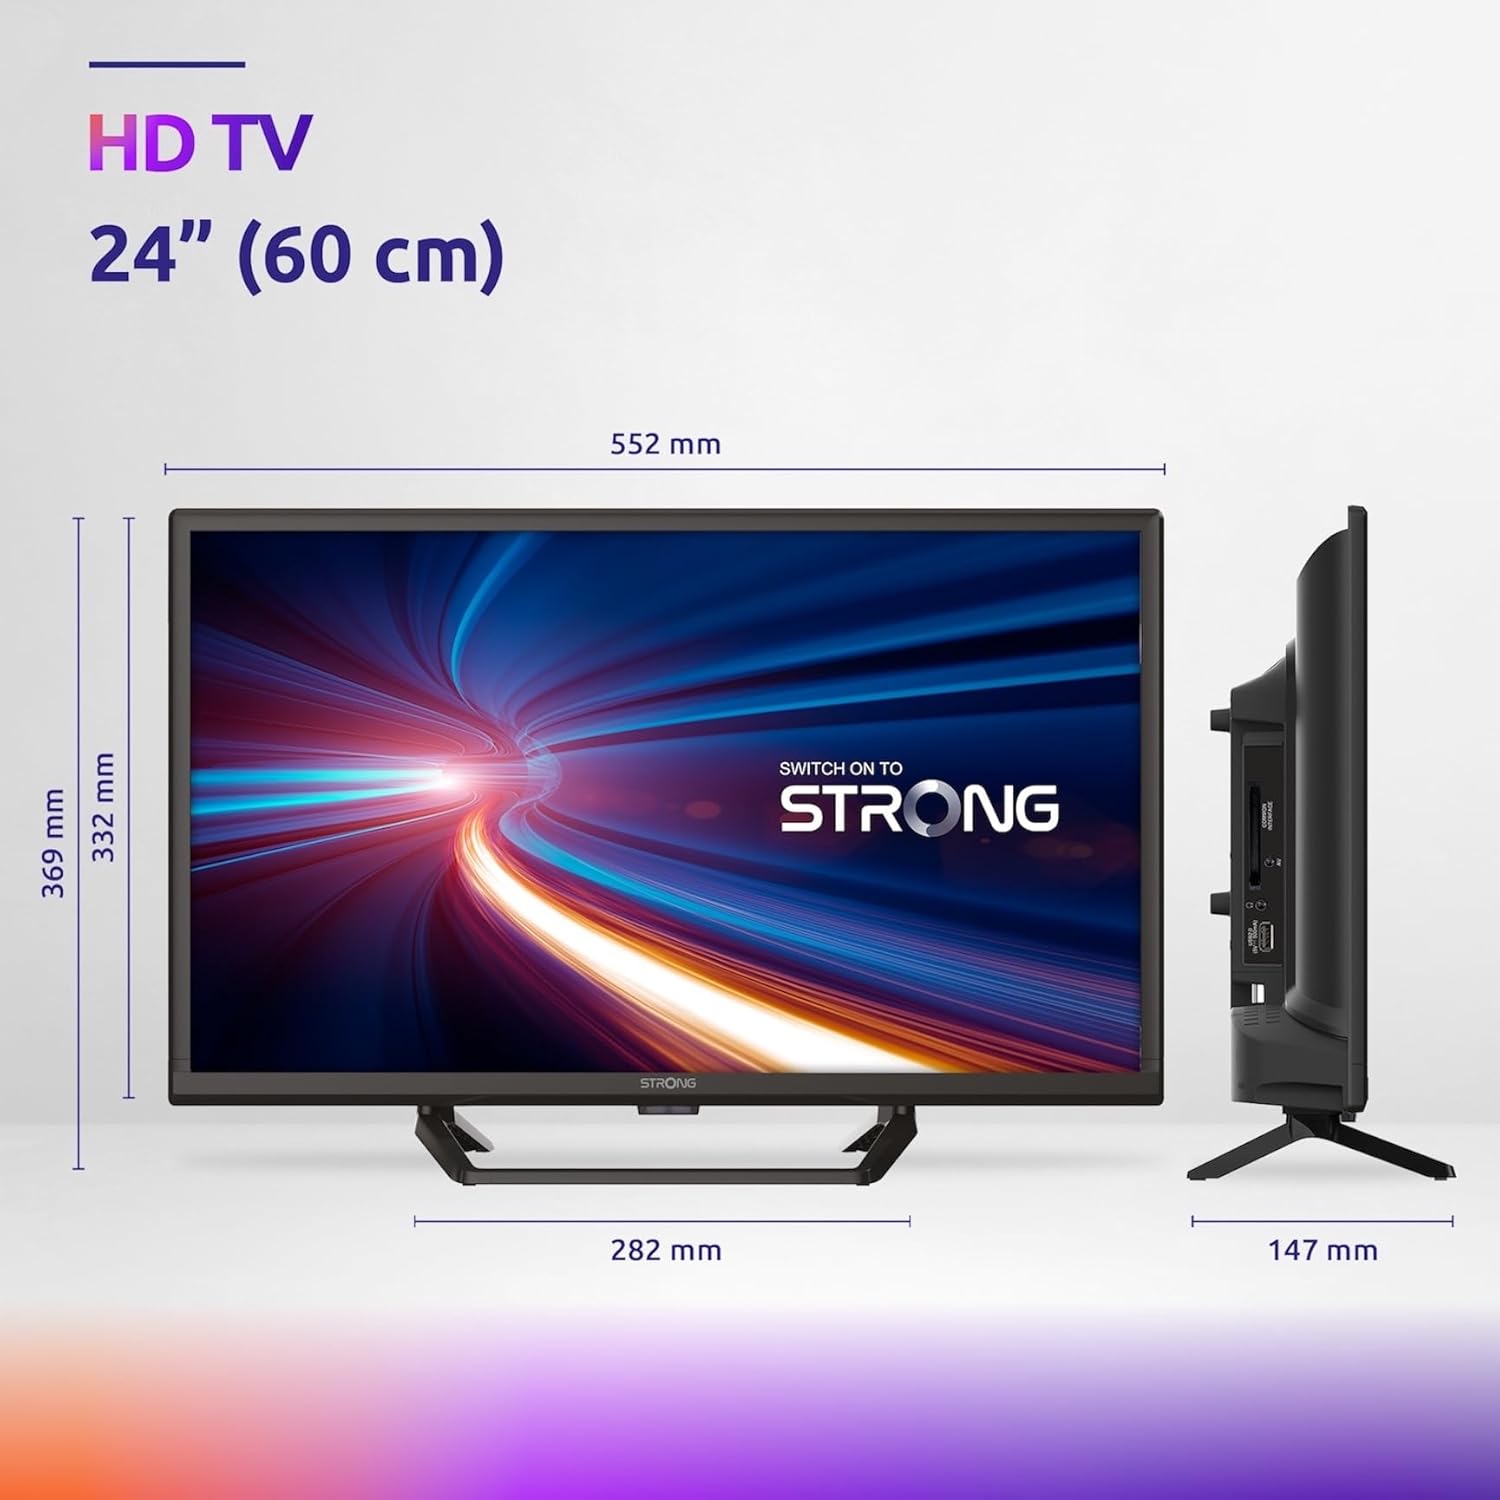
Figure 7.1: Product dimensions of the Strong 24-inch HD TV.

Figure 7.2: Energy efficiency label for the Strong SRT24HE4023C TV.
8. Warranty and Support
Strong products are designed for reliability and performance. For warranty information and technical support, please refer to the warranty card included with your product or visit the official Strong website. Keep your purchase receipt as proof of purchase for warranty claims.
For further assistance, you may also refer to the Strong Brand Store on Amazon for additional product information and resources.
Ask a question about this manual
Ask about setup, troubleshooting, compatibility, parts, safety, or missing instructions. Manuals+ will review the question and use this page’s manual context to help answer it.