1. Introduction
The Foscam FNA108HE is an 8-channel Network Video Recorder (NVR) designed for surveillance systems. It supports up to 8 PoE (Power over Ethernet) IP cameras, allowing for simplified installation with power and data transmission over a single Ethernet cable. This NVR records video at up to 8MP resolution per channel and utilizes H.264+ video compression for efficient storage. It offers continuous, motion-detection, and scheduled recording options, and supports a hard drive up to 16TB (not included) for extensive storage. View and manage your surveillance system locally via HDMI/VGA monitor or remotely through a web interface.
2. Package Contents
- Foscam FNA108HE 8-Channel PoE NVR
- Power Adapter
- USB Mouse
- Ethernet Cable
- Quick Start Guide
- Mounting Screws for HDD (Hard Disk Drive not included)
3. Product Overview
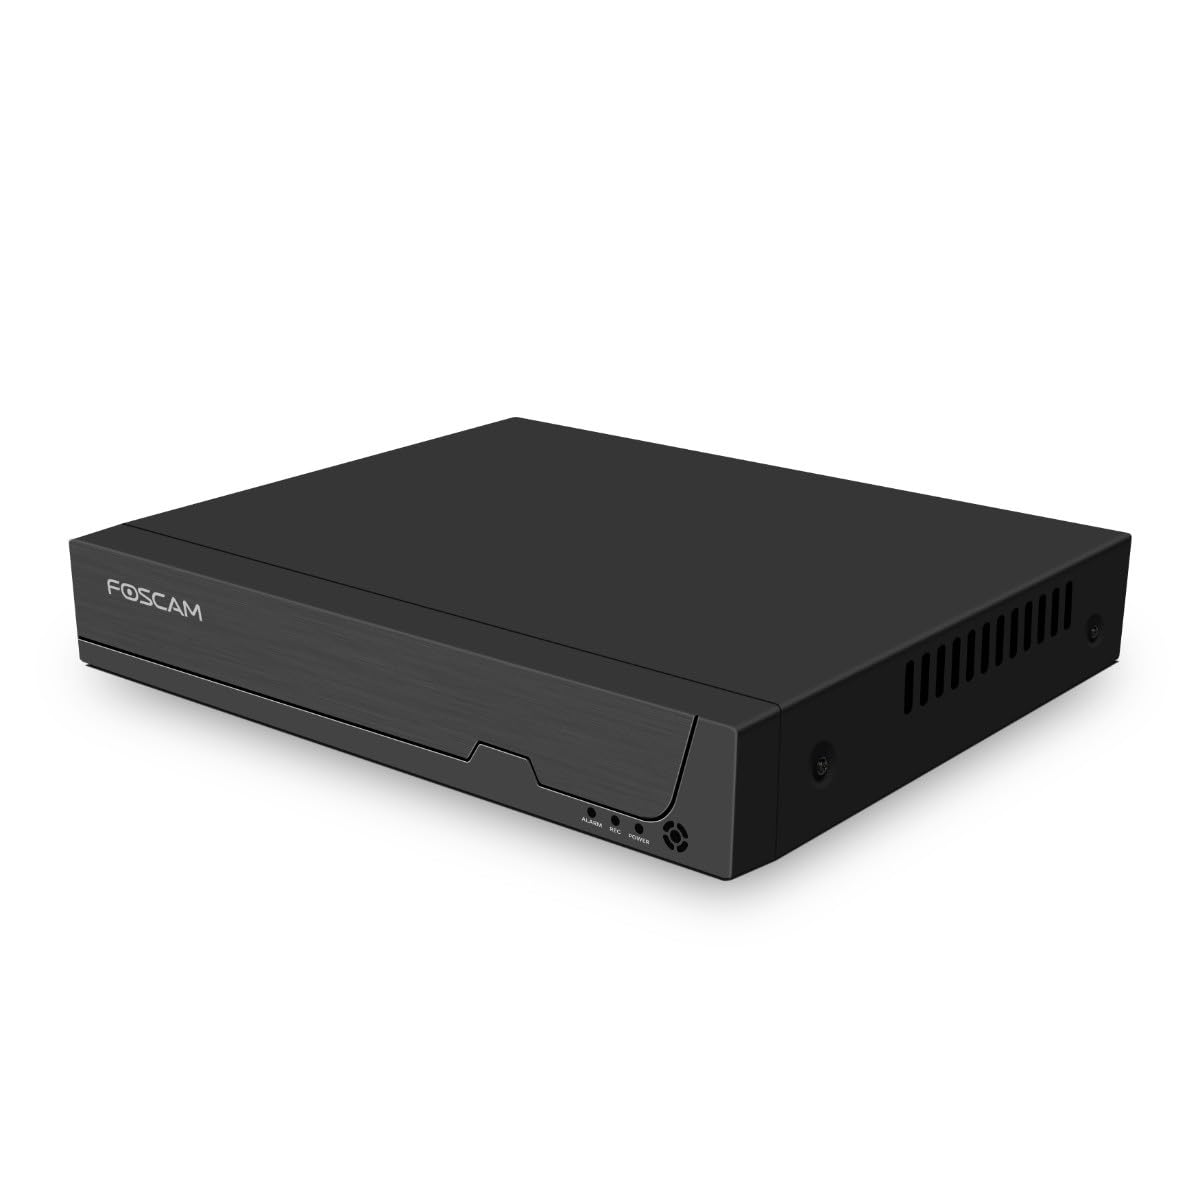
Figure 3.1: Front Panel
This image shows the front of the Foscam FNA108HE NVR, featuring the Foscam logo on the left and indicator lights (ALARM, REC, POWER) on the right, along with a navigation button.

Figure 3.2: Angled View
An angled perspective of the Foscam FNA108HE NVR, highlighting its compact design and the Foscam branding.

Figure 3.3: Rear Panel
This image displays the rear panel of the Foscam FNA108HE NVR, showing various ports including the power switch, DC 48V power input, 8 PoE ports, LAN port, A-OUT (audio output), VGA port, HD-OUT (HDMI port), and two USB ports.
3.1 Front Panel Indicators
- POWER: Indicates the NVR is powered on.
- REC: Flashes when video is being recorded.
- ALARM: Illuminates when an alarm event (e.g., motion detection) is triggered.
3.2 Rear Panel Ports
- ON/OFF Switch: Powers the NVR on or off.
- DC 48V: Power input for the NVR.
- PoE Ports (1-8): Connect PoE IP cameras. These ports provide both power and data.
- LAN Port: Connects the NVR to your local network/router for internet access and remote viewing.
- A-OUT (Audio Output): Connects to an external speaker for audio output.
- VGA Port: Connects to a VGA monitor for local display.
- HD-OUT (HDMI Port): Connects to an HDMI monitor or TV for local display.
- USB Ports (x2): Connect a USB mouse for local control and for USB backup devices.
4. Setup
4.1 Hard Drive Installation (Optional, HDD not included)
For video recording, a 3.5-inch SATA hard drive is required. Ensure the NVR is powered off before installation.
- Unscrew and remove the top cover of the NVR.
- Connect the SATA data and power cables from the NVR to the hard drive.
- Secure the hard drive to the NVR chassis using the provided screws.
- Replace the top cover and secure it with screws.
4.2 Hardware Connection
- Connect your PoE IP cameras to the PoE ports (1-8) on the NVR's rear panel using Ethernet cables.
- Connect a monitor to the NVR's HD-OUT (HDMI) or VGA port.
- Connect the USB mouse to one of the NVR's USB ports.
- Connect the NVR's LAN port to your router or network switch using an Ethernet cable.
- Connect the power adapter to the DC 48V input on the NVR and then plug it into a power outlet.
- Press the ON/OFF switch to power on the NVR.
5. Operating
5.1 Initial Setup and Access
Upon first boot, the NVR will guide you through an initial setup wizard (password creation, network settings, etc.). You can access the NVR interface locally via the connected monitor and mouse, or remotely via a web browser on a computer connected to the same network.
5.2 Live View
After logging in, the NVR will display the live video feeds from connected cameras. You can switch between single-camera view, multi-camera grid view, and customize the display layout.
5.3 Recording Modes
The NVR supports the following recording modes:
- Continuous Recording: Records 24/7 without interruption.
- Motion Detection Recording: Records only when motion is detected by the cameras.
- Scheduled Recording: Records according to a predefined schedule (e.g., specific hours of the day).
Configure these settings in the NVR's menu under 'Record' or 'Schedule'.
5.4 Playback
To review recorded footage:
- Access the 'Playback' menu on the NVR interface.
- Select the desired camera(s) and date/time range.
- Use the timeline to navigate through recordings and play back events.
5.5 Remote Access
To access the NVR remotely:
- Ensure the NVR is connected to the internet.
- Configure network settings (e.g., port forwarding) on your router if necessary, or use Foscam's cloud service/P2P feature if available.
- Use the Foscam web interface or mobile application to view live feeds and manage settings from anywhere.
6. Maintenance
6.1 Hard Drive Management
Regularly check the status of your hard drive in the NVR's storage settings. If the hard drive is new or has issues, it may need to be formatted through the NVR interface. Ensure sufficient free space for continuous recording.
6.2 Firmware Updates
Periodically check the Foscam official website for firmware updates. Keeping your NVR's firmware updated ensures optimal performance, security, and access to new features. Follow the instructions provided with the firmware update carefully.
7. Troubleshooting
- No Video Display: Check HDMI/VGA cable connections, ensure monitor is on and set to correct input. Verify NVR is powered on.
- Cameras Not Showing: Ensure cameras are properly connected to PoE ports. Check camera power and network status. Verify camera IP addresses are within the NVR's range.
- No Recording: Confirm a hard drive is installed and formatted. Check recording schedules and motion detection settings. Ensure HDD has free space.
- Remote Access Issues: Verify NVR has internet access. Check network settings, port forwarding, or P2P status. Ensure correct login credentials.
- NVR Not Powering On: Check power adapter connection and power outlet. Ensure the ON/OFF switch is in the 'ON' position.
8. Specifications
| Feature | Specification |
|---|---|
| Model Number | FNA108HE |
| Brand | Foscam |
| Number of Channels | 8 |
| Max. Storage Capacity | 16 TB (Hard Drive not included) |
| Video Compression | H.264+ |
| Video Input Type | PoE IP Camera |
| Video Output | HDMI, VGA |
| Audio Output | A-OUT |
| USB Ports | 2 |
| Connectivity Technology | HDMI, USB, VGA, Ethernet (LAN, PoE) |
| Compatible Devices | Camera, Smartphone, Television |
| Item Weight | 880 Grams |
| Spare Parts Availability | 1 Year |
9. Warranty and Support
This Foscam NVR (Model FNA108HE) typically comes with a manufacturer's warranty. Spare parts are available for 1 year. For detailed warranty information, technical support, or service inquiries, please refer to the official Foscam website or contact their customer support directly. Keep your purchase receipt for warranty claims.