Introduction
This manual provides comprehensive instructions for the installation, operation, and maintenance of the SPABOY D52-2047 DIN-Rail Multi-Function Digital Meter. This device is designed to accurately measure and display AC voltage, AC current, power factor, active power, electrical energy, and cumulative electrical energy time. Please read this manual thoroughly before use to ensure proper function and safety.
Safety Information
Ensure all electrical connections are made by a qualified electrician.
Disconnect power before installation or maintenance to prevent electric shock.
Do not operate the device in environments with excessive moisture, dust, or corrosive gases.
Verify that the voltage and current ranges of the meter match your application requirements.
The current transformer (CT) must be installed correctly according to the wiring diagram.
Product Overview
The SPABOY D52-2047 is a DIN-rail mounted digital meter capable of simultaneously displaying multiple electrical parameters. It features a clear LED display for easy readability.

Figure 1: Front view of the D52-2047 meter, showing the display and terminals. One unit is shown with an external CT.

Figure 2: Angled view of the D52-2047 meter, showing the display and side details.
Specifications
| Parameter | Value |
|---|---|
| Accuracy | 1% ± 2 words |
| Display Mode | 0.31-inch red LED for AC voltage and power factor; 0.31-inch red LED for AC current and cumulative time; 0.31-inch green LED for active power and electrical energy |
| AC Voltage Range | AC 80.0-300.0V or AC 200.0-450.0V |
| AC Current Range | 0.0-100.0A (Accuracy: 0.01A for <100A, 0.1A for >100A) |
| Active Power Range | 0.0-30000W (for 80.0-300.0V) / 0.0-45000W (for 200.0-450.0V) |
| Electrical Energy Range | 0.000-99999 kWh |
| Cumulative Time Range | 0.00-999.59 h |
| Power Factor Range | 1.000-0.000 |
| Measurement Speed | 2 times per second |
| Dimensions | 54mm x 80mm x 64mm |
| Installation | DIN-Rail |
| Current Transformer (CT) | 0.00-100A |
Setup and Installation
The D52-2047 meter is designed for DIN-rail mounting. Follow these steps for proper installation:
Power Disconnection: Before beginning installation, ensure that the main power supply to the circuit is completely disconnected to prevent electrical hazards.
Mounting: Clip the meter onto a standard 35mm DIN-rail. Ensure it is securely fastened.
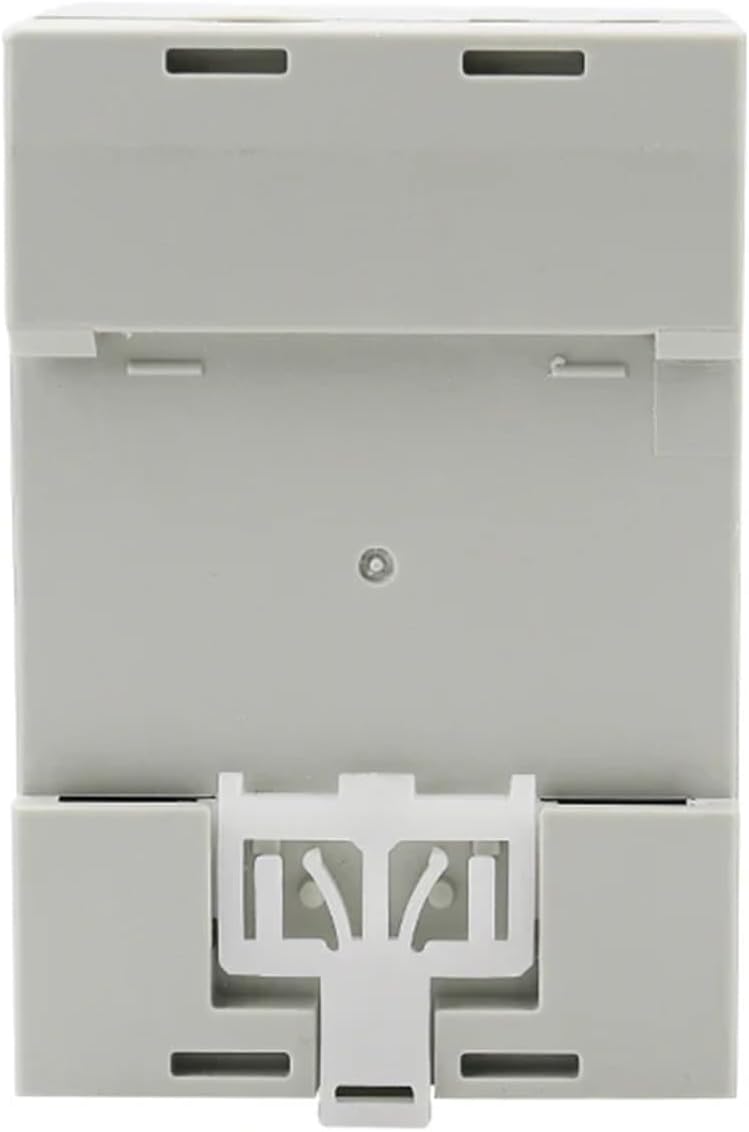
Figure 3: Rear view of the D52-2047 meter, illustrating the DIN-rail mounting mechanism.

Figure 4: Side view of the D52-2047 meter, demonstrating its compact design for DIN-rail installation.
Wiring the Voltage Input: Connect the AC voltage input to terminals 1 and 2 on the bottom of the meter. Refer to the wiring diagram on the side of the unit for correct polarity and connection points. The meter supports AC 80.0-300.0V or AC 200.0-450.0V depending on the model variant.
Current Transformer (CT) Installation:
Pass the live wire of the circuit you wish to measure through the hole of the external current transformer (CT).
Connect the two wires from the CT to terminals 3 and 4 on the top of the meter. Ensure correct connection as per the diagram.
Important: Do not connect the CT wires to the meter before passing the live wire through the CT. Also, ensure the CT is not open-circuited when power is applied to the main circuit.
Power On: Once all connections are secure and verified, restore power to the circuit. The meter display should illuminate and begin showing measurements.
Operating Instructions
The D52-2047 meter automatically displays the measured parameters upon power-up. No complex configuration is typically required for basic operation.

Figure 5: Close-up of the D52-2047 display, showing various electrical parameters.
Display Readings: The meter simultaneously displays AC voltage (V), AC current (A), power factor (cosφ), active power (W), electrical energy (kWh), and cumulative time (h).
Resetting Electrical Energy (kWh) and Cumulative Time (h): To reset the electrical energy and cumulative time readings, press and hold the "SAM CK" button located on the front panel for approximately 5 seconds until the readings reset to zero. This action will only reset the cumulative values, not the instantaneous measurements.
Understanding Readings:
V: Instantaneous AC Voltage.
A: Instantaneous AC Current.
cosφ: Power Factor, indicating the efficiency of power usage.
W: Instantaneous Active Power in Watts.
kWh: Total Electrical Energy consumed in kilowatt-hours since the last reset.
h: Cumulative operating time in hours since the last reset.
Maintenance
Cleaning: Use a soft, dry cloth to clean the meter's surface. Do not use abrasive cleaners or solvents.
Inspection: Periodically inspect all wiring connections to ensure they are tight and free from corrosion or damage.
Environmental Conditions: Ensure the operating environment remains within the specified temperature and humidity ranges to prolong the meter's lifespan.
No User-Serviceable Parts: The meter contains no user-serviceable parts. Do not attempt to open or repair the unit, as this will void any warranty and may pose a safety risk.
Troubleshooting
| Problem | Possible Cause | Solution |
|---|---|---|
| Meter display is off | No power supply; Incorrect voltage wiring; Loose connections. | Check main power supply. Verify voltage input connections (terminals 1 & 2). Ensure all wires are securely fastened. |
| Current (A) reading is 0 or incorrect | CT not installed correctly; CT wires loose or incorrect; No current flowing through the CT. | Ensure the live wire passes through the CT. Check CT wire connections to terminals 3 & 4. Verify there is actual current draw in the circuit. |
| Power (W) or Energy (kWh) reading is 0 or incorrect | Voltage or current readings are incorrect; No load connected. | Troubleshoot voltage and current readings first. Ensure a load is connected and drawing power. |
| Display shows erratic readings | Electrical interference; Loose connections; Faulty unit. | Ensure proper grounding. Check all connections for tightness. If problem persists, contact support. |
Warranty and Support
For warranty information or technical support, please refer to the product packaging or contact your retailer. Keep your purchase receipt as proof of purchase.
For further assistance, you may visit the SPABOY official website or contact their customer service department. Please have your model number (D52-2047) and purchase date ready when contacting support.


