Liectroux YW610
LIECTROUX YW610 Window Cleaning Robot User Manual
Model: YW610
1. Safety Information
Please read all safety instructions carefully before using the LIECTROUX YW610 Window Cleaning Robot. Failure to follow these instructions may result in electric shock, fire, or serious injury.
- Always connect the robot to a power source during operation. The integrated UPS battery is for emergency power-off protection only.
- Ensure the safety rope is securely fastened to a sturdy indoor anchor point before placing the robot on the window.
- Do not use the robot on cracked or damaged glass surfaces.
- Keep hands, hair, and loose clothing away from moving parts.
- Do not operate the robot in rainy or extremely humid conditions.
- Keep out of reach of children and pets.
- Use only the original power adapter and accessories provided with the robot.

Image: The robot's power connection and safety features, including the 4m safety cable, 1.5m extension cable, and 20-minute UPS power-off protection.
2. Product Overview
The LIECTROUX YW610 is an intelligent window cleaning robot designed to provide deep and efficient cleaning for various glass surfaces. It features a powerful 2800PA suction motor, dual spiral cleaning heads with microfiber cloths, and an automatic water spray system for effective dirt removal.
Package Contents
- LIECTROUX YW610 Window Cleaning Robot
- Remote Control
- Power Adapter and Cable (4m + 1.5m extension)
- Safety Rope
- Microfiber Cleaning Pads (multiple pairs)
- Water Filling Bottle
- User Manual
Product Diagram
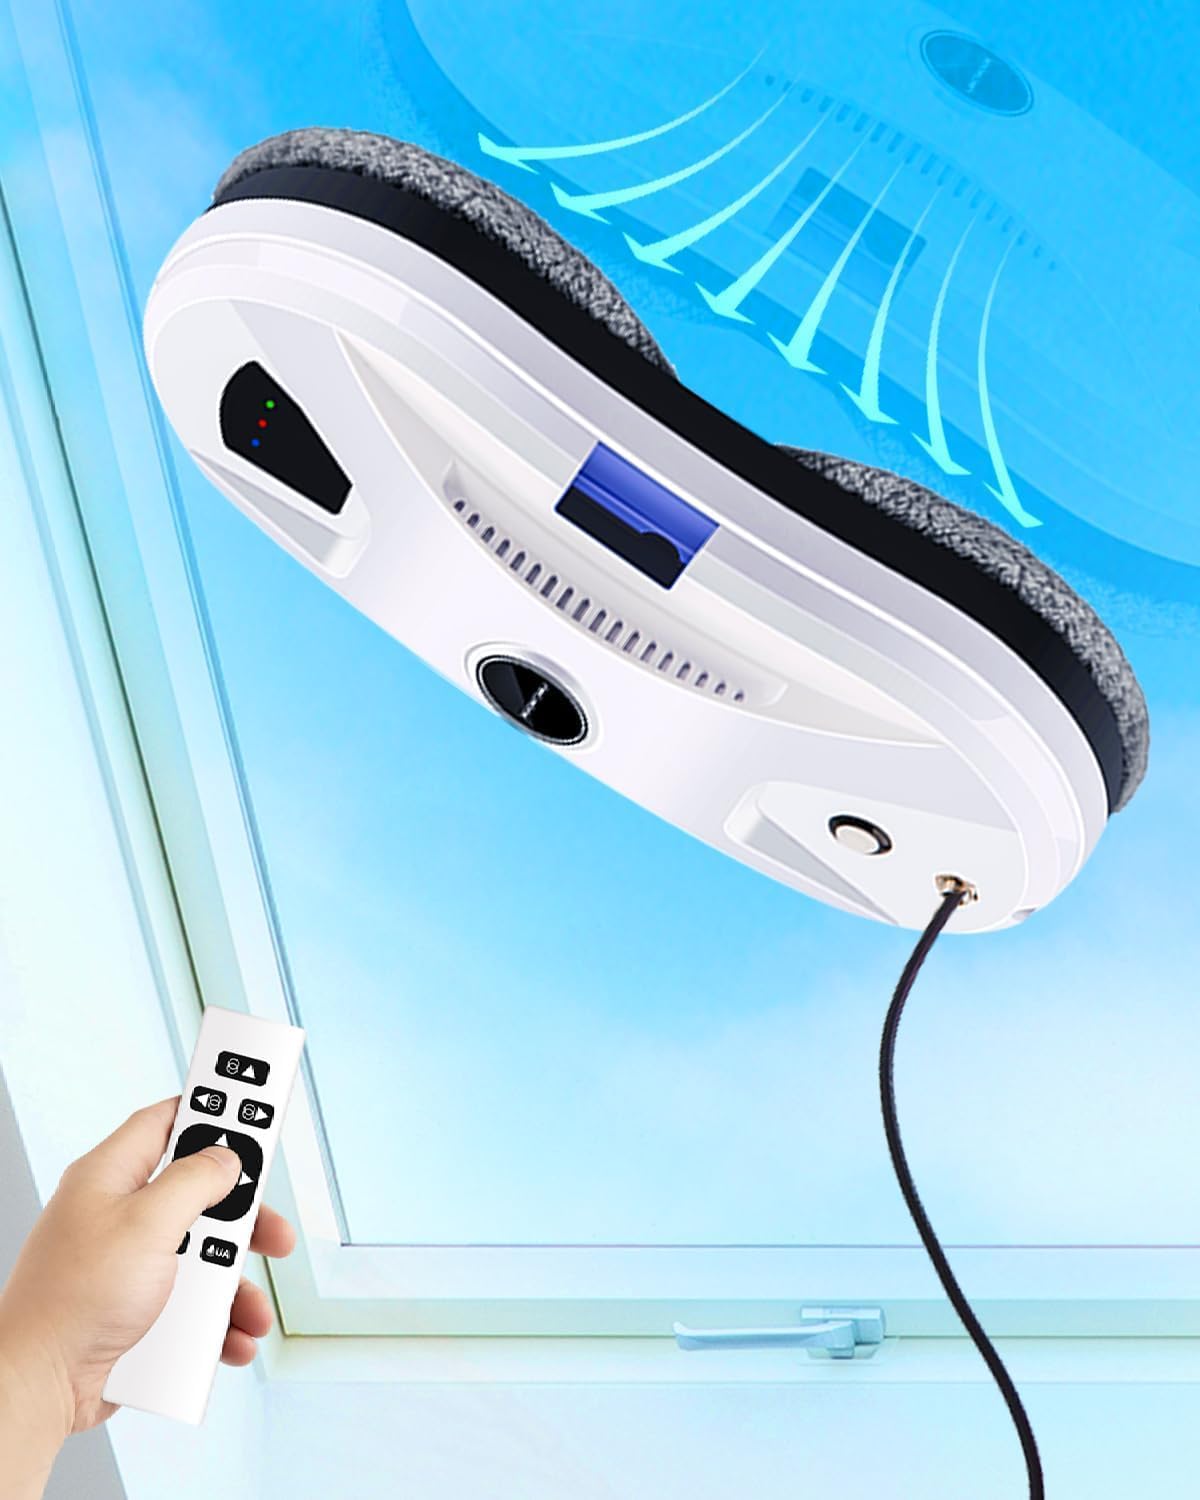
Image: The LIECTROUX YW610 Window Cleaning Robot shown on a window with its remote control, illustrating its compact design and operation.
3. Setup
3.1 Attaching Cleaning Pads
Attach the clean microfiber pads to the two rotating disks on the underside of the robot. Ensure they are securely fastened and cover the entire disk surface.
3.2 Filling the Water Tank
Locate the water tank inlet on the robot. Use the provided water filling bottle to fill the tank with clean water or a recommended window cleaning solution. Do not overfill.
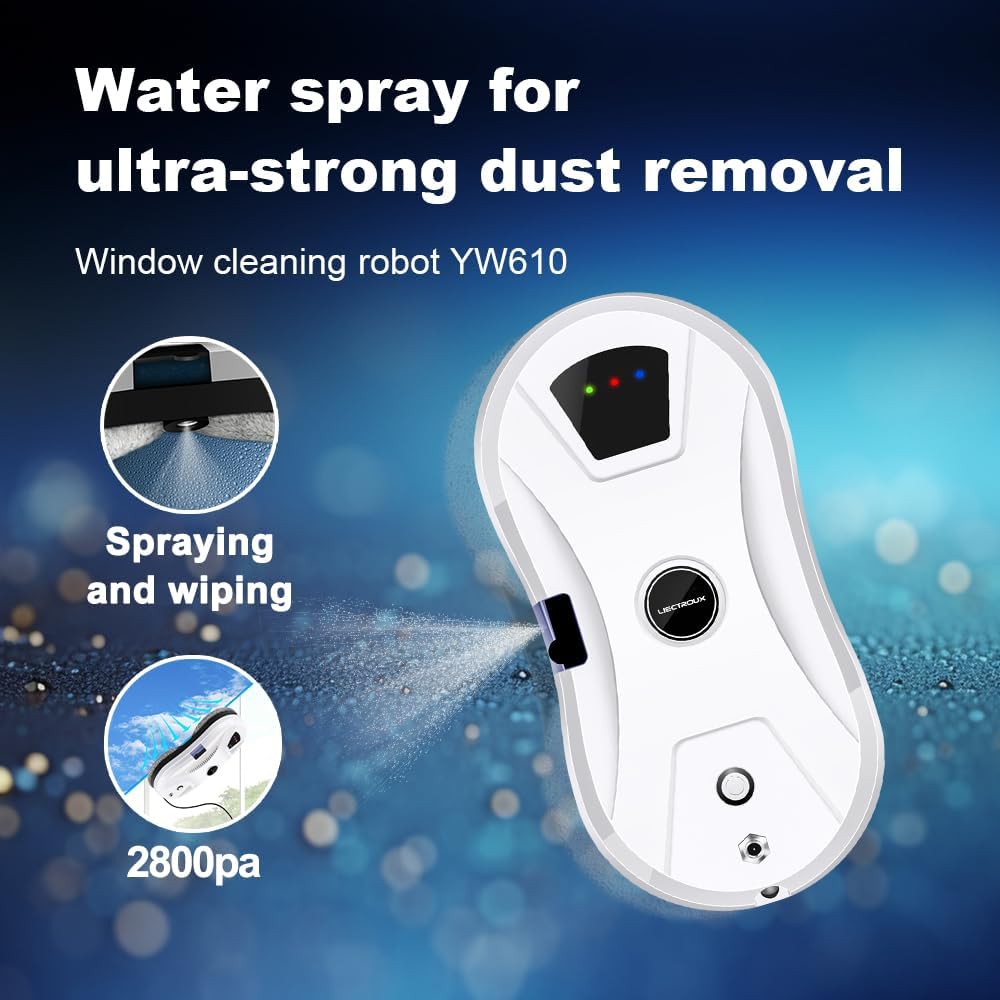
Image: The robot's automatic water spray function, highlighting its effectiveness for dust removal.
3.3 Power Connection and Safety Rope
Connect the power adapter to the robot and then plug it into a power outlet. Securely attach the safety rope to the designated anchor point on the robot and then to a strong, fixed object indoors, such as a heavy piece of furniture or a window frame anchor.
4. Operating Instructions
4.1 Initial Placement and Start
Place the robot on the window surface, ensuring it is flat against the glass. Press the power button on the robot or the 'Start' button on the remote control. The robot will automatically adhere to the glass using its suction.

Image: A visual representation of the robot's four-stage cleaning process: 2800Pa vacuum suction, initial wiping for dust, water spray to soften dirt, and final wiping for dirt and water stains.
4.2 Cleaning Modes
The robot features three automatic cleaning modes. You can select these modes using the remote control:
- Up-to-down: The robot cleans from the top of the window downwards.
- Left-to-down: The robot cleans from the left side of the window downwards.
- Right-to-down: The robot cleans from the right side of the window downwards.

Image: A visual guide to the three intelligent cleaning routes the robot can follow: Up-to-down, Left-to-down, and Right-to-down, controlled by a single press.
4.3 Remote Control Operation
The remote control allows you to start/stop the robot, select cleaning modes, and manually control its movement. Refer to the remote control diagram in the quick start guide for button functions.

Image: The robot's dual-disk simulated twisting and sweeping motion, designed for complete and close cleaning of surfaces.
4.4 Automatic Water Spray
The robot is equipped with an automatic water spray function that dispenses a fine mist to loosen dirt and dust, enhancing cleaning efficiency. This feature operates automatically during cleaning cycles.

Image: Key technologies of the robot, including ultrasonic water spray, micro-air nucleus water dialysis, targeted homogenization technology, and one-press start on framework.
5. Maintenance
Regular maintenance ensures optimal performance and extends the lifespan of your robot.
5.1 Cleaning the Microfiber Pads
After each use, remove the microfiber cleaning pads from the robot. They can be hand-washed or machine-washed with mild detergent. Allow them to air dry completely before reattaching or storing.
5.2 Cleaning the Robot Body
Wipe the exterior of the robot with a soft, damp cloth. Do not use abrasive cleaners or immerse the robot in water. Ensure the suction area and sensors are free from debris.
5.3 Cleaning the Water Nozzle
Periodically check the water spray nozzle for any blockages. If necessary, gently clean it with a small brush or pin to ensure proper water dispersion.
6. Troubleshooting
If you encounter issues with your LIECTROUX YW610, refer to the table below for common problems and solutions.
| Problem | Possible Cause | Solution |
|---|---|---|
| Robot does not adhere to glass. | Insufficient suction; dirty glass surface; power issue. | Ensure power cable is securely connected. Clean the glass surface. Check for obstructions on the suction area. |
| Robot leaves streaks. | Dirty cleaning pads; incorrect cleaning solution; excessive water. | Replace or clean the microfiber pads. Use appropriate window cleaning solution. Ensure water tank is not overfilled. |
| Robot stops unexpectedly. | Power disconnection; obstacle detected; low UPS battery. | Check power connection. Remove any obstacles. If UPS battery alarm sounds, remove robot and recharge. |
| Remote control not working. | Dead batteries; out of range. | Replace remote control batteries. Ensure you are within operating range of the robot. |
7. Specifications
| Feature | Detail |
|---|---|
| Brand | LIECTROUX |
| Model Name | YW610 (Internal Model: HCR-10) |
| Product Dimensions | 27 x 27 x 7.75 cm |
| Material | ABS |
| Suction Power | 2800PA |
| Special Features | Automatic Water Spray, Intelligent Navigation, Fall Protection (UPS) |
| Surface Recommendation | Glass |
| Controller Type | Button Control, Touchpad Control, Remote Control |
| Power Source | Corded Electric |
| Safety Cable Length | 4 meters |
| Adapter Cable Length | 5.2 meters (4m + 1.5m extension) |
| UPS Battery Protection | 25 minutes (absorption protection) |
8. Warranty and Support
For warranty information and technical support, please refer to the documentation provided with your purchase or contact LIECTROUX customer service through their official website or the retailer where the product was purchased. Keep your proof of purchase for warranty claims.
Ask a question about this manual
Ask about setup, troubleshooting, compatibility, parts, safety, or missing instructions. Manuals+ will review the question and use this page’s manual context to help answer it.