Introduction
Thank you for choosing the Craftersmark Y8+1 Deformable LED Garage Light. This manual provides essential information for the safe and efficient installation, operation, and maintenance of your new lighting fixture. Please read this manual thoroughly before installation and retain it for future reference.
Product Features
- 25000LM Super Brightness: Equipped with 200 high-power 0.3W LED chips, providing exceptional illumination.
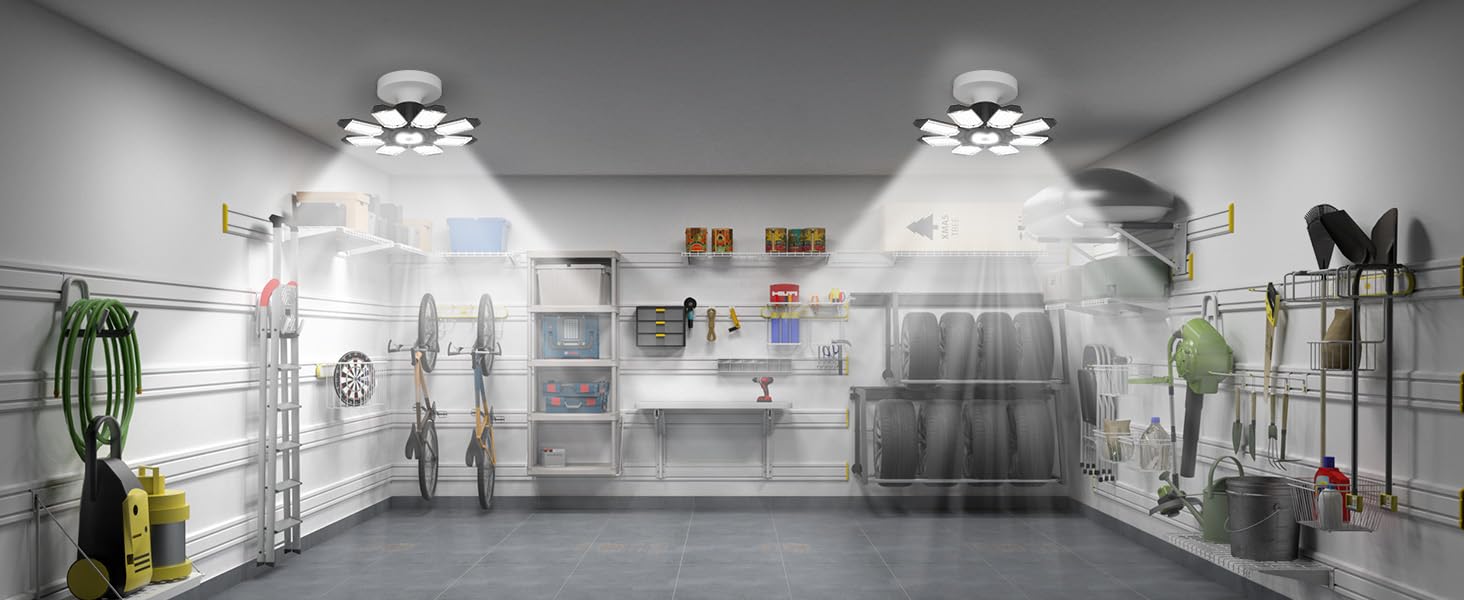
- 360° Illumination Area: Features 8 deformable multi-position panels and 1 central circular lighting panel to eliminate dark zones and provide comprehensive light coverage.
- Adjustable Lighting Effect: Panels are 90° adjustable, allowing users to direct light for focused, flood, spot, or dispersion lighting as needed.
- Extended Service Life: Designed with premium PC panels, 16 hollow-out holes per panel, and an aluminum heatsink under each LED chip for effective cooling, ensuring a lifespan of up to 55,000 hours.
- Easy Installation: Compatible with E26/E27 bases, requiring no tools for installation, which can be completed in approximately 15 seconds.
- Versatile Application: Ideal for garages, storage areas, workbenches, basements, homes, barns, offices, stations, attics, equipment rooms, gyms, workshops, and general display areas.


Package Contents
The Craftersmark Y8+1 LED Garage Light package includes:
- 2 x LED Garage Lights (Model: Y8+1)
- 1 x User Manual
Specifications
| Specification | Detail |
|---|---|
| Brand | Craftersmark |
| Model Name | Garage Lights (Y8+1) |
| Color | Non Motion |
| Material | Plastic (Body), Acrylic (Shade) |
| Style | Industrial |
| Light Fixture Form | Close to Ceiling |
| Product Dimensions | 12.4"L x 12.4"W x 4.6"H |
| Indoor/Outdoor Usage | Indoor |
| Power Source | Electric |
| Installation Type | Flush Mount |
| Special Feature | Energy Efficient |
| Control Method | Push Button (via existing light switch) |
| Light Source Type | LED |
| Number of Light Sources | 202 |
| Light Color | Daylight (6500K) |
| Wattage | 250 watts |
| Bulb Base | E26 |
| Brightness | 25000 Lumen |
| Efficiency | 100 lumens per watt |
| Mounting Type | Ceiling Mount |
| Water Resistance Level | Not Water Resistant |
| Service Life | Up to 55,000 hours |
| Certifications | ADA, ANSI, CE, CSA, DLC, ETL, Energy Star, FCC, RoHS, UKCA, UL, cETL, cUL |

Safety Information
Please read and understand all safety instructions before installing or using this product. Failure to do so may result in electric shock, fire, or other injuries.
- WARNING: Risk of electric shock. Disconnect power at the fuse or circuit breaker before installation or servicing.
- This device is not intended for use with emergency exits.
- Do not use with dimmers.
- Suitable for damp locations. Not water resistant.
- Do not look directly at the LED light when it is on.
- Ensure the fixture is securely installed in a standard E26/E27 screw-in base.
- Do not disassemble or modify the product.
- Keep away from flammable materials.
- Operating temperature range: -20°C to 40°C (-4°F to 104°F).
Setup and Installation
The Craftersmark Y8+1 LED Garage Light is designed for quick and easy installation into existing E26/E27 light sockets. No special tools or wiring are required.
- Step 1: Power Off. Before beginning installation, ensure the power to the light fixture is turned off at the circuit breaker or fuse box.
- Step 2: Remove Existing Bulb. Carefully unscrew and remove the old light bulb from the E26/E27 socket.
- Step 3: Install LED Light. Screw the Craftersmark Y8+1 LED Garage Light into the standard E26/E27 screw-in base. Ensure it is tightened securely but do not overtighten.
- Step 4: Adjust Panels. Once installed, you can manually adjust the 8 deformable LED panels to direct the light to your desired areas. The panels can be adjusted up to 90 degrees.
- Step 5: Restore Power. Turn the power back on at the circuit breaker or fuse box.

Operating Instructions
The Craftersmark Y8+1 LED Garage Light operates via your existing light switch. There are no additional controls on the fixture itself for this non-motion sensor model.
- Turn On/Off: Use the wall switch connected to the E26/E27 socket to turn the light on or off.
- Adjust Light Direction: While the light is off and cool to the touch, gently adjust the individual LED panels to direct light where it is most needed. The panels are designed to hold their position once set.

Maintenance
Regular maintenance ensures optimal performance and longevity of your LED garage light.
- Cleaning: Ensure the power is off and the fixture is cool before cleaning. Use a soft, dry cloth to wipe the surfaces. Do not use abrasive cleaners or solvents.
- Inspection: Periodically check the fixture for any signs of damage or loose connections. If any issues are found, disconnect power and consult a qualified electrician.
- Heat Dissipation: The light features a built-in aluminum plate for heat dissipation. Ensure the panels are not obstructed to allow for proper airflow and cooling.
Troubleshooting
If you encounter any issues with your Craftersmark Y8+1 LED Garage Light, refer to the following common problems and solutions:
| Problem | Possible Cause | Solution |
|---|---|---|
| Light does not turn on. | No power to the fixture, loose connection, or faulty bulb. |
|
| Light flickers. | Loose connection, incompatible dimmer (if mistakenly used), or voltage fluctuations. |
|
| Reduced brightness. | Dust accumulation on panels, or end of product life. |
|
Warranty and Support
The Craftersmark Y8+1 LED Garage Light comes with a Limited Warranty. For specific warranty details, terms, and conditions, please refer to the warranty card included in your package or contact Craftersmark customer support.
If you require assistance with installation, troubleshooting, or have any questions about your product, please contact our customer support team. Contact information can typically be found on the product packaging or on the official Craftersmark website.
Application Examples
The Craftersmark Y8+1 LED Garage Light is suitable for a variety of indoor environments requiring bright, adjustable illumination.