1. Introduction
This manual provides essential information for the installation, operation, maintenance, and troubleshooting of your new Generic Laptop CPU Fan. This fan is designed as a replacement component for specific Toshiba Satellite L50D-B series laptop models. Please read these instructions carefully before proceeding with installation or use to ensure proper function and to avoid damage to your device.
2. Product Overview
The CPU fan is a critical component responsible for dissipating heat generated by the laptop's Central Processing Unit (CPU). Proper cooling prevents overheating, which can lead to system instability, performance degradation, and permanent hardware damage. This replacement fan is engineered to meet the cooling requirements of the compatible Toshiba Satellite L50D-B models.
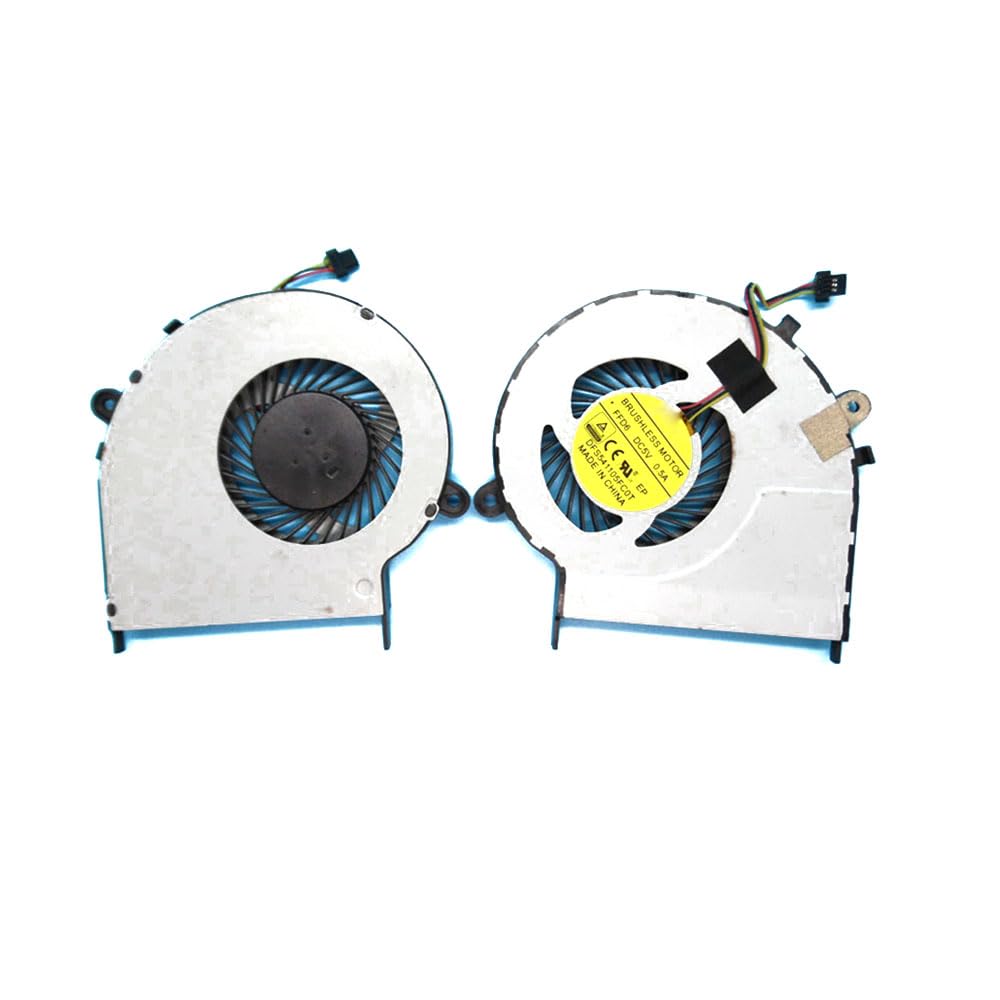
This image displays the Generic Laptop CPU Fan, a replacement component designed for various Toshiba Satellite L50D-B laptop models. The fan features a standard design with a power connector, typical for internal laptop cooling systems.
3. Compatibility
This CPU fan is compatible with the following Toshiba Satellite L50D-B series laptop models:
- Toshiba Satellite L50D-B
- Toshiba Satellite L50D-B-152
- Toshiba Satellite L50D-B-154
- Toshiba Satellite L50D-B-15E
- Toshiba Satellite L50D-B-15F
- Toshiba Satellite L50D-B-15G
- Toshiba Satellite L50D-B-15H
- Toshiba Satellite L50D-B-18V
Always verify your laptop's model number before purchasing and installing a replacement part.
4. Setup and Installation
Replacing a laptop CPU fan requires technical proficiency and careful handling of internal components. If you are not comfortable performing this procedure, it is highly recommended to seek assistance from a qualified technician.
General Installation Steps (Consult your laptop's service manual for specific instructions):
- Power Off and Disconnect: Completely power down your laptop and disconnect it from the power adapter. Remove the battery.
- Discharge Static Electricity: Touch a grounded metal object to discharge any static electricity from your body. Consider using an anti-static wrist strap.
- Access the Motherboard: Carefully open the laptop casing to gain access to the motherboard and the existing CPU fan. This often involves removing screws from the bottom panel and potentially detaching the keyboard or other components.
- Disconnect Old Fan: Locate the old CPU fan. Disconnect its power cable from the motherboard.
- Remove Old Fan: Unscrew and carefully remove the old fan assembly. Note the placement of any thermal paste or pads.
- Clean Area: Gently clean any dust or debris from the CPU heatsink and surrounding area. If necessary, clean off old thermal paste from the CPU and heatsink with isopropyl alcohol.
- Apply Thermal Paste (if applicable): If your heatsink requires new thermal paste, apply a small, pea-sized amount to the center of the CPU.
- Install New Fan: Position the new CPU fan assembly, ensuring it aligns correctly with the screw holes and the heatsink. Secure it with the appropriate screws.
- Connect New Fan: Carefully connect the new fan's power cable to the corresponding port on the motherboard.
- Reassemble Laptop: Reassemble the laptop casing, ensuring all cables are properly connected and screws are tightened.
- Test Functionality: Reinsert the battery, connect the power adapter, and power on the laptop. Monitor fan operation and CPU temperatures using system monitoring software.
5. Operating
Once installed, the CPU fan operates automatically, controlled by the laptop's BIOS/UEFI and operating system. It adjusts its speed based on the CPU's temperature to maintain optimal operating conditions. You should hear a gentle whirring sound during normal operation, which may increase under heavy load.
6. Maintenance
Regular maintenance helps prolong the life of your CPU fan and ensures efficient cooling.
- Dust Removal: Periodically clean dust from the fan blades and heatsink fins. Use compressed air to blow out dust from the laptop's vents. For thorough cleaning, the laptop may need to be opened.
- Avoid Obstructions: Ensure that the laptop's air vents are not blocked by surfaces like blankets or clothing, which can restrict airflow and cause overheating.
- Monitor Temperatures: Use software utilities to monitor your CPU temperature. Consistently high temperatures may indicate a need for cleaning or further inspection.
7. Troubleshooting
If you encounter issues with your CPU fan, consider the following troubleshooting steps:
| Problem | Possible Cause | Solution |
|---|---|---|
| Fan not spinning | Loose connection, faulty fan, software issue | Check fan cable connection. Restart laptop. If issue persists, fan may be faulty and require replacement. |
| Loud fan noise | Dust accumulation, worn bearings, high CPU load | Clean fan and heatsink. Monitor CPU usage; reduce background processes if high. If noise persists, fan bearings may be worn. |
| Laptop overheating | Blocked vents, dust, fan not spinning efficiently, thermal paste issue | Ensure vents are clear. Clean fan and heatsink. Verify fan is spinning. Reapply thermal paste if necessary. |
| Fan constantly running at high speed | High CPU temperature, aggressive fan curve settings, malware | Check CPU temperature. Update BIOS/UEFI. Scan for malware. Ensure proper airflow. |
If these steps do not resolve the issue, professional diagnosis may be required.
8. Specifications
- Item Model Number: L50D-B-152 Fan
- Product Dimensions: 11.81 x 7.87 x 3.94 inches
- Item Weight: 1.32 pounds
- Material: Plastic
- Manufacturer: Generic
- Number of Items: 1
9. Warranty
This product comes with a 90-day warranty from the date of purchase. This warranty covers manufacturing defects. It does not cover damage resulting from improper installation, misuse, accidents, or unauthorized modifications. Please retain your proof of purchase for warranty claims.
10. Support
For technical assistance or warranty inquiries, please contact your retailer or the manufacturer directly. When contacting support, please have your product model number and proof of purchase available.


