acer EK241Y Ebi
Acer EK241Y EBI Monitor User Manual
Model: EK241Y Ebi | Brand: Acer
1. Introduction
This manual provides comprehensive instructions for the setup, operation, and maintenance of your Acer EK241Y EBI 24-inch FHD IPS Frameless Monitor. Please read this manual thoroughly before using the product to ensure proper and safe operation.
2. Safety Information
Always observe the following safety precautions to prevent injury and damage to the monitor:
- Do not expose the monitor to rain or moisture.
- Do not block ventilation openings.
- Use only the power adapter supplied with the monitor.
- Place the monitor on a stable, flat surface.
- Unplug the monitor during lightning storms or when unused for long periods.
- Refer all servicing to qualified service personnel.
3. Package Contents
Verify that all items are present in your package:
- Acer EK241Y EBI Monitor
- Monitor Stand (Base and Neck)
- Power Adapter
- HDMI Cable
- User Manual (this document)
4. Setup
4.1 Assembling the Monitor Stand
- Carefully place the monitor face down on a soft, clean surface to prevent scratches.
- Attach the stand neck to the back of the monitor, aligning the mounting holes. Secure with screws if provided.
- Connect the stand base to the stand neck, ensuring it clicks into place or is secured with a screw.
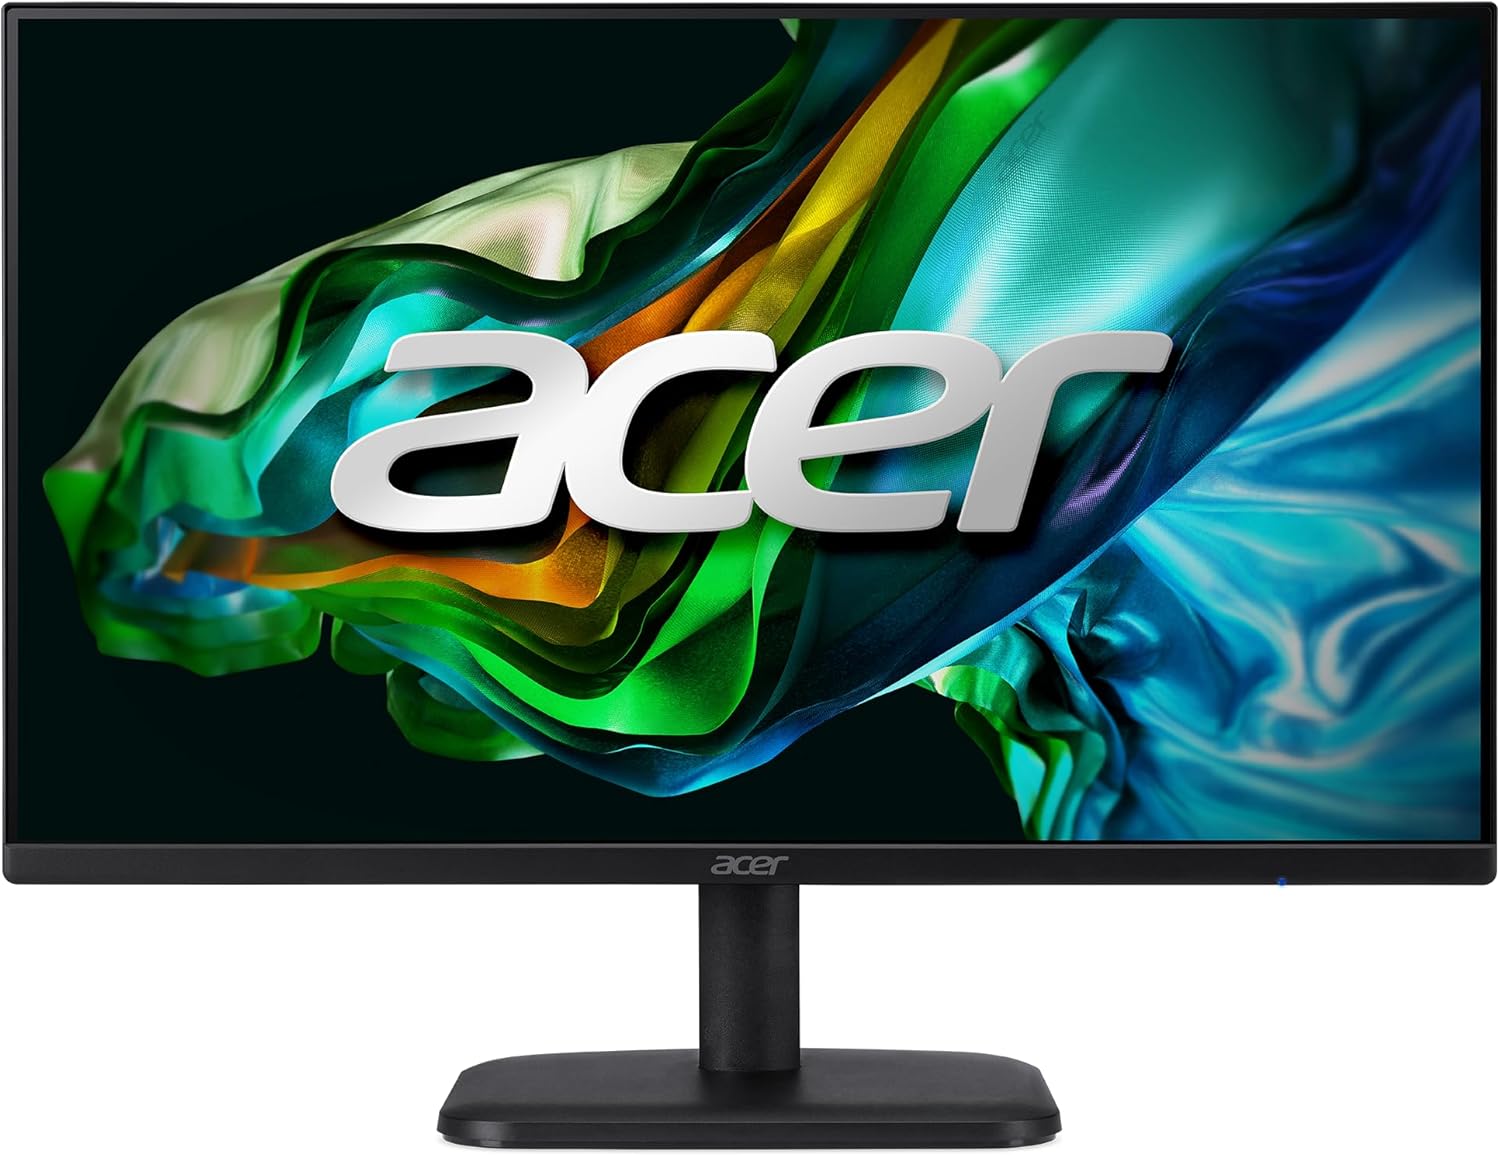
Figure 4.1: Front view of the Acer EK241Y EBI monitor with its stand assembled.

Figure 4.2: Side view of the Acer EK241Y EBI monitor, showing its slim profile.
4.2 Connecting Cables
Locate the input ports on the back of the monitor:

Figure 4.3: Rear view of the monitor displaying the various input ports.
- Power Connection: Connect the power adapter to the monitor's power input and then plug it into a power outlet.
- Video Connection:
- For digital video, connect one end of the supplied HDMI cable to the monitor's HDMI port and the other end to your computer's HDMI output.
- For analog video, connect a VGA cable (not included) to the monitor's VGA port and the other end to your computer's VGA output.
4.3 Initial Power On
Press the power button located on the back or bottom of the monitor to turn it on. The monitor will automatically detect the active input source.
5. Operating the Monitor
5.1 On-Screen Display (OSD) Menu
The monitor features a joystick control on the back for navigating the OSD menu. Press the joystick to open the menu, then move it up/down/left/right to select options and adjust settings.
- Brightness/Contrast: Adjust image luminance.
- Color Settings: Modify color temperature, gamma, and saturation.
- Input Select: Manually switch between HDMI and VGA inputs.
- Audio: Adjust volume if external speakers are connected to the audio out port (not applicable for this model as it lacks built-in speakers or audio out).
- System Settings: Language, OSD timeout, reset to factory defaults.
5.2 Key Features
Full HD IPS Display with Wide Viewing Angle

Experience stunning, high-quality images with excellent detail thanks to the 1920 x 1080 Full HD resolution.

The IPS technology ensures accurate colors and wide 178-degree viewing angles, making content visible from almost any position.
100Hz Refresh Rate & 1ms VRB Response Time

Enjoy smooth 2D motion scenes with a 100Hz refresh rate, reducing motion blur and ghosting.

The rapid 1ms Visual Response Boost (VRB) response time further eliminates smearing and ghosting for clear, fast-paced visuals.
AMD FreeSync™ Technology

Say goodbye to stuttering and tearing. AMD FreeSync synchronizes the monitor's frame rate with your graphics card for a seamless gaming experience.
Ergonomic Tilt Adjustment

Adjust the screen tilt from -5 to 20 degrees to find your optimal viewing angle. The monitor is also VESA mount compatible for wall mounting.
6. Maintenance
To ensure the longevity and optimal performance of your monitor, follow these maintenance guidelines:
- Cleaning the Screen: Gently wipe the screen with a soft, lint-free cloth. For stubborn marks, dampen the cloth slightly with water or a non-ammonia, non-alcohol based screen cleaner. Never spray liquid directly onto the screen.
- Cleaning the Casing: Use a soft, dry cloth to clean the monitor casing. Avoid abrasive cleaners.
- Ventilation: Ensure the ventilation openings on the monitor are not blocked to prevent overheating.
- Storage: If storing the monitor for an extended period, unplug it and store it in a cool, dry place.
7. Troubleshooting
If you encounter issues with your monitor, refer to the following common problems and solutions:
| Problem | Possible Cause | Solution |
|---|---|---|
| No image on screen | Power cable disconnected; Video cable disconnected; Incorrect input selected. | Check power and video cable connections. Ensure the correct input source (HDMI/VGA) is selected via the OSD menu. |
| Image is blurry or distorted | Incorrect resolution; Loose video cable. | Set the display resolution to 1920 x 1080. Reconnect the video cable securely. |
| No sound (if using external speakers) | Volume too low; Audio cable disconnected. | Adjust volume in OSD or computer settings. Ensure audio cable is connected correctly (if applicable). |
| Screen flickering | Refresh rate mismatch; Cable issue. | Ensure refresh rate is set to 100Hz in your computer's display settings. Try a different HDMI cable. |
8. Specifications
| Feature | Detail |
|---|---|
| Model Name | EK241Y EBI |
| Screen Size | 23.8 inches |
| Panel Type | IPS |
| Resolution | 1920 x 1080 (Full HD) |
| Refresh Rate | 100Hz |
| Response Time | 1ms (VRB) |
| Aspect Ratio | 16:9 |
| Viewing Angle | 178° (H/V) |
| Connectivity | 1 x HDMI, 1 x VGA |
| Tilt Adjustment | -5° to 20° |
| Dimensions (L x W x H) | 31.2 x 1.9 x 40.4 cm (monitor only, approx.) |
| Weight | 3.25 kg (approx.) |
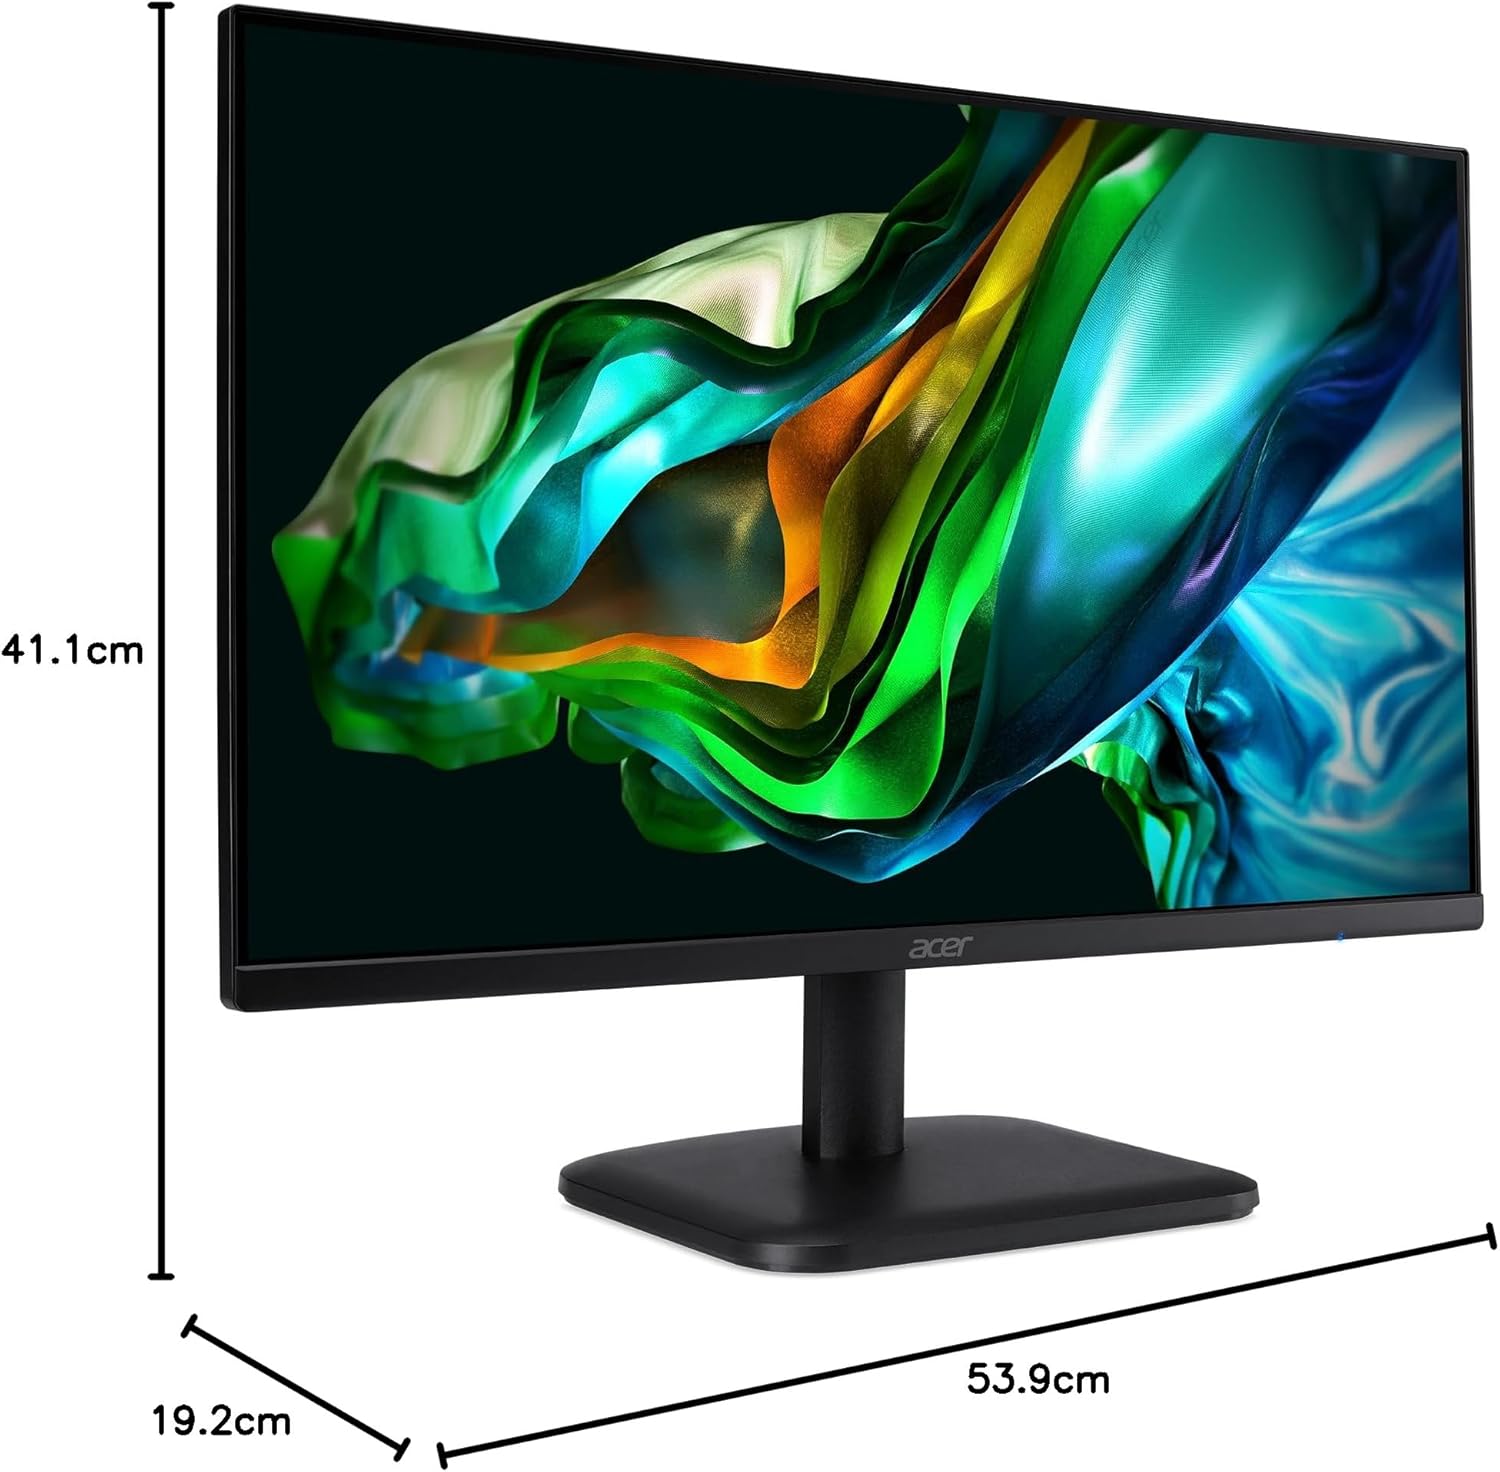
Figure 8.1: Approximate dimensions of the Acer EK241Y EBI monitor.
9. Warranty and Support
Acer products come with a standard limited warranty. For detailed warranty information, please refer to the warranty card included with your product or visit the official Acer support website.
For technical support, driver downloads, or service inquiries, please visit the Acer support website or contact their customer service. Keep your product's serial number and purchase receipt handy when contacting support.
Acer Support Website: www.acer.com/support