Introduction
Welcome to the world of STEM building with the Lucky Doug Model Army Tank Set! This comprehensive kit, featuring 284 durable metal pieces, is designed to engage young builders aged 8-12 in an immersive and educational construction experience. By assembling this realistic model tank, children will develop critical thinking, problem-solving skills, patience, and fine motor coordination. This manual provides detailed instructions to guide you through each step of the assembly process, ensuring a rewarding and successful build.
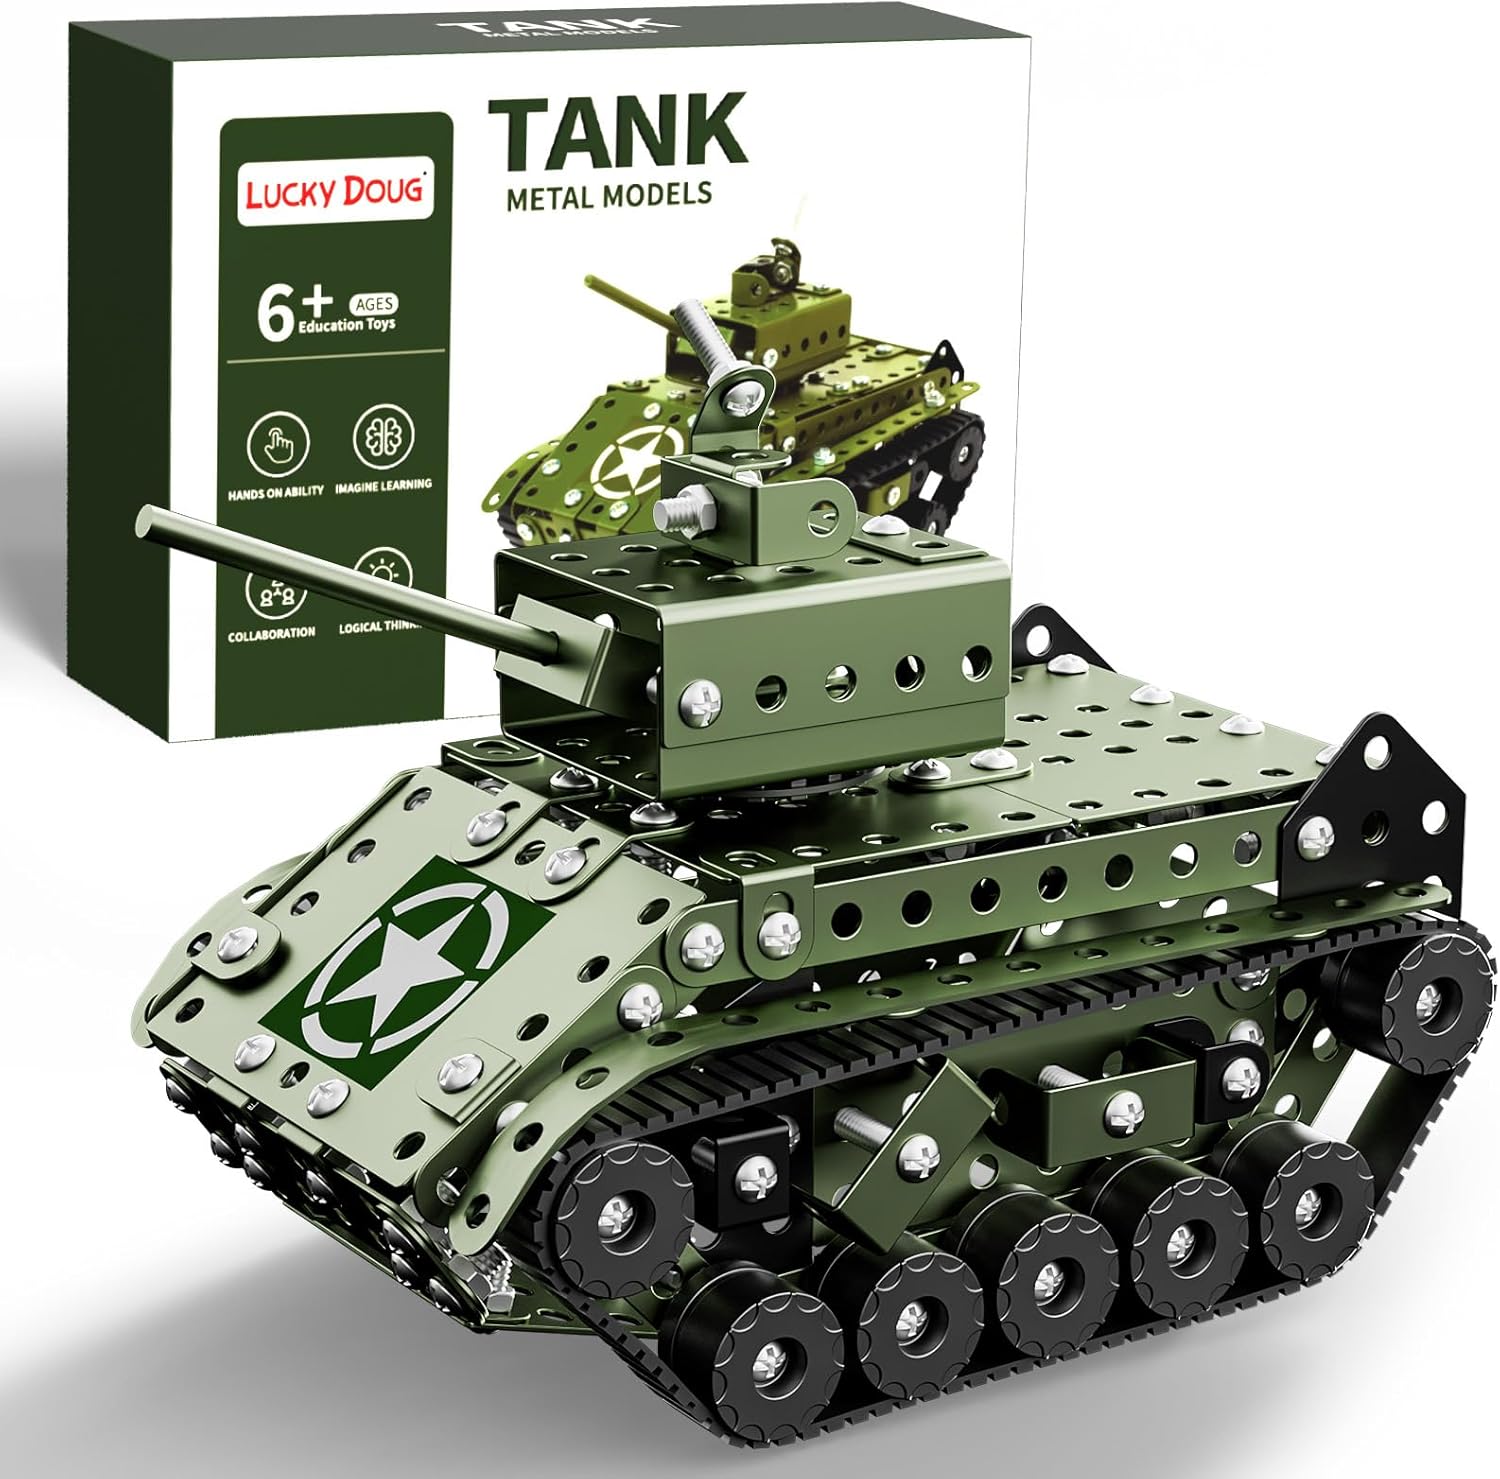
Image: The Lucky Doug STEM Building Projects Model Army Tank Set, showcasing the product box and the fully assembled green metal tank with tracks and a turret.
Parts List
Before beginning assembly, please verify that all 284 pieces are present and accounted for. Refer to the diagram below for a visual representation of all components included in your kit.

Image: A detailed layout of all 284 components of the tank building set, including various sizes of green metal plates, black wheels, rubber tracks, screws, nuts, and the included screwdriver and wrench. This image serves as a visual parts list.
The kit includes various metal plates, connectors, screws, nuts, wheels, and rubber tracks. Essential tools such as a screwdriver and a wrench are also provided to assist with assembly. The scale plate printed on the product box can be used to measure the size of screws and other small parts for accurate identification.
Assembly Instructions (Setup)
Follow these step-by-step instructions carefully to assemble your Lucky Doug Model Army Tank. Patience and attention to detail are key for a successful build.
- Step 1: Prepare the Base Structure. Begin by identifying the main chassis plates and connecting them using the appropriate screws and nuts. Ensure all connections are secure but do not overtighten.

Image: Illustration showing the initial steps of connecting the flat metal plates to form the tank's base structure.
- Step 2: Attach Side Panels. Secure the side panels to the base, forming the main body of the tank. Pay close attention to the orientation of the panels as indicated in the detailed instructions provided in the box.

Image: Illustration demonstrating how to attach the side metal plates to the previously assembled base, beginning to form the tank's hull.
- Step 3: Install Wheels and Axles. Insert the axles through the designated holes in the side panels and attach the black wheels. Ensure the wheels spin freely.

Image: Illustration showing the process of inserting axles and attaching the black plastic wheels to the tank's side panels.
- Step 4: Attach Tracks. Carefully fit the rubber tracks around the installed wheels. This may require some manipulation to ensure a snug fit.

Image: Illustration depicting the step of carefully wrapping the black rubber tracks around the previously installed wheels on the tank's chassis.
- Step 5: Construct the Turret Base. Assemble the smaller metal pieces to form the base of the tank's turret.

Image: Illustration showing the assembly of smaller metal components to create the foundational structure for the tank's rotating turret.
- Step 6: Add Turret Details. Attach the barrel and other decorative elements to the turret base.

Image: Illustration demonstrating the attachment of the tank's main gun barrel and other small details to the assembled turret base.
- Step 7: Mount Turret to Chassis. Secure the completed turret onto the tank's main body, allowing it to rotate if designed to do so.

Image: Illustration showing the final step of attaching the fully assembled turret onto the tank's main body, completing the primary structure.
- Step 8: Final Touches and Decals. Apply any included decals or stickers to enhance the tank's appearance. Ensure all screws are tightened appropriately.

Image: Illustration depicting the application of decorative decals to the tank model and a final check of all assembled parts.
- Step 9: Review and Test. Gently test the movement of the tracks and the rotation of the turret to ensure all parts function as intended.

Image: Illustration showing the completed tank model from a different angle, ready for review and testing of its movable parts.
- Step 10: Display or Play. Your tank is now complete! It can be proudly displayed or used for imaginative play.

Image: Illustration of the fully assembled tank model, highlighting its completed state and readiness for display or interactive play.
- Step 11: Enjoy the Learning. Remember the STEM principles applied during assembly, fostering creativity, imagination, and cognitive skills.

Image: Illustration emphasizing the educational benefits of the building kit, such as fostering creativity, imagination, and STEM skills.
- Step 12: Share the Experience. Building together can be a fun family activity, promoting teamwork and shared learning.
Image: Illustration showing a family collaborating on the tank assembly, highlighting the teamwork and shared experience aspect of the toy.
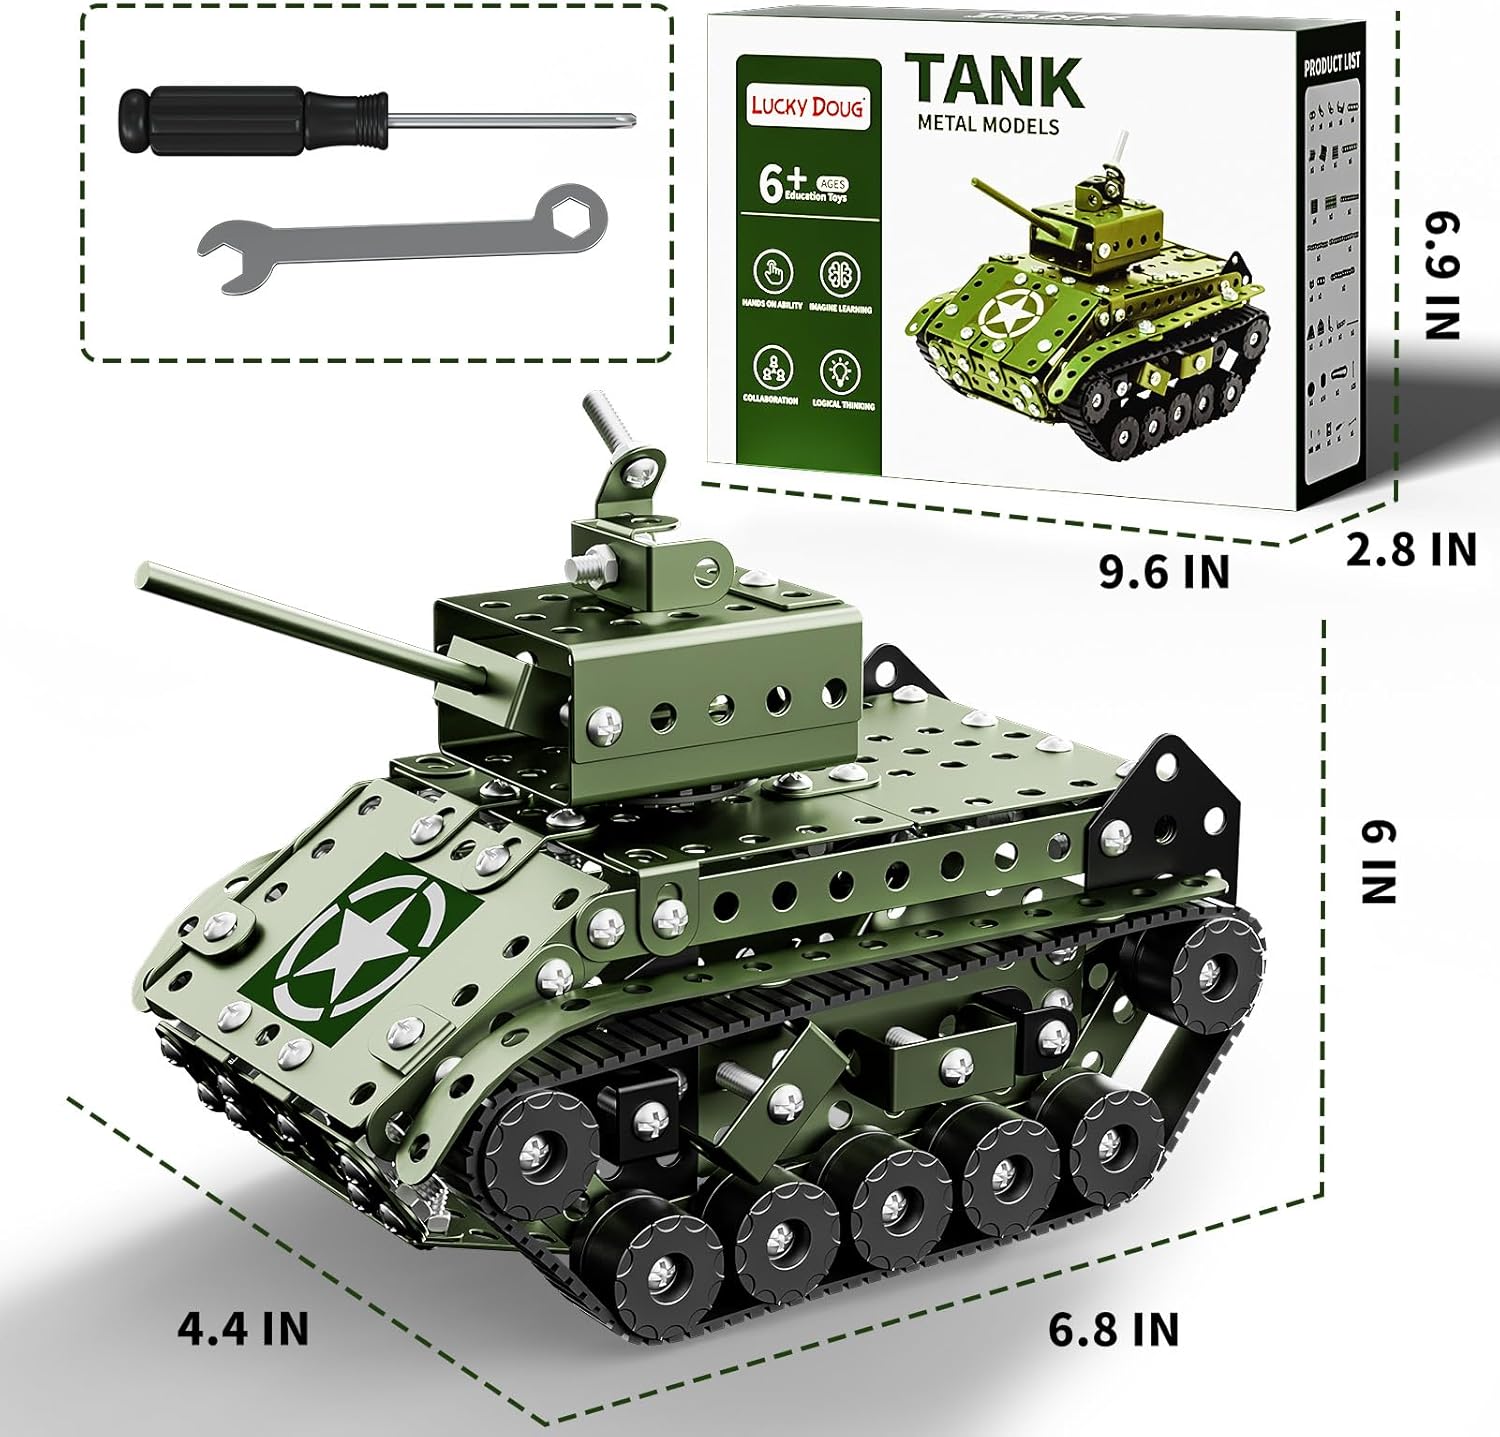
Image: A family, including two children and two adults, engaged in assembling the metal tank model, demonstrating the collaborative nature of the building project.
Operating Instructions
The Lucky Doug Model Army Tank is designed as a static display model with functional elements.
- Movement: The tank features glide wheels beneath its tracks, allowing it to be manually pushed across smooth surfaces. It is not motorized.
- Turret Rotation: The assembled turret can be manually rotated 360 degrees.
- Barrel Adjustment: The tank's main gun barrel can be manually adjusted for elevation.
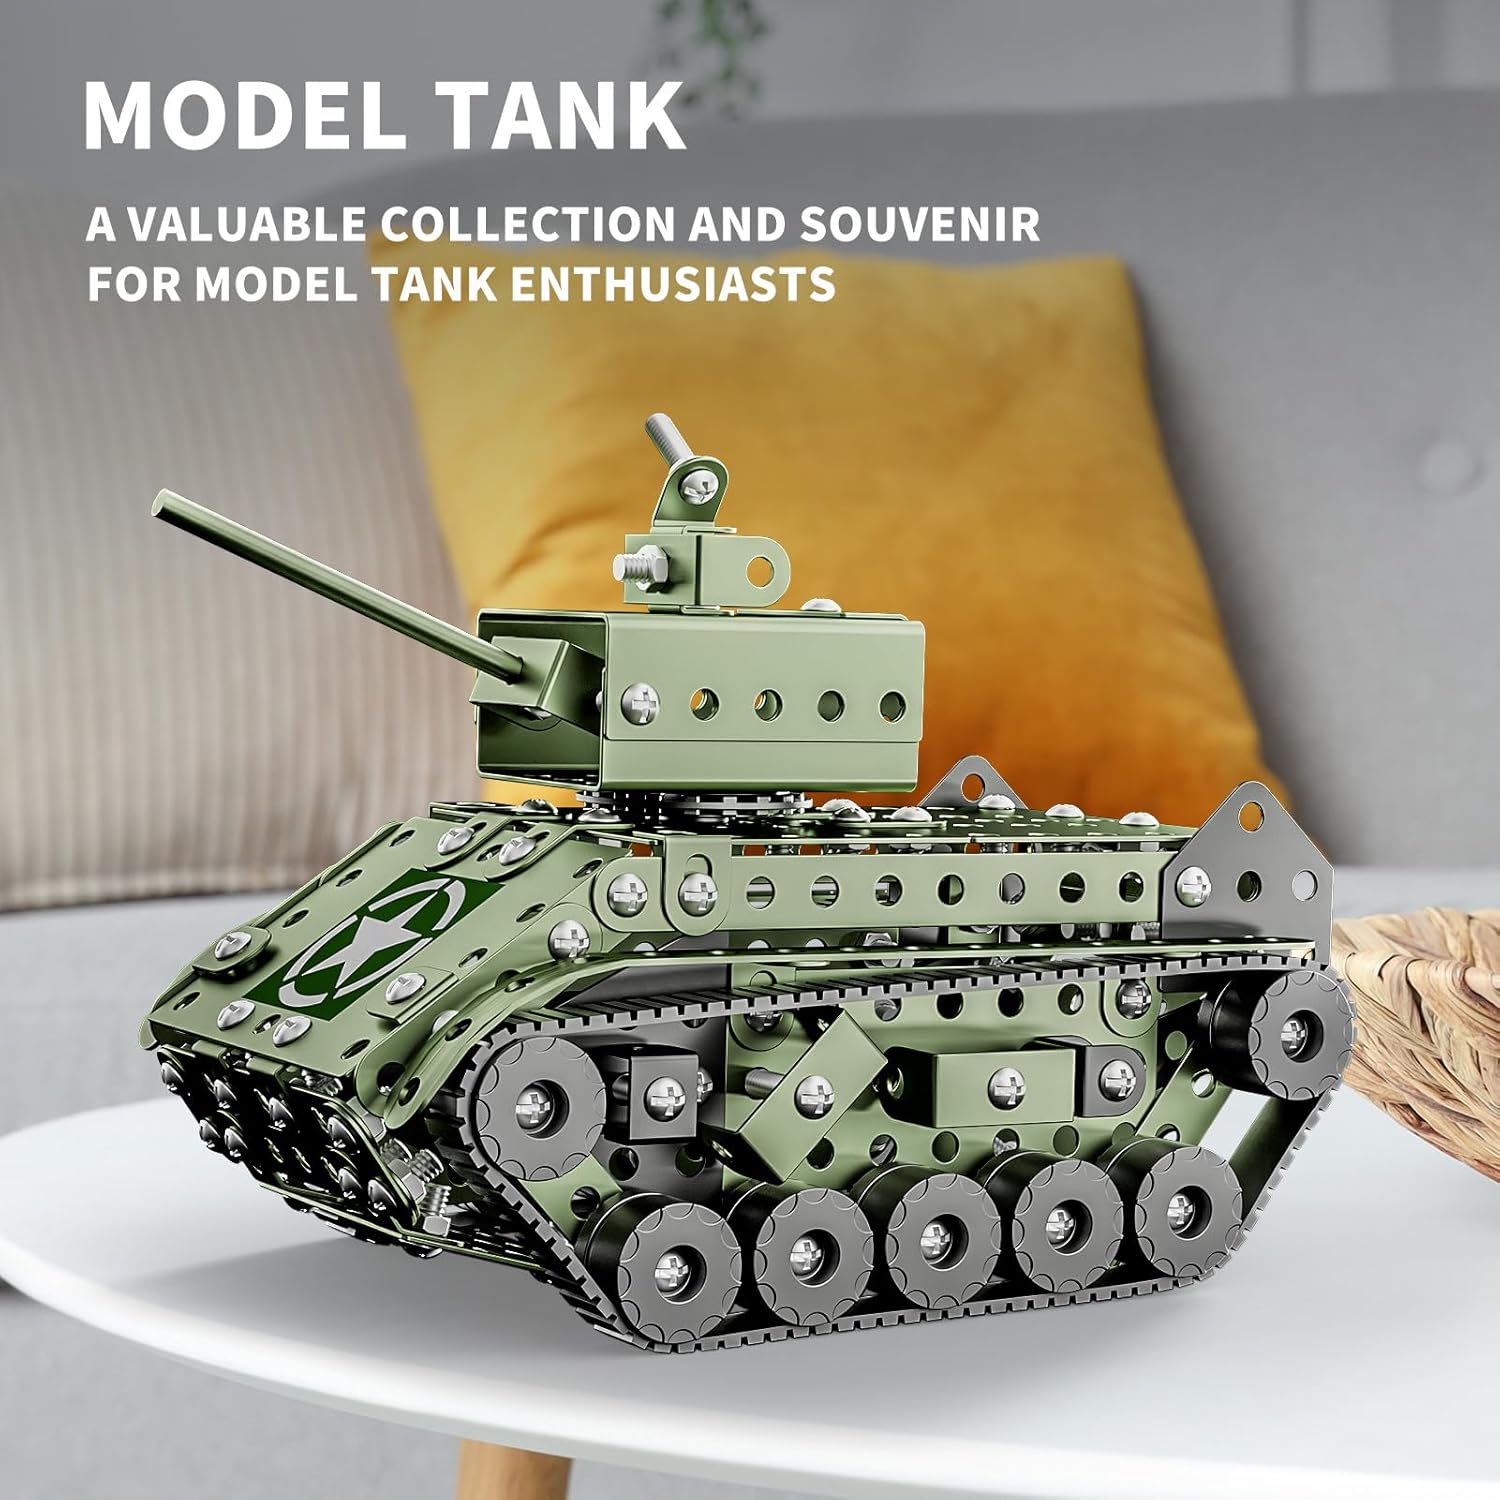
Image: The fully assembled Lucky Doug Model Army Tank, displayed on a surface, highlighting its detailed construction and realistic appearance as a collectible item.
Maintenance
To ensure the longevity and stability of your Lucky Doug Model Army Tank, follow these simple maintenance guidelines:
- Regular Tightening: Over time, nuts and bolts may loosen with handling or play. Periodically check all connections and use the provided wrench and screwdriver to tighten them as needed.
- Cleaning: Wipe the metal surfaces with a dry, soft cloth to remove dust. Avoid using abrasive cleaners or excessive moisture, as this is a metal product.
- Storage: Store the model in a dry environment to prevent rust or damage to the metal components.
Troubleshooting
While assembling, you might encounter minor challenges. Here are some common issues and tips:
- Difficulty Aligning Parts: Some steps require precise alignment of bolts and nuts, especially in confined spaces. If you find it challenging, try using the screwdriver to gently guide the bolt through the hole while positioning the nut. Patience is key.
- Loose Connections: If parts feel wobbly after assembly, ensure all nuts are securely tightened. Keep the provided tools handy for future adjustments.
- Missing or Damaged Parts: In the rare event of missing or damaged components, please refer to the "Warranty & Support" section for contact information.
Specifications
| Feature | Detail |
|---|---|
| Product Dimensions | 6.69 x 2.76 x 9.45 inches |
| Item Weight | 1.39 pounds |
| Model Number | 8801 |
| Manufacturer Recommended Age | 6 - 16 years |
| Number of Pieces | 284 |
| Material | Anti-rust metal |
| Manufacturer | AOLE |

Image: A visual representation of the assembled tank model with its key dimensions labeled: 6 inches high, 6.8 inches long, and 4.4 inches wide.
Warranty & Support
Lucky Doug is committed to providing high-quality products and customer satisfaction.
- Product Warranty: For information regarding product warranty and return policies, please refer to the purchase platform or contact our customer service directly.
- Customer Support: If you have any questions, require assistance with assembly, or need to report missing/damaged parts, please visit the official Lucky Doug Store on Amazon or contact us through the messaging system on your purchase platform.
- Online Resources: For additional product information and other STEM building kits, explore the Lucky Doug Store.