
rr4/-9057
Indoor Cycling Bike User Manual
Model: rr4/-9057
Introduction
This manual provides essential information for the safe and effective use of your new Indoor Cycling Bike. Please read this manual thoroughly before assembly and operation. Keep this manual for future reference.
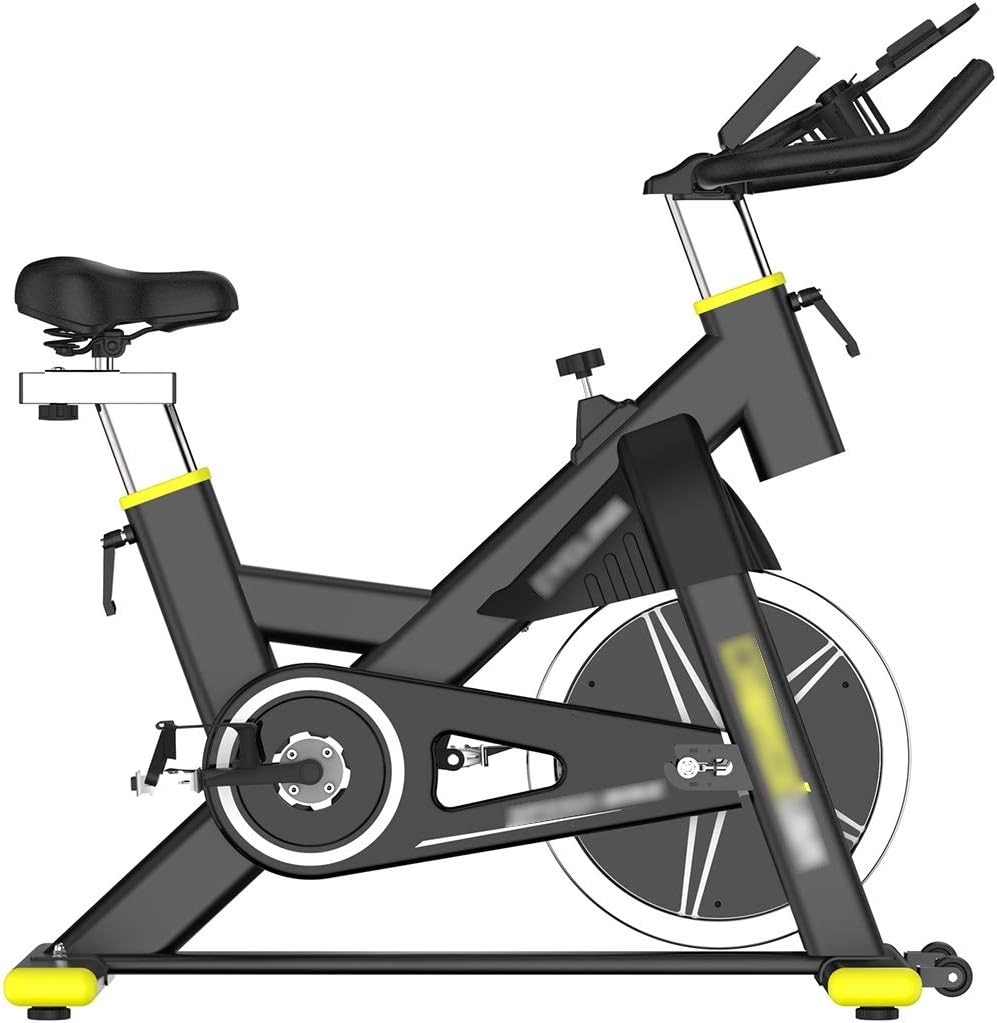
Figure 1: Overview of the Indoor Cycling Bike.
Safety Information
WARNING: Before starting any exercise program, consult your physician. This is especially important for individuals over the age of 35 or those with pre-existing health problems.
- Ensure all bolts and nuts are securely tightened before each use.
- Place the bike on a flat, stable surface. Use a mat underneath to protect flooring.
- Keep children and pets away from the bike during operation.
- Wear appropriate exercise clothing and footwear. Avoid loose clothing that could get caught.
- Do not exceed the maximum user weight of 200 kg (440 lbs).
- Stop exercising immediately if you feel faint, dizzy, or experience pain.
- The bike is designed for indoor use only.
Parts List
Please check that all parts are present before assembly. If any parts are missing or damaged, contact customer support.
| No. | Part Name | Quantity |
|---|---|---|
| 1 | Main Frame | 1 |
| 2 | Front Stabilizer | 1 |
| 3 | Rear Stabilizer | 1 |
| 4 | Seat Post | 1 |
| 5 | Seat | 1 |
| 6 | Handlebar Post | 1 |
| 7 | Handlebar | 1 |
| 8 | Pedals (Left & Right) | 2 |
| 9 | Monitor | 1 |
| 10 | Hardware Kit (Bolts, Washers, Tools) | 1 set |
Setup and Assembly
Follow these steps to assemble your indoor cycling bike. It is recommended to have two people for some steps.
- Attach Stabilizers: Attach the front and rear stabilizers to the main frame using the provided bolts and washers. Ensure they are securely fastened.
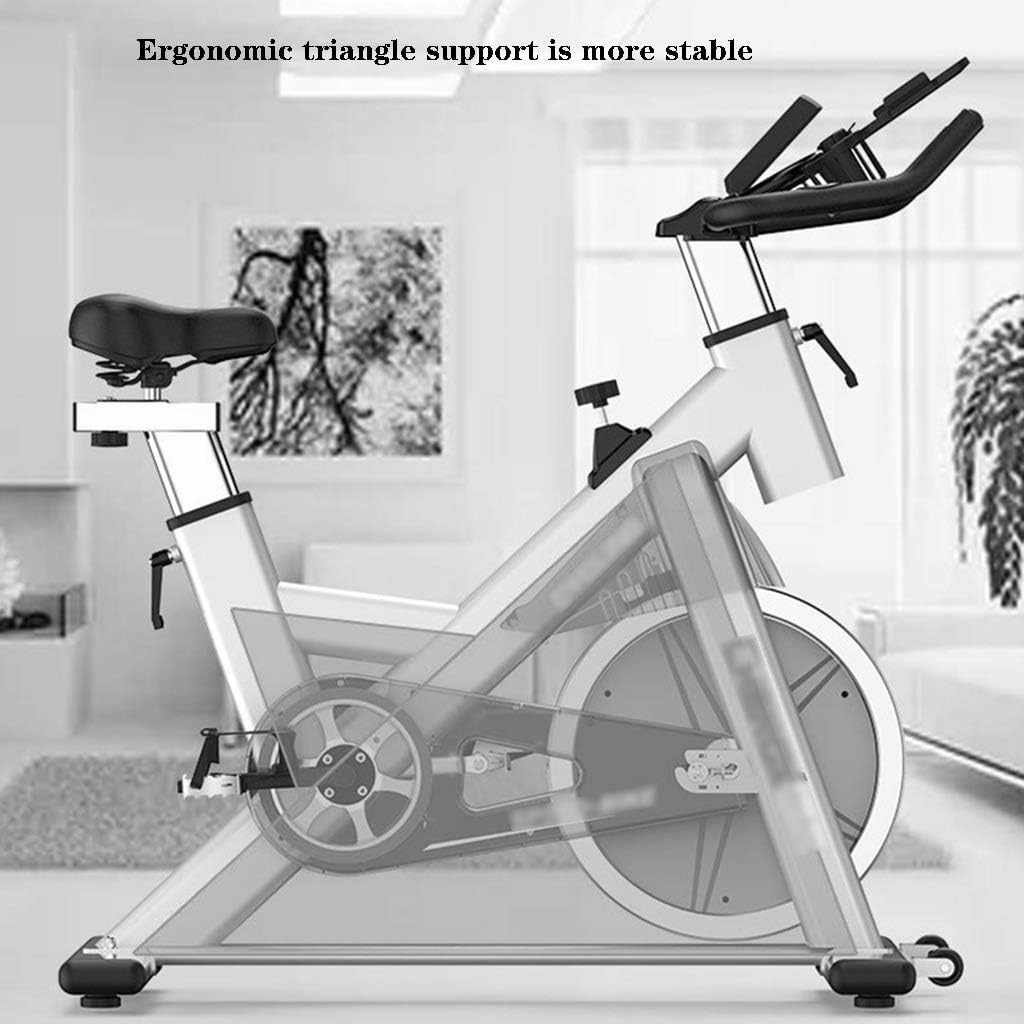
Figure 2: The stable triangular support design of the bike frame.
- Install Pedals: Identify the Left (L) and Right (R) pedals. The left pedal screws counter-clockwise, and the right pedal screws clockwise. Tighten them firmly to prevent loosening during use.
- Attach Seat Post and Seat: Insert the seat post into the main frame and secure it with the adjustment knob. Attach the seat to the seat post.
- Attach Handlebar Post and Handlebar: Insert the handlebar post into the main frame and secure it. Attach the handlebar to the handlebar post.
- Install Monitor: Connect the sensor wires from the main frame to the monitor. Mount the monitor onto the handlebar post.

Figure 3: The multi-function display showing exercise intensity metrics.
- Final Check: Before first use, double-check all connections and ensure all bolts are tight.
Operating Instructions
Adjusting Riding Position
Proper adjustment ensures comfort and effectiveness during your workout.
- Seat Height: Loosen the adjustment knob on the seat post, raise or lower the seat until your leg has a slight bend at the knee when the pedal is at its lowest point. Tighten the knob securely.
- Seat Forward/Backward: Loosen the adjustment knob under the seat, slide the seat forward or backward to find a comfortable position relative to the handlebars. Tighten the knob.
- Handlebar Height: Loosen the adjustment knob on the handlebar post, raise or lower the handlebars to a comfortable height. Tighten the knob.
- Armrest Adjustment: The armrests can also be adjusted for optimal comfort and support during your ride.

Figure 4: Illustrates the three main adjustment points: seat height (up and down), seat forward/backward, and armrest adjustment.
Resistance Adjustment
The bike features infinite resistance adjustment to customize your workout intensity.
- Increase Resistance: Rotate the resistance knob clockwise.
- Decrease Resistance: Rotate the resistance knob counter-clockwise.
- Emergency Stop: Press down firmly on the resistance knob to engage the emergency brake and bring the flywheel to a quick stop.

Figure 5: The resistance adjustment knob. Rotate left/right to adjust resistance, press down for slow stop.
Using the Monitor
The multi-function display tracks your workout data:
- SCAN: Automatically cycles through all functions.
- TIME: Displays the duration of your workout.
- SPD (Speed): Shows your current cycling speed.
- DIST (Distance): Displays the distance covered during your current workout.
- CAL (Calories): Estimates calories burned.
- ODO (Odometer): Displays total accumulated distance.
Press the "MODE" button to select a specific function or to reset values (hold for a few seconds).
Maintenance
- Cleaning: Wipe down the bike with a damp cloth after each use to remove sweat and dust. Do not use abrasive cleaners.
- Lubrication: Periodically check and lubricate moving parts, especially the chain/belt and pedal axles, with a silicone-based lubricant.
- Tightness Check: Regularly inspect all bolts, nuts, and connections to ensure they are tight. Re-tighten as necessary.
- Flywheel: Keep the flywheel clean and free of debris. The 6kg stainless steel flywheel is designed for durability.
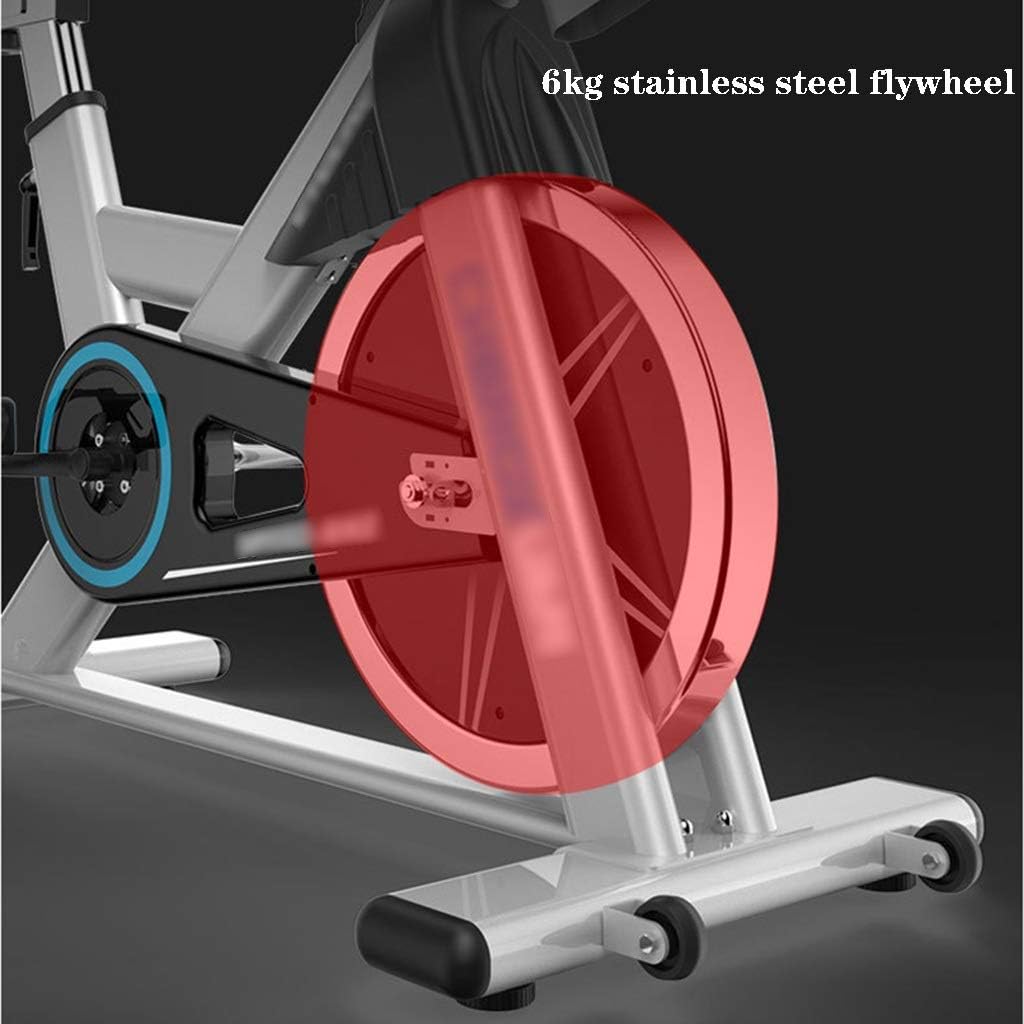
Figure 6: Close-up view of the 6kg stainless steel flywheel, highlighting its robust construction.
Troubleshooting
| Problem | Possible Cause | Solution |
|---|---|---|
| Bike is wobbly/unstable | Loose bolts; uneven surface | Tighten all assembly bolts. Move bike to a flat, stable surface. Adjust leveling feet on stabilizers if present. |
| Pedals make noise or feel loose | Pedals not tightened properly | Re-tighten pedals. Remember: Left pedal (L) is counter-clockwise, Right pedal (R) is clockwise. |
| Resistance not changing | Resistance mechanism issue | Check if the resistance knob is properly connected to the brake pad. Ensure no debris is obstructing the flywheel or brake pad. |
| Monitor not displaying data | Loose sensor connection; dead battery | Check all sensor cable connections. Replace monitor batteries (usually AA or AAA). |
| Squeaking noise during use | Lack of lubrication; loose parts | Lubricate moving parts (pedals, flywheel axle). Check and tighten all bolts. |
Specifications
- Model: rr4/-9057
- Product Dimensions: 42"D x 20.7"W x 40"H (107cm D x 52.5cm W x 101.5-113cm H)
- Maximum Weight Recommendation: 200 kg (440 lbs)
- Flywheel Weight: 6 kg (Stainless Steel)
- Resistance Mechanism: Friction
- Drive System: Belt
- Power Source (Monitor): Battery Powered
- Color: Black
- Special Features: Adjustable Seat, Foldable, Speed Display
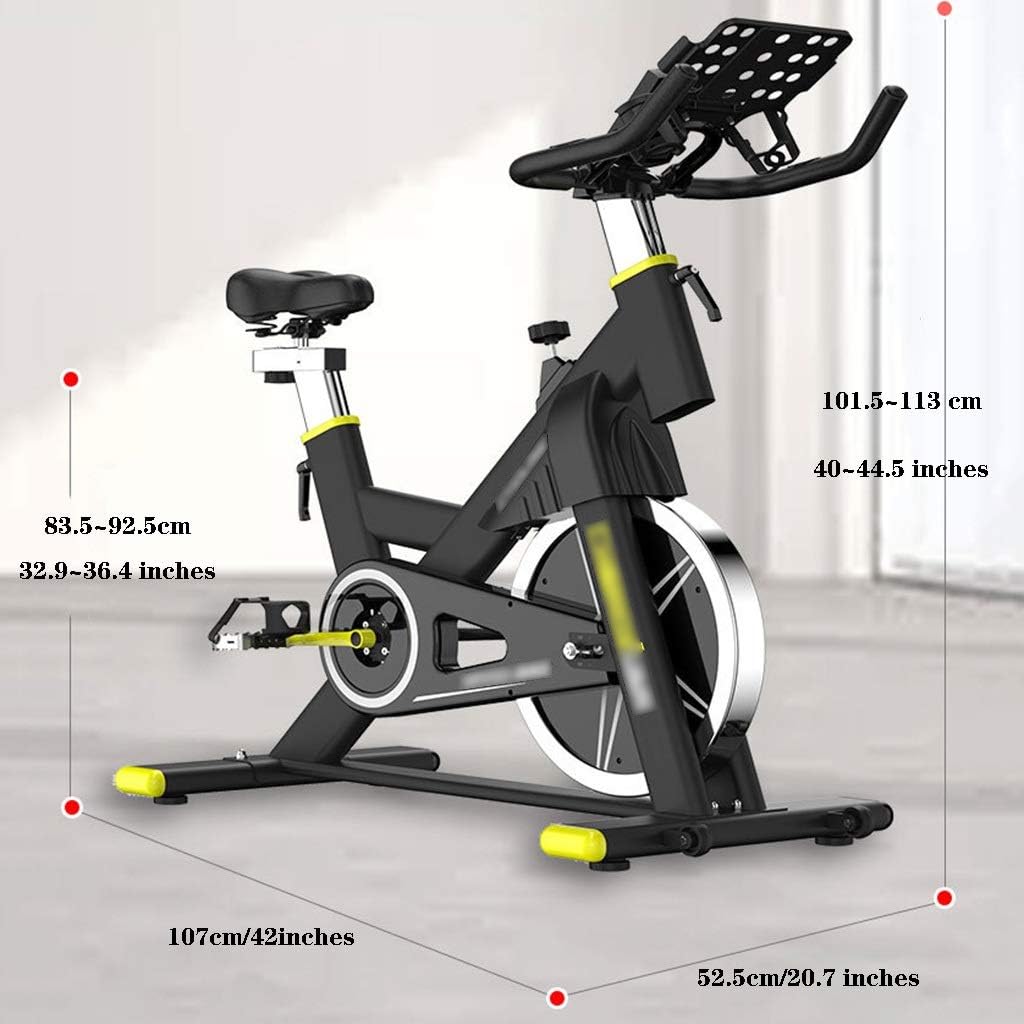
Figure 7: Detailed dimensions of the Indoor Cycling Bike.
Warranty and Support
For warranty information or technical support, please contact the seller directly through your purchase platform. Keep your purchase receipt as proof of purchase.
For general inquiries or assistance with assembly and operation, refer to the troubleshooting section or contact customer service.
Seller: HenNanMengNanShangMaoYouXianGongSi
Amazon Product Link: https://www.amazon.com/dp/B0CRHLR46M
Ask a question about this manual
Ask about setup, troubleshooting, compatibility, parts, safety, or missing instructions. Manuals+ will review the question and use this page’s manual context to help answer it.