
1. Introduction
The NeaLia CD033 Magnetic Wireless Trailer Lights are designed to provide reliable and convenient lighting for various towing applications. This LED tow light kit features a rechargeable battery, IP67 waterproof rating, and functions as a brake light, turn signal, and running light. Its magnetic attachment allows for quick installation on trucks, RVs, campers, boats, and caravans.
2. Safety Information
- Always ensure the lights are securely attached to a metal surface before towing. Use the provided anti-loss wire ropes for added security.
- Verify all lighting functions (brake, turn, running) are operating correctly before each use.
- Do not submerge the lights in water for extended periods, despite their IP67 rating.
- Keep the lights and transmitter away from extreme temperatures and direct sunlight when not in use to prolong battery life.
- Charge the lights fully before initial use and regularly to maintain optimal performance.
3. Package Contents
Verify that all items are present in your package:
- 2 x NeaLia CD033 Magnetic Wireless Trailer Lights
- 1 x Wireless Transmitter (7-pin or 4-pin compatible)
- 1 x USB-C Charging Cable
- 1 x Car Charger Adapter
- 2 x Metal Brackets (for non-magnetic surfaces)
- Mounting Screws
- 2 x Anti-loss Wire Ropes
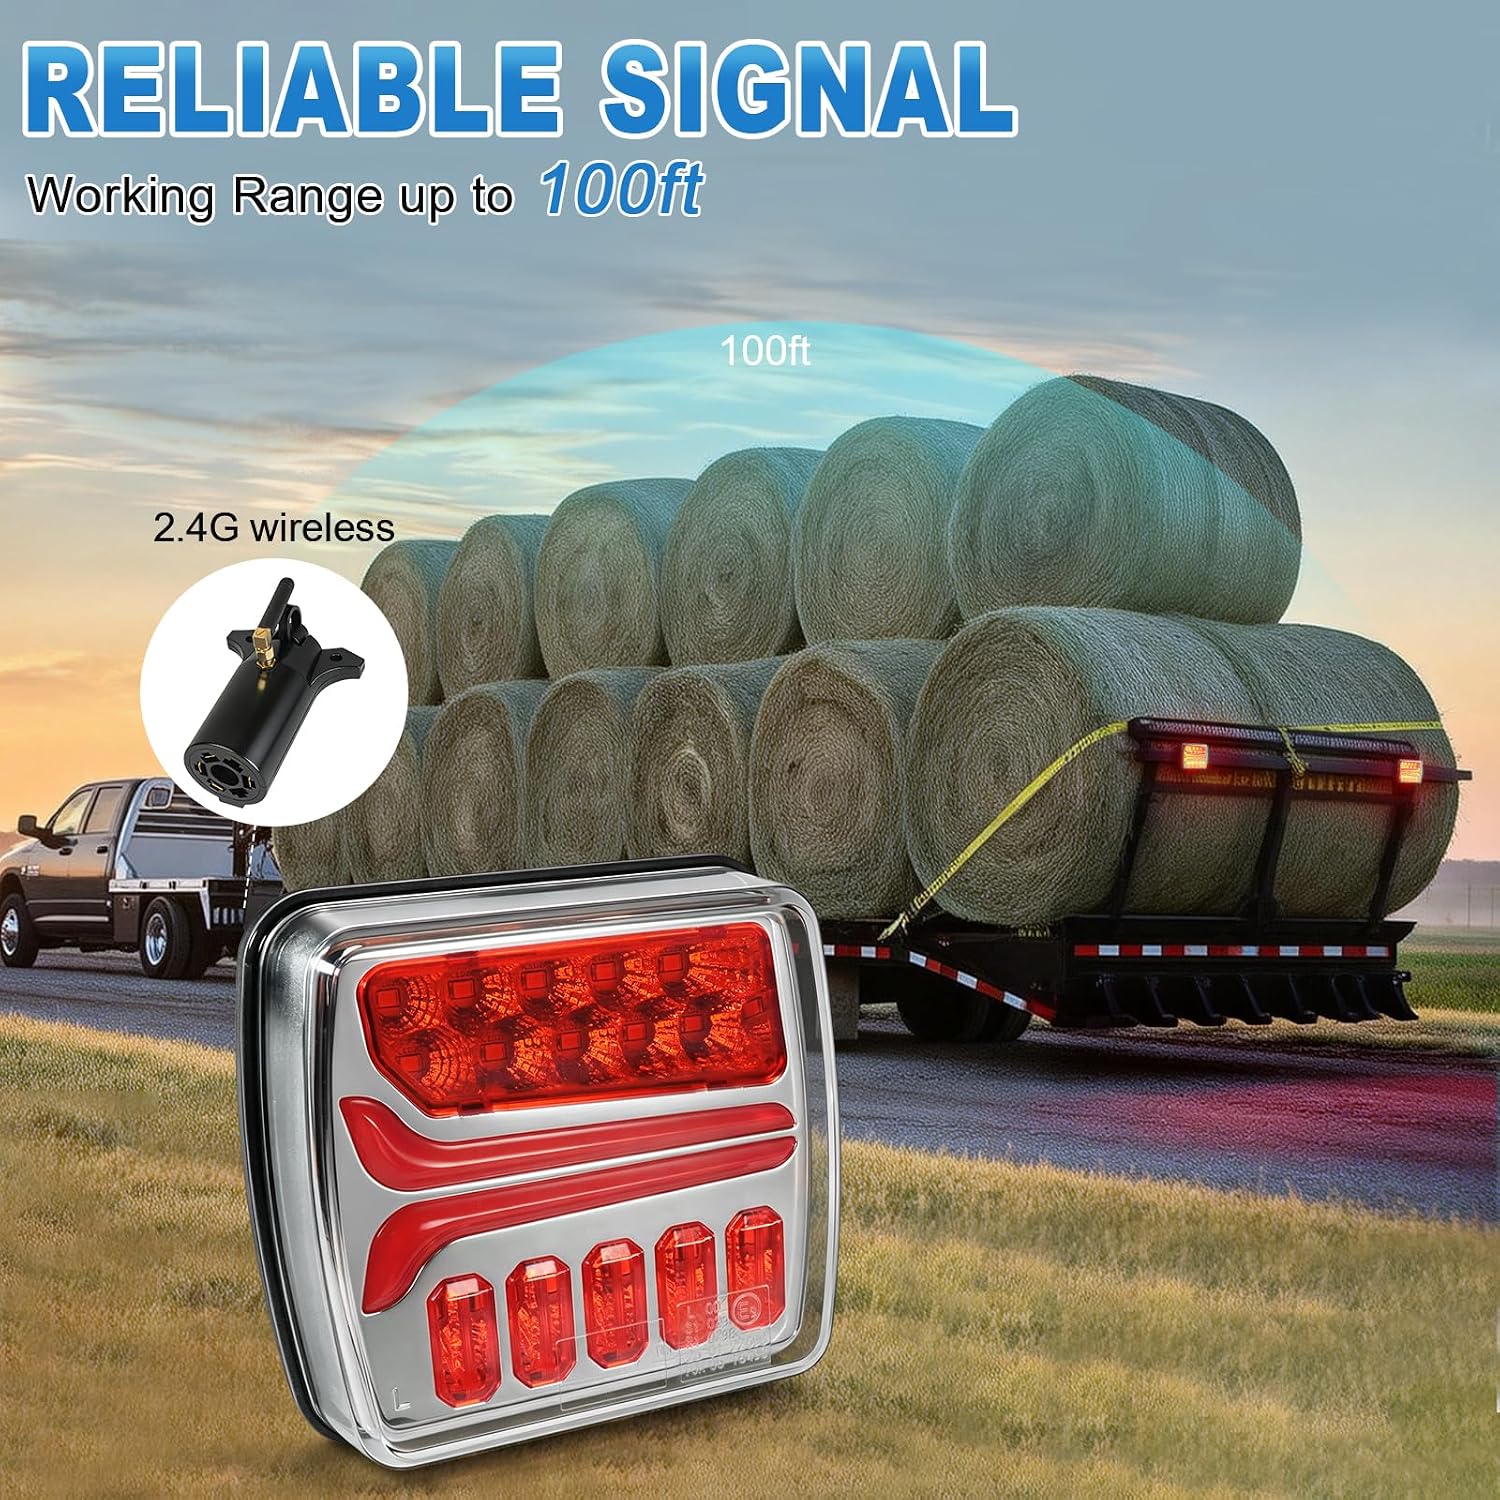
Image: Contents of the NeaLia CD033 Wireless Trailer Light Kit, including two lights, transmitter, charging accessories, and mounting hardware.
4. Product Overview
The NeaLia CD033 lights feature advanced ceramic base chips for efficient LED performance, ensuring lower power consumption and extended lifespan. Each light unit is equipped with a strong magnetic base for easy attachment and is constructed from durable PC + ABS material, providing IP67 waterproof protection against dust, dirt, rain, snow, and fog.

Image: Detailed view of a NeaLia CD033 trailer light, highlighting its LED array and robust construction.

Image: Close-up of the USB-C charging port on the wireless trailer light.

Image: The attachment point for the anti-loss wire rope, providing extra security for the lights.
5. Setup Instructions
5.1 Charging the Lights
- Connect the provided USB-C charging cable to the charging port on each light unit.
- Plug the other end of the USB-C cable into the car charger adapter or any standard USB power source.
- Charge the lights for approximately 2.5 hours for a full charge. The battery indicator LEDs will show charging status.
- A full charge provides up to 8 hours of continuous operation.
Video: Demonstrates the charging process and initial setup of the NeaLia Magnetic Wireless Trailer Light.
5.2 Installing the Transmitter
- Locate your vehicle's trailer wiring harness connector (7-pin or 4-pin).
- Plug the wireless transmitter firmly into the vehicle's trailer connector.
- Ensure the transmitter is securely seated.

Image: The wireless transmitter, compatible with 4-pin and 7-pin vehicle connectors.
5.3 Attaching the Lights
- Identify a clean, flat metal surface on the rear of your trailer or towed vehicle where the lights will be visible.
- Place each light unit firmly onto the chosen metal surface. The strong magnetic base will secure them in place.
- For non-magnetic surfaces (e.g., aluminum, wood), use the provided metal brackets. Secure the brackets with screws, then attach the lights to the brackets.
- Attach the anti-loss wire ropes from the lights to a secure point on the trailer frame as a safety measure.

Image: The magnetic base of the NeaLia CD033 light, designed for secure attachment to metal surfaces.

Image: NeaLia wireless tow lights magnetically attached to the rear of a trailer.
5.4 Pairing and Connection
- Start your vehicle's engine.
- Plug the transmitter into the vehicle's trailer socket.
- Short press the power button on each light unit to turn them on.
- Long press the power button on each light unit for 15 seconds to initiate the connection process. The lights will automatically pair with the transmitter.
- Verify all lighting functions (tail, brake, left turn, right turn) are synchronized with your vehicle's signals.
Video: A demonstration of the NeaLia Wireless Trailer Lights Kit in use, showing the ease of installation and functionality.
6. Operating Instructions
The NeaLia CD033 lights offer four distinct lighting modes for safe towing:
- Tail Light: Provides continuous illumination for visibility.
- Brake Light: Activates when the vehicle's brakes are applied, indicating deceleration.
- Left Turn Signal: Flashes to indicate a left turn.
- Right Turn Signal: Flashes to indicate a right turn.
The 2.4G wireless system ensures stable signal transmission up to 100 feet, minimizing delays and interference for reliable performance.

Image: Illustration of the three primary lighting modes: Tail, Turn Signal, and Stop/Brake.
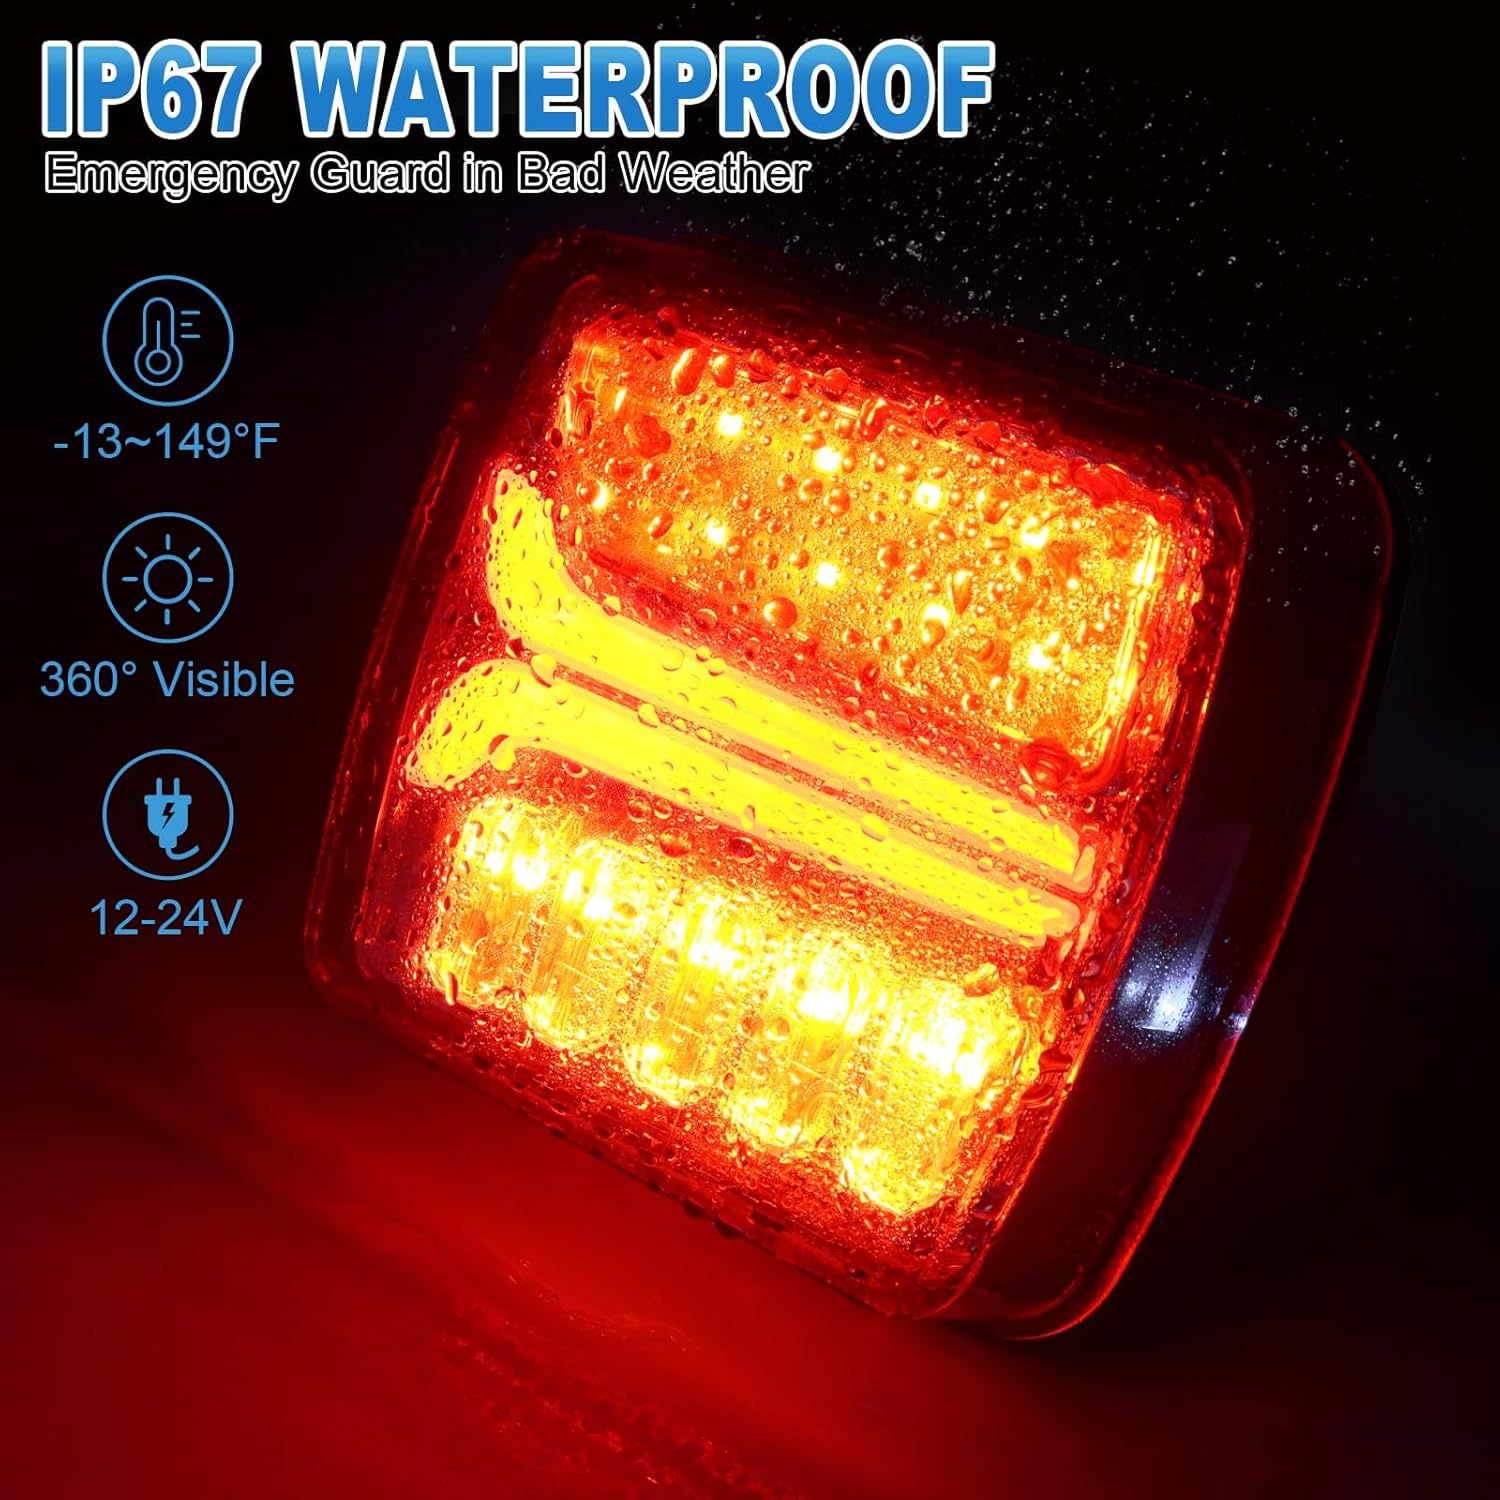
Image: Diagram illustrating the reliable 2.4G wireless signal range of up to 100 feet.
7. Maintenance
- Cleaning: Wipe the lights with a soft, damp cloth to remove dirt and debris. Avoid abrasive cleaners that may damage the lens or housing.
- Charging: Recharge the lights after each extended use or when the battery indicator shows low power. Regular charging helps maintain battery health.
- Storage: When not in use, store the lights and transmitter in a cool, dry place, preferably in their original carrying case, to protect them from damage.
- Inspection: Periodically check the magnetic bases and anti-loss wire ropes for any signs of wear or damage. Ensure the charging port is free of moisture and debris.
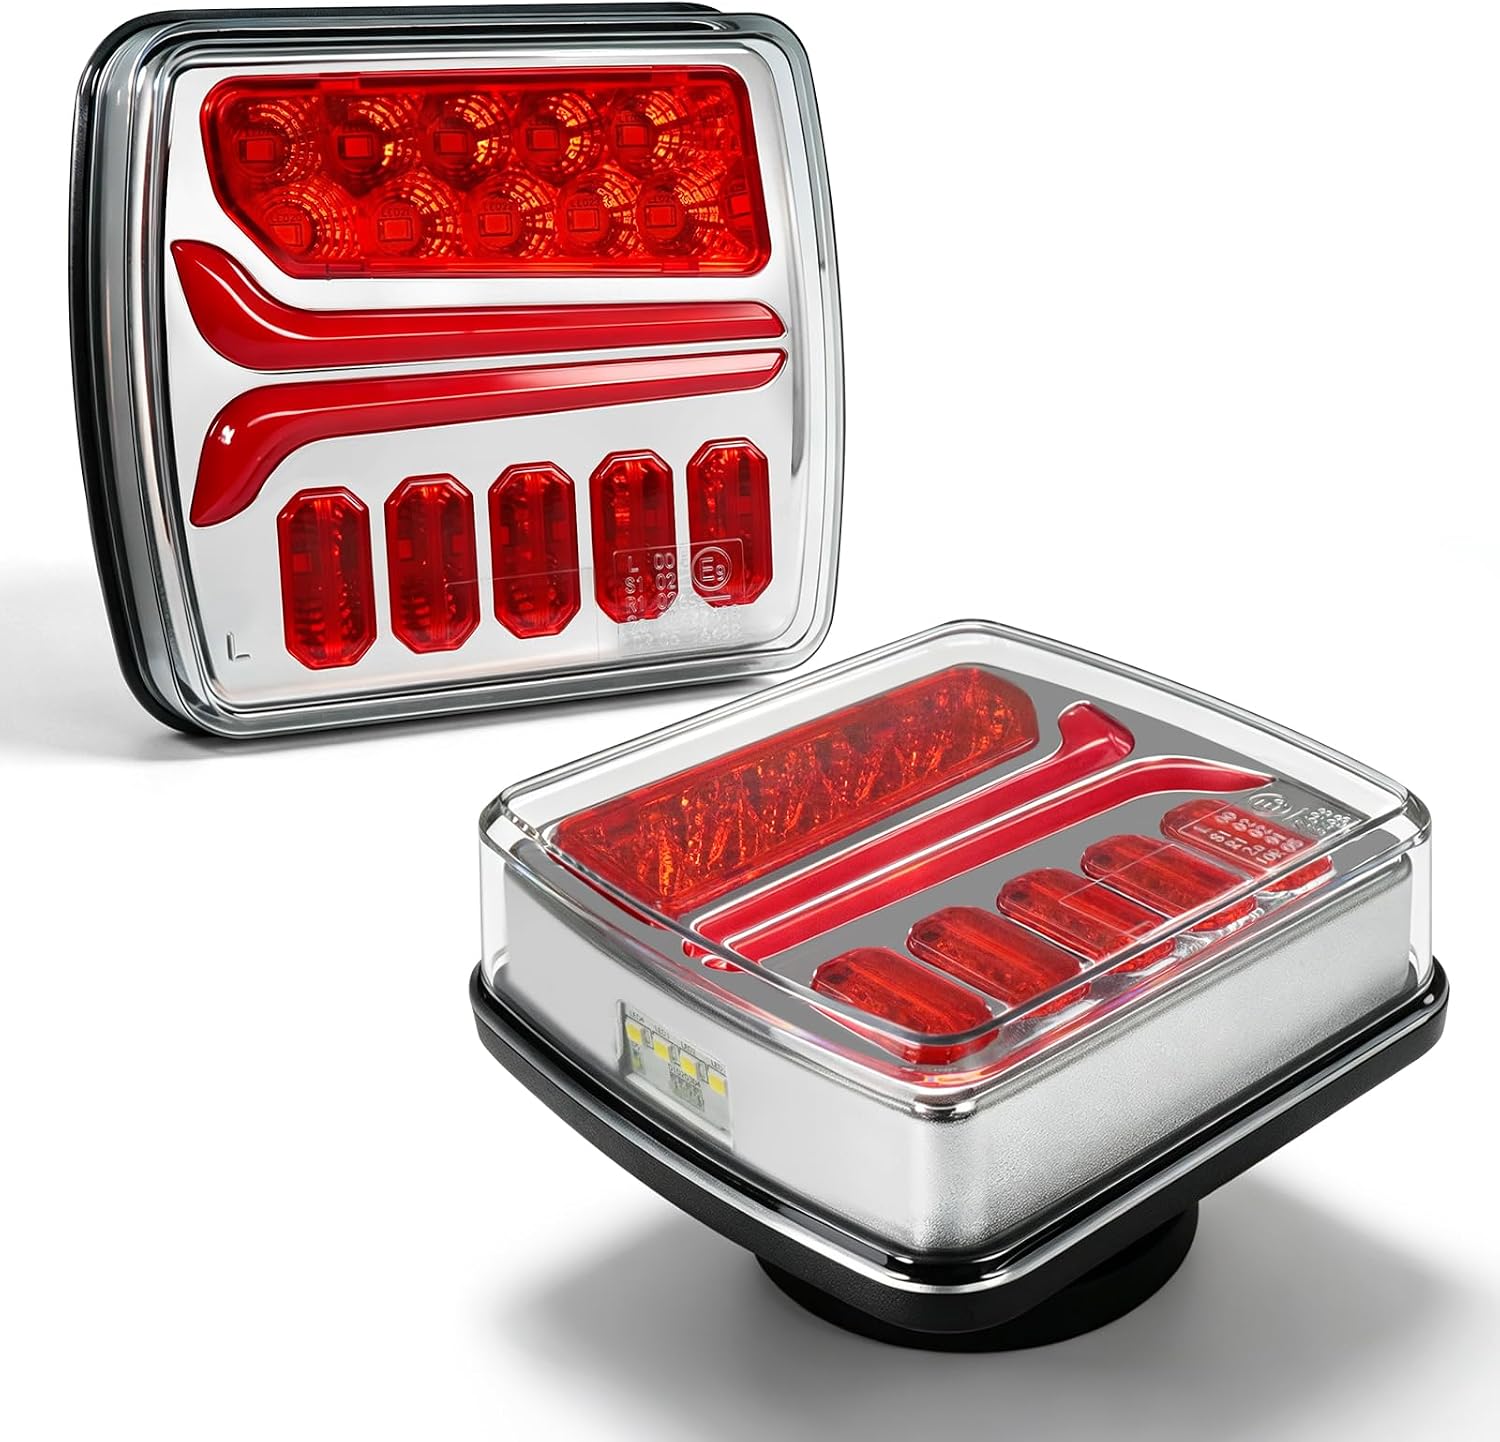
Image: The NeaLia CD033 light operating in wet conditions, showcasing its IP67 waterproof capability.
8. Troubleshooting
- Lights not turning on: Ensure the lights are fully charged. Press and hold the power button for a few seconds.
- Lights not syncing/intermittent signal:
- Verify the transmitter is securely plugged into the vehicle's trailer connector.
- Ensure the vehicle's ignition is on.
- Check for any obstructions between the transmitter and the lights that might interfere with the 2.4G wireless signal.
- Re-pair the lights by long-pressing the power button for 15 seconds.
- Test the lights upon arrival to ensure proper function.
- Lights falling off: Ensure the mounting surface is clean, flat, and made of a ferrous metal for optimal magnetic adhesion. Always use the anti-loss wire ropes as a secondary safety measure.
- Short battery life: Ensure the lights are fully charged before use. Operating in extreme cold or continuous use of bright modes may reduce battery duration.
9. Specifications
| Model Number | NL-CD033 |
| Brand | NeaLia |
| Light Source Type | LED (Ceramic Base Chips) |
| Voltage | 5 volts |
| Wattage | 5 watts |
| Waterproof Rating | IP67 |
| Signal Transmission | 2.4G Wireless, up to 100ft range |
| Charging Time | Approx. 2.5 hours |
| Battery Life | Up to 8 hours |
| Material | HD PC + ABS |
| Certifications | DOT/FMVSS 108 standards |
| Item Weight | 3 pounds (total kit) |
10. Warranty and Support
NeaLia provides a 12-month warranty for the CD033 Magnetic Wireless Trailer Lights. If you encounter any issues or have concerns regarding the product, please contact NeaLia customer service. Differences in vehicle circuits can occasionally lead to compatibility issues; if you experience any problems, please reach out for assistance.
For customer service and support, please refer to the contact information provided with your purchase or visit the official NeaLia website.