1. Introduction
This manual provides essential information for the safe and effective operation, maintenance, and troubleshooting of your Reilyn P625 23 Gauge Pneumatic Pin Nailer. Please read this manual thoroughly before using the tool to ensure proper handling and to prevent injury or damage.
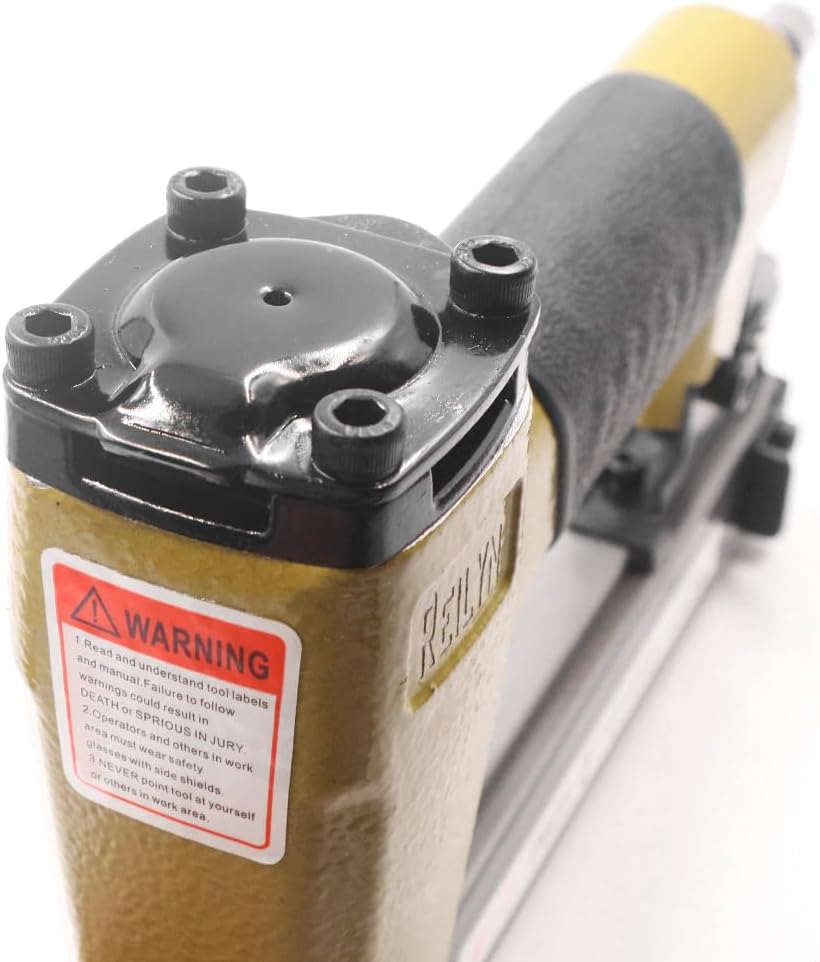
2. Safety Information
WARNING: Always wear safety glasses with side shields and hearing protection when operating this tool. Failure to do so may result in serious injury.
- Always disconnect the air supply before making adjustments, clearing jams, or servicing the tool.
- Never point the tool at yourself or others.
- Ensure the workpiece is securely fastened before nailing.
- Do not operate the tool if it is damaged or malfunctioning.
- Keep hands and body parts clear of the discharge area.
- Use only the recommended fasteners (23 gauge pin nails, 3/8" to 1" length).
- Maintain a clean and well-lit work area.
3. Product Overview
The Reilyn P625 is a lightweight and ergonomic 23 Gauge Pneumatic Pin Nailer designed for precision fastening in various woodworking and decoration tasks. It features a headless design for minimal impact on the workpiece surface.
Key Features:
- Powerful Energy: Operates with 60-100 PSI air pressure.
- Ergonomic Design: Comfortable grip for extended use.
- Adjustable Depth Control: Allows precise nail depth setting.
- Fast and Efficient: Shoots up to 400 pins per minute with a 100-pin magazine capacity.
- Versatile Application: Suitable for furniture, cabinets, interior decoration, and more.


4. Specifications
| Feature | Specification |
|---|---|
| Model Number | P625 |
| Nail Gauge | 23 Gauge |
| Nail Length | 3/8-inch to 1-inch (10-25mm) |
| Operating Pressure | 60-100 PSI |
| Magazine Capacity | 100 pins |
| Power Source | Air-Powered |
| Manufacturer | Reilyn |
5. Setup
5.1 Loading Nails
- Ensure the air supply is disconnected.
- Hold down the magazine release latch.
- Pull out the magazine.
- Insert the 23 gauge pin nails into the magazine, ensuring they are oriented correctly.
- Close the magazine release latch until it clicks securely.

5.2 Connecting Air Supply
- Ensure your air compressor is set to the recommended operating pressure (60-100 PSI).
- Connect the air hose to the tool's air inlet. Ensure a secure connection to prevent air leaks.

6. Operating Instructions
6.1 Adjusting Depth Control
The Reilyn P625 features an adjustable depth control knob. Rotate the knob to set the desired nail depth. Test on a scrap piece of material to ensure proper penetration.
6.2 Firing the Tool
- Ensure the trigger lock is disengaged (if applicable).
- Place the nose of the tool firmly against the workpiece.
- Press the trigger to drive a pin nail.
- Release the trigger after each shot.
6.3 Applications
The Reilyn P625 is ideal for a variety of tasks where small, discreet fasteners are needed:
- Furniture assembly and repair
- Cabinet construction and trim work
- Interior decoration and molding installation
- Craft projects and picture frames


7. Maintenance
Regular maintenance ensures the longevity and optimal performance of your pin nailer.
- Lubrication: Apply a few drops of pneumatic tool oil into the air inlet before each use.
- Cleaning: Keep the tool clean and free of debris. Regularly clean the nosepiece and magazine.
- Storage: Store the tool in a dry, clean environment away from direct sunlight and extreme temperatures.
- Inspection: Periodically inspect the tool for worn or damaged parts. Replace any damaged components immediately.
8. Troubleshooting
| Problem | Possible Cause | Solution |
|---|---|---|
| Tool does not fire | No air supply; Trigger lock engaged; Empty magazine; Jammed nails | Connect air supply; Disengage trigger lock; Load nails; Clear jam |
| Nails not fully driven | Low air pressure; Depth adjustment too shallow; Worn driver blade | Increase air pressure; Adjust depth deeper; Replace driver blade |
| Air leaks | Loose fittings; Damaged O-rings/seals | Tighten fittings; Replace O-rings/seals |
| Double firing | Excessive air pressure; Faulty trigger mechanism | Reduce air pressure; Contact service for repair |
9. Official Product Videos
Video: CTS P625C 23 Gauge Pin Nailer with 3000PCS Nails. This video demonstrates the features and operation of a P625C pin nailer, including nail compatibility and usage examples.
Video: 23 gauge headless pin nailer P625 drive 1/2"-1" length nails. This video showcases the P625 pin nailer driving various nail lengths into materials, highlighting its precision.
Video: 23 Gauge P625 P630 Pin Nailers Headless Pinners Mirco Pinner. This video provides a comparison and demonstration of P625 and P630 pin nailers, focusing on their headless pinning capabilities.
10. Warranty and Support
For warranty information or technical support, please refer to the contact details provided with your product packaging or visit the official Reilyn website. Keep your purchase receipt as proof of purchase for warranty claims.