1. Introduction
The Pomya 48MP Film Scanner and Slide Converter is designed to digitize various film formats, preserving your memories in high-resolution digital images. This device supports 135mm, 126mm, 110mm, and Super 8mm color or black and white films and slides.
Equipped with a 1/2.33-inch CMOS sensor, the scanner ensures sharpness and clarity in every detail. The integrated 5-inch LCD screen allows for convenient preview and selection of images before scanning. With built-in 16GB memory, you can store a significant number of digital photos directly on the device.
The scanning process is straightforward: simply place the film in the appropriate frame, insert it into the scanner, and press the snapshot button. Images are converted to digital photos in less than 2 seconds, ready for permanent storage on your computer.

Image: The Pomya Film Scanner, designed for converting various film types to digital.
2. Package Contents
Verify that all items are present in the package:
- 1 x Film Scanner
- 1 x Multimedia Interface Cable (HDMI)
- 1 x Type-C Cable (USB)
- 1 x Cleaning Brush
- 1 x Base
- 1 x Slide Tray
- 1 x 110 Base
- 1 x Super 8 Base
- 1 x 126 Base
- 1 x User Manual (this document)

Image: Overview of the film scanner and its included accessories, such as film trays and cables.
3. Setup
3.1 Connecting to a Computer
- Connect the scanner to your computer using the provided Type-C USB cable. Ensure the Type-C end is connected to the scanner and the USB-A end to an available USB port on your computer.
- Power on the scanner.
- On the scanner's main menu screen, navigate using the control buttons until "USB" appears, then press the "OK/Enter" button.
- Once successfully connected, your computer will recognize the scanner's internal memory. You can then view and edit the captured photos directly from your computer.
- Open the scanner's internal memory drive on your computer to copy all digitized images.

Image: Detail of the Type-C USB port for computer connection and HDMI port for external display.
4. Operating Instructions
4.1 Scanning Films and Slides
- Select the appropriate film tray or slide adapter for your film type (135mm, 126mm, 110mm, or Super 8mm).
- Carefully place your film or slide into the selected tray/adapter. Ensure it is correctly aligned.
- Insert the loaded tray/adapter into the film scanner's slot.
- Use the 5-inch LCD screen to preview the image. Adjust the film position if necessary to frame the desired area.
- Press the "Snapshot" button to capture the image. The scanner will convert the film image into a digital photo and save it to the internal 16GB memory. This process takes less than 2 seconds per image.
- Repeat for all films/slides.
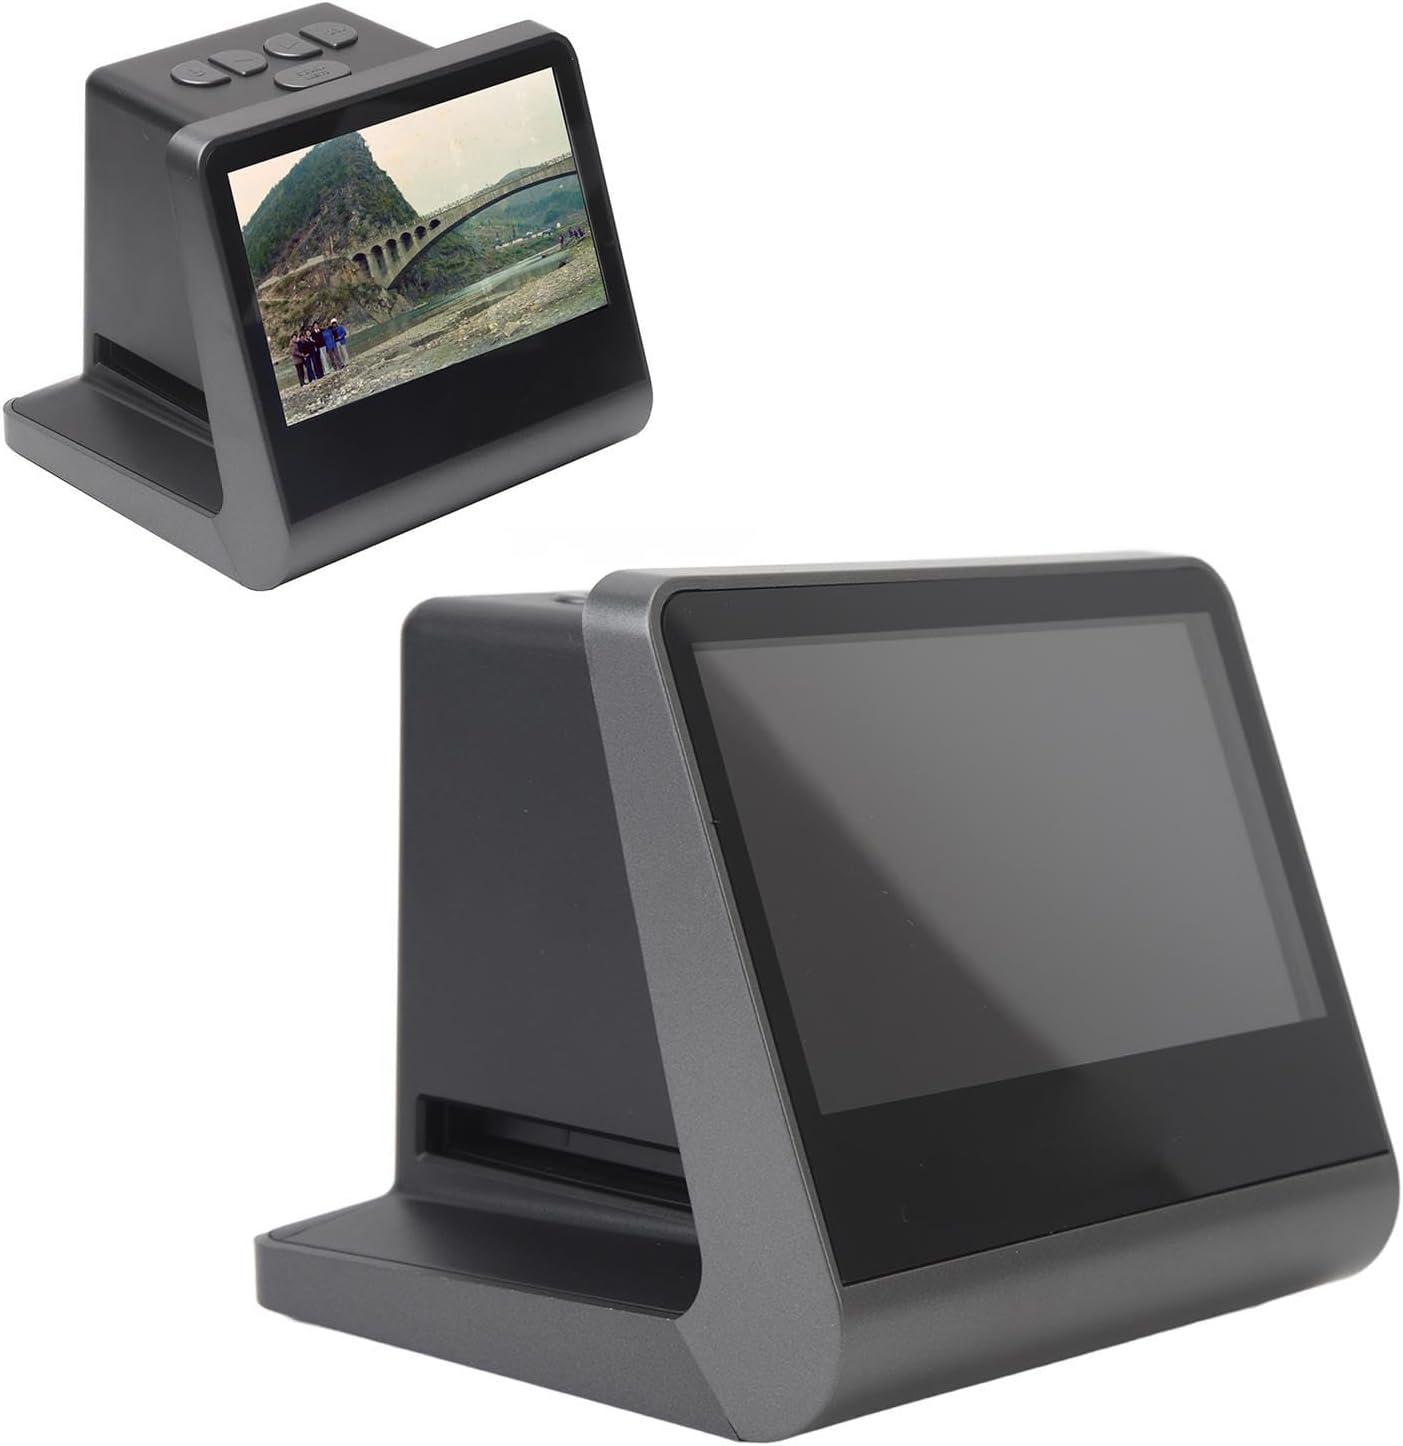
Image: The scanner's LCD screen showing a preview of a digitized image.
4.2 Navigating the Menu
The scanner features control buttons for navigation and selection:
- Power Button: Turns the device on or off.
- Up/Down Buttons: Navigate through menu options or adjust settings.
- OK/Enter Button: Confirms selections or initiates actions.
- Scan/Menu Button: Toggles between scanning mode and the main menu.
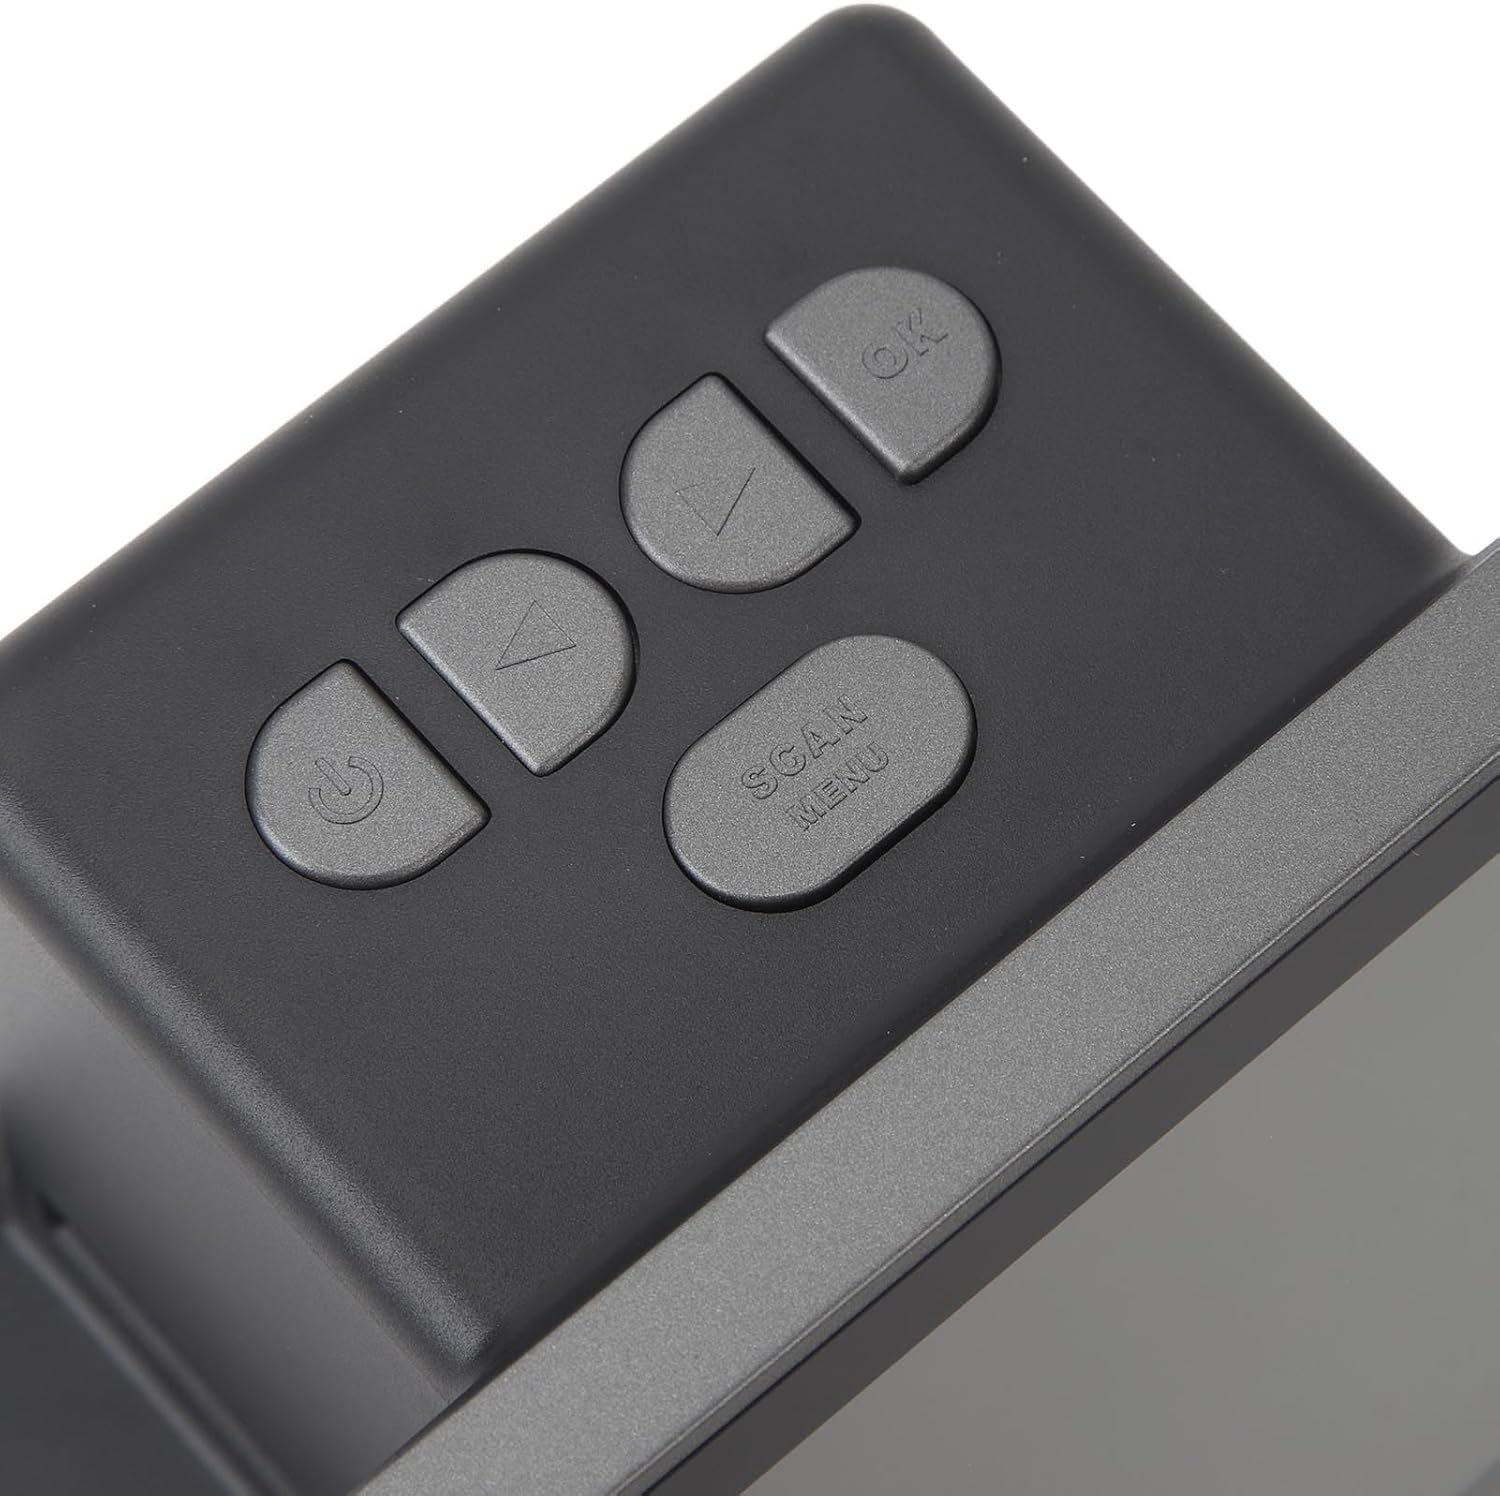
Image: Close-up view of the scanner's control buttons for operation.
5. Maintenance
To ensure optimal performance and longevity of your film scanner, follow these maintenance guidelines:
- Cleaning the Lens and Film Path: Use the provided cleaning brush to gently remove dust and debris from the film slot and lens area. Avoid using abrasive materials or liquid cleaners directly on optical components.
- Exterior Cleaning: Wipe the exterior of the scanner with a soft, dry cloth. Do not use harsh chemicals or solvents.
- Storage: When not in use, store the scanner in a cool, dry place away from direct sunlight and excessive dust. Keep it in its original packaging or a protective case if available.
- Handle with Care: Avoid dropping the device or subjecting it to strong impacts, as this can damage internal components.
6. Troubleshooting
If you encounter issues with your Pomya Film Scanner, refer to the following common problems and solutions:
- Device does not power on:
- Ensure the Type-C USB cable is securely connected to both the scanner and a power source (e.g., computer USB port or USB wall adapter).
- Verify that the power source is active.
- Computer does not recognize the scanner:
- Confirm the Type-C USB cable is properly connected.
- Ensure the scanner is powered on and set to "USB" mode from its main menu.
- Try connecting to a different USB port on your computer.
- Restart both the scanner and your computer.
- Scanned images are blurry or unclear:
- Clean the film path and lens using the provided cleaning brush to remove any dust or smudges.
- Ensure the film or slide is correctly seated in the tray and lies flat.
- Check that the film or slide itself is clean and free from scratches or damage.
- Film or slide does not fit into the tray:
- Verify you are using the correct film tray or adapter for your specific film format (135mm, 126mm, 110mm, Super 8mm).
- Do not force film into the tray; this can cause damage.
If the issue persists after attempting these solutions, please contact customer support.
7. Specifications
| Feature | Specification |
|---|---|
| Model Number | Pomya6rniq32ggc |
| Sensor | 1/2.33-inch CMOS sensor |
| Screen Size | 5 inches |
| Supported Film Types | 135mm, 126mm, 110mm, Super 8mm (color or black and white film/slides) |
| Image Effects | Black and white film, negative film, slide film |
| Internal Storage | 16GB |
| Package Dimensions | 6.69 x 6.3 x 5.51 inches |
| Item Weight | 1.49 pounds |
| Manufacturer | Pomya |
8. Warranty and Support
This product comes with a standard manufacturer's warranty. Please refer to the warranty card included in your package for specific terms and conditions, including warranty duration and coverage details.
For technical support, troubleshooting assistance, or warranty claims, please contact Pomya customer service through the retailer where the product was purchased or visit the official Pomya website for contact information.