QUUGE QS601
QUUGE USB C Docking Station Stand User Manual
Model: QS601
Introduction
The QUUGE USB C Docking Station Stand (Model QS601) is a versatile 2-in-1 device designed to enhance your workspace. It functions both as a laptop stand and a powerful USB-C docking station, providing extensive connectivity options for your laptop, PC, or MacBook.

Image: The QUUGE docking station stand in use, showcasing its ability to hold a laptop and connect to external monitors.
Product Features
The QUUGE QS601 offers a comprehensive set of features to optimize your productivity:
- 2-in-1 Design: Functions as both a desktop docking station and a laptop stand. It supports vertical placement for space-saving (laptops up to 2cm thickness with lid closed) and horizontal placement for improved ergonomics and visual height.
- Multi-function USB-C Dock: Connects to your laptop's Thunderbolt 3/4 interface to expand connectivity.
- Dual Monitor 4K Output: Equipped with two HDMI ports for dual 4K@60Hz display. One HDMI 2.1 port supports single-screen output up to 4K@120Hz for smoother visuals.
- Fast Charging & Data Transfer: Supports PD3.0 fast charging (up to 85W with a 100W charger) and 5Gbps high-speed data transfer via USB 3.0 ports.
- 1000Mbps Ethernet: Built-in RJ45 Ethernet port provides stable and high-speed wired network connection.
- Durable Construction: Made primarily of metal with silicone pads to prevent scratches and ensure stability.

Image: Visual representation of the product's 3-in-1 capabilities, highlighting its use as an adjustable stand, vertical stand, and a multi-port hub.

Image: Detailed view of the docking station's ports and their functions, including Power Delivery (PD), Host connection, HDMI outputs, USB ports, and Gigabit Ethernet.
Setup Guide
1. Compatibility Check
Ensure your laptop's USB-C port supports full functionality (Power + Video + Data transfer), often indicated by a Thunderbolt symbol or a "full-featured" port icon. This product requires a 10 Gbps cable or a Thunderbolt 3/4 standard cable for optimal performance. A compatible cable is included in the package.

Image: Guide to identifying compatible USB-C ports on your laptop for full functionality with the docking station.
2. Connecting the Docking Station
- Connect the provided 10 Gbps USB-C cable from the docking station's "Host" port to your laptop's compatible USB-C/Thunderbolt port.
- For power delivery, connect a 100W PD charger to the docking station's "PD" port. This will provide up to 85W charging to your laptop.
- Connect your external monitors to the HDMI 1 and HDMI 2 ports on the docking station.
- Connect any USB peripherals (keyboard, mouse, USB drives) to the USB 3.0 ports.
- For a wired network connection, connect an Ethernet cable to the RJ45 Gigabit port.

Image: Step-by-step visual guide on how to connect the docking station to your laptop and various peripherals.
Operating Instructions
Laptop Placement
- Horizontal Placement: Place your laptop on the stand for an elevated viewing angle, which can help reduce neck and shoulder strain. The stand is designed to increase the visual height of your laptop display.
- Vertical Placement: For space-saving, you can place your laptop vertically in the designated slot with the lid closed. This is ideal for desktop setups where external monitors are the primary display. Note: Vertical placement supports laptops with a thickness of 2 cm (0.8 inches) or less when the lid is closed.

Image: Demonstrates the ergonomic benefits of using the docking station in horizontal mode, improving posture and reducing strain.

Image: Illustrates the space-saving vertical placement of a laptop and a smartphone on the docking station.
Display Modes
The docking station supports various display configurations:
- Single Monitor Output: Connect one monitor to either HDMI port. HDMI 1 supports up to 4K@120Hz.
- Dual Monitor Output: Connect two monitors to both HDMI ports for dual 4K@60Hz display. With your laptop screen, you can achieve a triple-monitor setup.
- Replication Mode (Mirror Display): Duplicate your laptop's screen across all connected external monitors.
- Expansion Mode (Extend Display): Extend your desktop across multiple screens, allowing for increased workspace.
Important Note for macOS Users: Due to macOS limitations, this docking station can only support one extended display for macOS devices. While two HDMI ports are available, only one can be utilized for an extended display. For dual extended displays on macOS, an additional direct connection to the laptop may be required, or a different docking station model designed specifically for multiple independent macOS displays.
Note: For casting the screen with the laptop lid closed, the Power Delivery (PD) port needs to be powered on.

Image: Display configurations for Windows systems, illustrating both mirrored and extended desktop modes.

Image: Display configurations for macOS systems, illustrating both mirrored and extended desktop modes (note macOS limitations).
Maintenance
To ensure the longevity and optimal performance of your QUUGE Docking Station Stand, follow these maintenance guidelines:
- Keep the device clean by wiping it with a soft, dry cloth. Avoid using abrasive cleaners or solvents.
- Ensure proper ventilation around the docking station to prevent overheating.
- Avoid placing heavy objects on the docking station or subjecting it to strong impacts.
- Store the device in a cool, dry place when not in use.
Troubleshooting
- No display on external monitor(s):
- Ensure your laptop's USB-C port supports video output (Thunderbolt or full-featured USB-C).
- Verify that the USB-C cable connecting the laptop to the docking station is a 10 Gbps or Thunderbolt 3/4 standard cable.
- Check all HDMI cable connections between the docking station and monitors.
- Ensure the docking station's PD port is powered on, especially if the laptop lid is closed.
- For macOS, remember that only one extended display is supported.
- Slow data transfer speeds:
- Ensure you are using the provided 10 Gbps USB-C cable.
- Verify that the connected USB devices are USB 3.0 compatible.
- Laptop not charging:
- Ensure a 100W PD charger is connected to the docking station's PD port.
- Verify your laptop supports USB-C Power Delivery.
- Laptop unstable in vertical stand:
- Ensure your laptop's thickness is 2 cm (0.8 inches) or less when closed.
- Verify the laptop is properly seated in the vertical slot.
Specifications
| Feature | Detail |
|---|---|
| Model Number | QS601 |
| Product Dimensions | 7.09 x 3.82 x 2.24 inches (18 x 9.7 x 5.7 cm) |
| Item Weight | 1.88 pounds (853 grams) |
| Color | Space Grey |
| Total USB Ports | 2 (USB 3.0 Type A) |
| Total HDMI Ports | 2 (HDMI 1: 4K@120Hz, HDMI 2: 4K@60Hz) |
| Ethernet Port | 1 (1000Mbps Gigabit RJ45) |
| Power Delivery (PD) | Up to 100W input, 85W output to laptop |
| Compatible Laptop Thickness (Vertical) | 2 cm (0.8 inches) or less |
| Compatible Devices | Laptops with full-featured USB-C/Thunderbolt 3/4 ports (e.g., MacBook Air/Pro, Lenovo YOGA/ThinkBook, HP, Dell Vostro, iPad Pro/Air, iPhone 15/15Pro, Huawei Mate/P series, Samsung Galaxy S/Note/Z series, Samsung Galaxy Tab S series) |
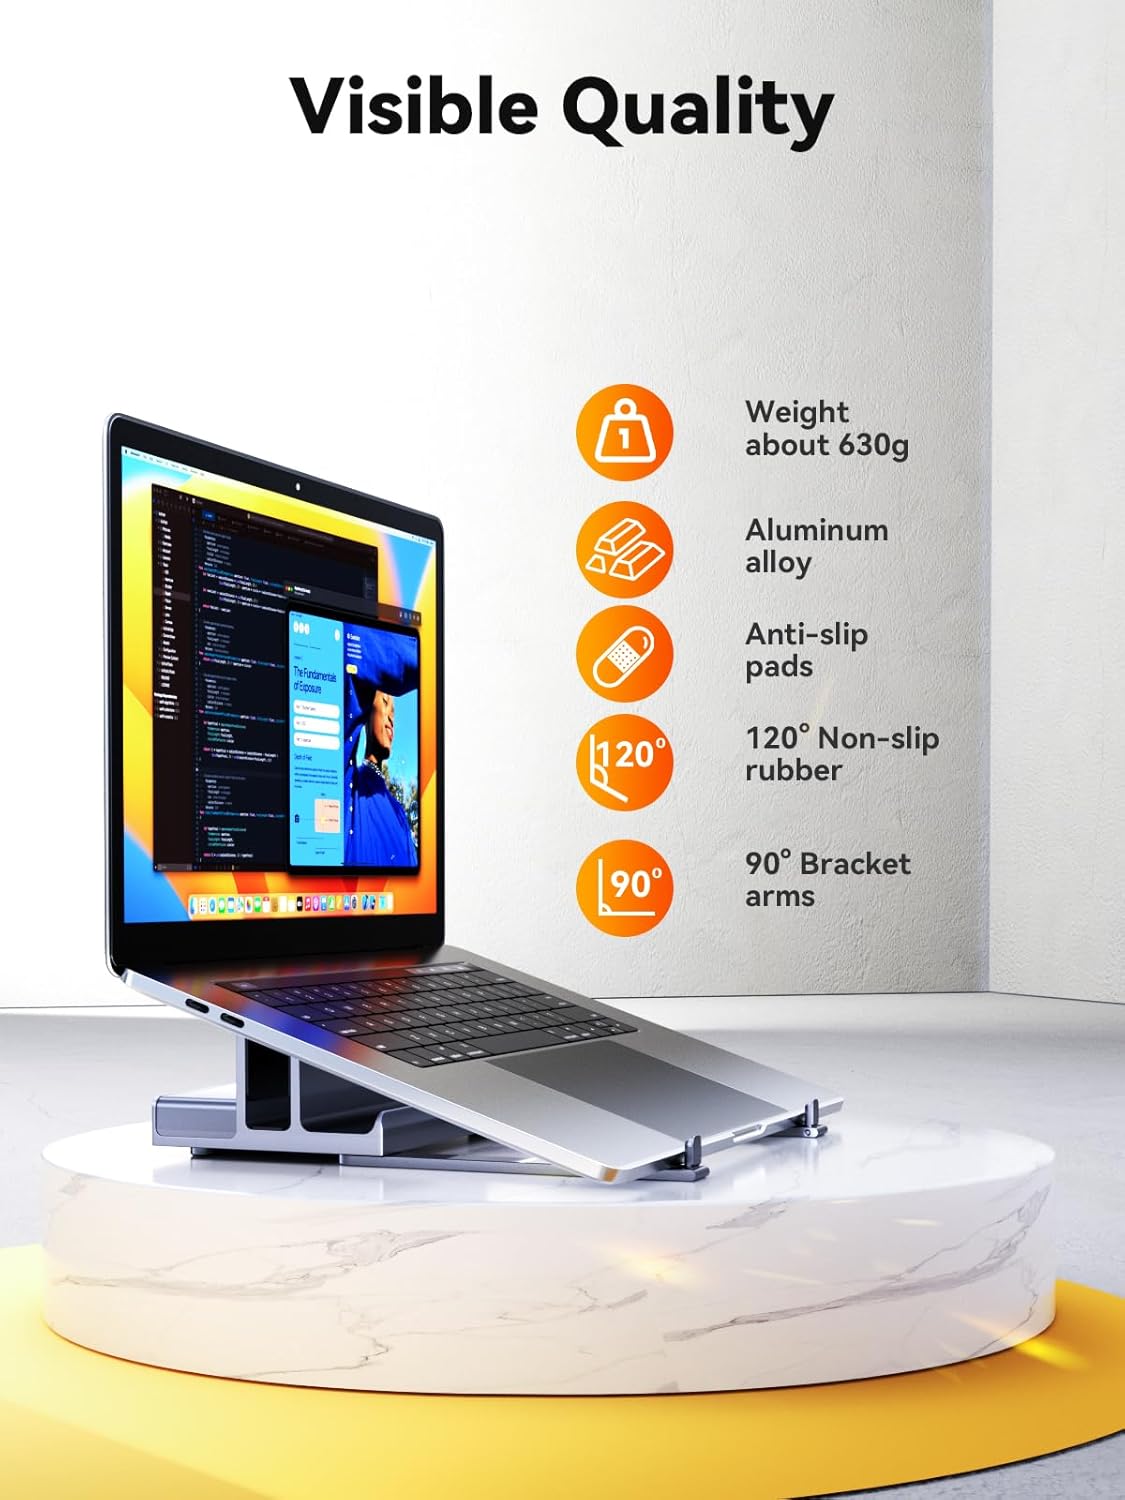
Image: Detailed dimensions of the docking station stand.
Warranty and Support
For warranty information or technical support, please refer to the contact details provided with your product packaging or visit the official QUUGE website. Keep your purchase receipt for warranty claims.
Related Documents - QS601
 |
QUUGE USB-C Multifunction Docking Station User Manual User manual for the QUUGE USB-C Multifunction Docking Station, detailing package contents, interface functions, video resolution capabilities, setup instructions, and troubleshooting FAQs. Supports dual 4K@60Hz displays and 100W PD input. |
 |
QUUGE USB-C Multifunctional Docking Station C5312A181 User Manual - 8K Display, 10Gbps Data User manual for the QUUGE USB-C Multifunctional Docking Station (Model C5312A181). Learn about its features, interface functions, video resolution capabilities, setup instructions, and frequently asked questions for optimal performance. |
Ask a question about this manual
Ask about setup, troubleshooting, compatibility, parts, safety, or missing instructions. Manuals+ will review the question and use this page’s manual context to help answer it.