1. Introduction
This manual provides essential information for the installation, operation, and maintenance of your KOOTION 256GB NVMe M.2 PCIe 3.0 Solid State Drive. This internal SSD is designed to enhance the performance of compatible laptops and desktop PCs by offering high-speed data transfer and improved system responsiveness.
The drive features an NVMe PCIe Gen3x4 interface, delivering sequential read speeds up to 3,000 MB/s and sequential write speeds up to 2,400 MB/s. Its M.2 2280 form factor ensures broad compatibility with modern systems.

Image 1.1: Visual representation of the KOOTION NVMe M.2 SSD highlighting its sequential read and write speeds.
2. Safety Information
- Always handle the SSD by its edges to avoid touching the gold connectors or components.
- Wear an anti-static wrist strap or discharge static electricity by touching a grounded metal object before handling the SSD.
- Ensure your computer is powered off and unplugged from the power source before installation.
- Avoid exposing the SSD to extreme temperatures, moisture, or direct sunlight.
- Do not attempt to disassemble or modify the SSD, as this will void the warranty and may cause damage.
3. Package Contents
Verify that your package contains the following item:
- 1 x KOOTION 256GB PCIe 3.0 M.2 Internal Solid State Drive
4. Setup and Installation
This section outlines the general steps for installing your M.2 NVMe SSD. Specific steps may vary depending on your computer's motherboard or laptop model. Refer to your computer's manual for detailed instructions.
4.1 Pre-Installation Checklist
- A compatible M.2 slot (Key M, PCIe Gen3x4) on your motherboard or laptop.
- A small Phillips head screwdriver.
- An anti-static wrist strap (recommended).
- Your computer's user manual for M.2 slot location and screw type.
4.2 Installation Steps (Desktop PC)
- Power Off: Shut down your computer completely and unplug the power cable.
- Open Case: Open your computer case.
- Locate M.2 Slot: Identify an available M.2 slot on your motherboard. It is typically labeled 'M.2' or 'NVMe'.
- Remove Standoff Screw: If present, remove the small screw and standoff from the M.2 slot.
- Insert SSD: Gently insert the KOOTION NVMe SSD into the M.2 slot at a 30-degree angle. The gold contacts should disappear into the slot.
- Secure SSD: Push the SSD down until it is parallel with the motherboard. Secure it with the standoff and screw.
- Close Case: Close your computer case and reconnect the power cable.
4.3 Installation Steps (Laptop)
- Power Off: Shut down your laptop completely and unplug the power adapter. Remove the battery if it is external.
- Access Panel: Locate and open the access panel for the storage drive or the entire bottom cover of your laptop.
- Locate M.2 Slot: Identify an available M.2 slot.
- Remove Standoff Screw: If present, remove the small screw and standoff.
- Insert SSD: Gently insert the KOOTION NVMe SSD into the M.2 slot at a 30-degree angle.
- Secure SSD: Push the SSD down and secure it with the standoff and screw.
- Close Panel: Reattach the access panel or bottom cover and reinsert the battery (if applicable).

Image 4.1: The KOOTION NVMe M.2 SSD correctly installed in a motherboard's PCIe Gen3x4 M.2 slot.
4.4 Initializing and Formatting the SSD
After physical installation, the SSD needs to be initialized and formatted before it can be used. This process is typically done through your operating system.
- Windows: Open Disk Management (right-click Start button > Disk Management). Locate the new SSD, right-click it, and select 'Initialize Disk'. Choose GPT (GUID Partition Table) for modern systems. Then, right-click the unallocated space, select 'New Simple Volume', and follow the wizard to format it (NTFS recommended).
- macOS: Open Disk Utility (Applications > Utilities > Disk Utility). Select the new SSD, click 'Erase', choose a name, format (APFS or Mac OS Extended), and scheme (GUID Partition Map).
- Linux: Use tools like GParted or `fdisk`/`mkfs` commands to partition and format the drive.
5. Operating Instructions
Once installed and formatted, your KOOTION NVMe SSD operates like any other storage drive. For optimal performance and longevity, consider the following:
- Operating System Installation: You can install your operating system directly onto the SSD for faster boot times and application loading.
- Data Storage: Use the SSD for frequently accessed programs, games, and files to benefit from its high read/write speeds.
- TRIM Command: Ensure your operating system has TRIM enabled. TRIM helps maintain the performance and lifespan of SSDs by allowing the OS to inform the SSD which data blocks are no longer in use and can be wiped. Modern operating systems typically enable TRIM by default.
- Avoid Defragmentation: Unlike traditional hard drives, SSDs do not benefit from defragmentation. Defragmenting an SSD can reduce its lifespan without improving performance.
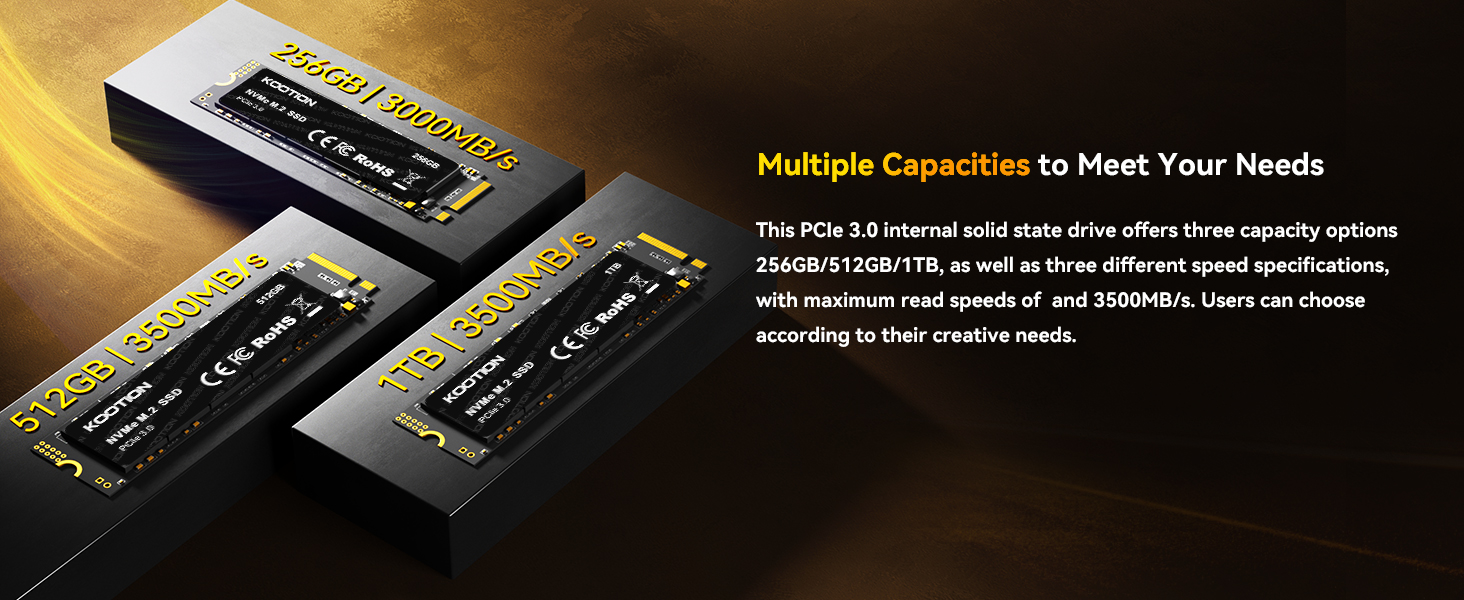
Image 5.1: The KOOTION NVMe M.2 SSD is compatible with various devices, including PCs, All-in-One computers, and laptops, for performance upgrades.
6. Maintenance
The KOOTION NVMe SSD is designed for durability and requires minimal maintenance. Adhering to the following guidelines can help ensure its long-term performance:
- Firmware Updates: Periodically check the KOOTION official website for any available firmware updates for your SSD model. Firmware updates can improve performance, stability, and compatibility.
- Temperature Management: Ensure your computer's cooling system is functioning correctly to prevent excessive heat buildup, which can affect SSD performance and lifespan.
- Data Backup: Regularly back up important data to another storage device. While SSDs are reliable, no storage device is immune to failure.

Image 6.1: The KOOTION NVMe M.2 SSD incorporates multiple technologies for enhanced data write performance and durability, including 3D NAND and robust protection features.
7. Troubleshooting
If you encounter issues with your KOOTION NVMe SSD, try the following troubleshooting steps:
7.1 SSD Not Detected
- Check Connections: Ensure the SSD is fully seated in the M.2 slot and the securing screw is in place.
- BIOS/UEFI Settings: Enter your computer's BIOS/UEFI settings. Verify that the M.2 slot is enabled and configured correctly (e.g., PCIe mode).
- Driver Updates: Ensure your motherboard's chipset drivers are up to date.
- Try Another Slot/System: If possible, test the SSD in a different M.2 slot or another compatible computer to rule out a motherboard issue.
7.2 Slow Performance
- TRIM Status: Verify that TRIM is enabled in your operating system.
- Firmware: Check for and install any available firmware updates for the SSD.
- System Resources: Ensure your system has sufficient RAM and CPU resources, as these can impact overall storage performance.
- Temperature: Monitor the SSD's temperature. Overheating can lead to thermal throttling and reduced performance.
7.3 Operating System Not Booting from SSD
- Boot Order: Check your BIOS/UEFI settings to ensure the SSD is set as the primary boot device.
- OS Installation: Confirm that an operating system has been correctly installed on the SSD.
- Initialization/Formatting: Ensure the SSD was properly initialized and formatted as described in Section 4.4.
8. Specifications
| Feature | Specification |
|---|---|
| Brand | KOOTION |
| Model Number | 92f69a6d-b16f-407e-83f8-3b946fa61257 |
| Digital Storage Capacity | 256 GB |
| Hard Drive Interface | PCIe Gen3x4 |
| Form Factor | M.2 2280 |
| Sequential Read Speed | Up to 3000 MB/s |
| Sequential Write Speed | Up to 2400 MB/s |
| Product Dimensions (LxWxH) | 0.87 x 0.87 x 0.08 inches |
| Item Weight | 0.21 ounces |
| Special Features | Shock Resistant, Durable |
| Compatible Devices | Laptop, PC Desktop |
9. Warranty and Support
KOOTION is committed to providing friendly customer service and lifetime technology support for its products. If you have any questions or require assistance with your M.2 NVMe SSD, please contact KOOTION customer support.
For warranty claims or technical support, please refer to the contact information provided on the official KOOTION website or the documentation included with your purchase.


